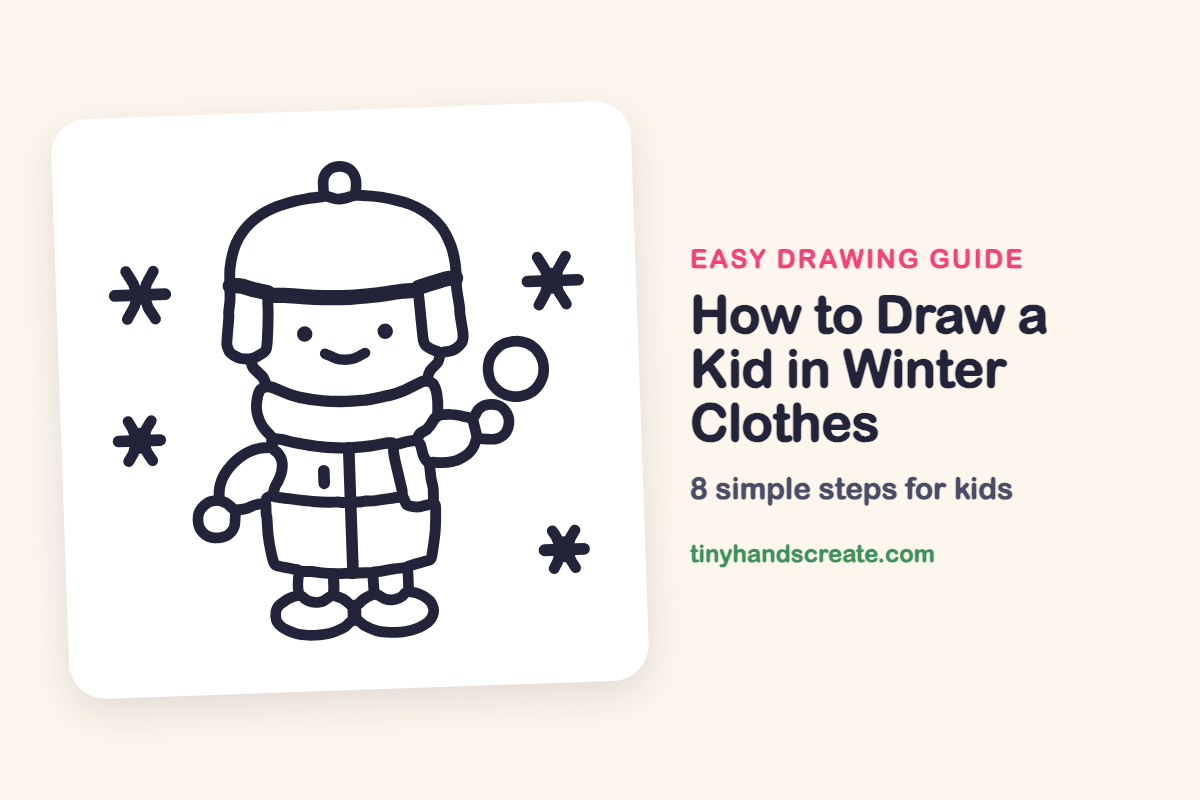
How to Draw a Kid in Winter Clothes (Easy Step by Step)
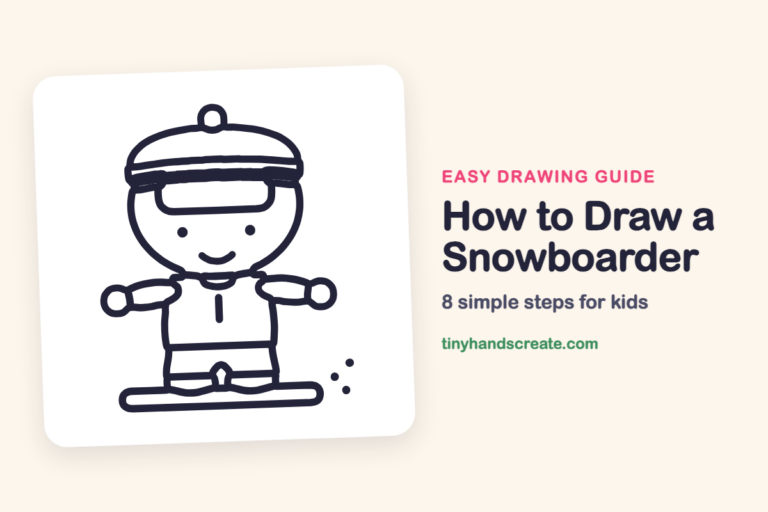
This kid is all bundled up for a snowy day, with a round hat, a puffy scarf and chunky boots. The whole drawing is built from simple shapes: circles, ovals and a few boxy rectangles. It is a great one for practicing how to stack shapes on top of each other.
- Easy
- 12 minutes
- 8 steps
You need: paper, a pencil, an eraser, and crayons or markers for coloring.
Start drawingIn this article (7 sections)
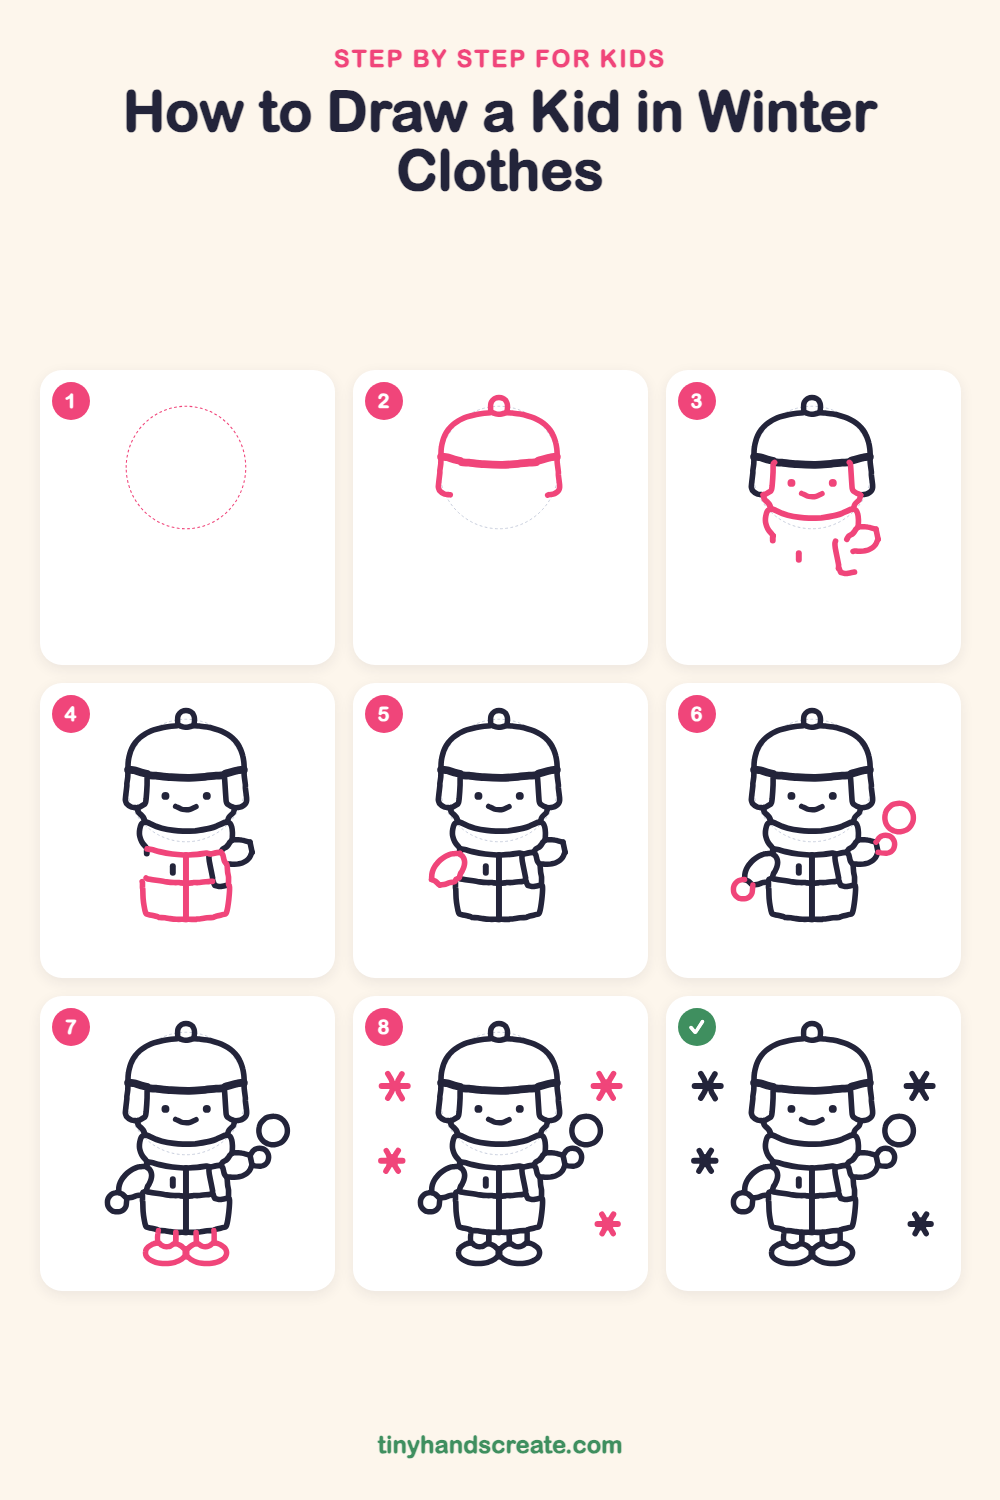
How to draw a kid in winter clothes step by step
How to Draw a Kid in Winter Clothes · tinyhandscreate.com
Step 1: Guide shapes
Lightly sketch this oval. It only shows where the big parts go, so press softly. You will erase it at the end.
Step 2: Hat and pompom
Draw a big rounded dome for the hat, with a small circle on top for the pompom. Then draw a curved band across the bottom of the dome, with a short flap hanging down on each side.
Step 3: Face and scarf
Under the hat band, draw two little dots for eyes and a happy curved smile. Then draw a puffy scarf under the chin, and a small mitten shape on the right side.
Step 4: Coat with zipper
Draw a boxy coat under the scarf that gets a little wider at the bottom. Add a belt line across the middle, a straight line down the center, and a tiny zipper pull near the top.
Step 5: Left sleeve
On the left side of the coat, draw a small tilted oval for the sleeve, starting at the coat's shoulder.
Step 6: Mittens and snowball
Draw a small circle for the mitten at the end of the left sleeve. On the right, draw a small circle for the other mitten and a bigger circle next to it for the snowball.
Step 7: Legs and boots
Draw two short lines down from the bottom of the coat for legs. At the bottom of each, draw a wide, flat oval for a chunky boot.
Step 8: Falling snowflakes
Around the kid, draw a star shape with three crossing lines, like a little asterisk. Make four of them in different spots.
All done!
Erase the guide shapes, go over your lines, then color it in.
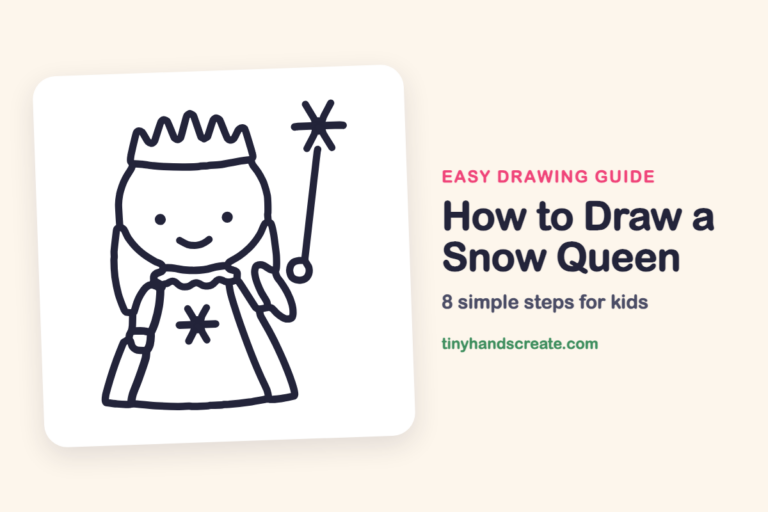
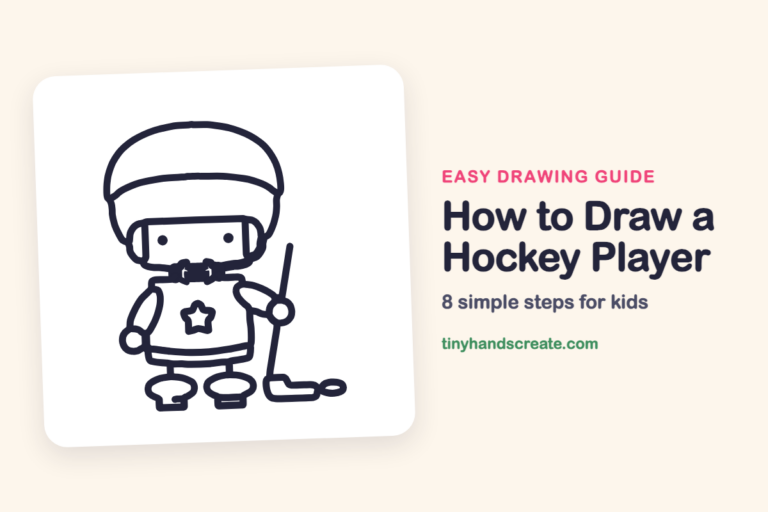
Finished your kid in winter clothes? Keep the pencils out and learn how to draw a snow queen or how to draw a hockey player next.
Tips for drawing a kid in winter clothes
- Sketch the hat as a light dome first. The flaps on each side are easier to place when the dome is already there.
- The scarf is the trickiest part. Draw one curved line under the chin first, then add the puffy bottom edge so it looks like a thick roll around the neck.
- Make the two mittens and the snowball circles close in size so they look like they belong together. Draw them slowly and close each circle.
Free kid in winter clothes coloring page
Want to go straight to coloring? Open this kid in winter clothes coloring page at full size and print it. It is the same drawing you just learned, with clean lines ready for crayons or markers.
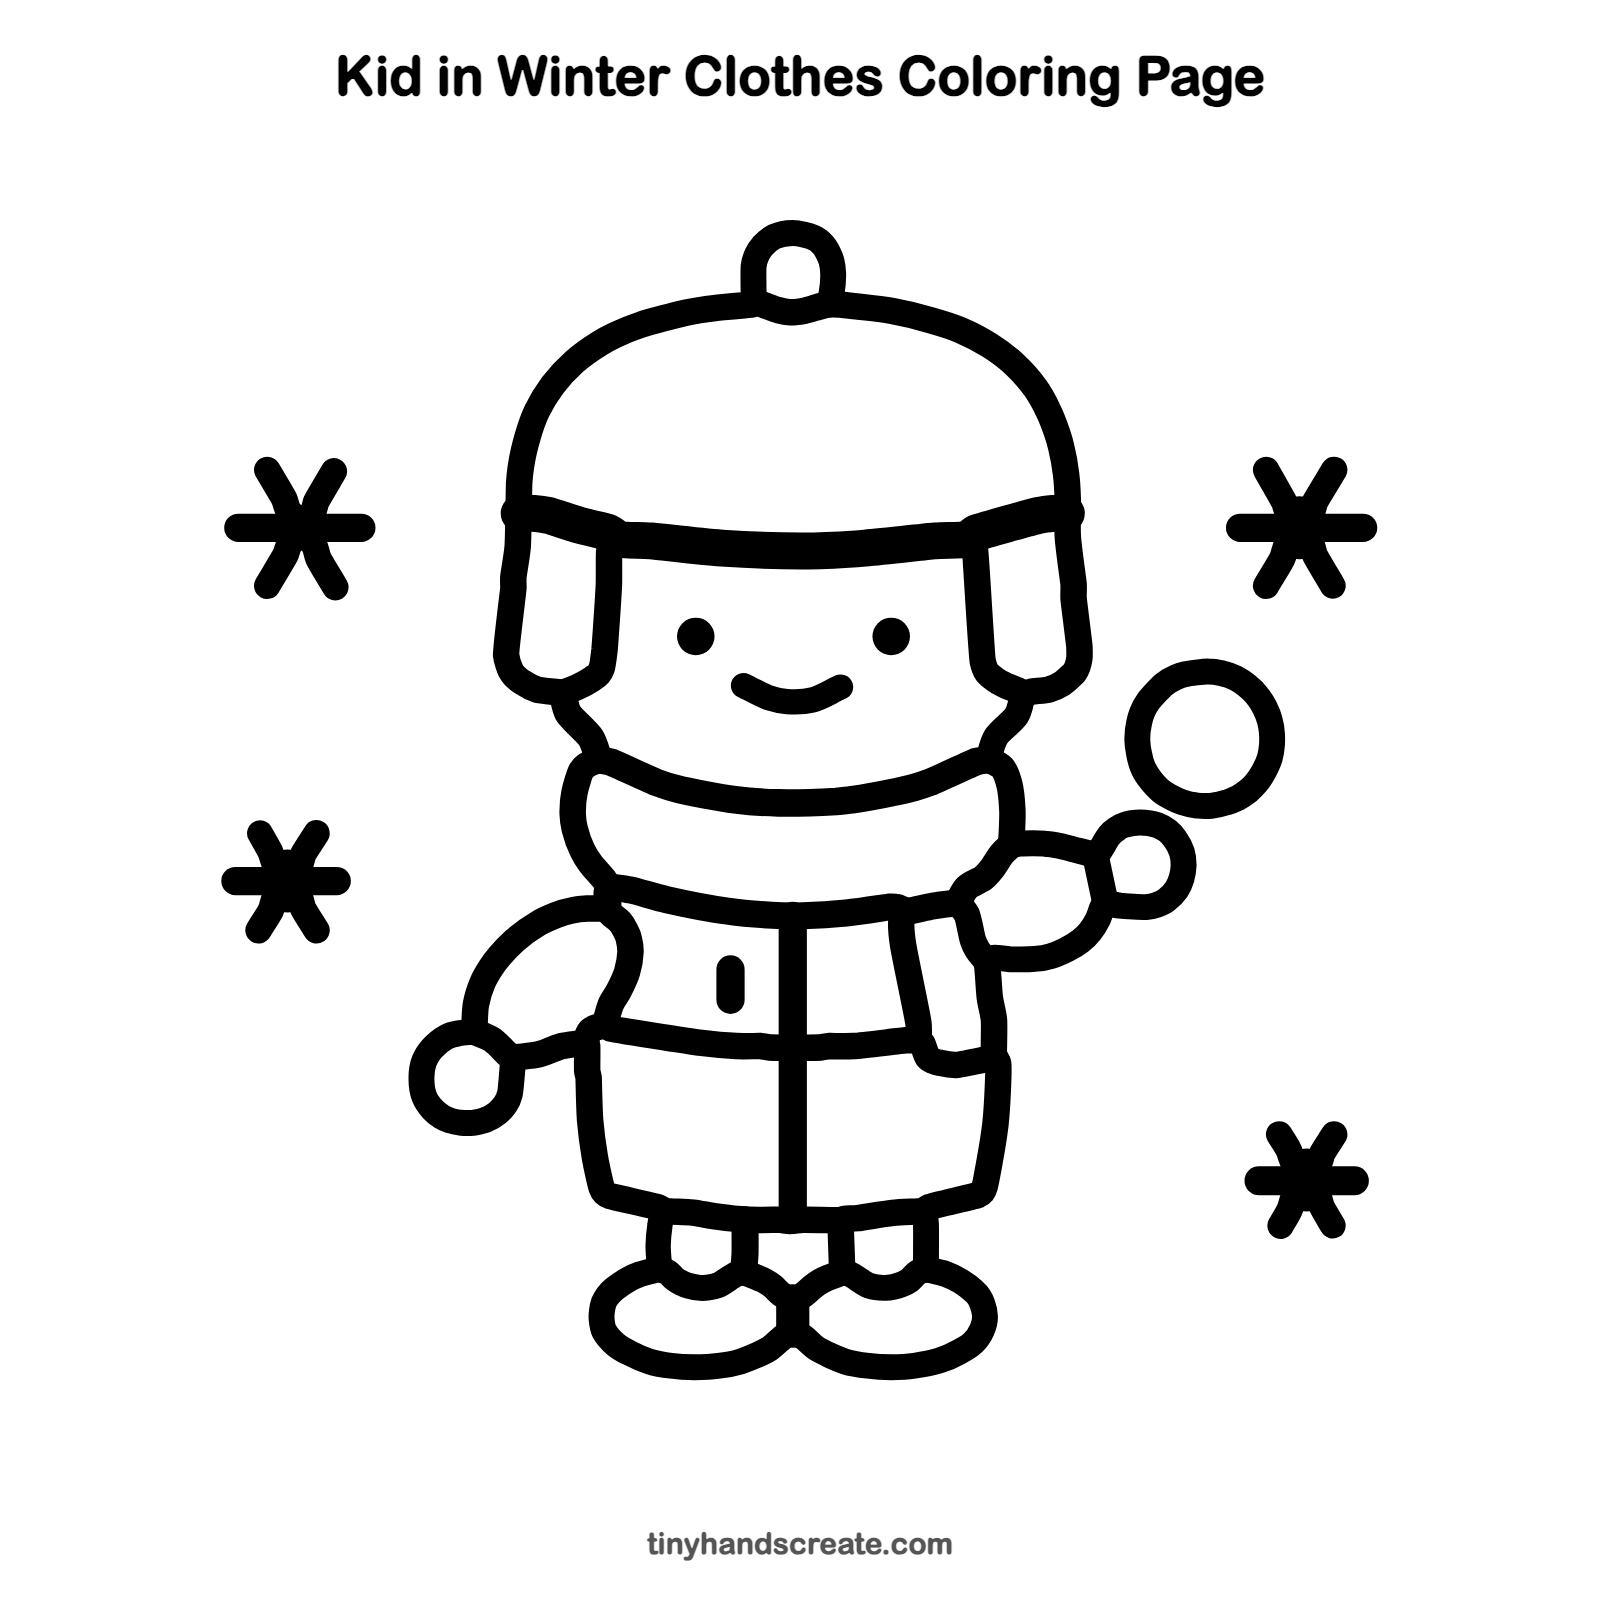
How to color your kid in winter clothes drawing
Try a bright red hat, a blue coat and a yellow scarf so the kid stands out against the snow. For a creative twist, give each snowflake its own color, or give the snowball a rainbow swirl.
Kid in winter clothes fun fact for kids
Every snowflake has six sides, because water molecules lock together in a six-sided pattern as they freeze. That is why the snowflakes in this drawing have six arms.
Questions about drawing a kid in winter clothes
What shapes do I need to draw a kid in winter clothes?
You need a rounded dome for the hat, a boxy shape for the coat and a few circles for the pompom, mittens and snowball. Flat ovals work well for the boots.
How do I make my winter kid look cuter?
Keep the eyes small and set far apart, and add a wide, curved smile. A big pompom and chunky round boots also make the kid look extra cozy.
How do I draw a puffy scarf?
Draw a wide curved line under the chin, then another curve below it to make a thick band. This makes the scarf look like a soft roll around the neck.