How to Draw a Button (Easy Step by Step)
You will learn how to easily draw a button using simple, step-by-step instructions, primarily by combining circles. This guide shows you how to create the button's shape, holes, and thread details.
- Begin by drawing two circles to form the button's main ring.
- Create four dots inside the ring to represent the buttonholes.
- Add two small lines to simulate the thread passing through the holes.
- Use this drawing exercise to practice making round shapes.
This post contains affiliate links. As an Amazon Associate I earn from qualifying purchases.
A button is one of the easiest things to draw, and it is made almost entirely of circles. You will draw two circles to make a ring, then add four dots for the holes and two little lines for the thread. It is a great first drawing for practicing round shapes.
- Easy
- 8 minutes
- 7 steps
You need: paper, a pencil, an eraser, and crayons or markers for coloring.
Start drawing


In this article (7 sections)
How to draw a button step by step
How to Draw a Button · tinyhandscreate.com
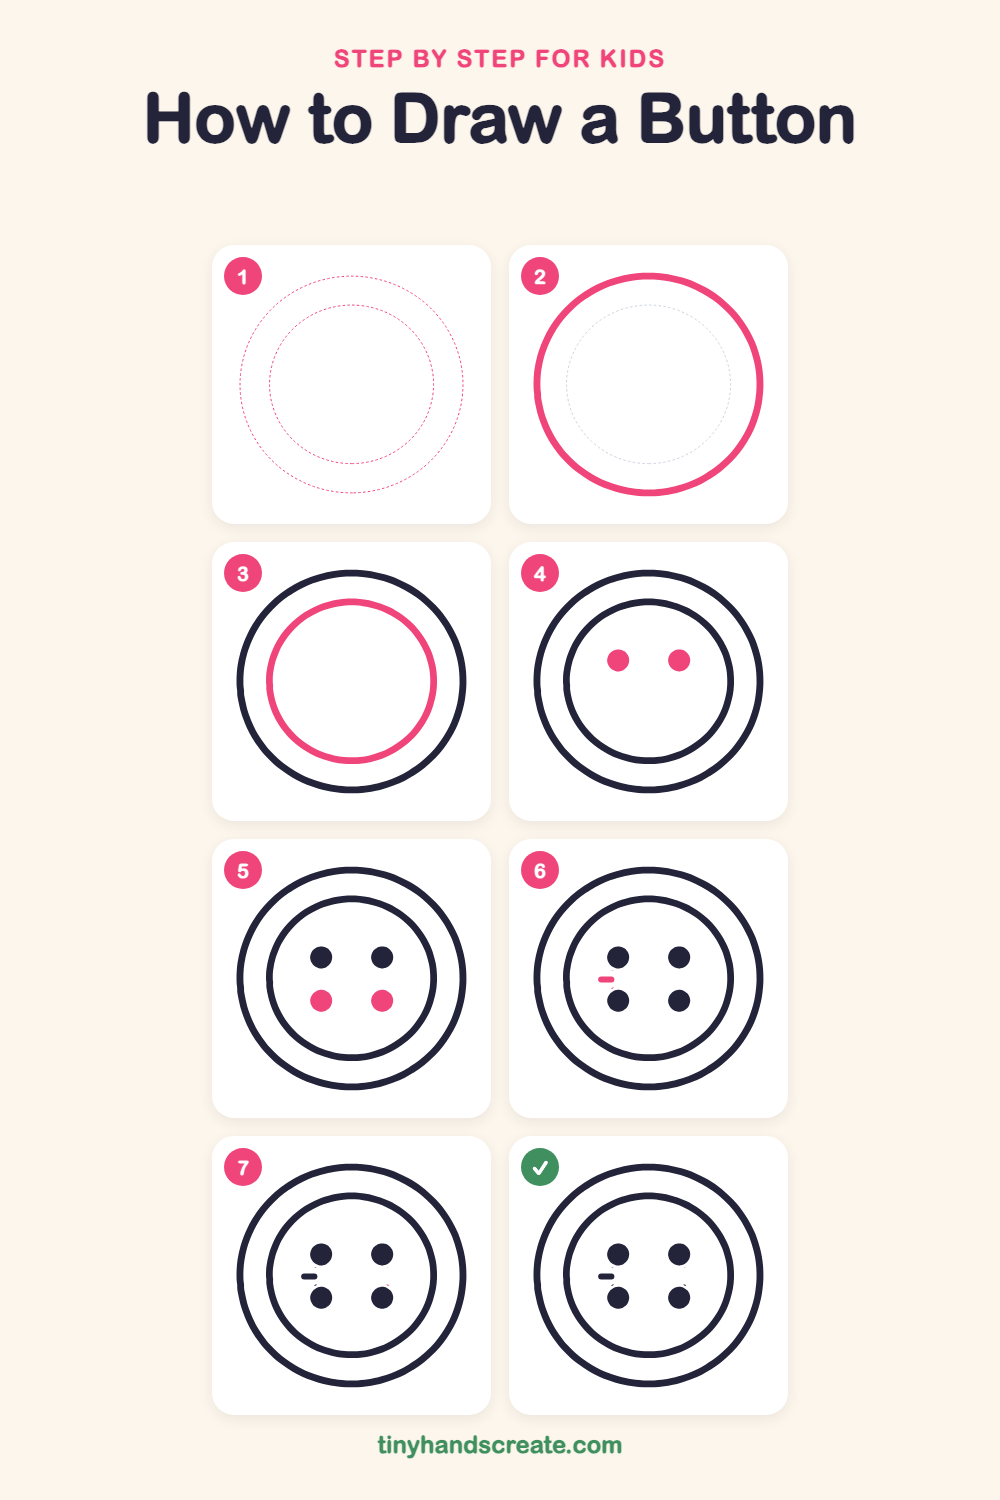
Step 1: Guide shapes
Lightly sketch these 2 ovals. They only show where the big parts go, so press softly. You will erase them at the end.
Step 2: The outer rim
Draw a big round circle in the middle of your page. This is the edge of the button, so take your time and make it as round as you can.
Step 3: The inner circle
Inside the big circle, draw a smaller circle with the same center. Leave an even gap all the way around so the rim looks like a ring.
Step 4: Top two holes
Inside the small circle, near the top, draw two small round dots side by side. Fill them in dark, like tiny holes for thread.
Step 5: Bottom two holes
Draw two more round dots below the first two, lined up straight underneath. Now you have four holes in a square.
Step 6: Left thread stitch
Between the two holes on the left, draw a short straight line going across, like a tiny thread.
Step 7: Right thread stitch
Between the two holes on the right, draw a short straight line just like the one on the left. Make it about the same size so the button looks matching.
All done!
Erase the guide shapes, go over your lines, then color it in.
Finished your button? Keep the pencils out and learn how to draw a rocket or how to draw a shooting star next.
Tips for drawing a button
- Draw the inner circle lightly first and check that the gap to the outer circle looks even, so the rim does not get fat on one side.
- Draw the top two holes first, then line the bottom two holes up straight underneath them so the four dots make a neat square.
- Keep each thread line short and place it halfway between its two holes, so the thread looks like it passes between them.
Free button coloring page
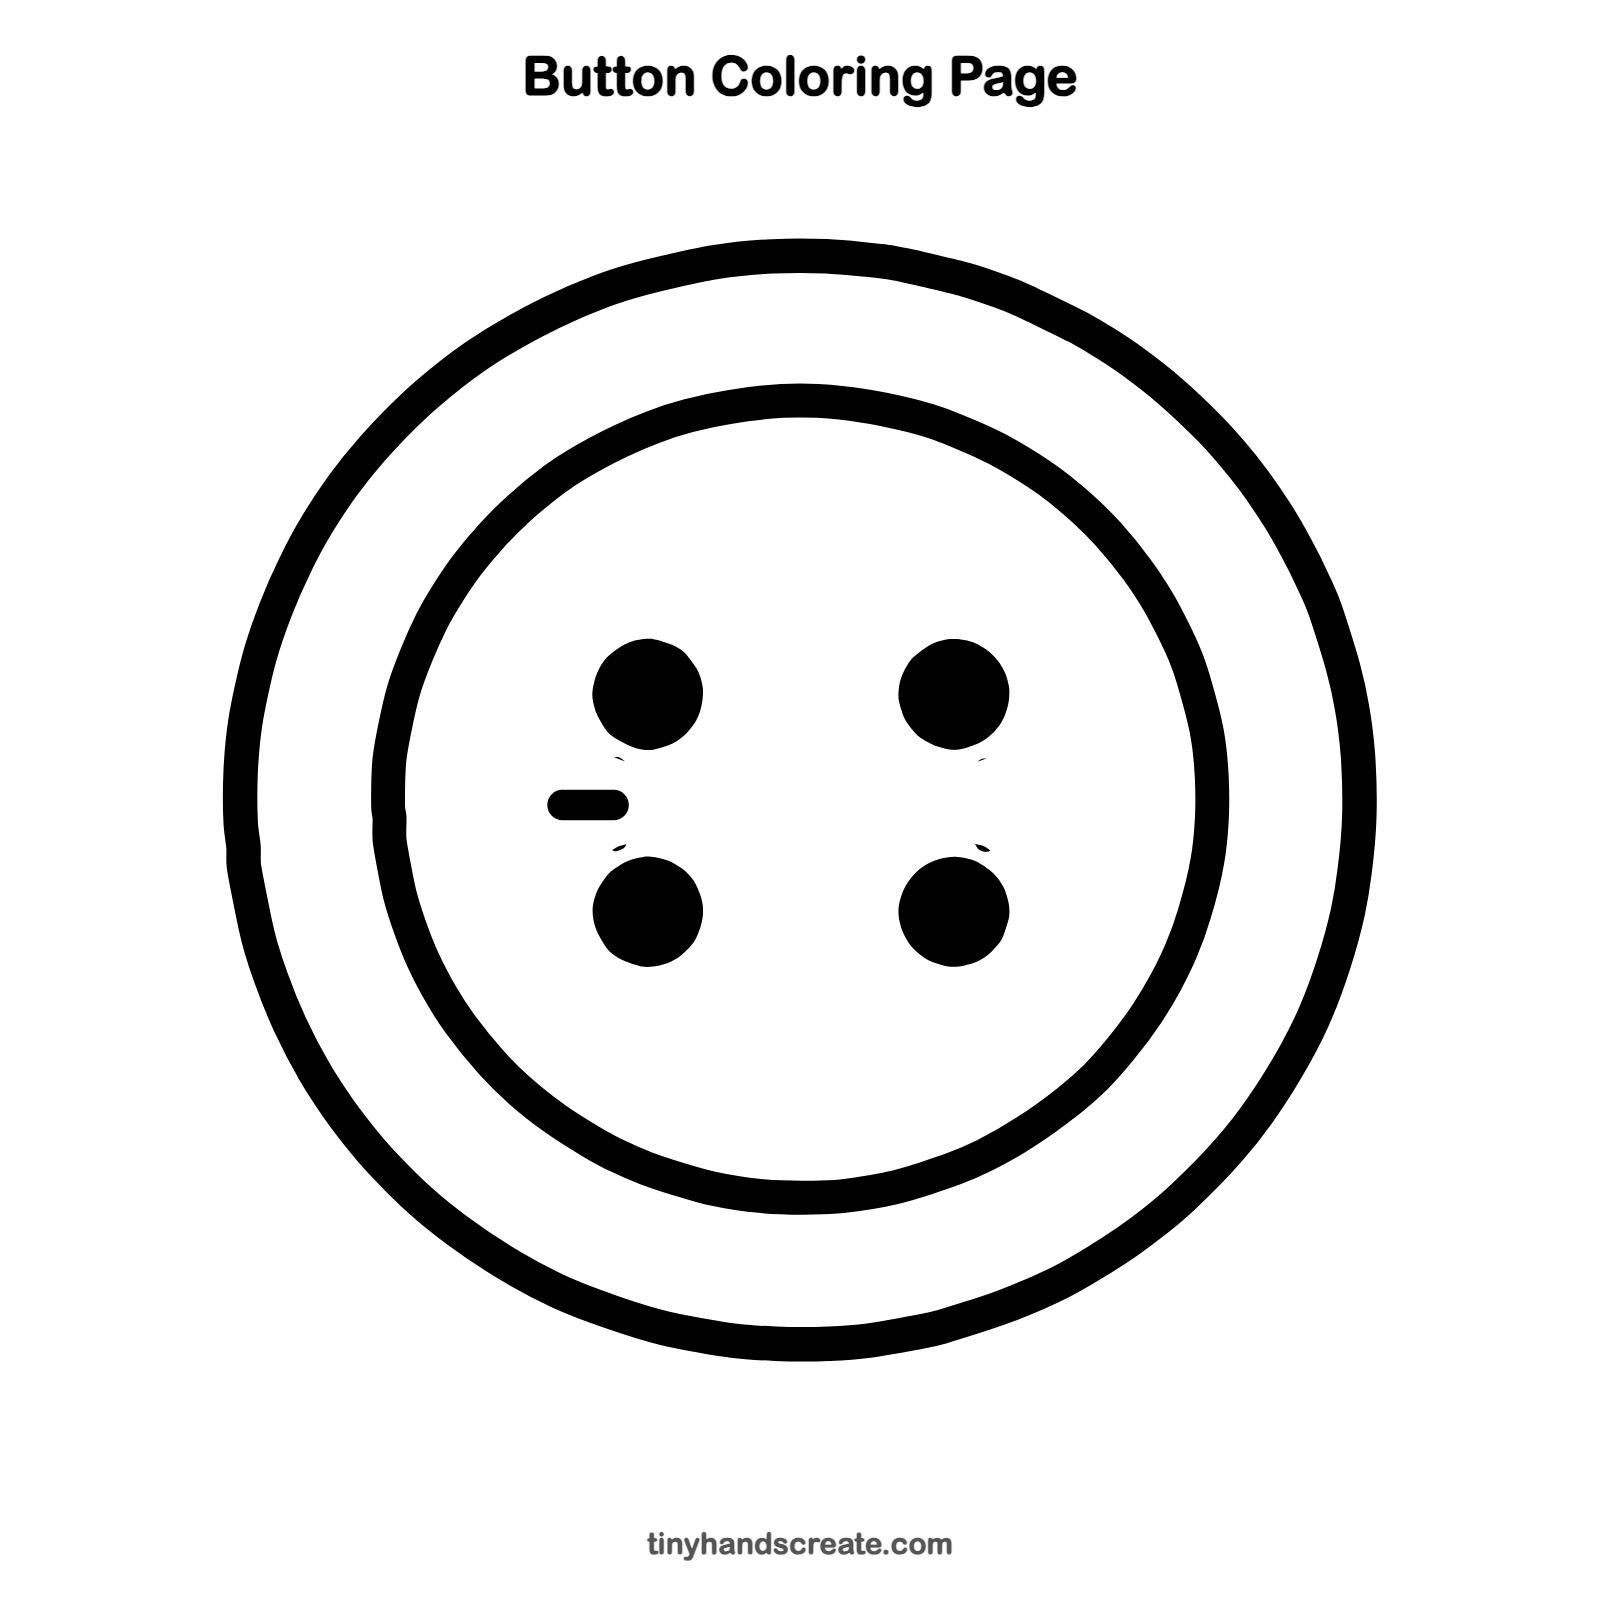
Want to go straight to coloring? Open this button coloring page at full size and print it. It is the same drawing you just learned, with clean lines ready for crayons or markers.
How to color your button drawing
Color the button a bright sweet color like red, yellow, or sky blue, and make the rim a slightly darker shade. Color the thread lines a different color so they stand out between the holes.
Button fun fact for kids
Buttons have been used for thousands of years, but at first many were used as decoration instead of for fastening clothes. Buttonholes to hold them closed came much later, in the 1200s.
Questions about drawing a button
What shapes do I need to draw a button?
You need two circles, one big and one smaller inside it, plus four small dots and two short lines. That is all!
How do I draw a perfect circle for a button?
Practice moving your whole arm instead of just your fingers, or trace around a cup or a coin to start. A slightly wobbly circle still looks great on a handmade button.
How do I make my button look more real?
Keep the gap between the two circles even and make the four holes the same size. You can also shade the rim lightly so it looks a little raised.