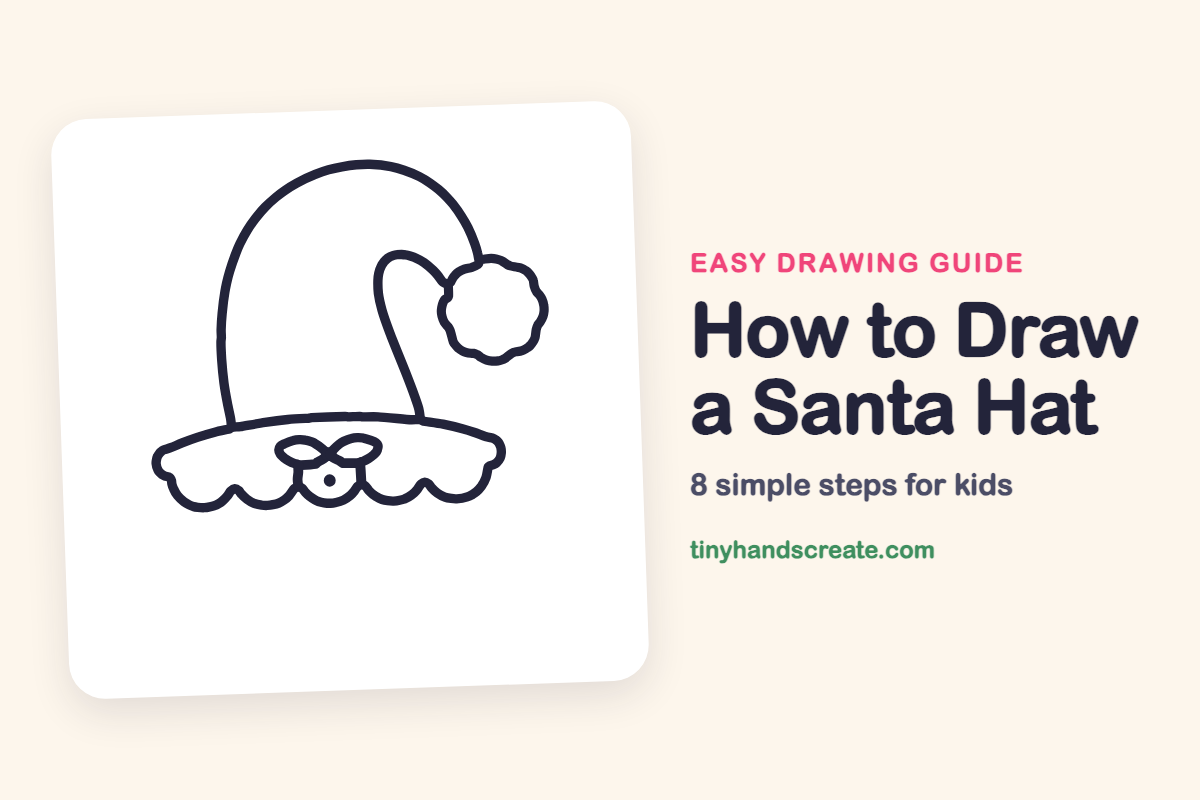
How to Draw a Santa Hat (Easy Step by Step)
A Santa hat is a fun first holiday drawing because it is built from just a few easy shapes. You will use a tall curve for the hat, a puffy round pom-pom, and a bumpy band along the bottom. Add a little bow and button, and your hat is ready for the holidays.
- Easy
- 10 minutes
- 8 steps
You need: paper, a pencil, an eraser, and crayons or markers for coloring.
Start drawingIn this article (7 sections)
How to draw a Santa hat step by step
How to Draw a Santa Hat · tinyhandscreate.com
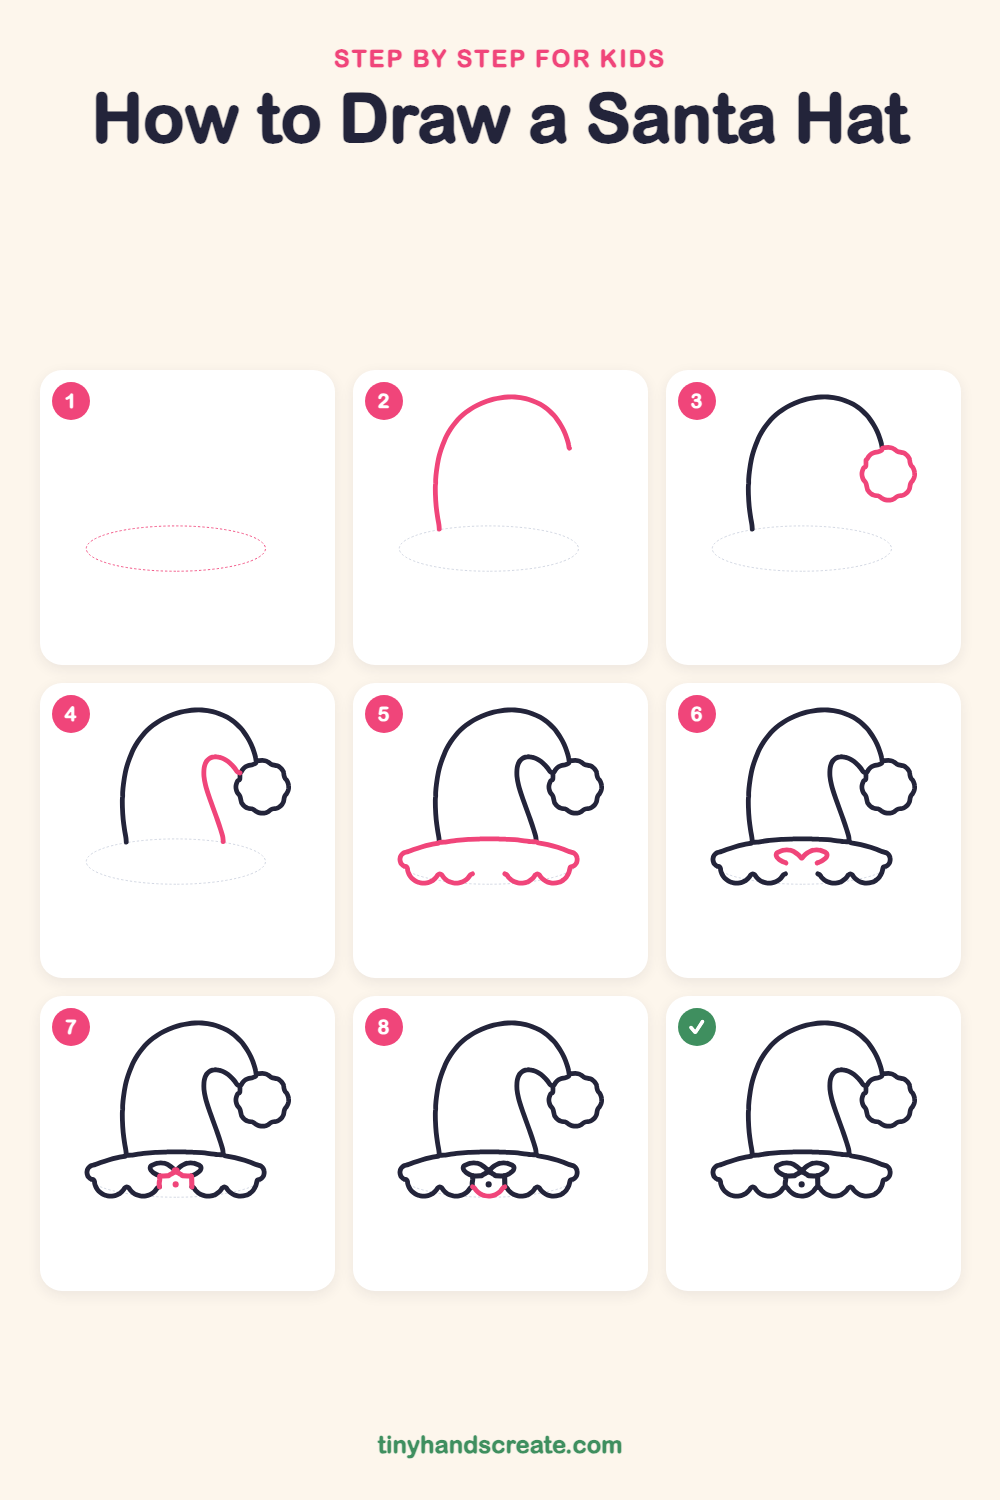
Step 1: Guide shapes
Lightly sketch this oval. It only shows where the big parts go, so press softly. You will erase it at the end.
Step 2: The hat curve
Start at the bottom left and draw a tall curve that goes up and over the top. Let it bend down on the right side and stop there.
Step 3: The fluffy pom-pom
At the end of the curve, draw a round puffy ball with a wavy, bumpy edge, like a little cloud. Tuck it right against the end of the curve.
Step 4: The hat's fold
Start beside the pom-pom and draw a curvy line that hooks up and over, then slides down toward the bottom right. This shows the hat flopping over.
Step 5: The scalloped brim
Draw a long, gently curved line across the bottom, joining both sides of the hat. Add a row of round bumps below it, like little scallops, and leave a gap in the middle.
Step 6: The bow loops
In the middle of the brim, draw two small loops side by side, like the wings of a bow. Make them meet in the center.
Step 7: The little button
Under the bow, draw a small shape like an upside-down U that hangs into the gap in the scallops. Add a tiny dot inside it.
Step 8: The curved bottom
Close the small shape with a smile-shaped curve across the bottom. Connect each end to a side of the shape so the gap in the scallops is filled.
All done!
Erase the guide shapes, go over your lines, then color it in.
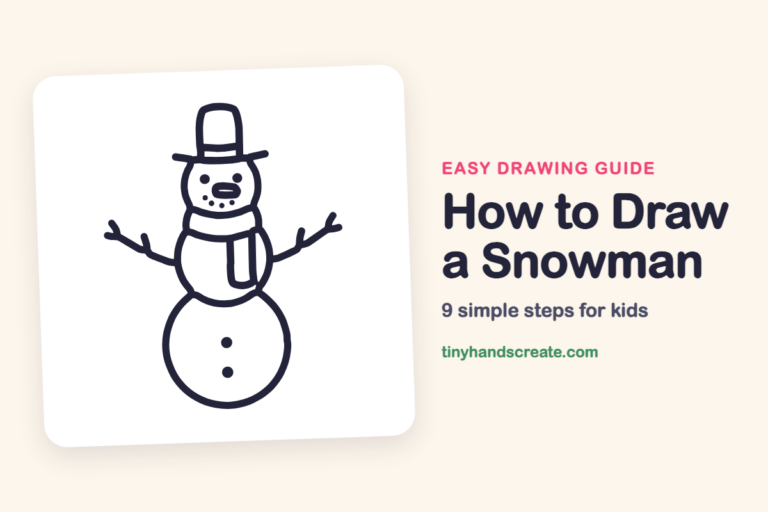
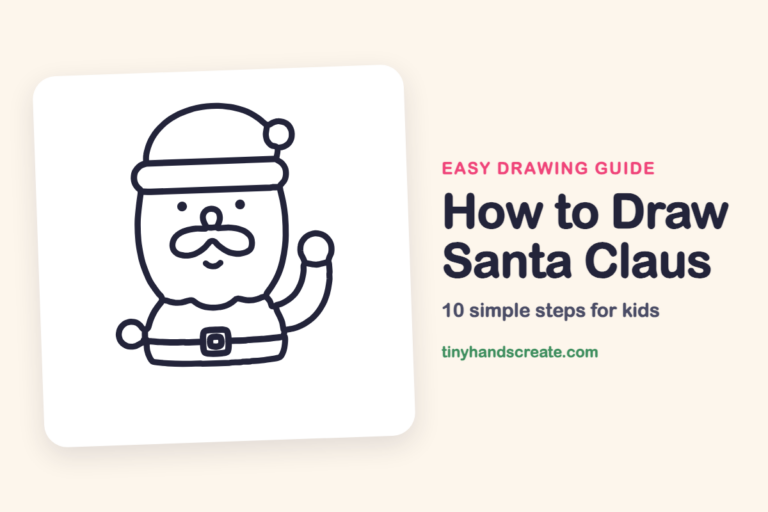
Finished your Santa hat? Keep the pencils out and learn how to draw a snowman or how to draw Santa Claus next.
Tips for drawing a Santa hat
- Start the hat with a light curve, not a straight line. The hat leans and bends, so let your pencil flow smoothly from the bottom up and over the top.
- Draw the pom-pom as a circle first, then add bumps around the outside. Small wavy bumps are easier than trying to draw the fluffy edge in one go.
- For the scalloped brim, draw a row of little half circles side by side. Try to keep them about the same size so the edge looks even.
Free Santa hat coloring page
Want to go straight to coloring? Open this Santa hat coloring page at full size and print it. It is the same drawing you just learned, with clean lines ready for crayons or markers.
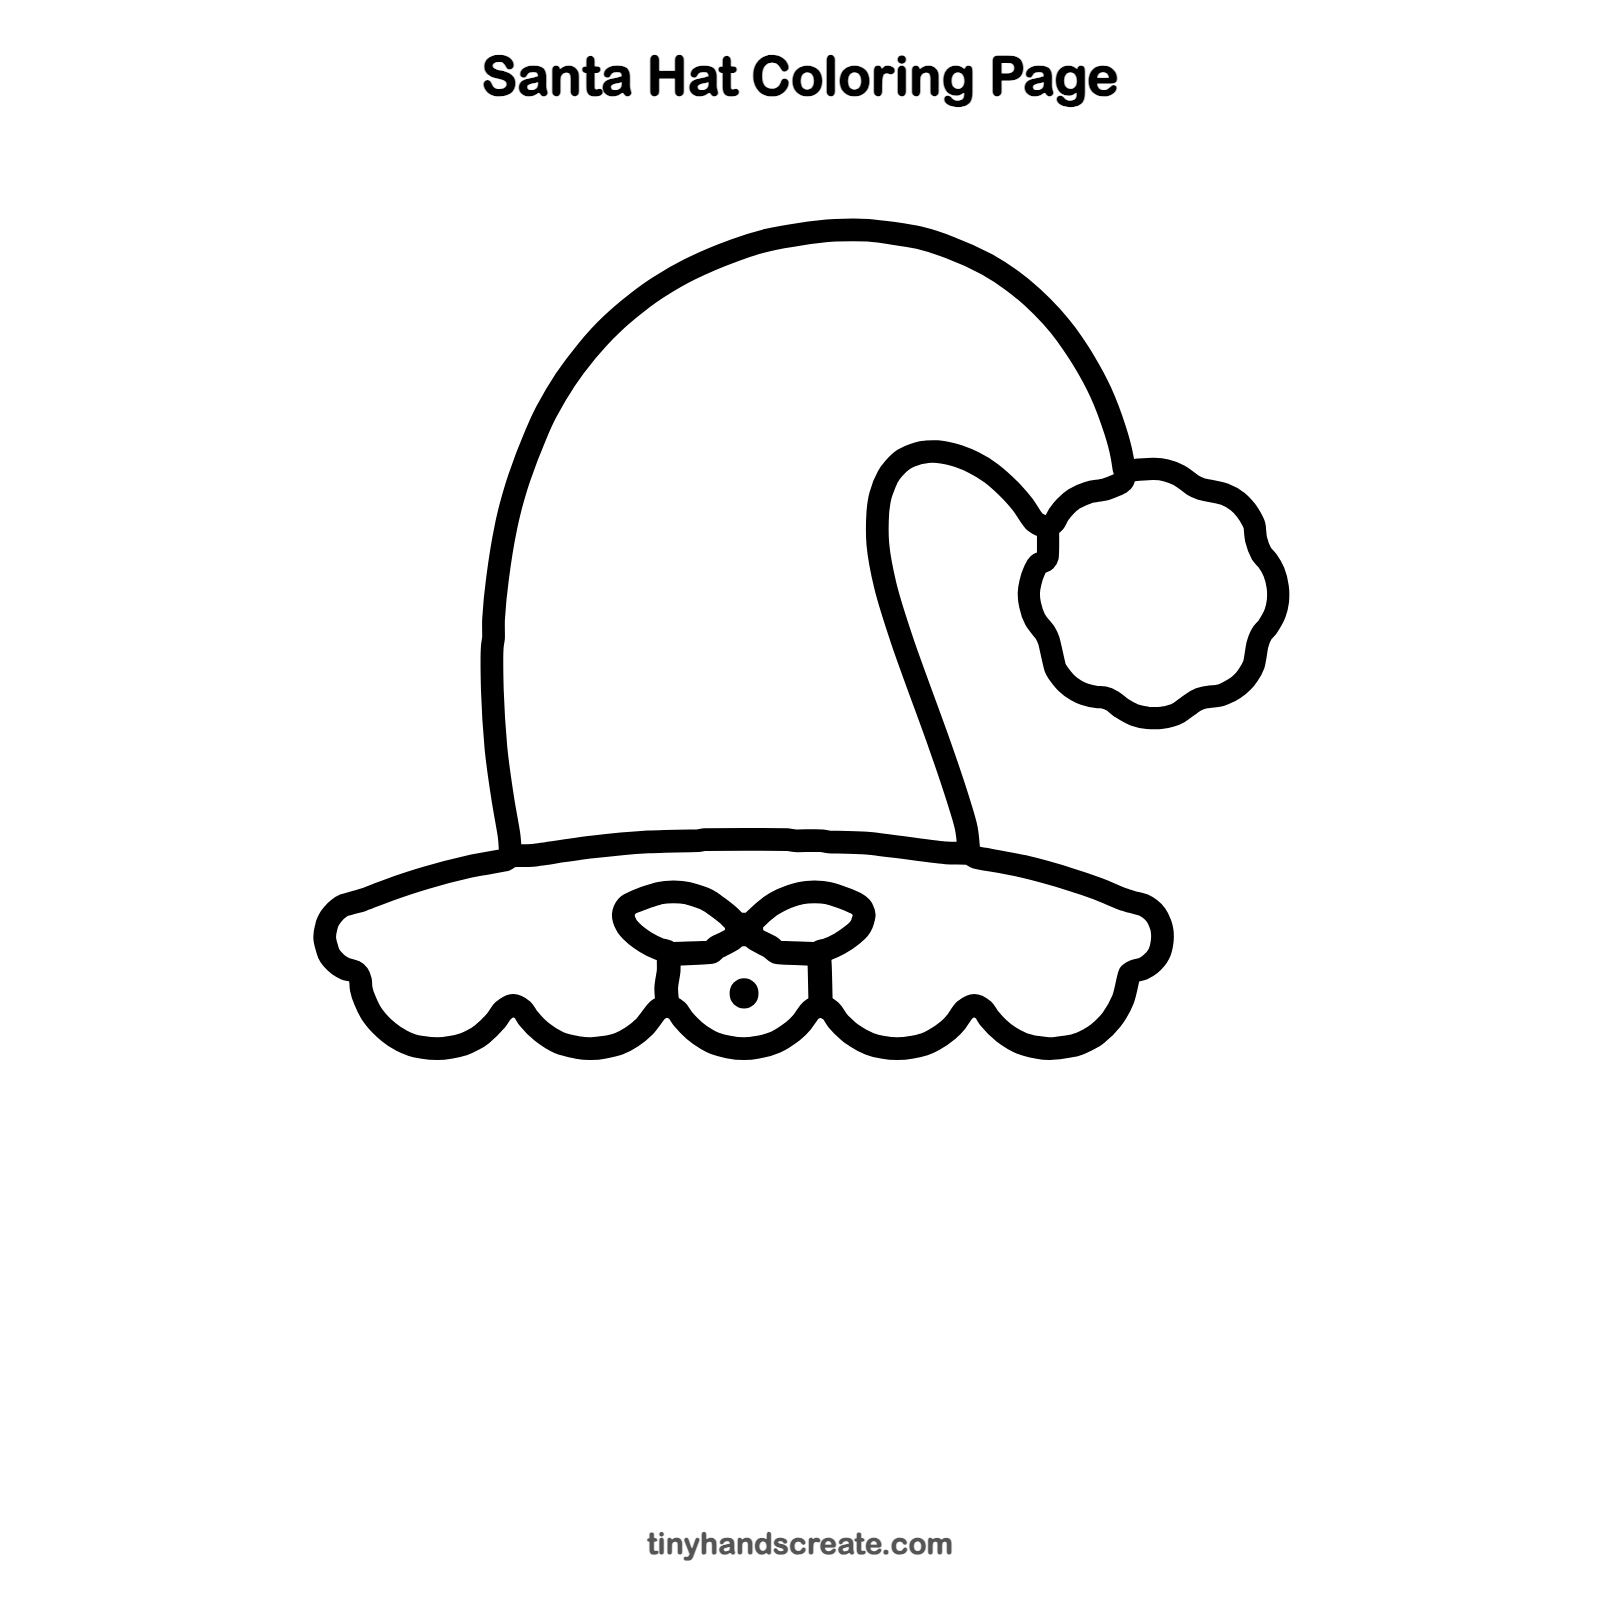
How to color your Santa hat drawing
Color the hat bright red and the brim and pom-pom white or light gray, with a green bow and a yellow button. For a creative twist, add stripes, stars, or snowflakes on the hat.
Santa hat fun fact for kids
Saint Nicholas, the real person who inspired Santa Claus, lived in the 4th century in a place that is now part of Turkey.
Questions about drawing a Santa hat
What shapes do I need to draw a Santa hat?
You need a tall curve for the hat, a circle with bumpy edges for the pom-pom, and a long band with half circles along the bottom for the brim.
How do I make my Santa hat look floppy?
Draw the top of the hat bending over to one side, and add a curvy fold line near the pom-pom. These two curves make the hat look soft and droopy.
How can I make my Santa hat look cuter?
Add a big fluffy pom-pom and a small bow on the brim. You can also draw a few tiny snowflakes or stars around the hat.