How to Draw a Crossing Guard (Easy Step by Step)
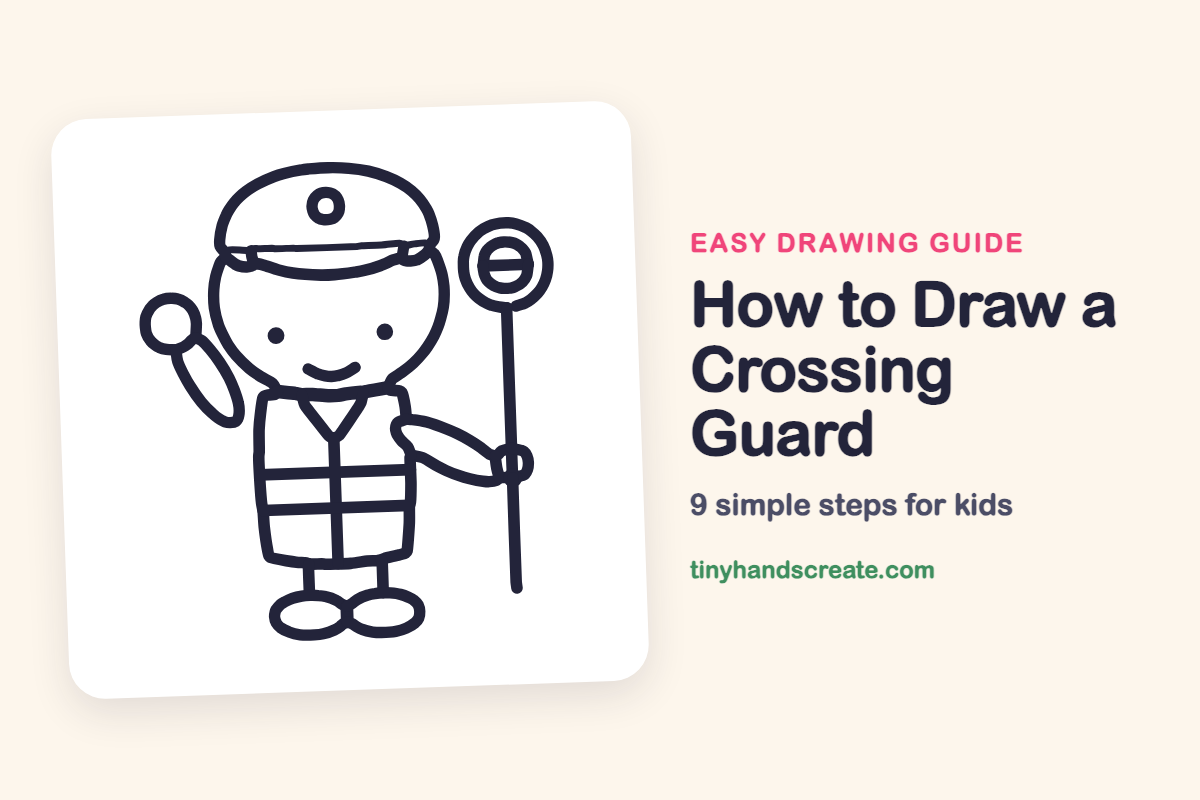
A crossing guard is a friendly helper who keeps kids safe on the way to school. This drawing is built from circles, ovals and straight lines: a round head with a cap, a boxy vest, oval arms, and a tall pole with a round stop sign.
- Easy
- 15 minutes
- 9 steps
You need: paper, a pencil, an eraser, and crayons or markers for coloring.
Start drawingIn this article (7 sections)
How to draw a crossing guard step by step
How to Draw a Crossing Guard · tinyhandscreate.com
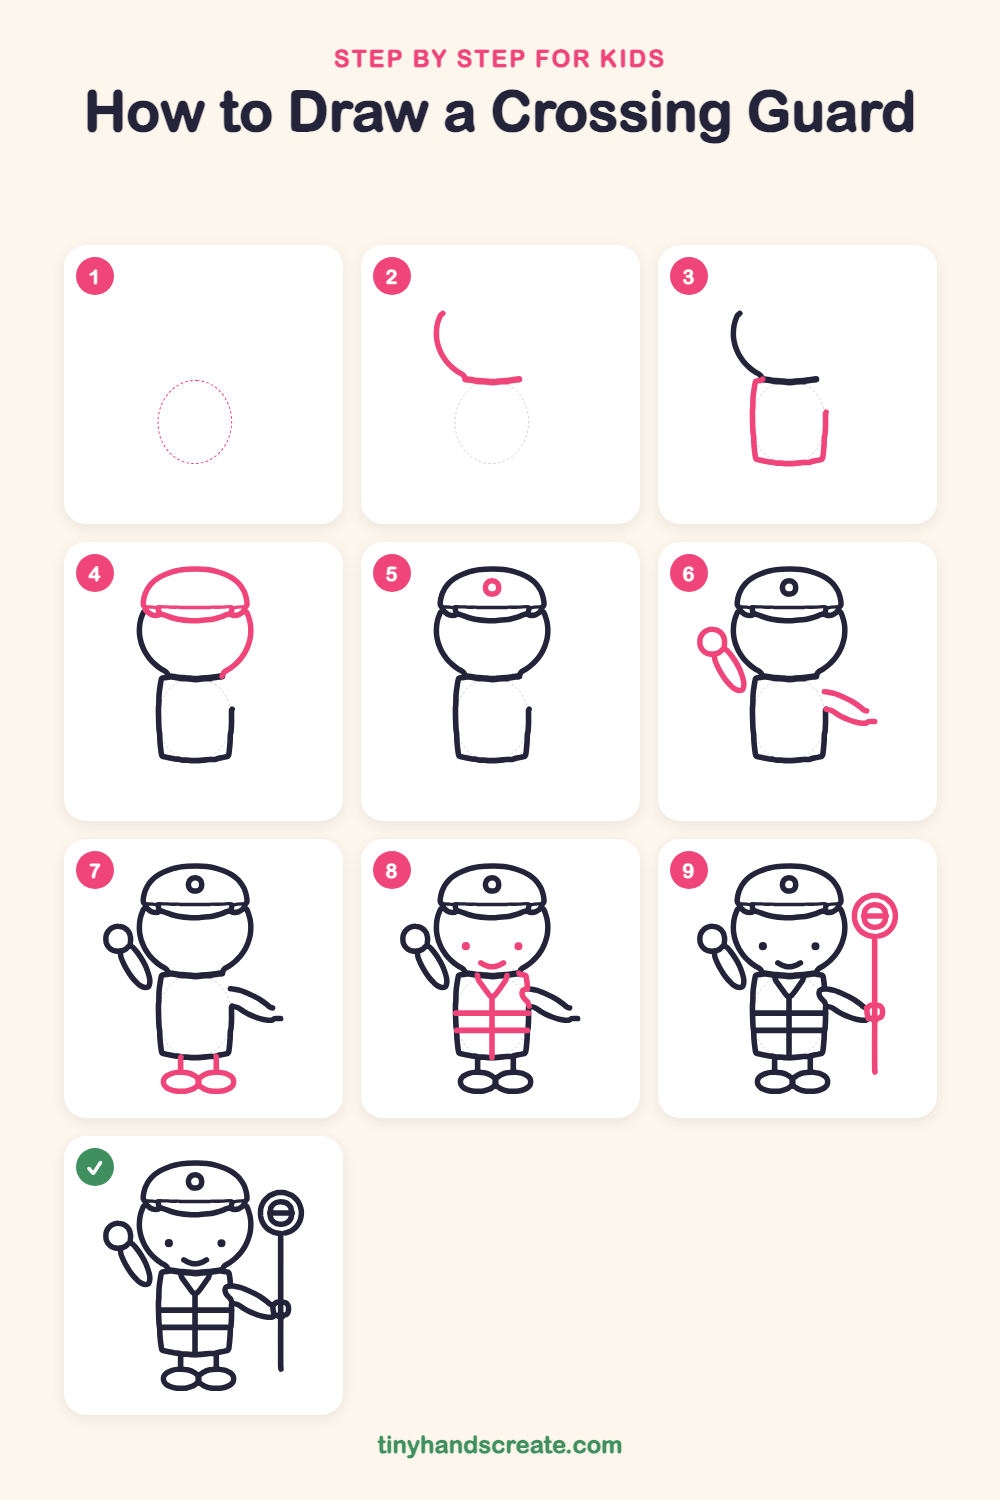
Step 1: Guide shapes
Lightly sketch this oval. It only shows where the big parts go, so press softly. You will erase it at the end.
Step 2: Head curve
Start at the upper left and draw a curve that swoops down and across to the right, like a smile or a bowl. This is the bottom of the head, so leave the top open.
Step 3: The vest body
Under the head curve, draw a tall box with rounded corners for the vest. Start at the left end of the head curve, go down, across the bottom, and up the right side. Leave the top open.
Step 4: The cap
Draw a dome on top for the cap, with a curved line across its bottom for the brim and a small bump at each end. Then finish the head by drawing the right side of the circle from the cap down to the vest.
Step 5: The cap badge
In the middle of the dome, draw a small circle, like a tiny ring.
Step 6: Arms and hands
On the left, draw a long skinny oval for the raised arm and a circle at its top for the waving hand. On the right, draw a long curved arm that sticks out sideways from the vest.
Step 7: Legs and shoes
Draw two short straight lines down from the bottom of the vest for legs. Add a wide oval shoe at the bottom of each leg, with the two shoes touching.
Step 8: Face and vest
Draw two small dots for eyes and a little smile on the head. On the vest, draw a V shape at the top for the collar and a line straight down the middle. Add two stripes straight across the vest.
Step 9: The stop sign pole
Draw a long straight pole on the right, starting at the hand and going down to the ground. At the top, draw a big circle with a smaller circle inside it and a short bar across the middle. Add a small circle on the pole where the hand holds it.
All done!
Erase the guide shapes, go over your lines, then color it in.
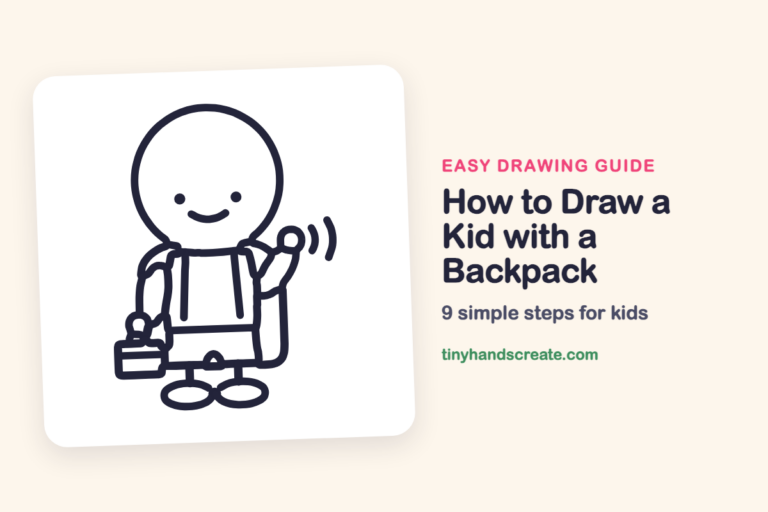
Finished your crossing guard? Keep the pencils out and learn how to draw a kid inventor or how to draw a kid with a backpack next.
Tips for drawing a crossing guard
- Draw the head curve high enough on the page that there is room above it for the cap.
- Make the cap brim a smooth curve with a small bump at each end, so the cap looks like it sits on the head.
- Use a ruler or the edge of a book for the two vest stripes so they stay straight, and draw the pole in one smooth pull from the hand to the ground.
Free crossing guard coloring page
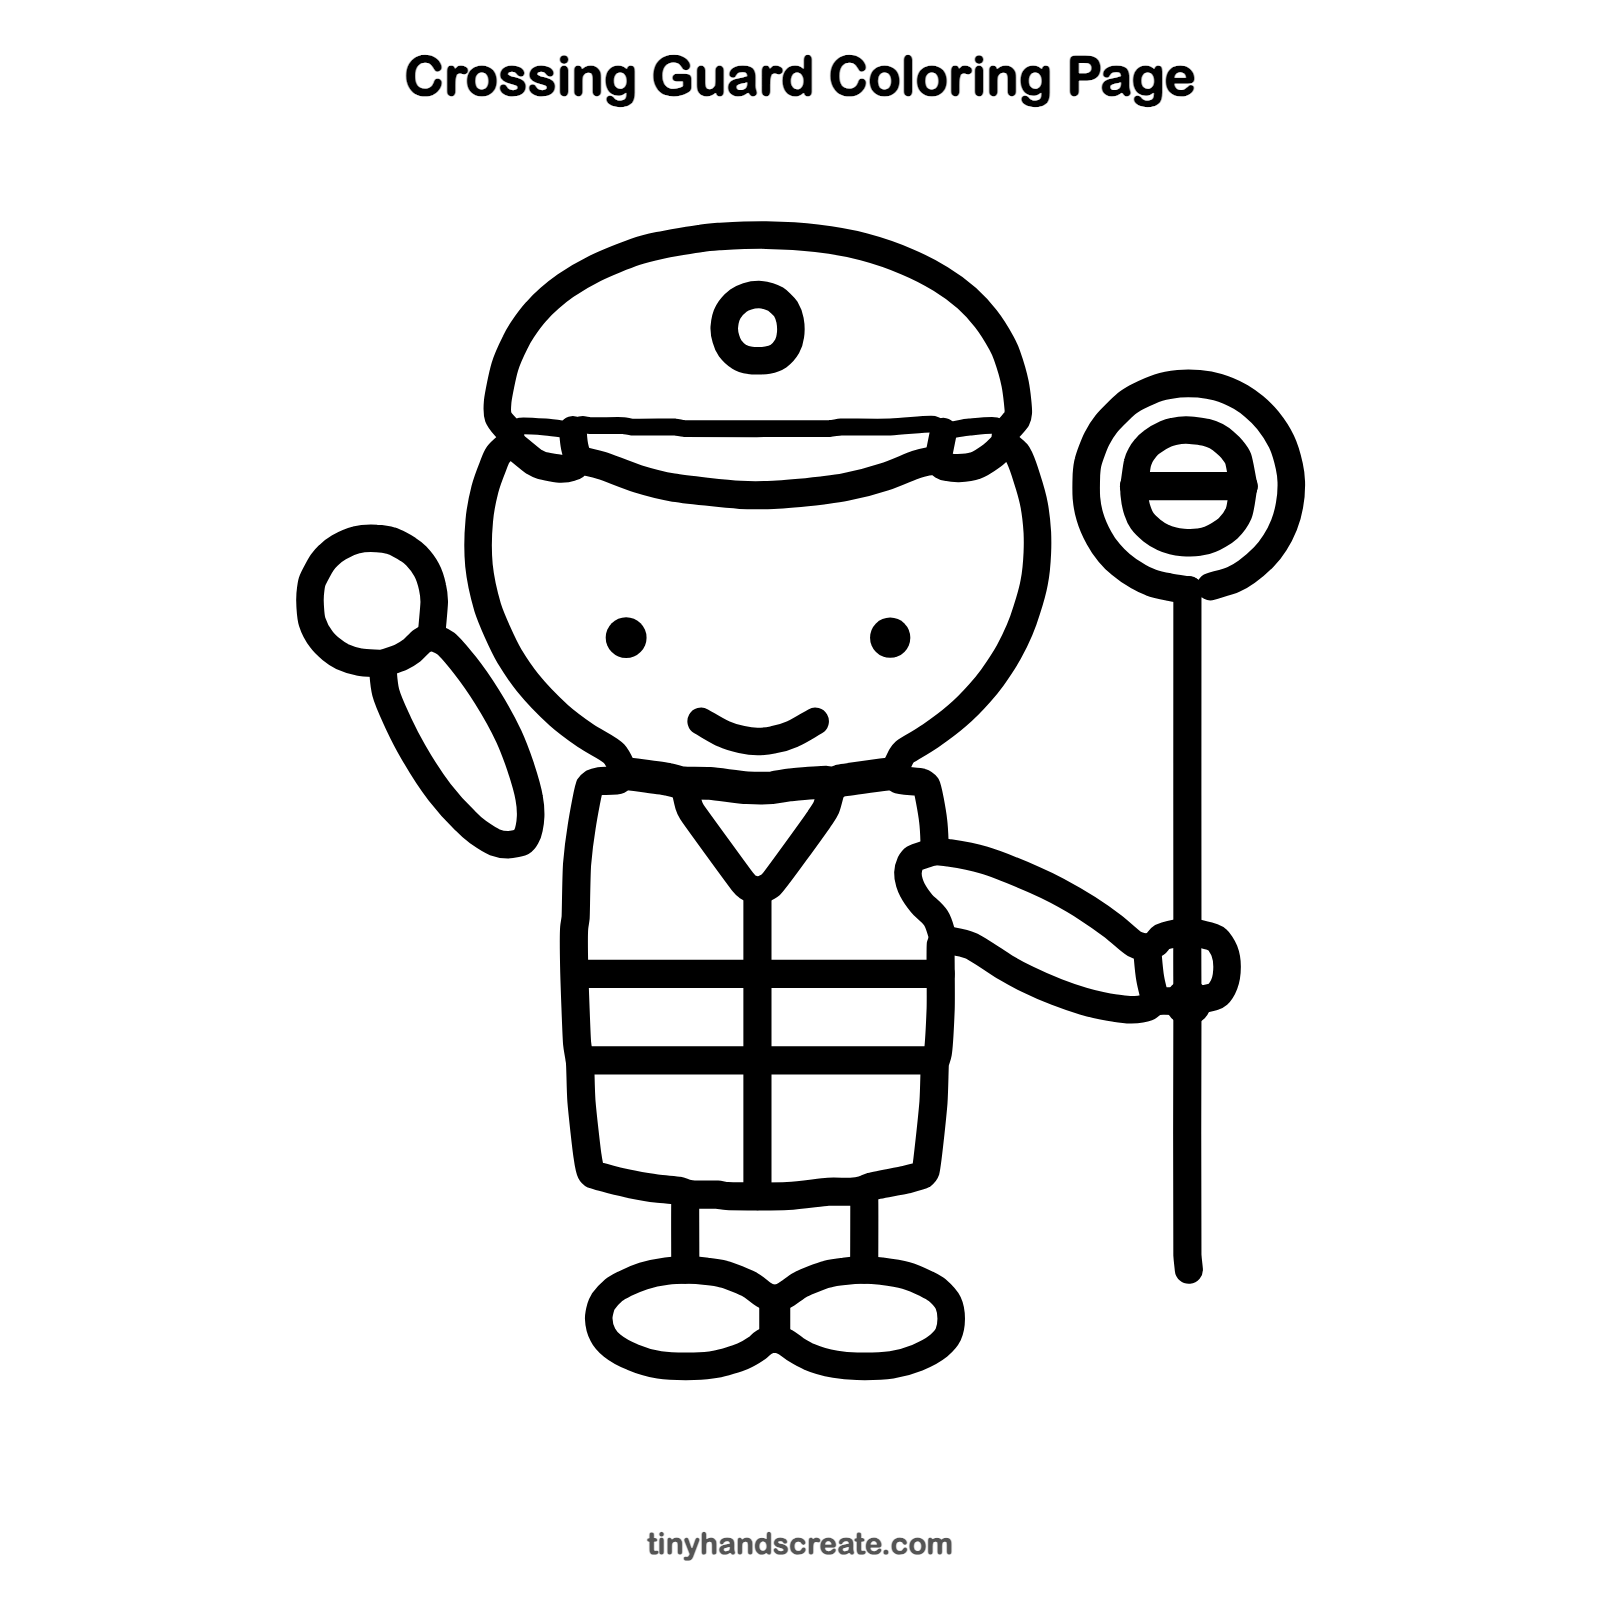
Want to go straight to coloring? Open this crossing guard coloring page at full size and print it. It is the same drawing you just learned, with clean lines ready for crayons or markers.
How to color your crossing guard drawing
Color the vest bright yellow-green and the stripes white or silver. Make the cap blue, and the stop sign red with a white bar across the middle.
Crossing guard fun fact for kids
Many school crossing guards wear bright fluorescent yellow-green vests, a color chosen because drivers can see it easily in daylight.
Questions about drawing a crossing guard
What shapes do I need to draw a crossing guard?
You need circles for the head, hand, cap badge and sign, ovals for the arm and shoes, and a box with rounded corners for the vest. Straight lines make the pole, legs and stripes.
How do I make my crossing guard look friendlier?
Draw the smile a little wider and put the eye dots far apart. The raised waving hand also makes the guard look welcoming.
How do I draw the stop sign pole straight?
Hold your pencil lightly and draw the line in one smooth pull from the hand down to the ground. You can also line up a ruler along the side first.