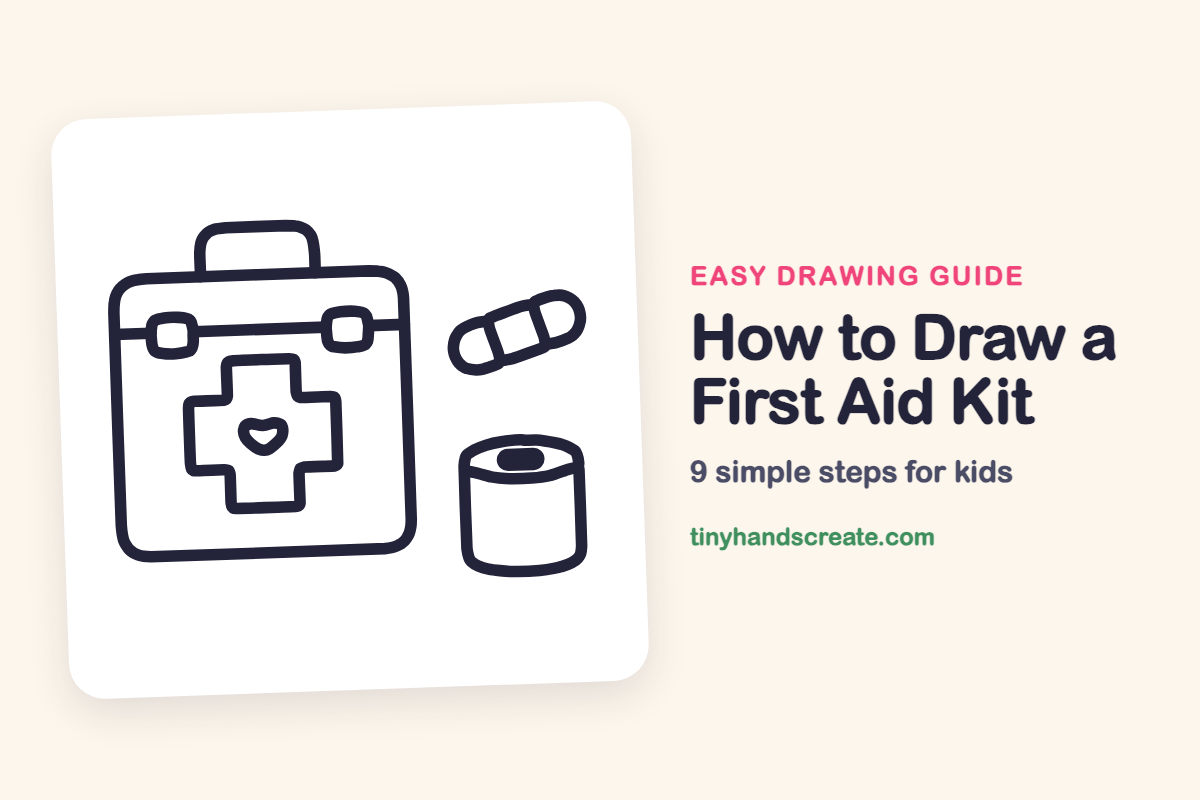
How to Draw a First Aid Kit (Easy Step by Step)
A first aid kit is a friendly drawing made almost entirely from rounded shapes and one bold plus sign. Once you can draw a box with soft corners, you can add a handle, a strap with two latches, a heart, and a bandage and a roll of tape beside it. It is a good project for kids who like neat, simple shapes.
- Easy
- 12 minutes
- 9 steps
You need: paper, a pencil, an eraser, and crayons or markers for coloring.
Start drawingIn this article (7 sections)
How to draw a first aid kit step by step
How to Draw a First Aid Kit · tinyhandscreate.com
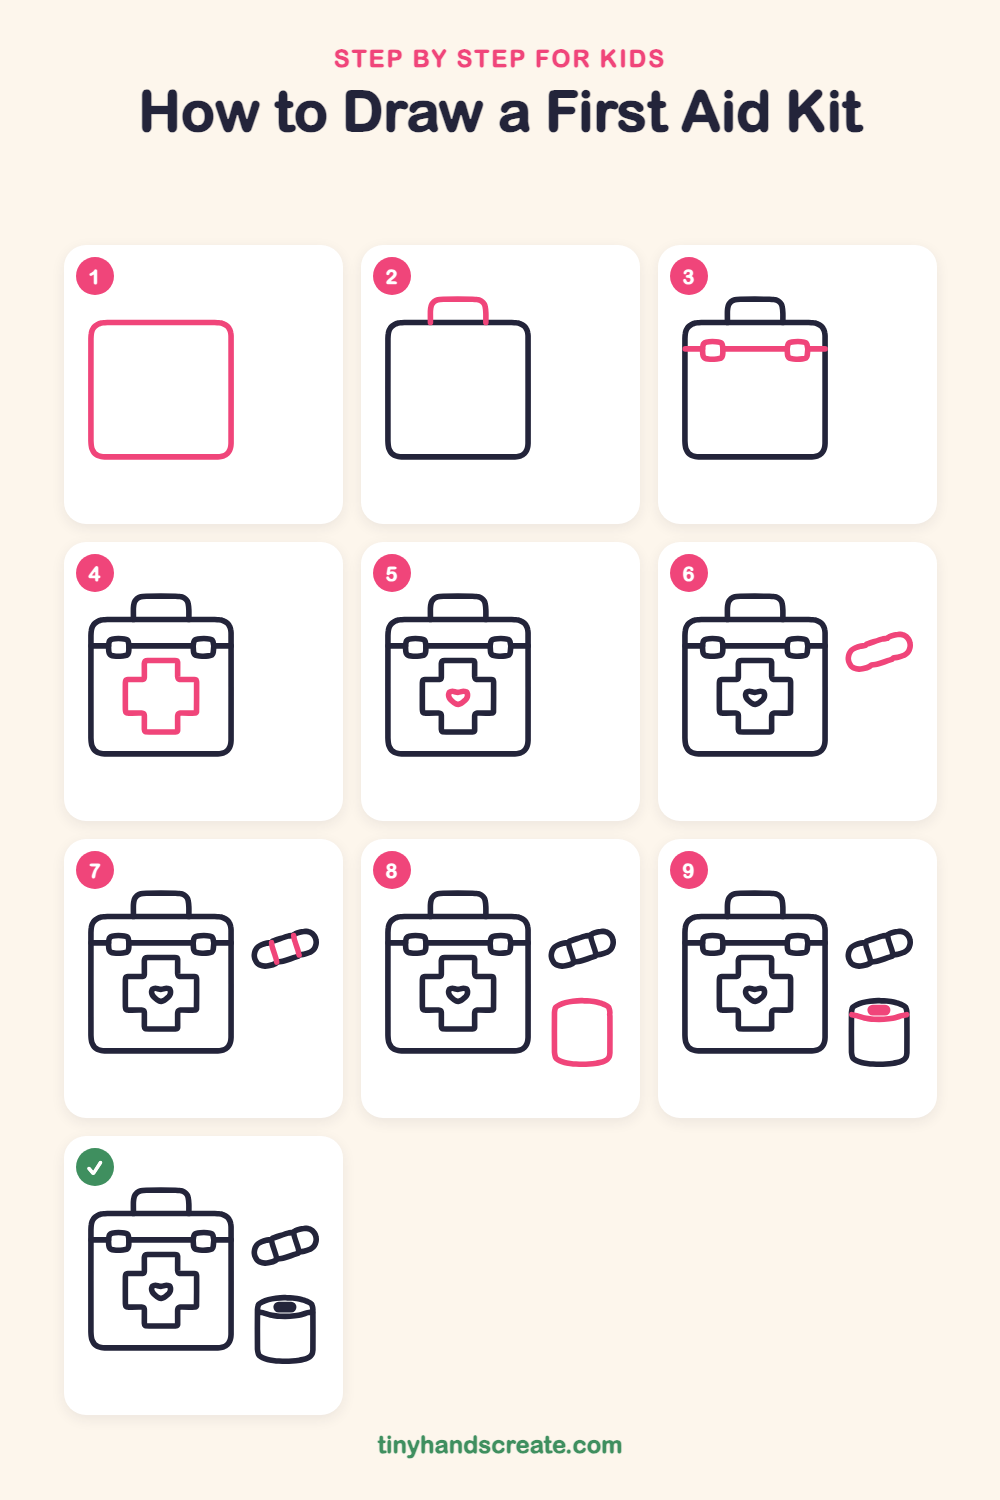
Step 1: The kit box
Start with a big rounded square for the main box. Make the corners soft and curvy, like a pillow.
Step 2: The handle
On top of the box, draw a small rounded rectangle that sits on the top line. Leave the bottom open so the handle joins the box.
Step 3: Latches and strap
Near the top of the box, draw two small rounded squares, one on the left and one on the right. Connect them with a straight line that runs all the way across the box.
Step 4: The big cross
In the middle of the box, below the strap, draw a plus sign with fat arms. Draw it as one outline with square ends on all four arms.
Step 5: The little heart
Inside the center of the cross, draw a small heart. Make two little bumps on top and a point at the bottom.
Step 6: The bandage
To the right of the box, draw a long skinny pill shape tilted upward, with round ends like a sausage.
Step 7: Bandage stripes
Draw two short slanted lines across the middle of the bandage to make the pad in the center.
Step 8: The tape roll
Below the bandage, draw a short can shape. Start with a curved top, add two straight sides, and finish with a curved bottom.
Step 9: Roll top and wrap
Inside the top of the roll, draw a small filled oval for the hole. Then draw a gently curved line under it, across the roll, for the edge of the wrapped tape.
All done!
Go over your lines with a marker, then color it in.
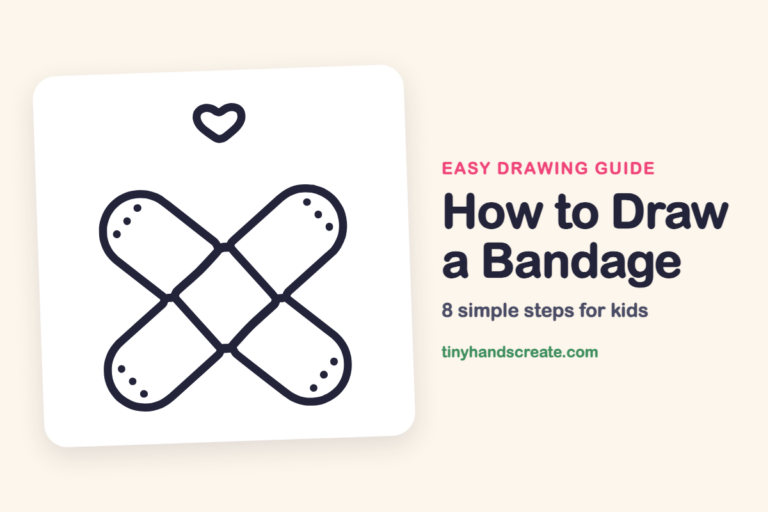
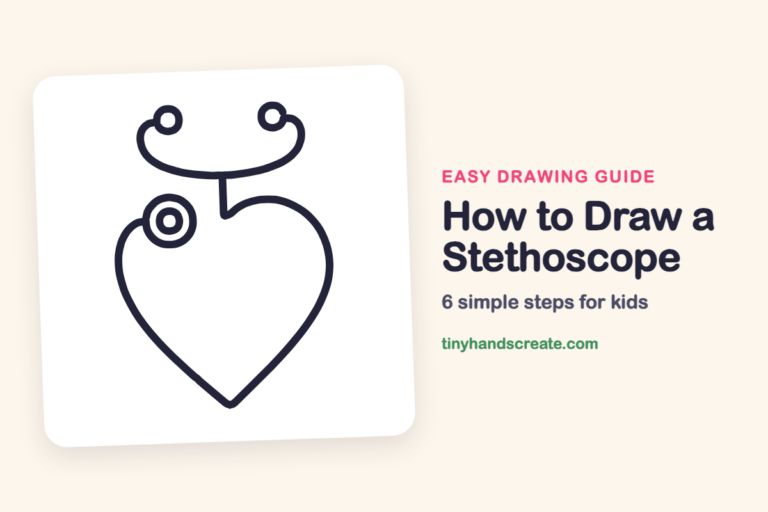
Finished your first aid kit? Keep the pencils out and learn how to draw a bandage or how to draw a stethoscope next.
Tips for drawing a first aid kit
- The plus sign is the trickiest part. Go slowly around the outline so all four arms come out the same length and width.
- Draw the handle after the box, and stop its lines at the top edge of the box so it looks like it is attached.
- For the tape roll, make the top curve and the bottom curve bend the same way. That makes it look round instead of flat.
Free first aid kit coloring page
Want to go straight to coloring? Open this first aid kit coloring page at full size and print it. It is the same drawing you just learned, with clean lines ready for crayons or markers.
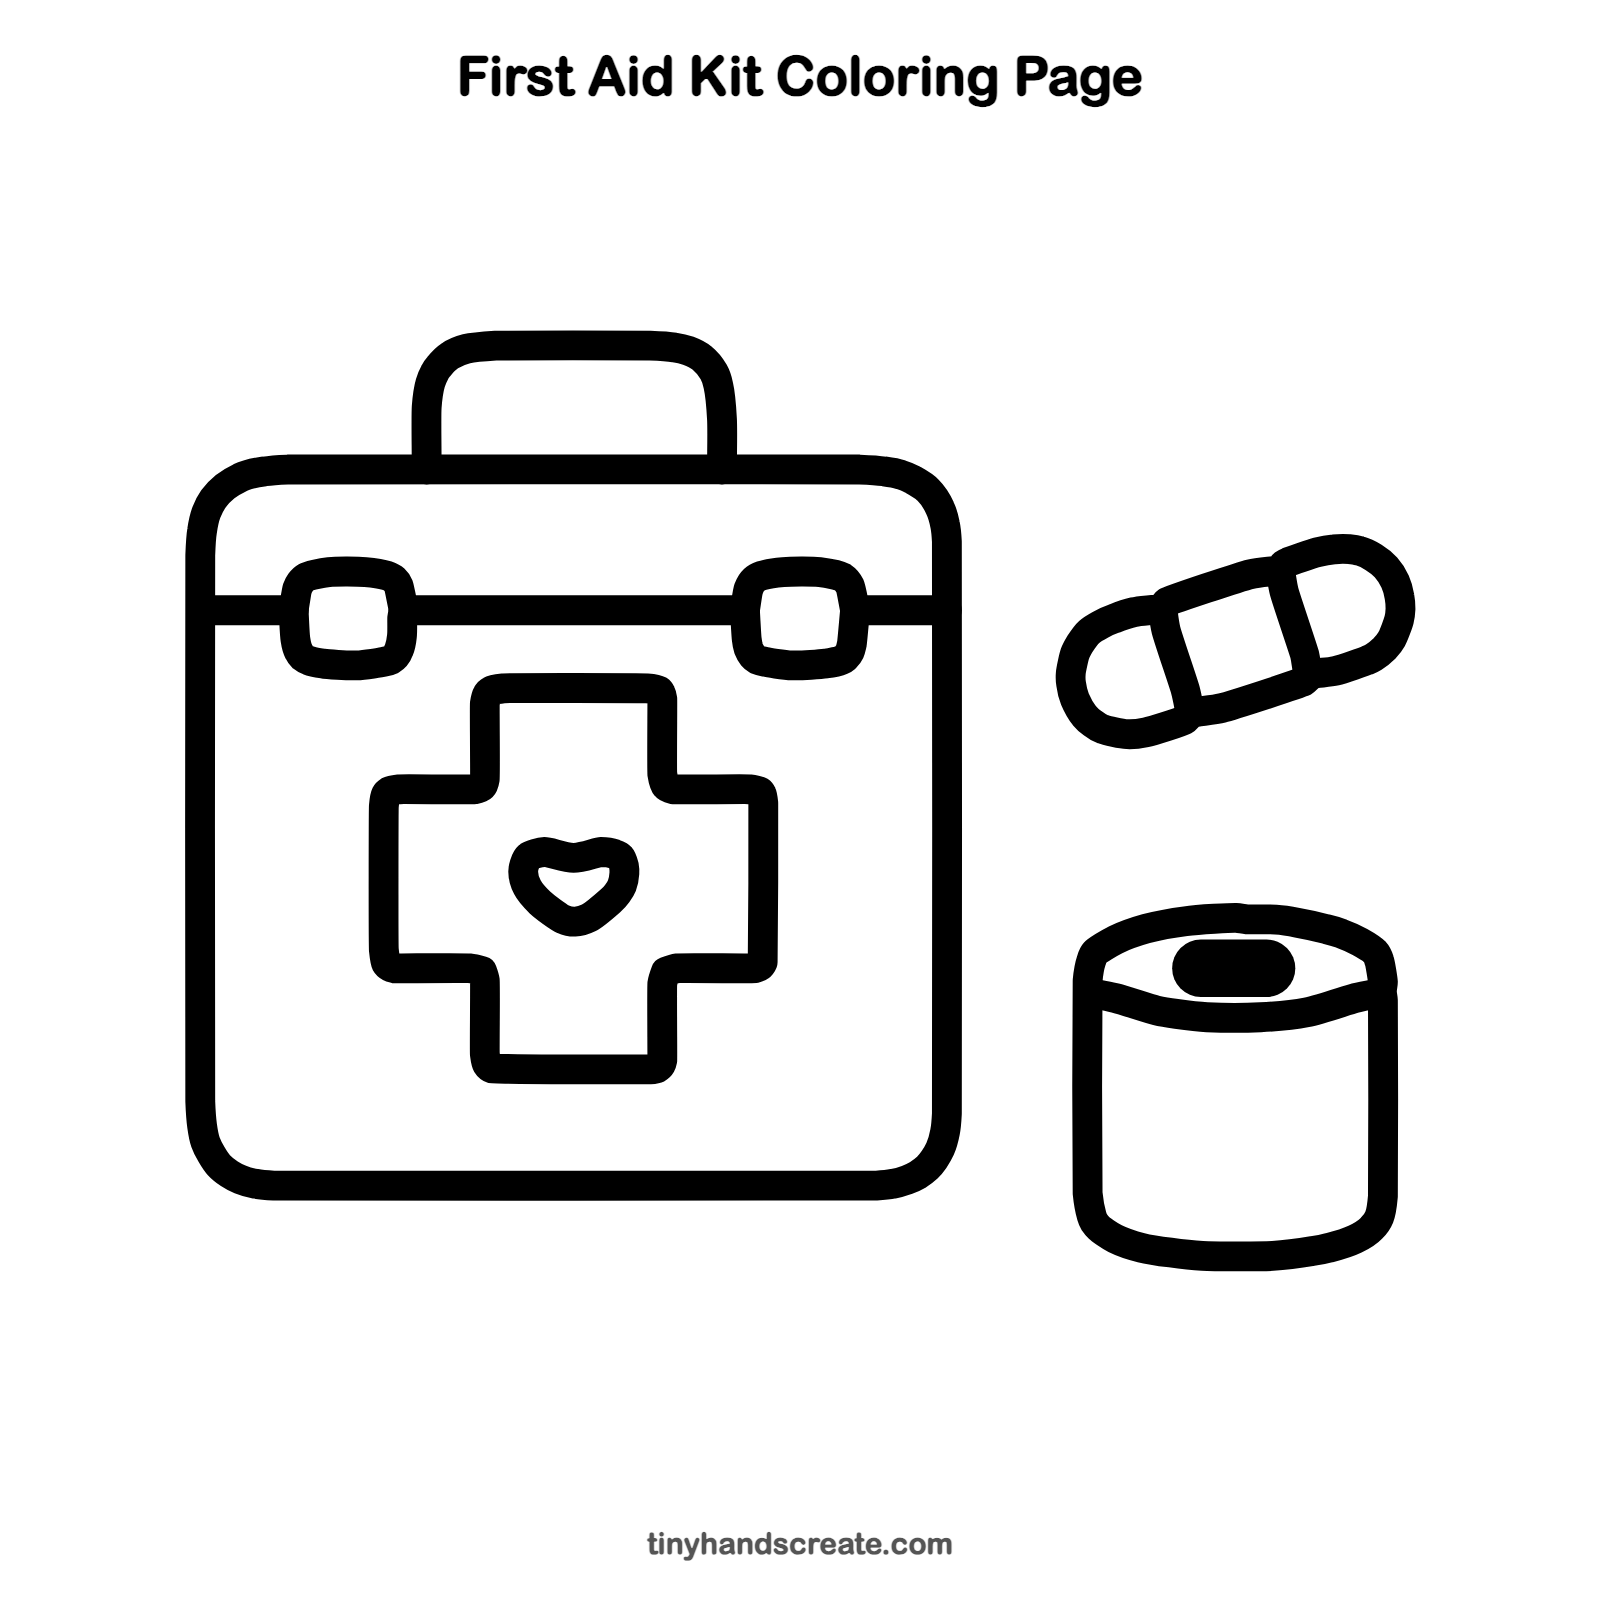
How to color your first aid kit drawing
Try a bright red or green for the cross, a soft pink heart, and a tan bandage with a white pad. The tape roll can be white or any color you like, and the box can be a bold color too.
First aid kit fun fact for kids
The red cross emblem was adopted in 1863 and is the Swiss flag with its colors swapped. Switzerland's flag is a white cross on red, and the red cross emblem is a red cross on white.
Questions about drawing a first aid kit
What shapes do I need to draw a first aid kit?
You need a rounded square for the box, a small rounded rectangle for the handle, two tiny rounded squares joined by a line for the latches, and a plus sign for the front. The bandage is a long pill shape and the tape roll is a short can.
How do I make my plus sign look even?
Draw it slowly in one outline and keep the ends of all four arms about the same width. Lining up the top and bottom arms with the middle of the box helps it look balanced.
How do I make my first aid kit look cuter?
Make all the corners extra round and add a little heart in the center of the cross. Extra touches like stickers on the box can help too.