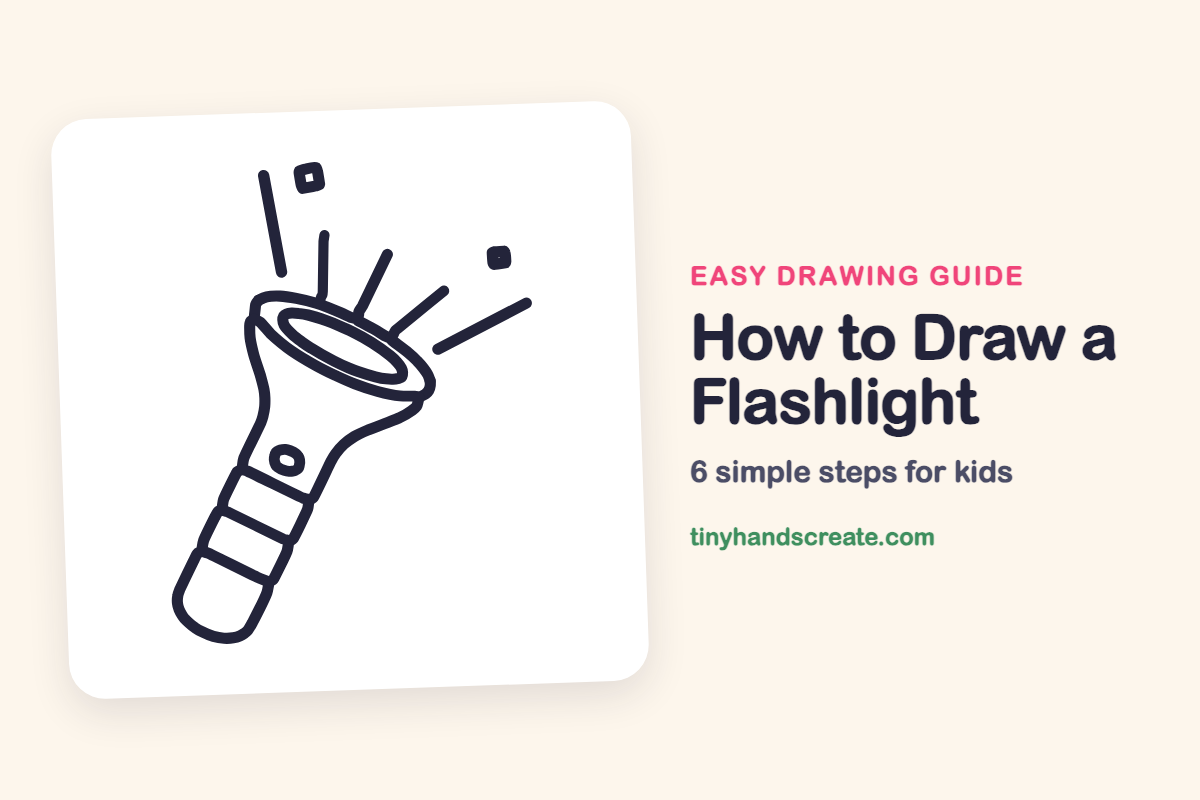
How to Draw a Flashlight (Easy Step by Step)
A flashlight is a fun thing to draw because it is built from just a few simple shapes. You start with a long tilted handle, open it into a funnel-shaped head, and finish with an oval lens, grip stripes, and straight lines for the light. The sparkles and beams make it look like it is really switched on.
- Easy
- 10 minutes
- 6 steps
You need: paper, a pencil, an eraser, and crayons or markers for coloring.
Start drawingIn this article (7 sections)
How to draw a flashlight step by step
How to Draw a Flashlight · tinyhandscreate.com
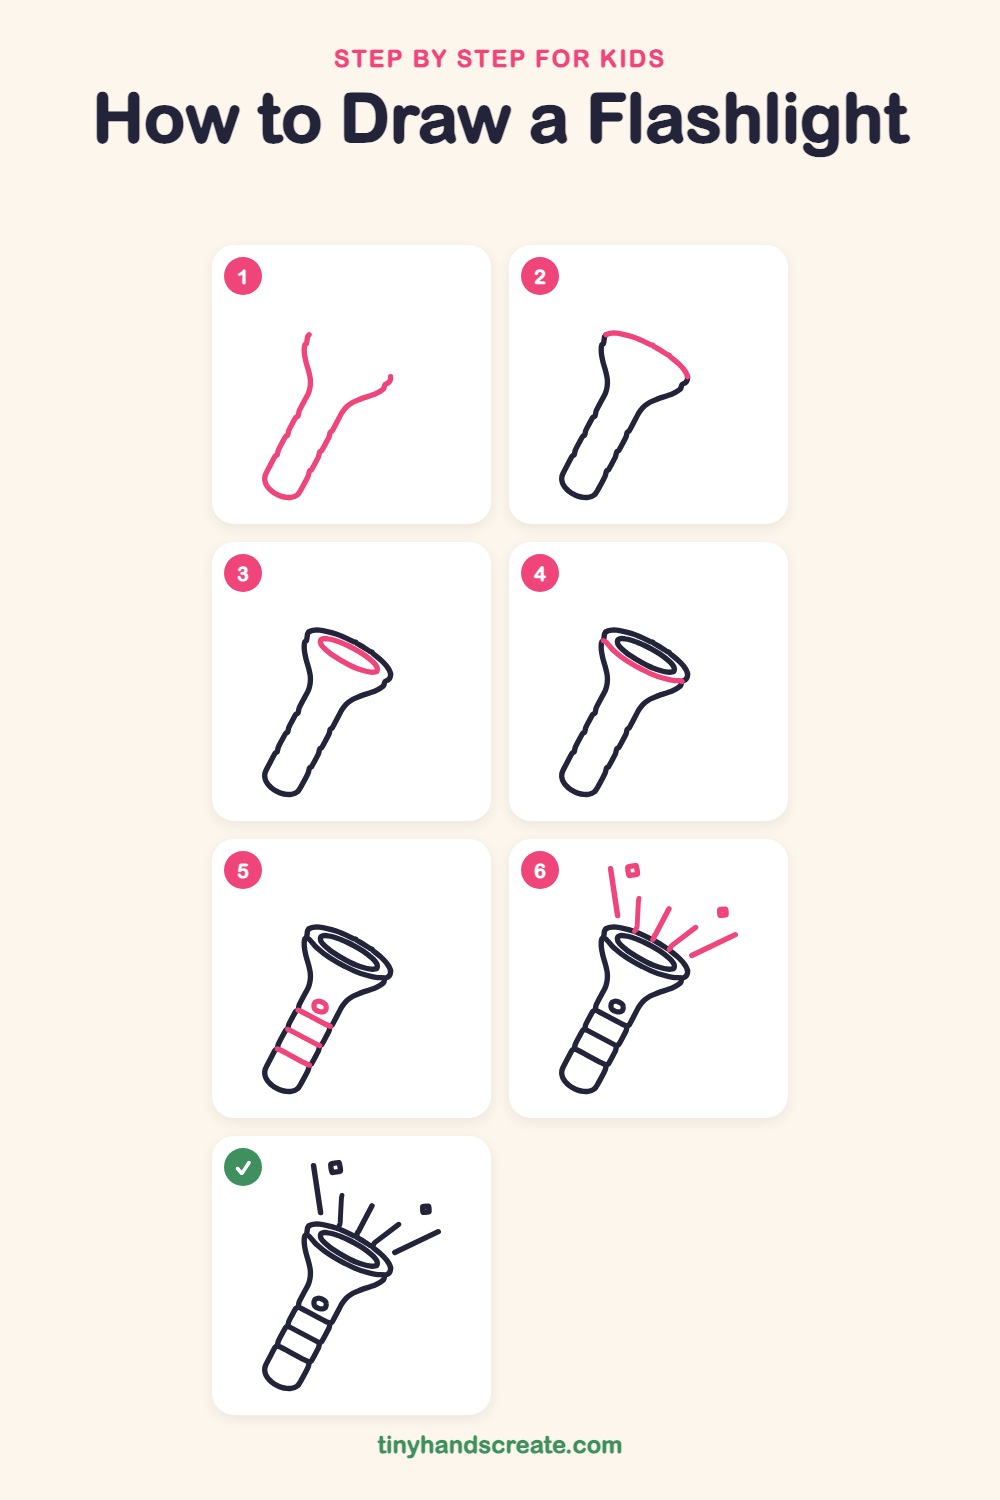
Step 1: Handle and funnel sides
Draw two long, slanting lines for the sides of the handle, and join them at the bottom with a rounded end. Near the top, curve the lines outward so they open up like a funnel. Leave the top open.
Step 2: The back rim
Draw a curved line across the top of the funnel. Start at the top of the left side and curve it over to the top of the right side, closing the back of the head.
Step 3: The lens
Inside the top of the head, draw a long, tilted oval for the lens. Keep it a little below the curved line you just drew.
Step 4: The front rim
Draw a gently curved line along the front of the head, under the lens. Start it at the left side of the head and end it at the right side, so the lens sits inside a rim.
Step 5: Button and grip stripes
Draw a small rounded oval for the on-off button on the front of the handle. Then add three short lines across the lower handle, all slanting the same way.
Step 6: Light beams
Draw five straight lines of different lengths shooting out above the lens, like rays of light, fanning outward. Add three tiny squares floating nearby for sparkles.
All done!
Go over your lines with a marker, then color it in.
Finished your flashlight? Keep the pencils out and learn how to draw a thermos or how to draw a water bottle next.
Tips for drawing a flashlight
- Tilt the whole handle the same way before you add details, so the stripes and button all follow one slant.
- The lens is the trickiest part. Make it a long, thin oval, and keep the rim line below it curving the same way as the oval.
- Make the light beams different lengths and point them up and away from the lens like a fan, so they look like they are shining out.
Free flashlight coloring page
Want to go straight to coloring? Open this flashlight coloring page at full size and print it. It is the same drawing you just learned, with clean lines ready for crayons or markers.
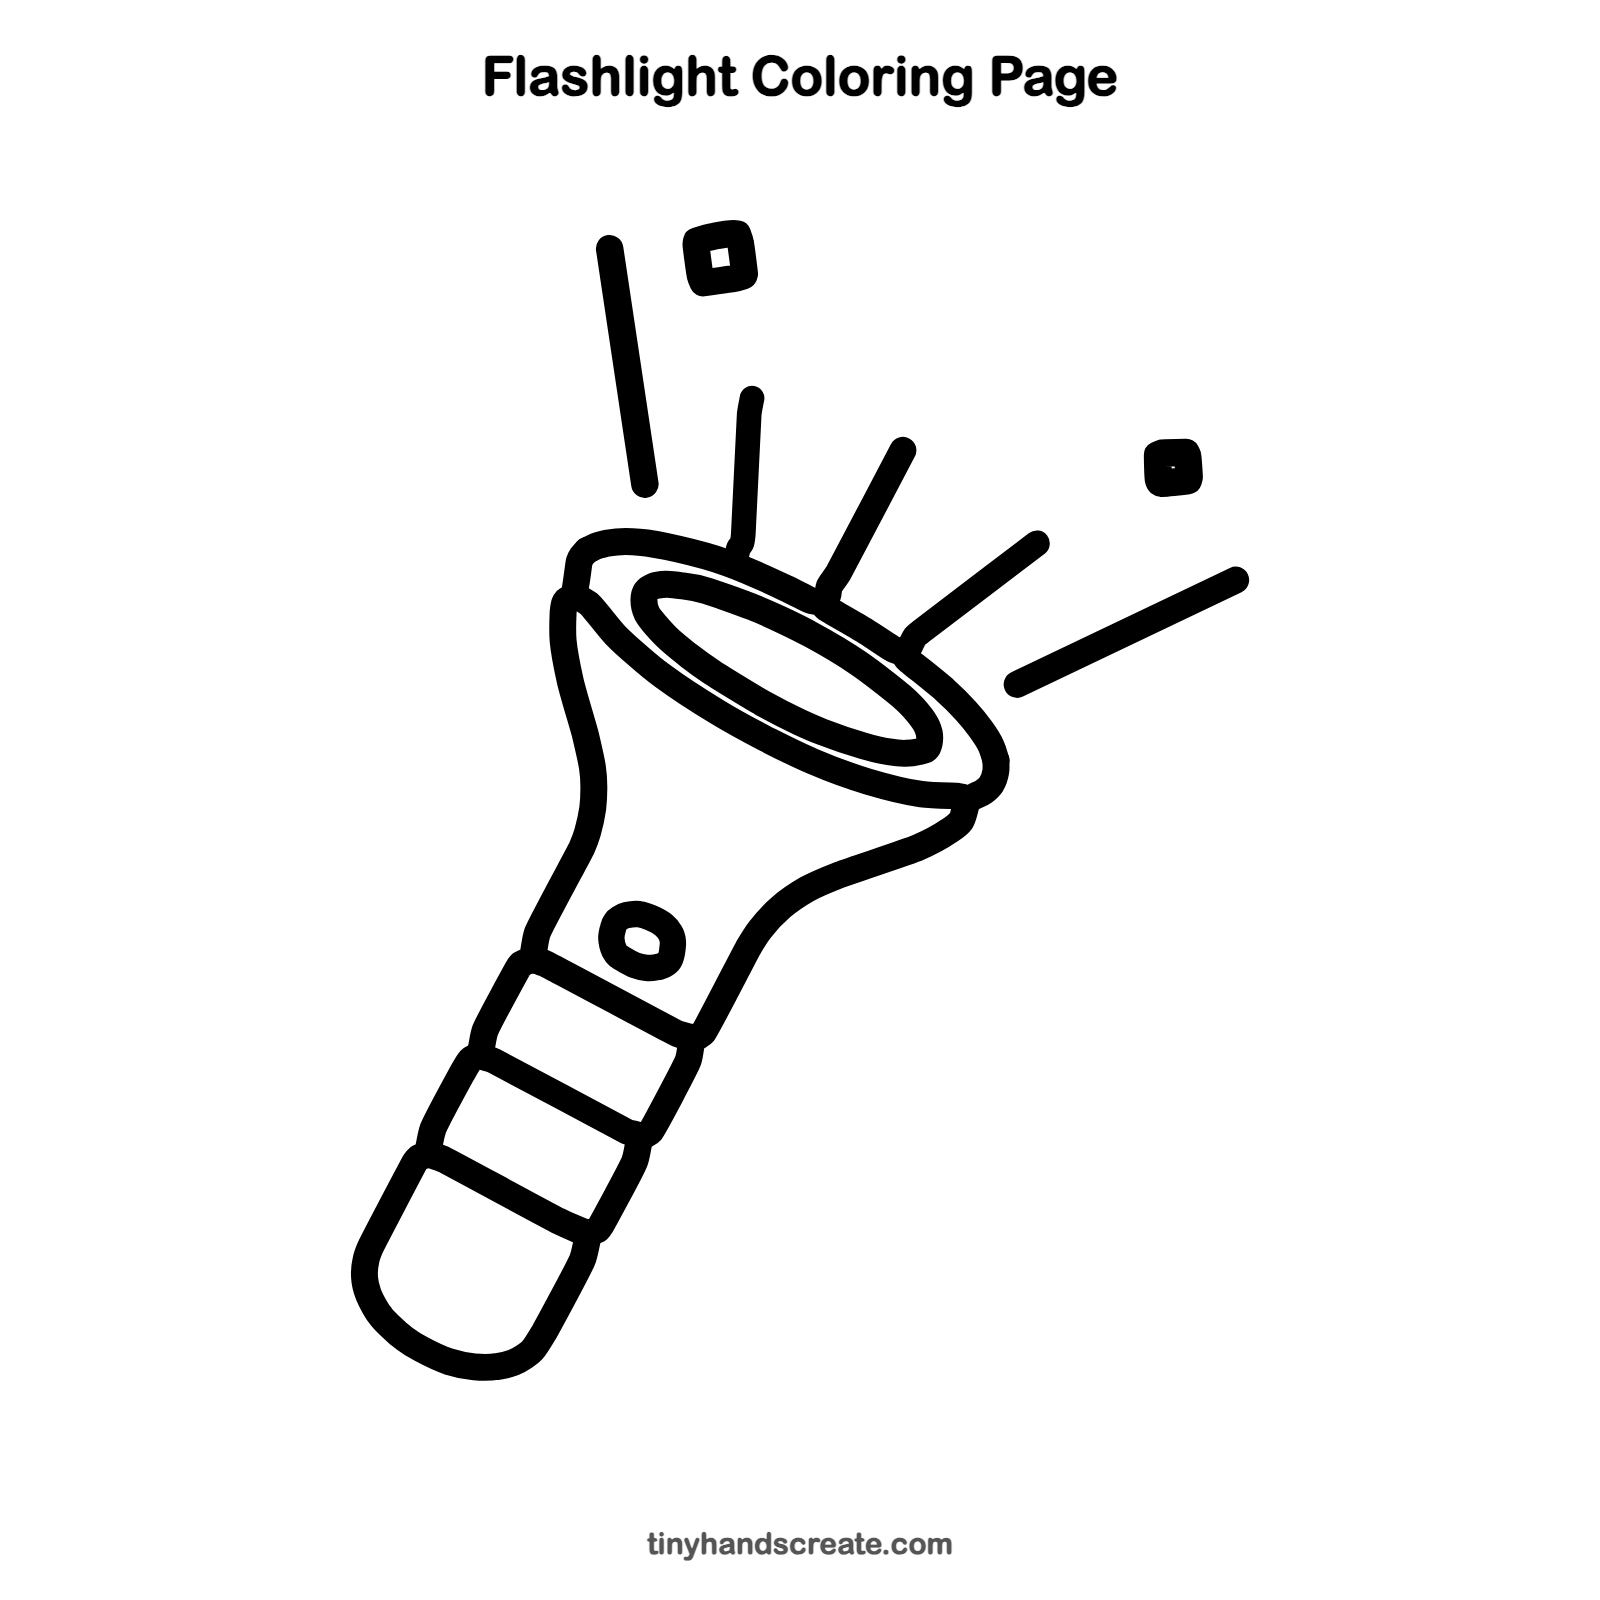
How to color your flashlight drawing
Try a red or blue handle with a gray head, and color the lens pale yellow. For a creative twist, draw a dark night sky around it and color the beams and sparkles bright yellow.
Flashlight fun fact for kids
In Britain, a flashlight is called a torch. The first ones, made in the late 1890s, gave only short flashes of light, which is where the name flashlight comes from.
Questions about drawing a flashlight
What shapes do I need to draw a flashlight?
You need a long rounded shape for the handle, a funnel shape for the head, and an oval for the lens. Short straight lines make the grip stripes and the light beams.
How do I make my flashlight look like it is turned on?
Draw straight beams fanning out above the lens and add a few little sparkle squares nearby. Coloring the beams yellow helps a lot.
How do I draw the oval lens so it looks even?
Draw a long, tilted oval inside the top of the head. Light, slow lines work better than fast ones, and you can redraw it if the first try looks lumpy.