How to Draw a Halloween Bat (Easy Step by Step)
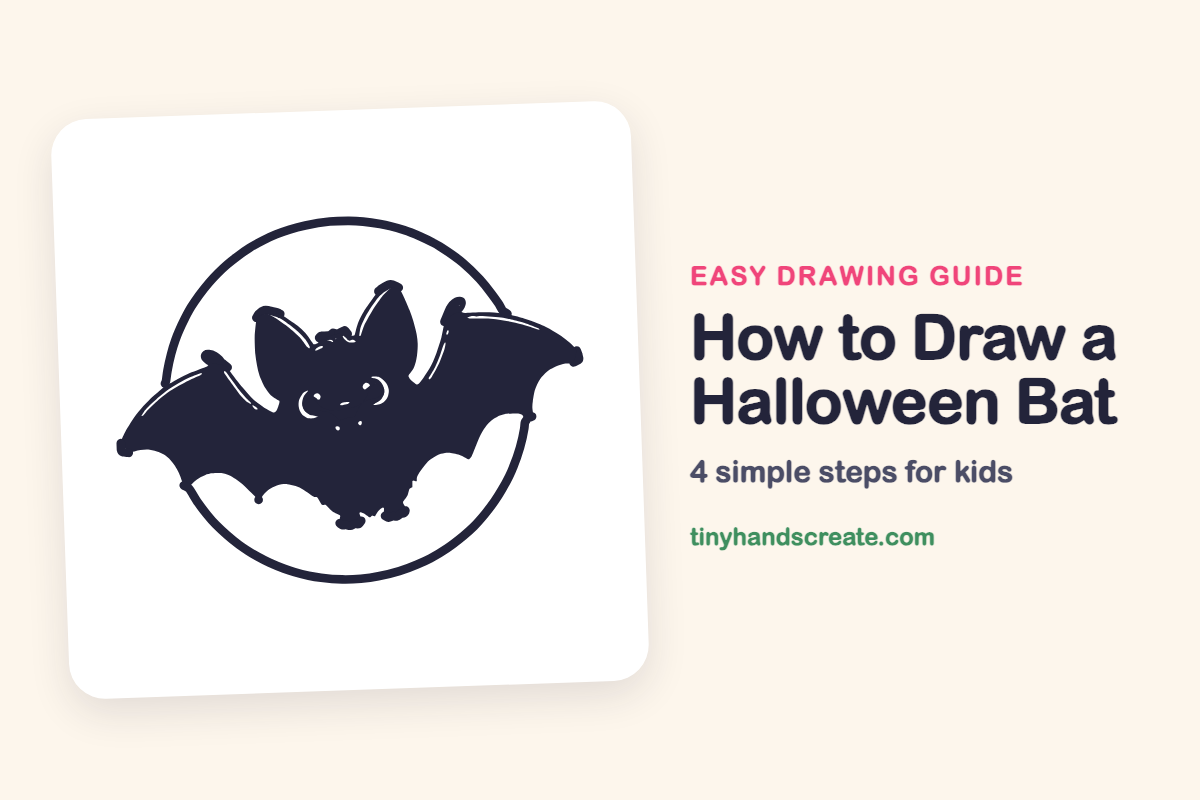
This little bat is fun to draw because it looks cute, not scary, with small curved eyes and wings stretched wide in front of a full moon. It is built from a few simple shapes: a round head, a chubby body, pointy ears, two wide wings, and a big circle for the moon.
- Medium
- 15 minutes
- 4 steps
You need: paper, a pencil, an eraser, and crayons or markers for coloring.
Start drawing
In this article (7 sections)
How to draw a Halloween bat step by step
How to Draw a Halloween Bat · tinyhandscreate.com
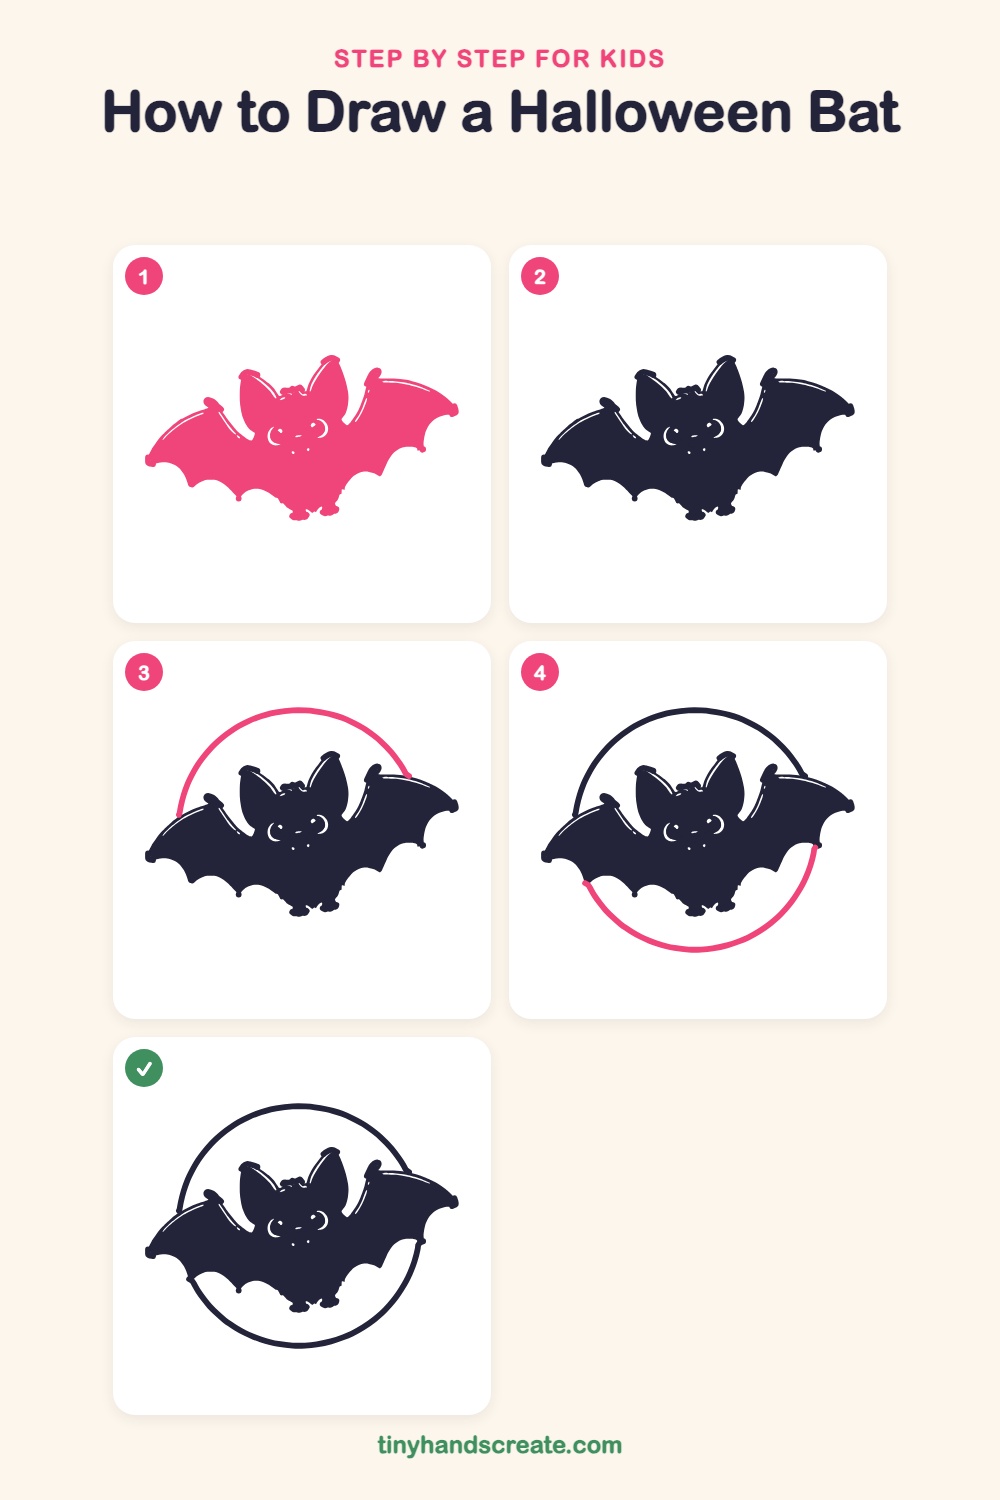
Step 1: Whole bat shape
Draw the whole bat as one solid shape. Start with a round head with two tall pointy ears, then a chubby body below it. Stretch a wide wing out to each side, with a curved top edge and wavy, scalloped points along the bottom, and add two tiny feet at the bottom of the body.
Step 2: Face and wing details
Add the small details inside your bat. Make two little curved eyes on the face, a couple of tiny dots for the nose and mouth, and a few short curved shine lines along the wing edges.
Step 3: Top of the moon
Draw a big curved line high above the bat, like a rainbow. Start at the top edge of the left wing, sweep up and over the ears, and stop where it touches the top of the right wing.
Step 4: Bottom of the moon
Finish the big circle with a curved line under the bat, like a big smile. Start at the lower edge of the left wing, swoop down and around below the body, and meet the right wing.
All done!
Go over your lines with a marker, then color it in.
Finished your Halloween bat? Keep the pencils out and learn how to draw a menorah or how to draw a dreidel next.
Tips for drawing a Halloween bat
- Draw the wings as one wide shape with wavy points along the bottom edge. Make both sides about the same size so the bat looks balanced.
- Keep the ears tall and pointy, and sketch them lightly first so you can fix the shape if one looks bigger than the other.
- Draw the moon circle last, and let it stop at the wings so the bat looks like it is in front. If your circle looks wobbly, draw it in two halves, one above and one below.
Free Halloween bat coloring page
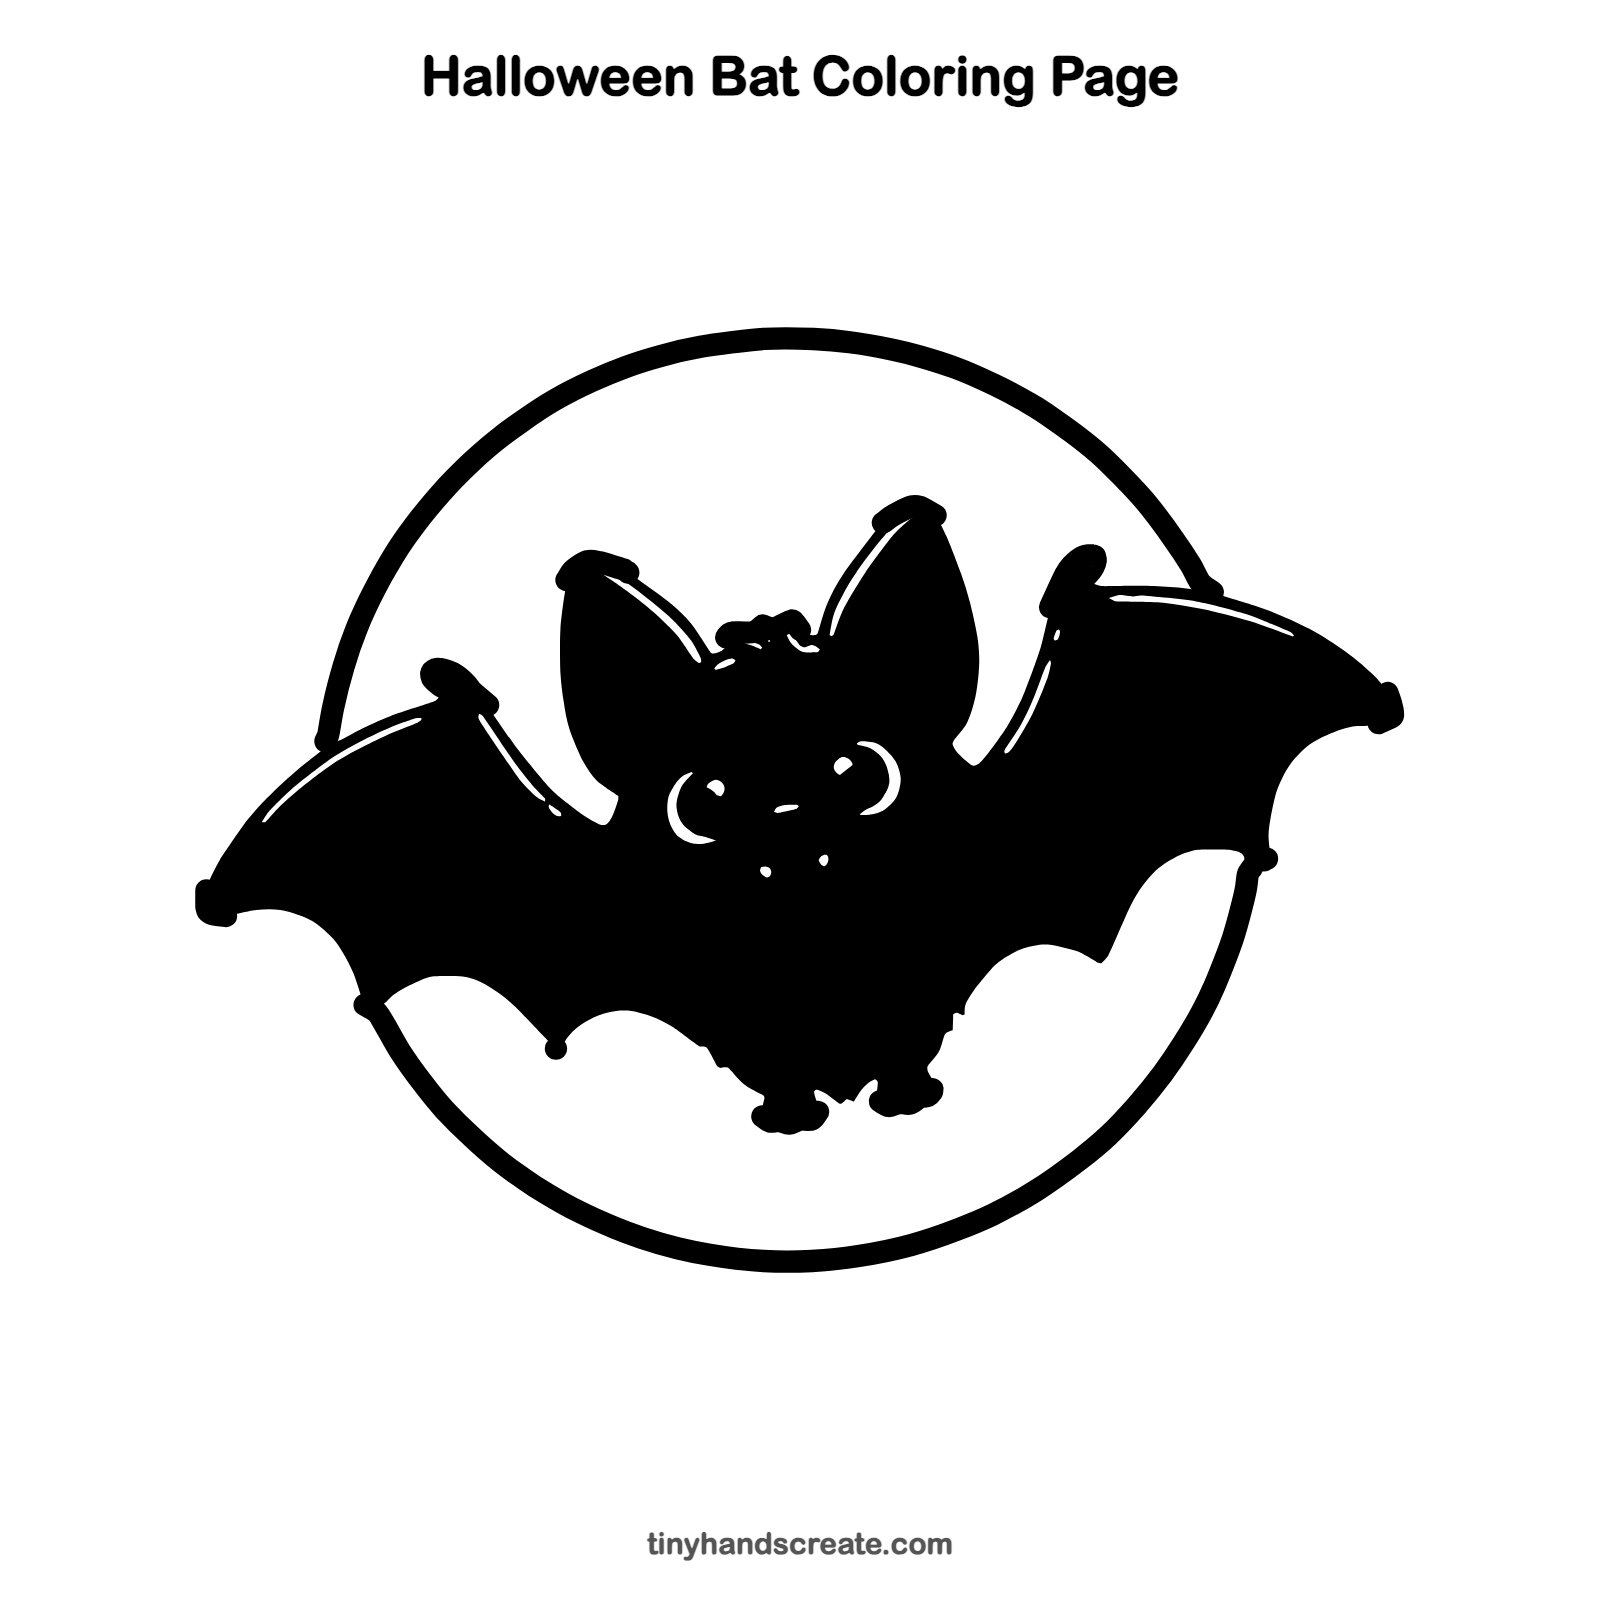
Want to go straight to coloring? Open this Halloween bat coloring page at full size and print it. It is the same drawing you just learned, with clean lines ready for crayons or markers.
How to color your Halloween bat drawing
Color the bat dark purple or black and the moon a glowing yellow, with a deep blue night sky around it. For a creative twist, add tiny white stars and a few smaller bats flying in the distance.
Halloween bat fun fact for kids
Bats are the only mammals that can truly fly. Many bats find their way in the dark by making squeaks and listening to the echoes that bounce back.
Questions about drawing a Halloween bat
What shapes do I need to draw a bat?
You need a round head, a chubby body, two pointy ears, and two wide wings with wavy bottoms. A big circle makes the moon behind it.
How do I make my bat look cuter?
Give it small curved eyes and a tiny nose and mouth. Rounder ears and a chubby body also make it friendlier.
How do I draw bat wings that look even?
Draw a light line straight across the middle of the body first. Then make each wing start at the same height and reach out about the same distance on both sides.