How to Draw a Bluebird (Easy Step by Step)
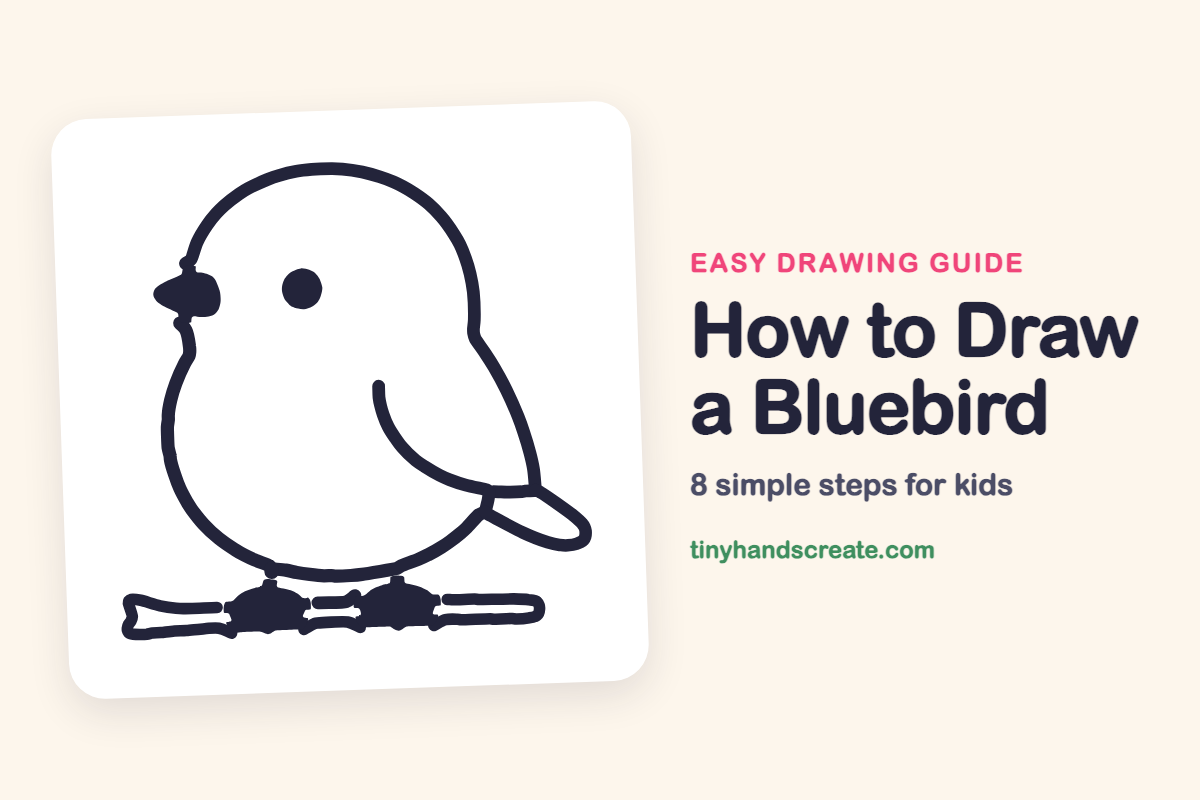
This little bluebird is a fun one because it is almost all circles and curves. You will build it from a round head and body outline, a small triangle for the beak, and a dot for the eye. It perches on a simple branch, so it looks calm and cute when you finish.
- Easy
- 10 minutes
- 8 steps
You need: paper, a pencil, an eraser, and crayons or markers for coloring.
Start drawing


In this article (7 sections)
How to draw a bluebird step by step
How to Draw a Bluebird · tinyhandscreate.com
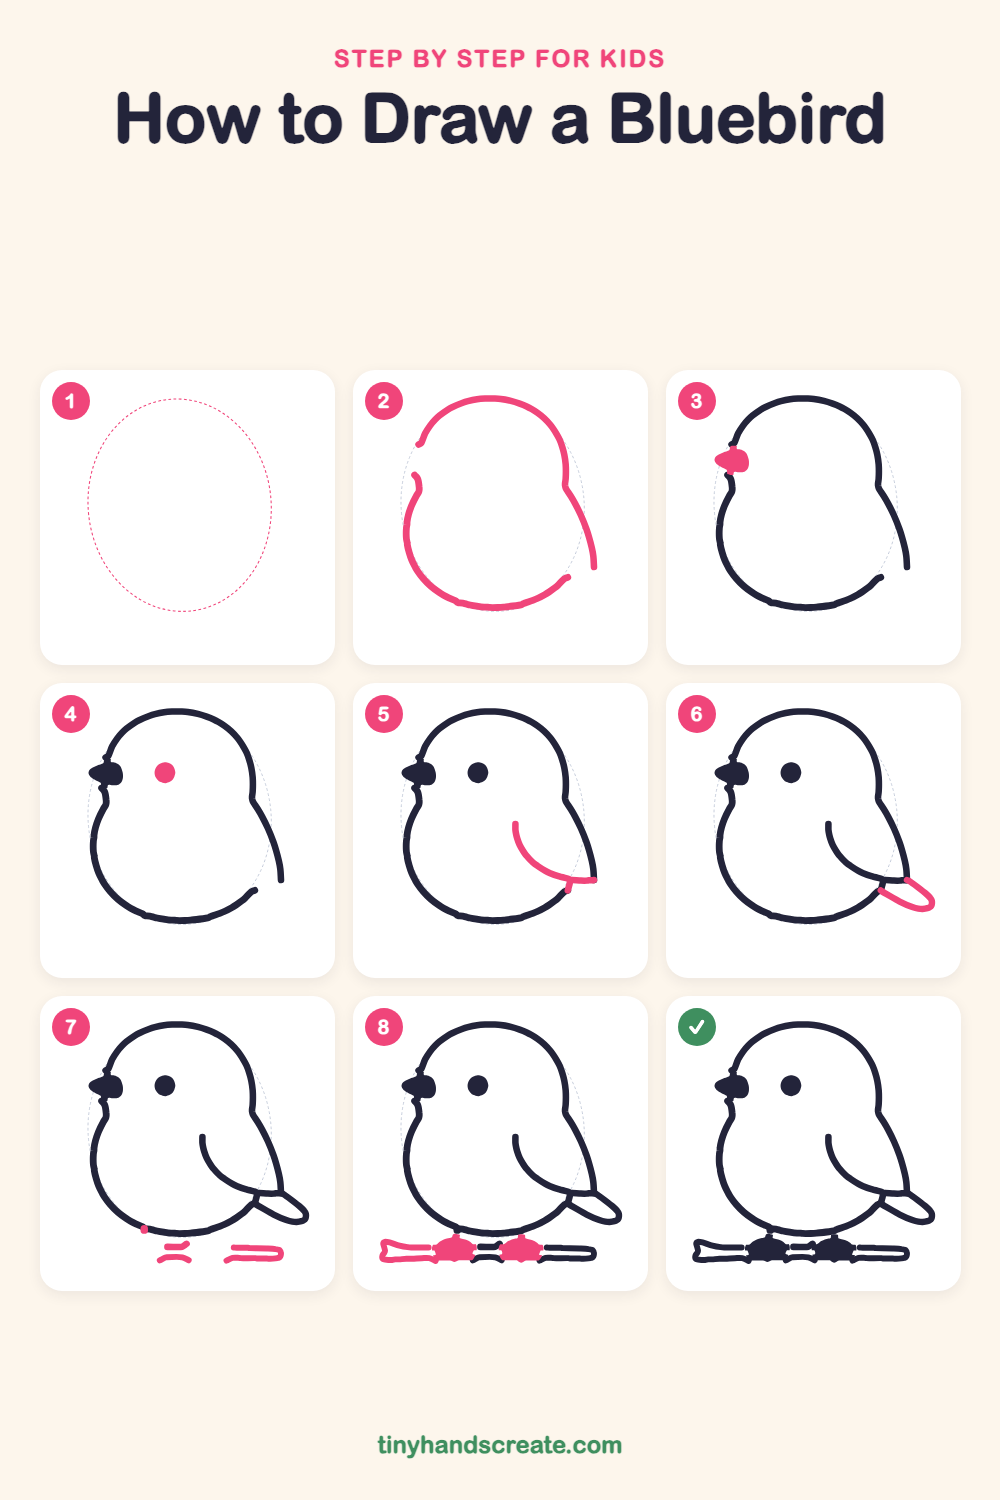
Step 1: Guide shapes
Lightly sketch this oval. It only shows where the big parts go, so press softly. You will erase it at the end.
Step 2: Head and body outline
Start at the left of the head and draw a big curve up and over the top, then down the back. Draw the round belly as a second curve, leaving a small gap on the left where the beak will go and another at the bottom right where the tail will go.
Step 3: The beak
On the left side of the head, in the gap, draw a small pointy triangle sticking out, like a tiny ice cream cone on its side. Then fill it in.
Step 4: The eye
Add one round dot for the eye, a little way in from the beak and up high on the head. Press firmly and fill it in.
Step 5: The wing
Draw a curved line starting in the middle of the body and swooping down and to the right, like a smile tipped on its side. At the bottom, make it turn into a short straight line that reaches the back edge of the body.
Step 6: The tail
At the bottom right, draw a small, rounded leaf shape that points out to the right. Start it at the bottom of the body and let it close back near the end of the wing line.
Step 7: Branch pieces
Under the belly, draw a few short, flat lines in a row to start the branch. Make a short pair of lines on the left and a longer rounded bar on the right, leaving space between them for the feet.
Step 8: Feet and branch
Draw two small rounded bumps right under the belly for the feet. Then finish the branch by joining the pieces into a long thin stick that runs under the feet, with a little notch at the left end.
All done!
Erase the guide shapes, go over your lines, then color it in.
Finished your bluebird? Keep the pencils out and learn how to draw a fox or how to draw a hedgehog next.
Tips for drawing a bluebird
- Draw the head and body in one smooth, round curve, and make the bottom wider than the top. A chubby shape is what makes the bird look cute.
- Make the beak small and pointy, and fill it in so it stands out against the white head.
- Draw the wing line with one smooth swoop and try not to stop halfway. Let it end near the back edge, just above the tail.
- Draw the feet as small bumps right under the belly so the bird looks like it is sitting on the branch.
Free bluebird coloring page
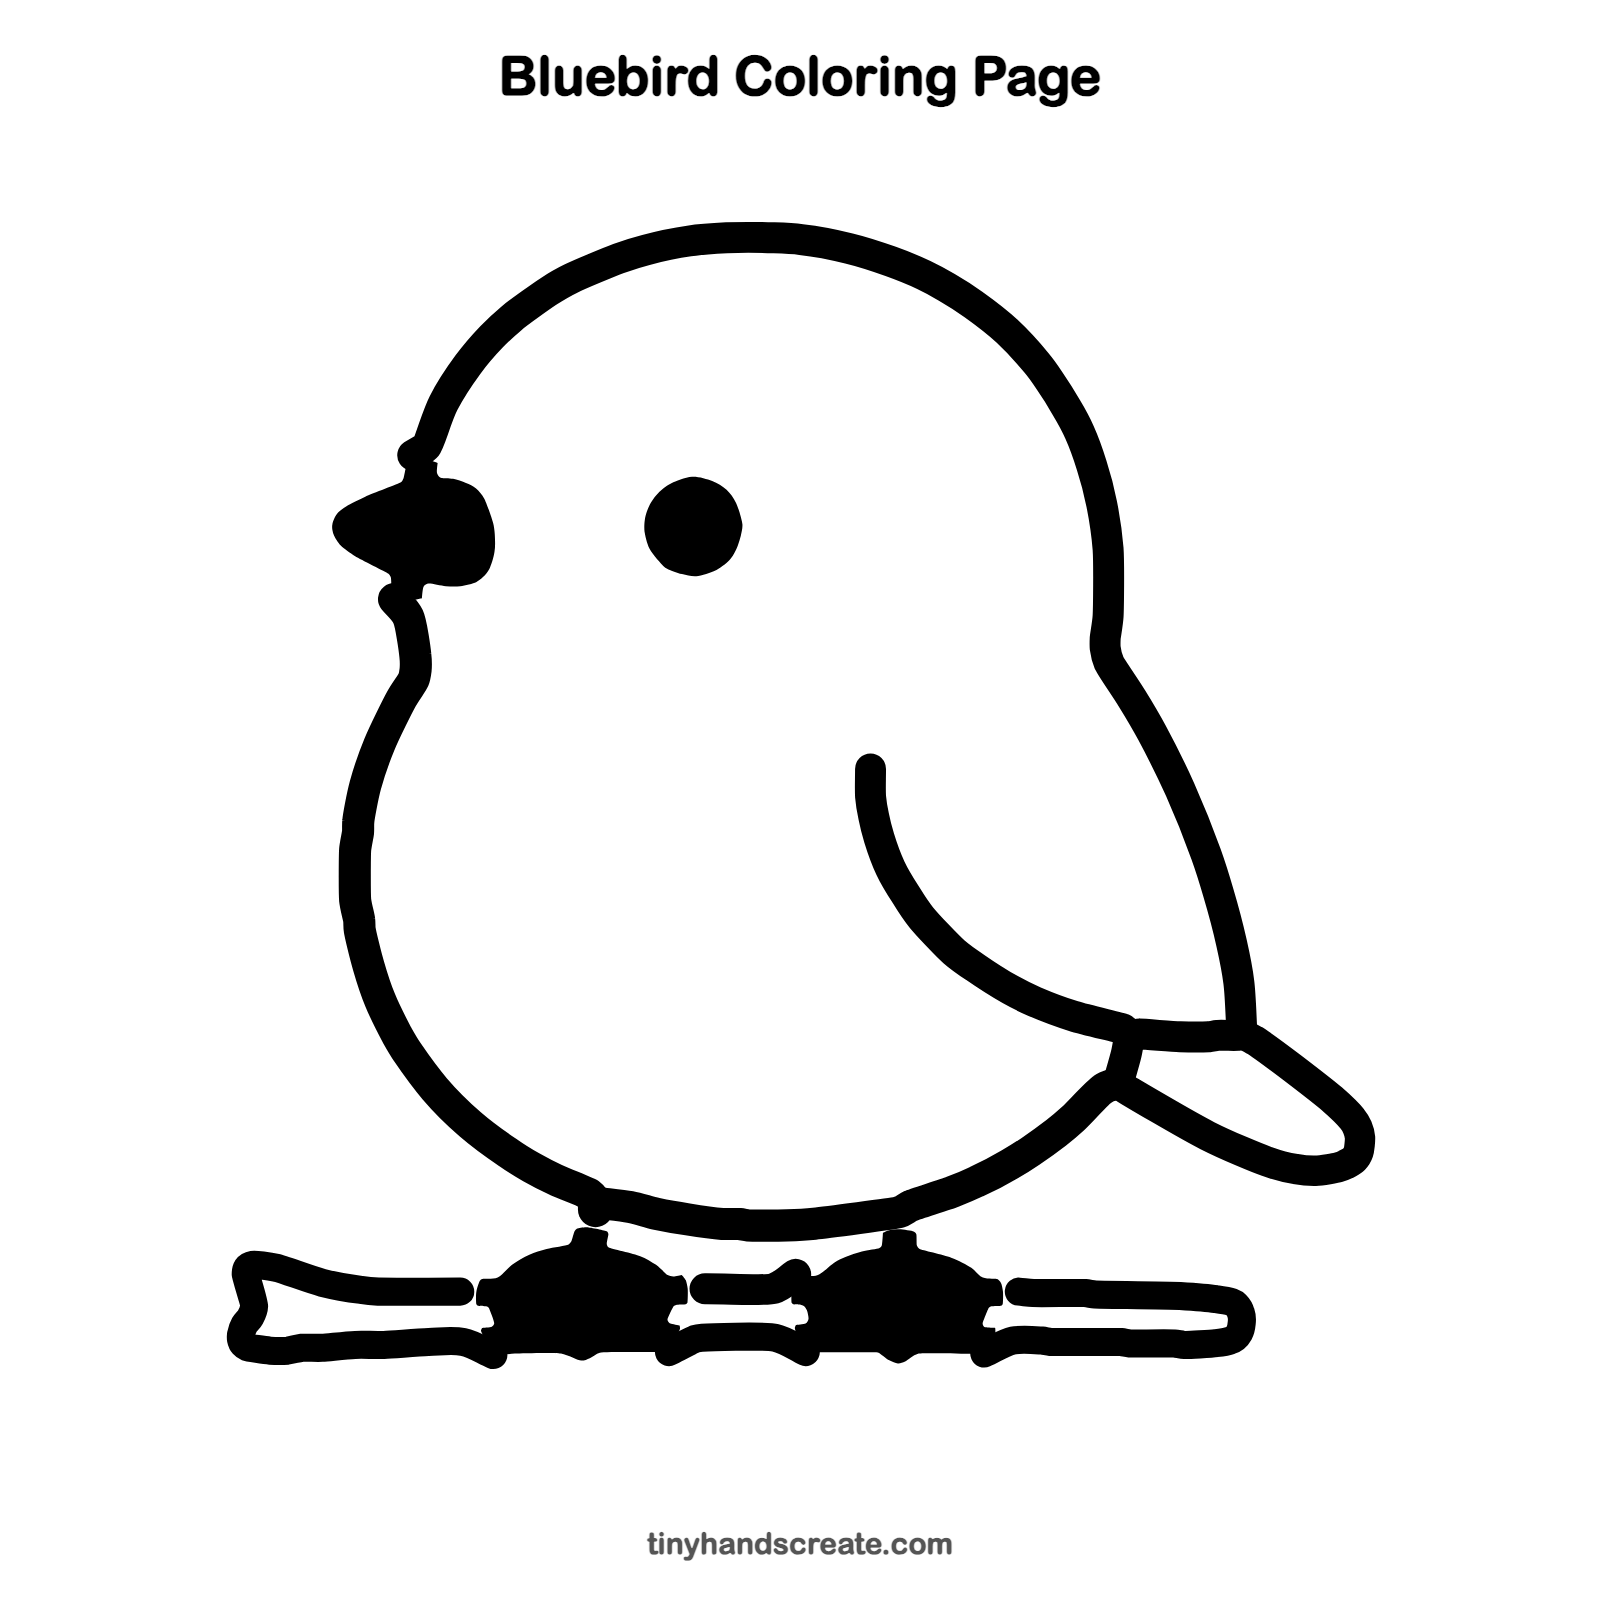
Want to go straight to coloring? Open this bluebird coloring page at full size and print it. It is the same drawing you just learned, with clean lines ready for crayons or markers.
How to color your bluebird drawing
Try bright blue on the back and wing, a soft orange on the chest, and a brown branch. For a creative twist, give your bluebird a rainbow tail or draw a few blossoms along the branch.
Bluebird fun fact for kids
Bluebirds are not really blue from pigment. Their feathers have tiny structures that bounce blue light back to our eyes, which is why the color can look different as the bird moves.
Questions about drawing a bluebird
What shapes do I need to draw a bluebird?
You need a big rounded outline for the head and body, a small triangle for the beak, a dot for the eye, and a small leaf shape for the tail. The feet are two little bumps, and the branch is a long thin stick.
How do I make my bluebird look cuter?
Make the body extra round and put the eye a bit high on the head. A small beak and tiny feet also help a lot.
How long does it take to draw a bluebird?
Most kids finish in about 10 minutes. Take your time with the body outline, since the rest of the drawing builds on it.