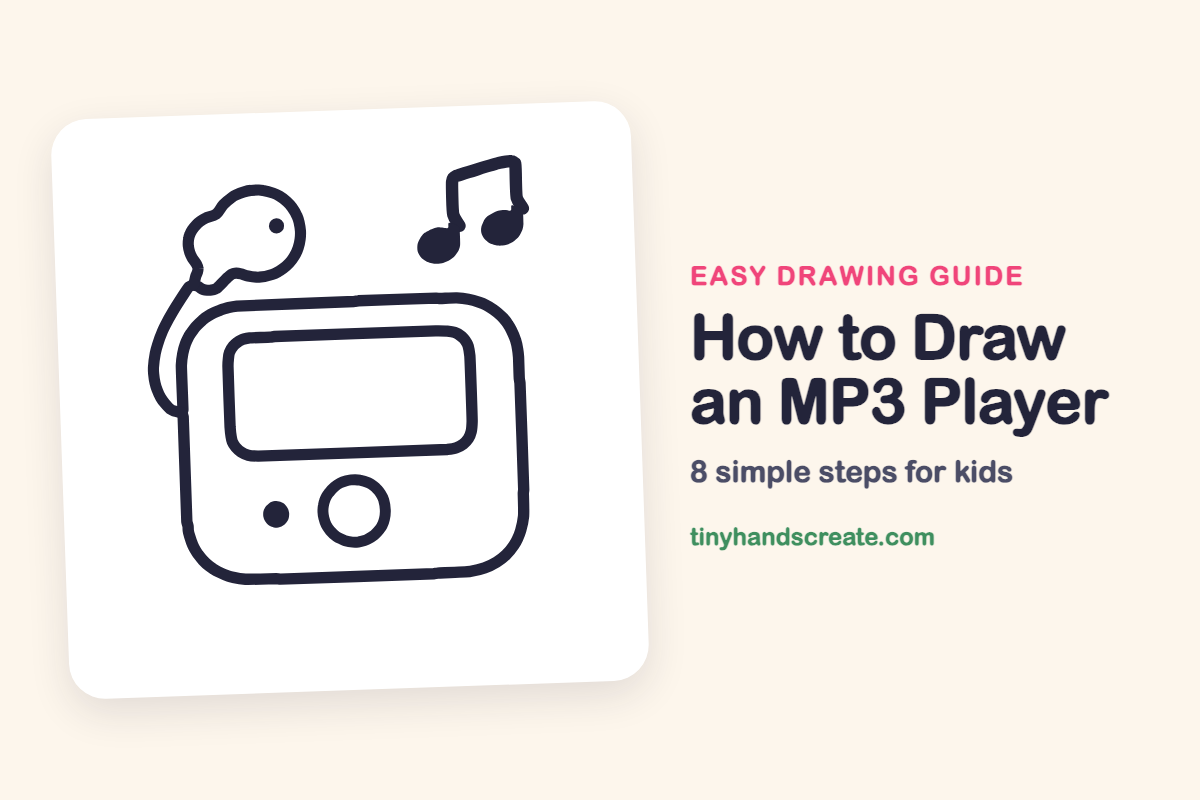
How to Draw an MP3 Player (Easy Step by Step)
You will learn how to easily draw an MP3 player using simple shapes like rounded rectangles and circles. Enhance your drawing by adding an earbud cord and a music note to make it look like it's playing music.
- Draw an MP3 player easily with simple shapes.
- Use rounded rectangles and circles for the main body.
- Add a curved earbud cord to your drawing.
- Include a floating music note to show it's playing.
This post contains affiliate links. As an Amazon Associate I earn from qualifying purchases.
An MP3 player is a friendly little gadget that is easy to draw because it is mostly rounded rectangles and circles. Add a curved earbud cord and a floating music note, and your drawing looks like it is playing a song.
- Easy
- 12 minutes
- 8 steps
You need: paper, a pencil, an eraser, and crayons or markers for coloring.
Start drawing


In this article (7 sections)
How to draw an MP3 player step by step
How to Draw an MP3 Player · tinyhandscreate.com
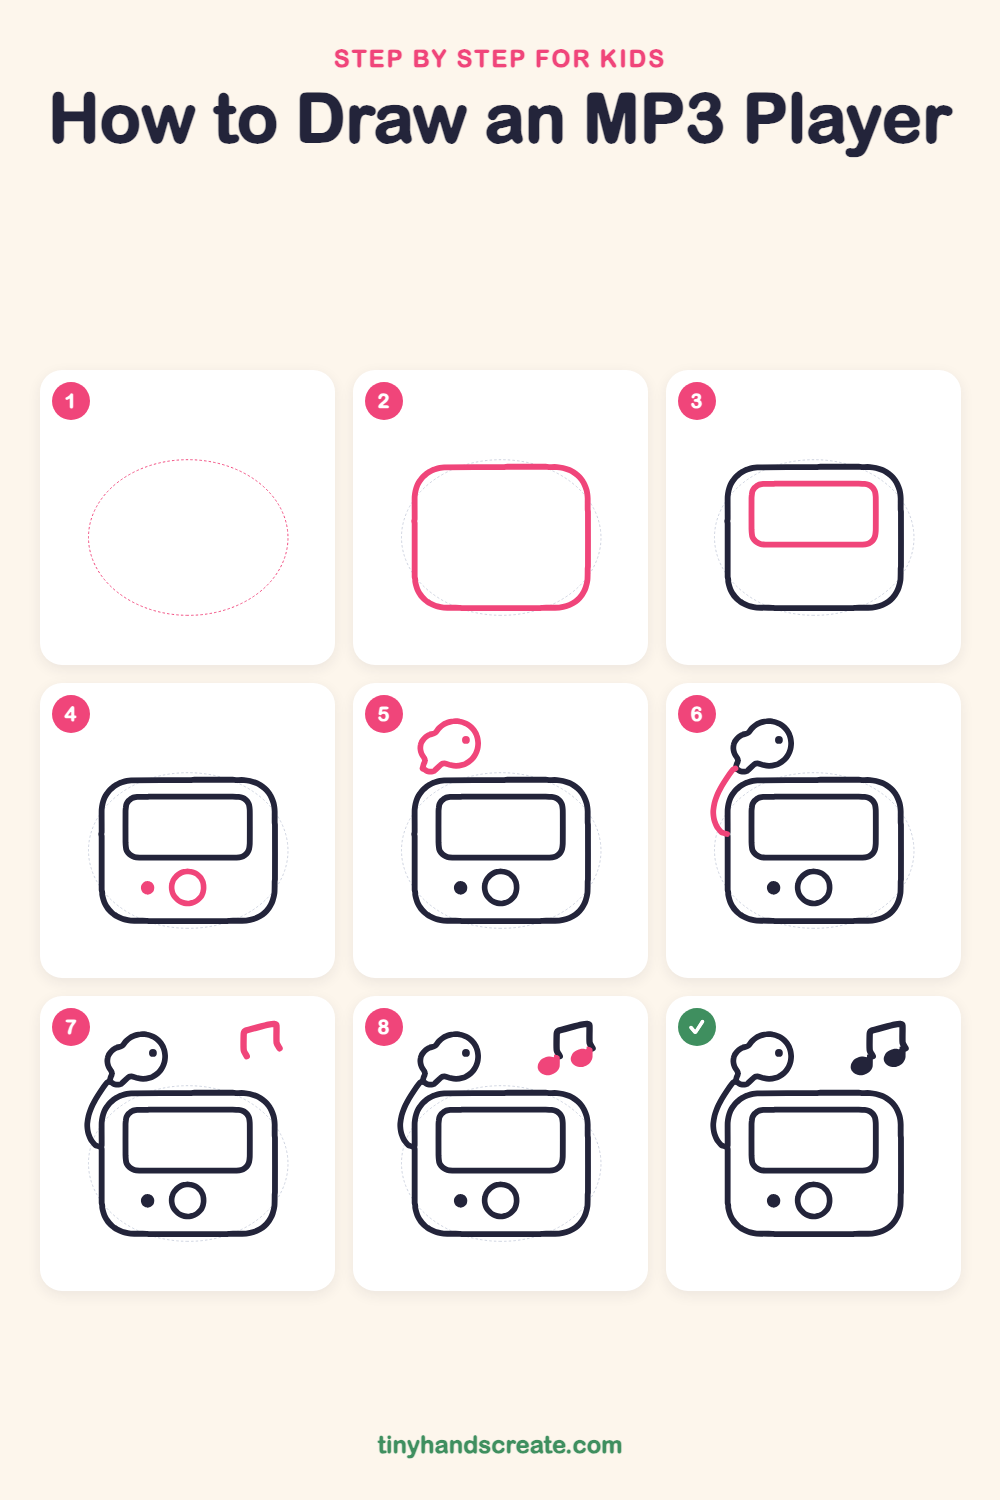
Step 1: Guide shapes
Lightly sketch this oval. It only shows where the big parts go, so press softly. You will erase it at the end.
Step 2: The player body
Draw a big rounded square, like a square pillow with soft corners. Make it a little wider than it is tall, and leave room above and to the left for the earbud and cord.
Step 3: The screen
Inside the top half of the body, draw a smaller rounded rectangle. Keep it centered with an even gap on the left, right, and top.
Step 4: Button and dot
Below the screen, draw a medium circle in the middle for the big button. Then add a small filled-in dot to its left.
Step 5: The earbud
Above the player on the left, draw a round blob with a big round part on the right and a smaller bump on the left that tapers into a little tail at the bottom. Add a small dot near the upper right of the round part.
Step 6: The cord
Start at the little tail at the bottom of the earbud and draw one curved line sweeping down and out to the left. Curl it back in so it ends at the left side of the player body.
Step 7: Note beam and stems
In the empty space at the top right, draw two short straight lines side by side. Join their tops with a slanted line, like a sloping roof.
Step 8: Note heads
At the bottom of each short line, draw a small tilted oval and color it in. Both ovals sit on the left side of their lines.
All done!
Erase the guide shapes, go over your lines, then color it in.
Finished your MP3 player? Keep the pencils out and learn how to draw a rocket or how to draw a shooting star next.
Tips for drawing an MP3 player
- Draw the big body first and keep the screen smaller, so there is room for the button underneath.
- The earbud is the trickiest part. Think of two bumps, a small one and a big round one, joined together.
- Keep the two music note lines straight and the same length, then fill in the two oval heads last so they look nice and dark.
Free MP3 player coloring page
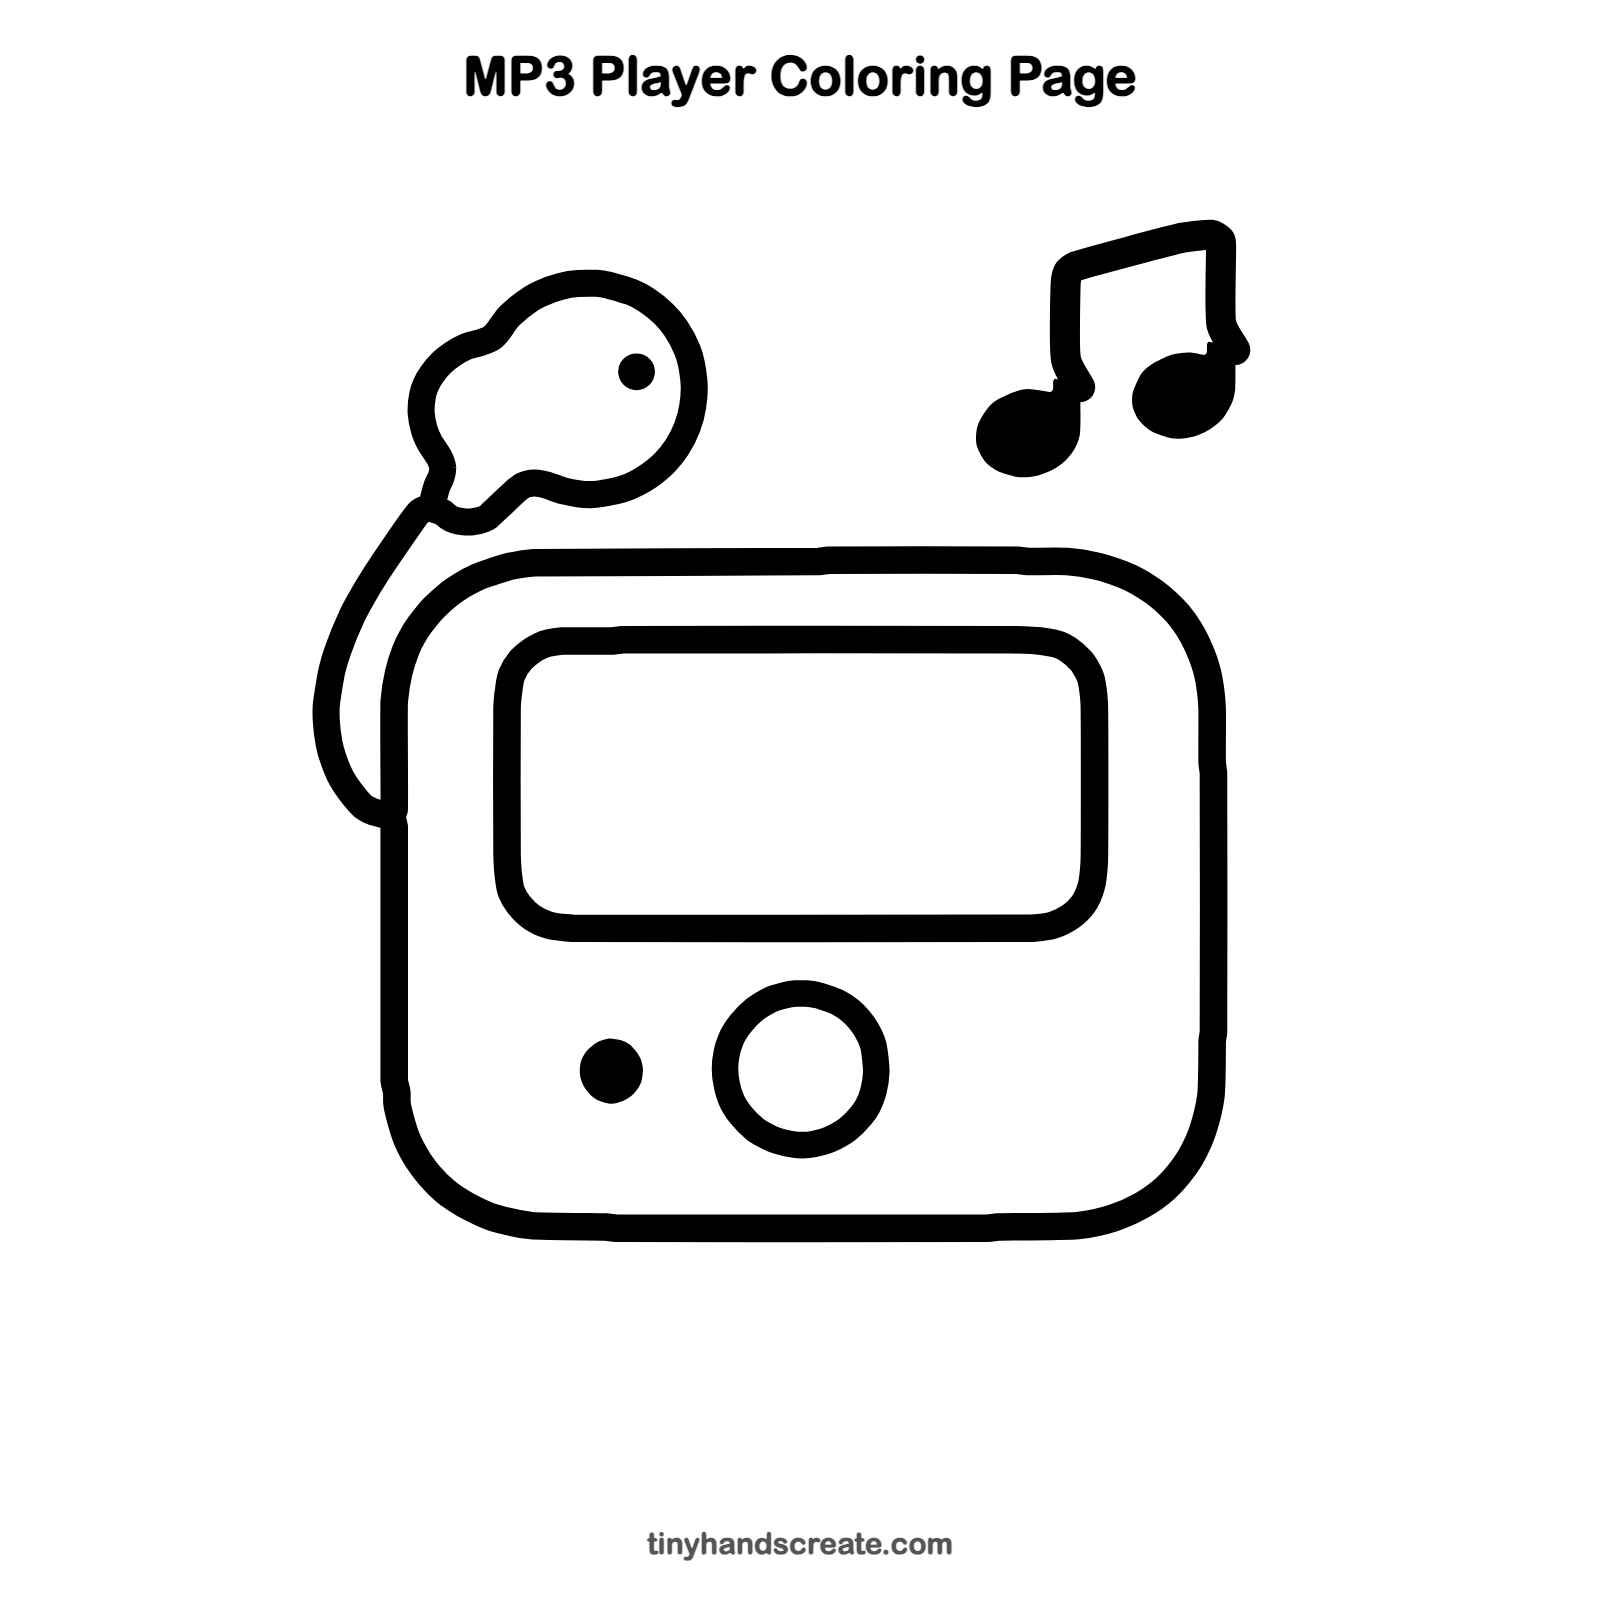
Want to go straight to coloring? Open this MP3 player coloring page at full size and print it. It is the same drawing you just learned, with clean lines ready for crayons or markers.
How to color your MP3 player drawing
Try a bright blue or red body with a pale green screen, and a white earbud. For a creative twist, color the music note in rainbow stripes as if the song is colorful.
MP3 player fun fact for kids
MP3 stands for MPEG Audio Layer III, a way of squeezing music into a much smaller file so many songs fit on one small player.
Questions about drawing an MP3 player
What shapes do I need to draw an MP3 player?
You need a rounded square for the body, a smaller rounded rectangle for the screen, and a circle and a dot for the buttons. The earbud is a round blob and the cord is one curved line.
How do I make my MP3 player look more real?
Keep your lines smooth and your corners round, and make the screen sit evenly inside the body. Color the body, screen, and button in different colors so each part stands out.
How do I draw a music note?
Draw two short lines side by side, join the tops with a slanted line, then add a filled oval at the bottom of each one. The ovals tilt a little and sit on the left of each line.