How to Draw a Rosebud (Easy Step by Step)
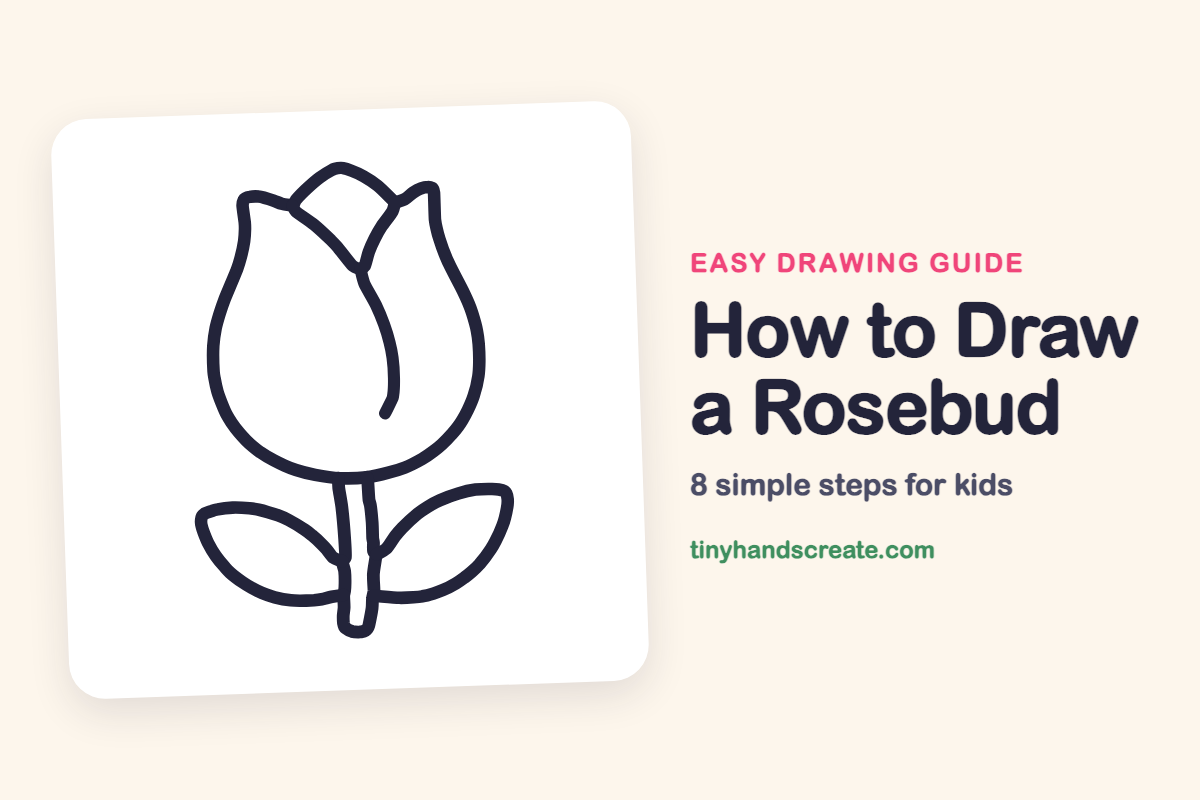
A rosebud is a good first flower to draw because it is built from just a few simple shapes. You start with a rounded bowl, add a skinny stem, then draw a little hill and two curved petal lines. Two pointy leaves finish the flower.
- Easy
- 10 minutes
- 8 steps
You need: paper, a pencil, an eraser, and crayons or markers for coloring.
Start drawing
In this article (7 sections)
How to draw a rosebud step by step
How to Draw a Rosebud · tinyhandscreate.com
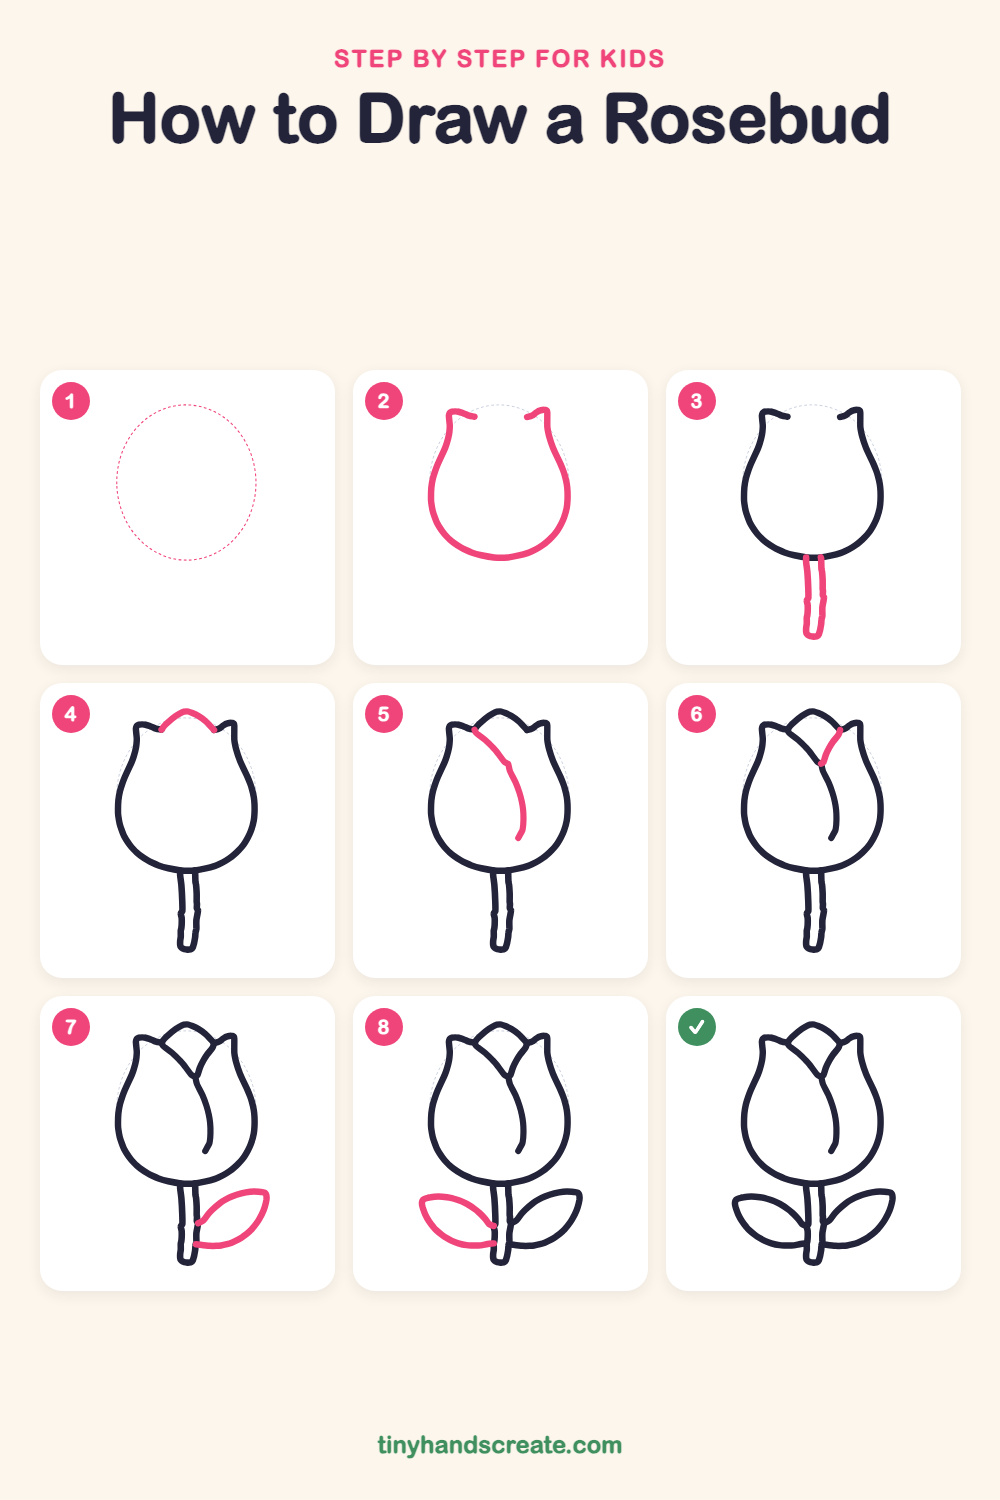
Step 1: Guide shapes
Lightly sketch this oval. It only shows where the big parts go, so press softly. You will erase it at the end.
Step 2: The bud outline
Draw a big rounded bowl shape, wide at the bottom and a little narrower at the top. Leave the top open and finish each side with a small curl that points outward, like two little tips.
Step 3: The stem
Just below the bottom of the bowl, draw two lines going straight down, close together and a little wobbly. Close the bottom with a small curve to make a long skinny stem.
Step 4: The top petal
Between the two little tips at the top, draw a small hill shape that peeks up over the bowl. Think of a tiny mountain with a rounded peak.
Step 5: The long petal curve
Start at the left end of the little hill and draw a curve sweeping down and to the right across the bud. Let it bend and curve down, ending in a small point near the middle.
Step 6: The short petal curve
Start at the right end of the little hill and draw a short curved line going down and to the left. Stop where it touches the long curve you just drew.
Step 7: The right leaf
Draw a pointy oval, like a lemon shape, sticking out to the right of the stem. Start and end the leaf at the stem so it looks like it grows from it.
Step 8: The left leaf
Draw another pointy oval on the left side of the stem, just like the first one. Make it about the same size so your rosebud looks balanced.
All done!
Erase the guide shapes, go over your lines, then color it in.
Finished your rosebud? Keep the pencils out and learn how to draw a mushroom or how to draw a sunflower next.
Tips for drawing a rosebud
- Draw the bowl in one smooth, slow line. If it looks lopsided, lightly sketch an upside-down egg first and draw around it.
- The two curved petal lines are the trickiest part. Start each one at an end of the little hill, and let the short one stop when it touches the long one.
- Make both leaves the same size by starting each one at the stem and drawing a lemon shape outward.
Free rosebud coloring page
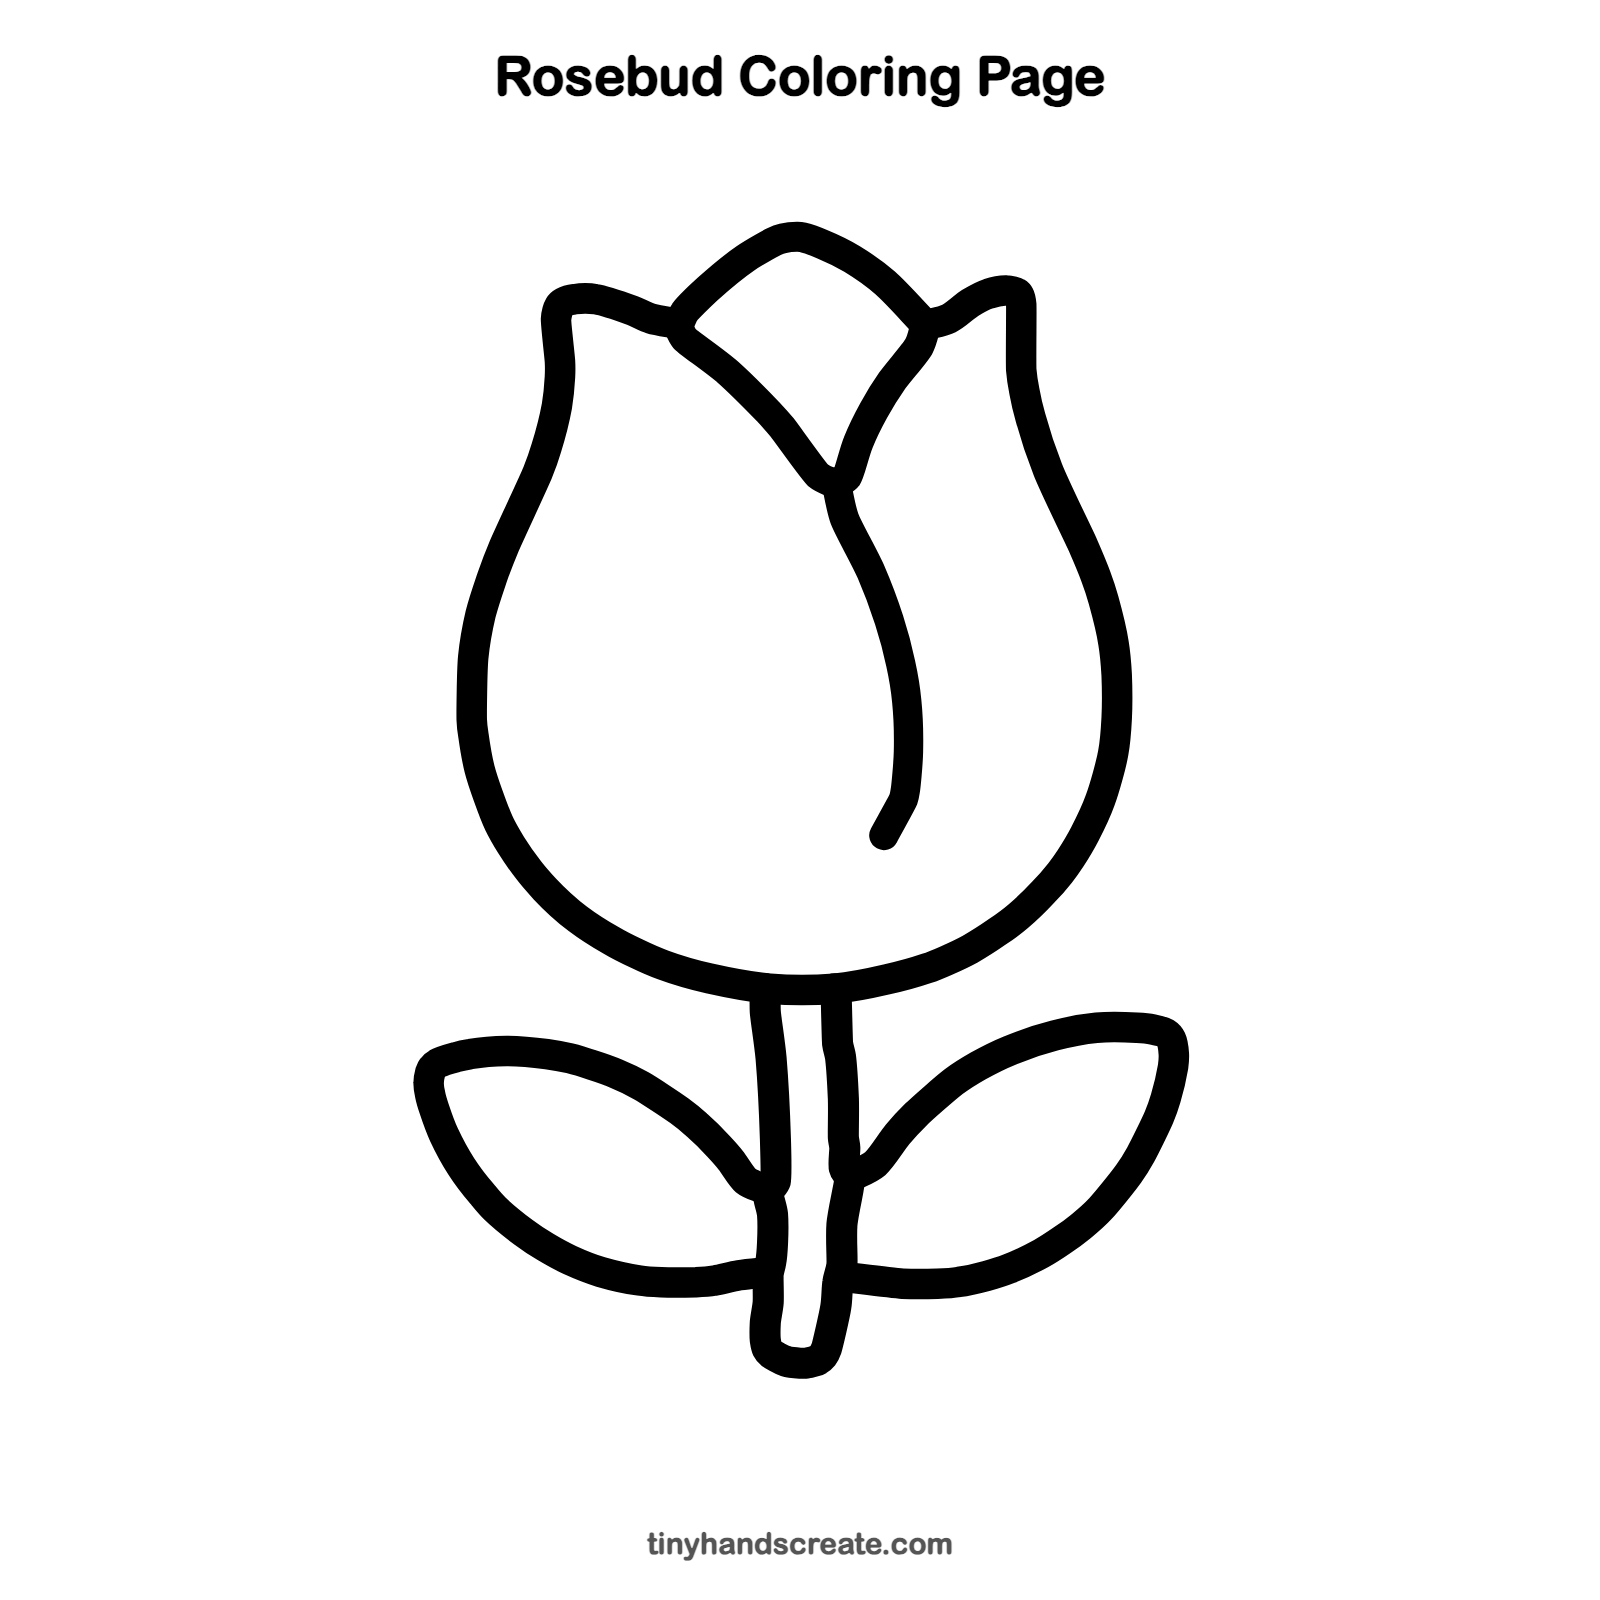
Want to go straight to coloring? Open this rosebud coloring page at full size and print it. It is the same drawing you just learned, with clean lines ready for crayons or markers.
How to color your rosebud drawing
Try a deep red or soft pink for the bud, with green for the stem and leaves. You could also try orange or yellow for a different kind of rose.
Rosebud fun fact for kids
A rosebud is a rose flower that has not opened yet. Its petals are wrapped tightly around each other, and they slowly unfold as the flower blooms.
Questions about drawing a rosebud
What shapes do I need to draw a rosebud?
You need a rounded bowl shape for the bud, a small hill for the top petal, two curved lines for the petal folds, and two pointy ovals for the leaves. The stem is two wobbly lines joined at the bottom.
How do I make my rosebud look more real?
Make the petal lines curve so they look wrapped around each other. You can also add a bit of shading with a darker color along the curved lines.
How do I draw a rosebud stem that looks natural?
Draw the stem lines slightly wobbly instead of ruler straight. Real stems bend a little, which makes your flower look alive.