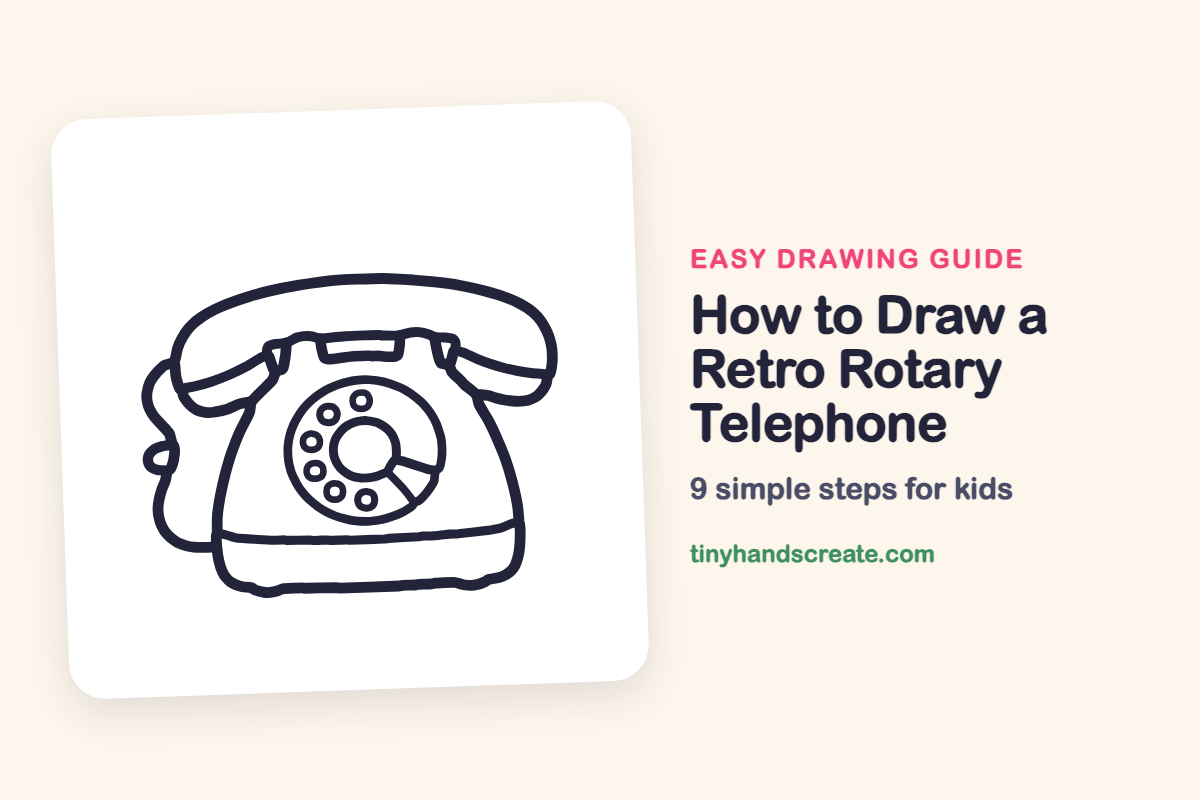
How to Draw a Retro Rotary Telephone (Easy Step by Step)
A rotary phone is a fun drawing because it is built from simple shapes you already know: a long curved handset, a dome for the body, and lots of circles. The wavy cord adds a little bit of life. Once you can draw the circles, you can draw the whole phone.
- Medium
- 15 minutes
- 9 steps
You need: paper, a pencil, an eraser, and crayons or markers for coloring.
Start drawing


In this article (7 sections)
How to draw a retro rotary telephone step by step
How to Draw a Retro Rotary Telephone · tinyhandscreate.com
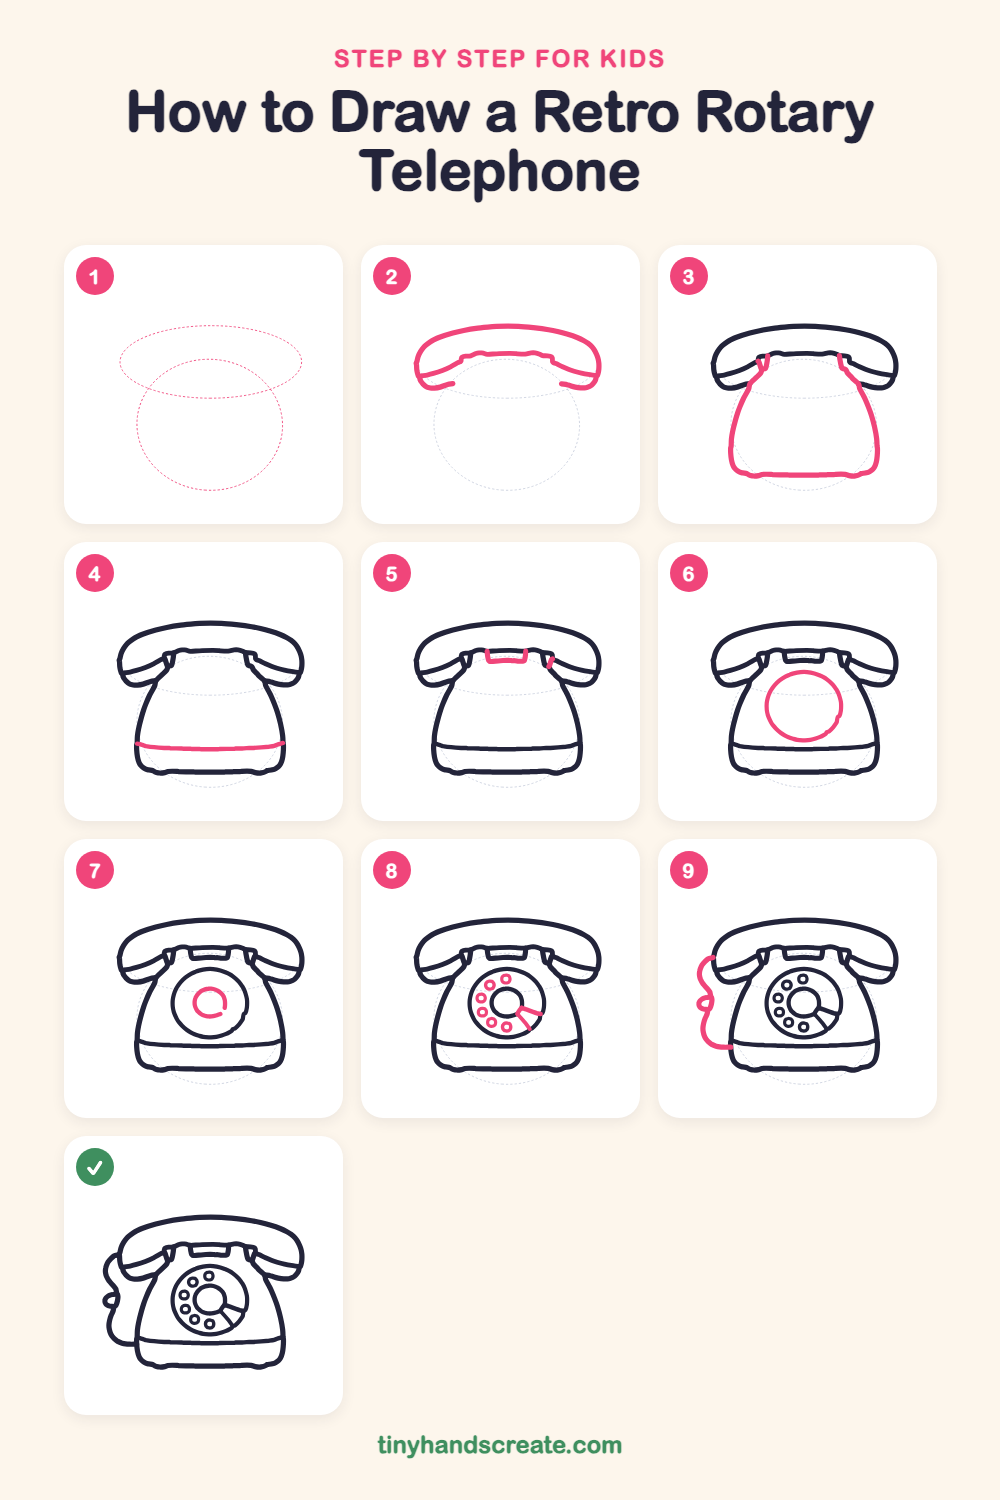
Step 1: Guide shapes
Lightly sketch these 2 ovals. They only show where the big parts go, so press softly. You will erase them at the end.
Step 2: The handset
Draw a long, wide curved shape across the top, like a big bean lying on its side, with round ends. Then add a wavy line under it from end to end, so it looks like the part you hold to your ear.
Step 3: The phone body
Under the handset, draw a big dome, like a hill. Start with two short lines going down from the middle of the handset, then curve them out and down to a flat bottom with rounded corners.
Step 4: The base line
Draw a gently curved line across the lower part of the dome, from the left edge to the right edge. It splits the phone into a top and a bottom.
Step 5: The handset rest
At the top of the dome, draw a small rounded box shape between the two short lines. It is the place where the handset sits. Add a tiny mark on the right side beside it.
Step 6: The dial circle
In the middle of the dome, draw a big circle. Try to keep it round and not too close to the edges of the phone.
Step 7: The center ring
Draw a smaller circle inside the big circle. Let the end of your line curl around a little, so the circle is not quite closed.
Step 8: Finger holes
Draw a curved row of small circles around the inside of the big circle, from the top around to the lower left. Then add two short straight lines from the center out to the edge of the dial, on the right.
Step 9: The curly cord
Start at the left side of the handset and draw a wavy line that wiggles down. Make a little loop on the way, then curve the line to meet the left side of the phone body near the bottom.
All done!
Erase the guide shapes, go over your lines, then color it in.
Finished your retro rotary telephone? Keep the pencils out and learn how to draw a rocket or how to draw a shooting star next.
Tips for drawing a retro rotary telephone
- Draw the handset first as a long, flat bean shape. Leave room underneath it for the dome of the phone.
- For the dial, draw the big circle first, then the smaller circle inside it. Add the small circles in a curved row last, spaced out like numbers on a clock.
- The cord is the trickiest part. Take your time and let your pencil wiggle slowly, and it does not matter if the loop is a bit different from the example.
Free retro rotary telephone coloring page
Want to go straight to coloring? Open this retro rotary telephone coloring page at full size and print it. It is the same drawing you just learned, with clean lines ready for crayons or markers.
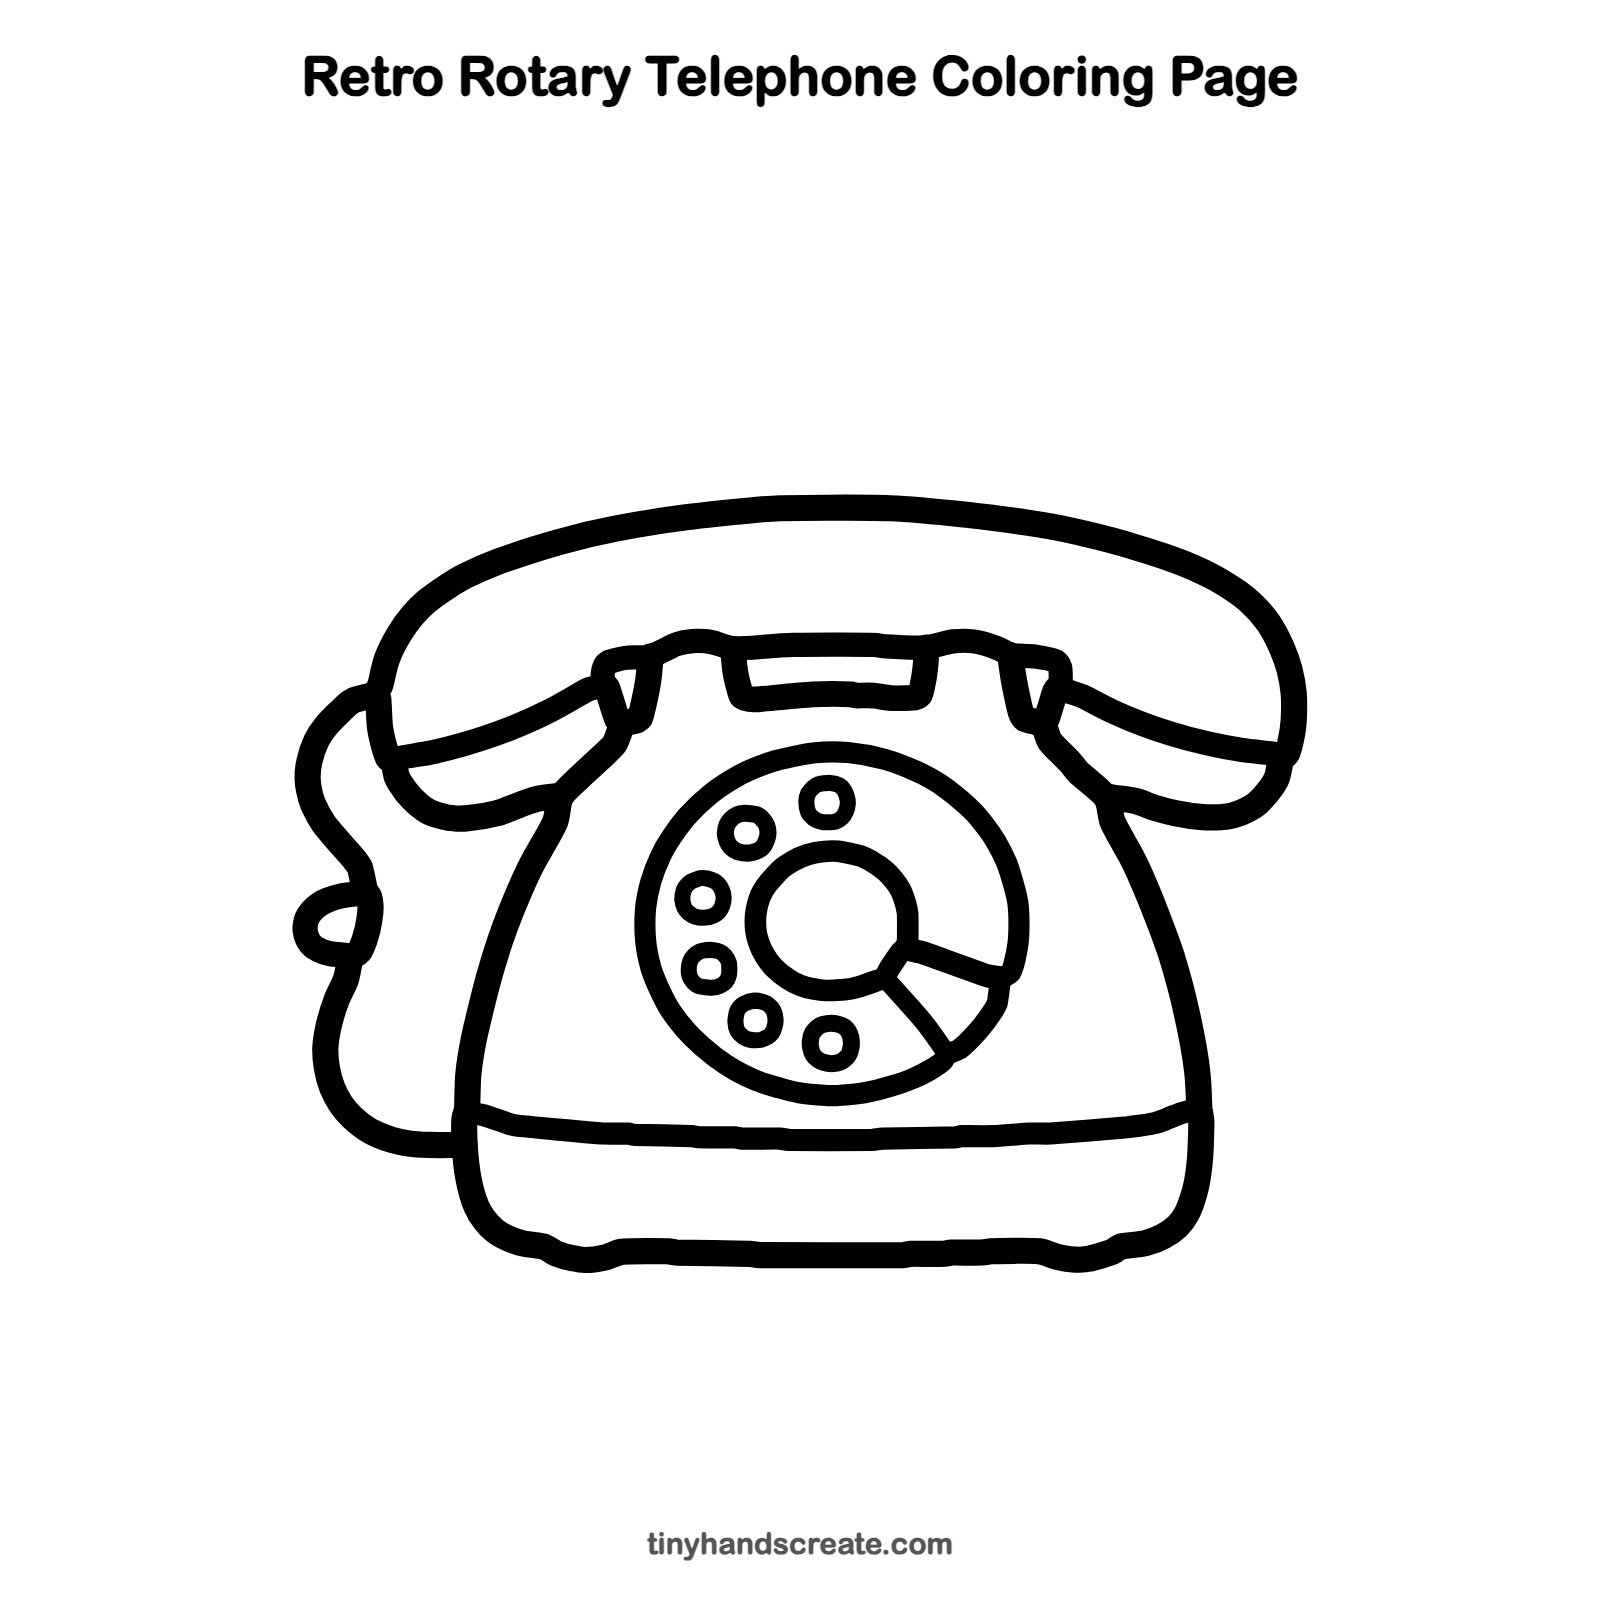
How to color your retro rotary telephone drawing
Classic phones are often red, black, or cream, but a bright teal or yellow one looks great too. For a creative twist, give each small circle on the dial a different color, like a rainbow dial.
Retro rotary telephone fun fact for kids
Old rotary phones had no buttons. To call someone, you put your finger in a hole, turned the dial around to the metal stop, and let go, and it spun back by itself.
Questions about drawing a retro rotary telephone
What shapes do I need to draw a rotary phone?
You need a long curved bean shape for the handset, a dome for the body, and circles for the dial and finger holes. A wavy line makes the cord.
How do I draw the circles on the dial neatly?
Draw the big circle first and the small ones inside it. Try drawing a circle in the air a few times before you put your pencil down, and a wobbly circle still looks great.
How do I make my phone look old-fashioned?
Add the round dial with its small circles and the curly cord. Coloring it in a bright color like red or teal also gives it a retro look.