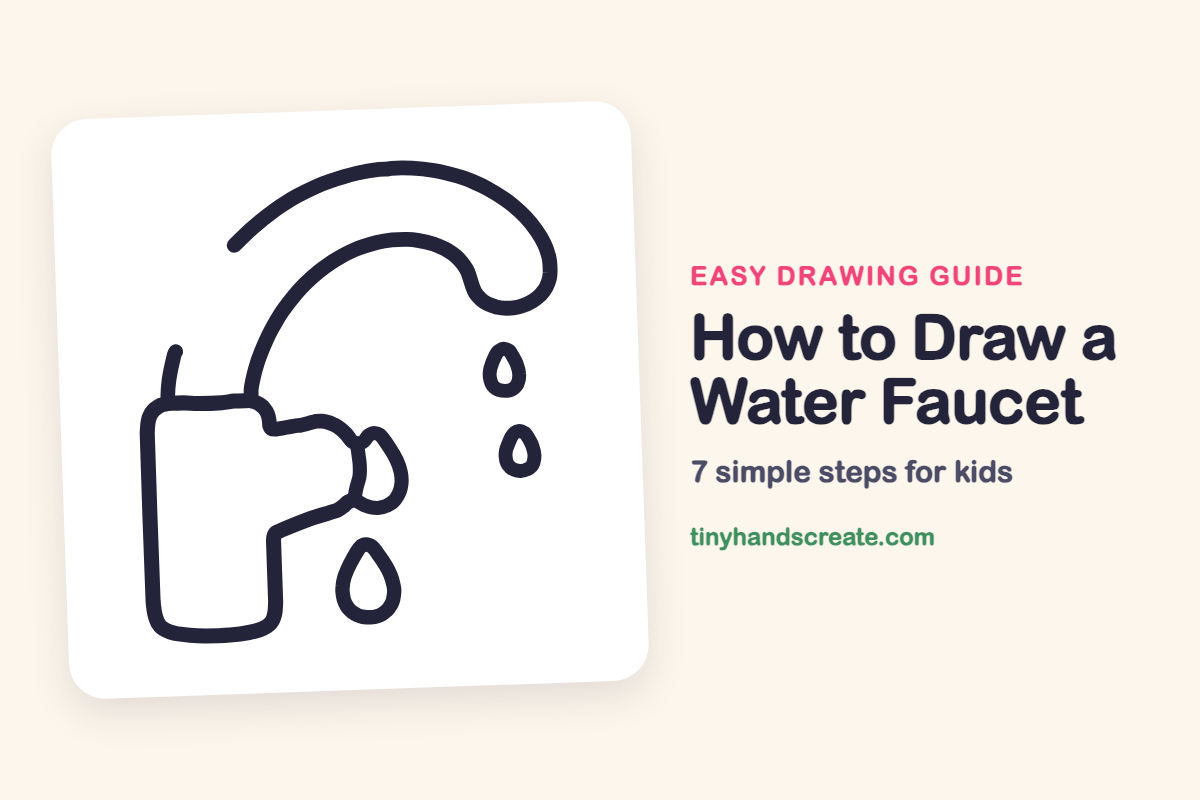
How to Draw a Water Faucet (Easy Step by Step)
Learn to draw a water faucet using simple shapes like a big curved arch for the spout, a tall rounded body, and teardrops. You'll discover how to bring your drawing to life by adding realistic water drops.
- Identify the easy shapes that make up a faucet.
- Begin by drawing a big curved arch for the spout.
- Construct the faucet's tall, rounded body.
- Add teardrop shapes to create realistic water drops.
- Position the spout to look like it's ready to pour.
This post contains affiliate links. As an Amazon Associate I earn from qualifying purchases.
A water faucet is a fun object to draw because it is built from a few easy shapes: a big curved arch for the spout, a tall rounded body, and some teardrops. The curved spout bends over like it is ready to pour. Adding the water drops at the end brings the whole drawing to life.
- Easy
- 10 minutes
- 7 steps
You need: paper, a pencil, an eraser, and crayons or markers for coloring.
Start drawing


In this article (7 sections)
How to draw a water faucet step by step
How to Draw a Water Faucet · tinyhandscreate.com
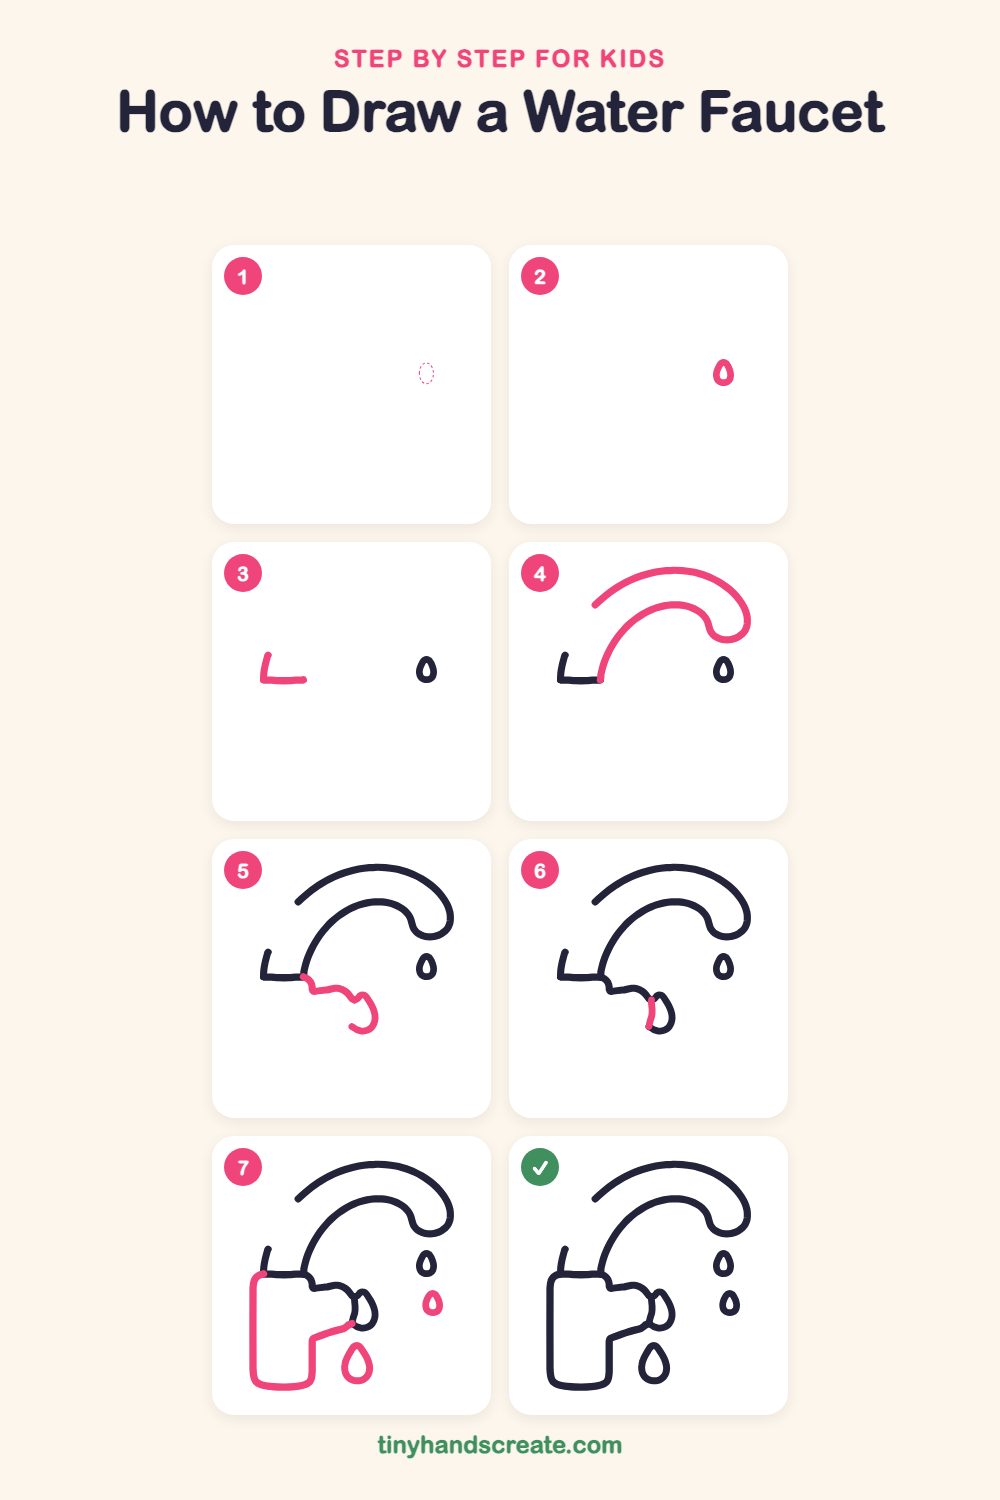
Step 1: Guide shapes
Lightly sketch this oval. It only shows where the big parts go, so press softly. You will erase it at the end.
Step 2: A small teardrop
On the right side of your page, draw a small teardrop with a pointy top and a round bottom. This is the first drop of water.
Step 3: The corner mark
On the left side, draw a short slanted line going up. At its bottom, draw a flat line that goes to the right, so the two lines make a corner like the letter L.
Step 4: The curved spout
Start at the end of the flat line and draw a big curve that rises and bends over to the right. Draw a second curve above it, then join the two with a rounded tip at the right.
Step 5: Top of the body
Start at the bottom of the spout and draw a wavy line that goes to the right, then curves down and ends in a little hook. This is the top edge of the body and the side pipe.
Step 6: End of the pipe
Draw a short, slightly curved line at the end of the pipe to close it. It makes a small drop shape hanging at the pipe's tip.
Step 7: Body and more drops
Draw a tall rounded rectangle on the left that goes down from the spout and joins the pipe from below. Then add a small teardrop under the first drop and a big teardrop below the pipe.
All done!
Erase the guide shapes, go over your lines, then color it in.
Finished your water faucet? Keep the pencils out and learn how to draw a rocket or how to draw a shooting star next.
Tips for drawing a water faucet
- Start with the small drop on the right. It shows you where the water will fall.
- The spout is the trickiest part. Draw the outer curve first, then the inner curve beside it, and keep the two lines about the same distance apart.
- Make each drop with a point on top and a round bottom. Try drawing a small circle first, then pull a point up from it.
- Finish with the tall body, and keep its corners round so the faucet looks soft and friendly.
Free water faucet coloring page
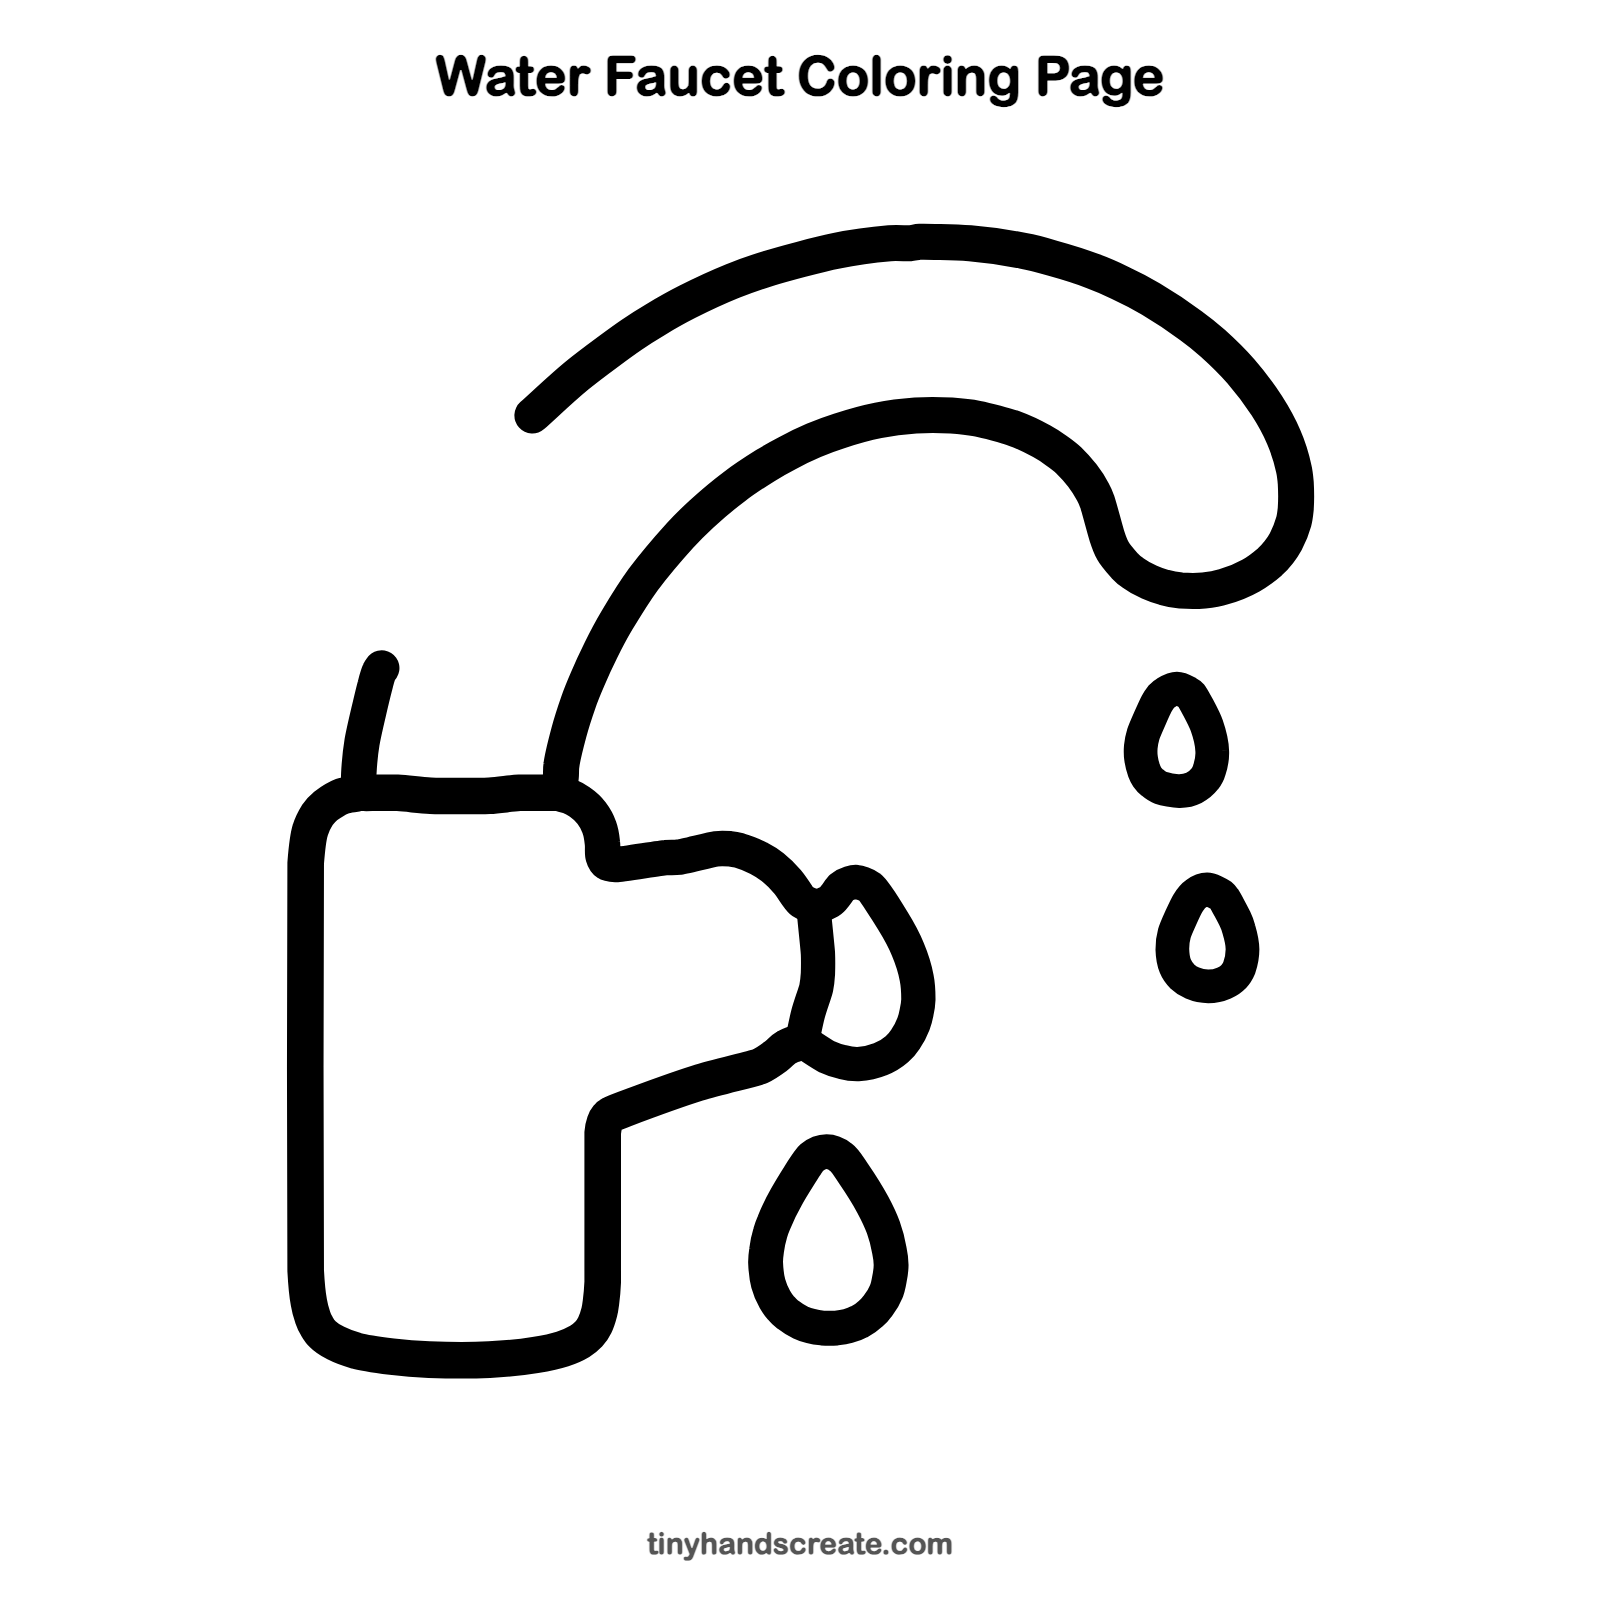
Want to go straight to coloring? Open this water faucet coloring page at full size and print it. It is the same drawing you just learned, with clean lines ready for crayons or markers.
How to color your water faucet drawing
Try silver or light gray for the faucet and bright blue for the drops. For a creative twist, make the water rainbow colored, with each drop a different color.
Water faucet fun fact for kids
A falling drop of water is not really shaped like a teardrop. Small falling drops are nearly round, and the pointed teardrop is just the shape artists use to show water.
Questions about drawing a water faucet
What shapes do I need to draw a water faucet?
You need a big curved arch for the spout, a tall rounded rectangle for the body, a short pipe on the side, and a few teardrops for the water.
How do I draw the curved spout?
Start at the end of the flat line on the left and draw one long curve that rises and bends over to the right. Then draw a second curve above it and join the two ends with a rounded tip.
How do I make the water drops look real?
Give each drop a pointy top and a round bottom. Draw them in different sizes and leave space between them so they look like they are falling.