How to Draw a Drone (Easy Step by Step)
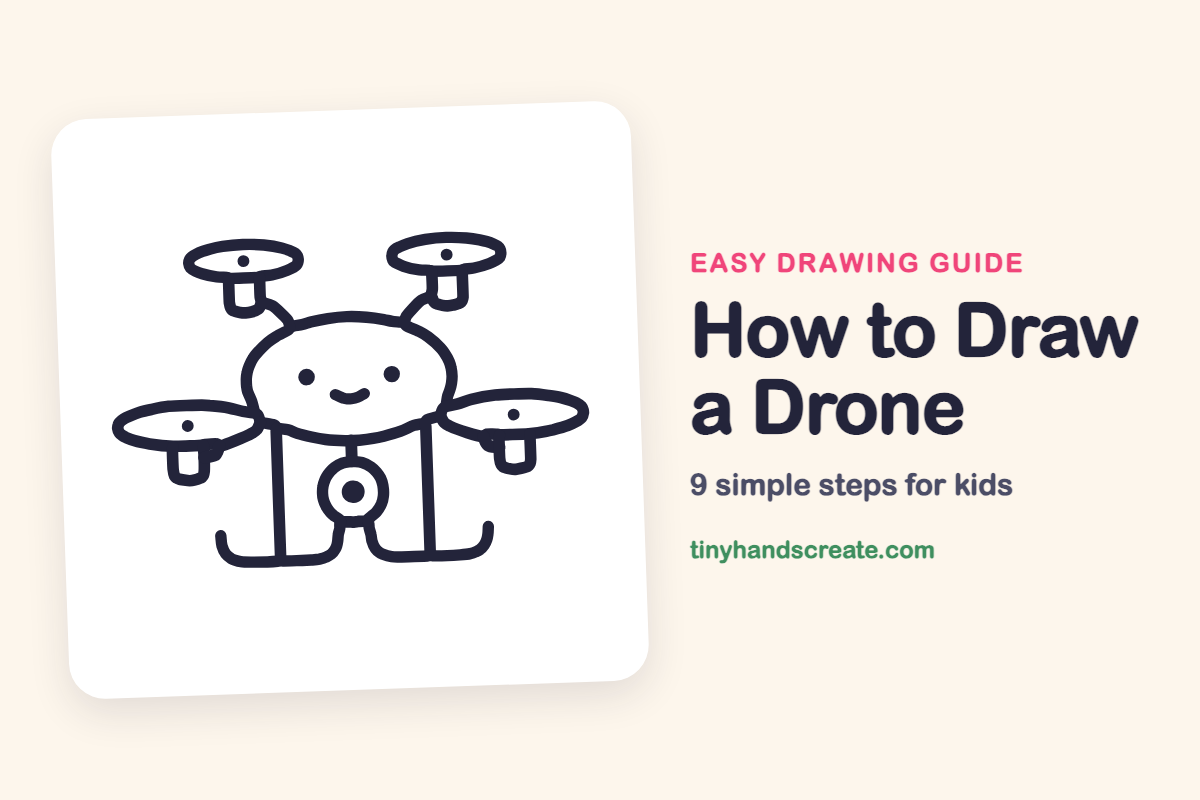
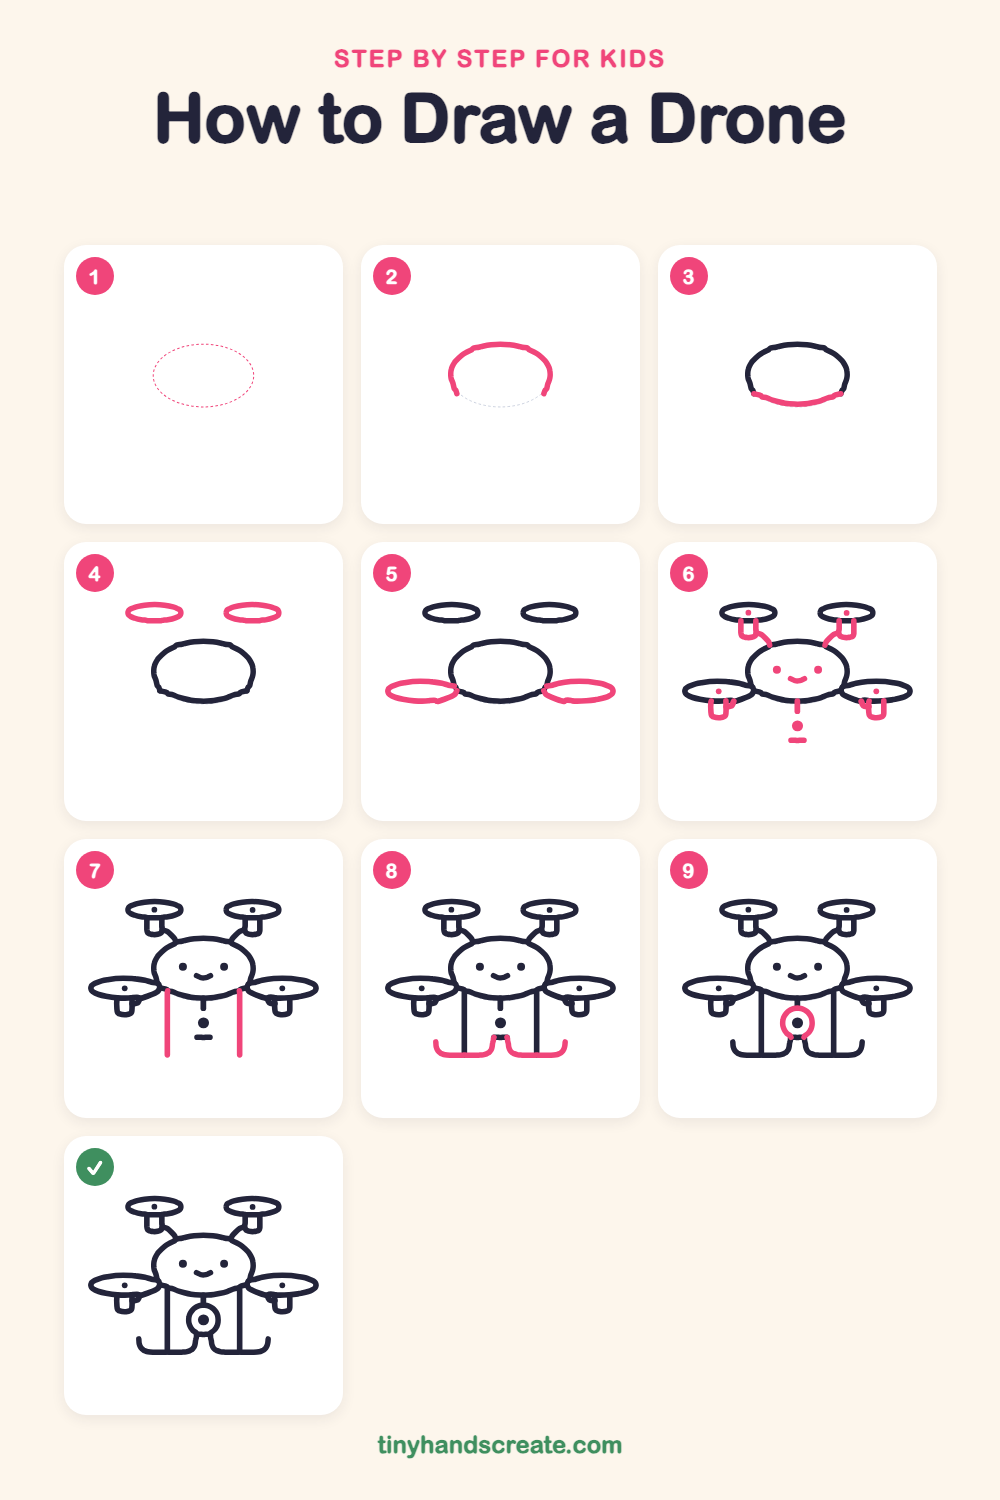
This drone has a friendly face, four propellers and a camera lens, which makes it fun to draw. It is built from simple shapes: ovals for the body and propellers, little U shapes for the motors, and straight lines for the legs.
- Medium
- 15 minutes
- 9 steps
You need: paper, a pencil, an eraser, and crayons or markers for coloring.
Start drawingIn this article (7 sections)
How to draw a drone step by step
How to Draw a Drone · tinyhandscreate.com
Step 1: Guide shapes
Lightly sketch this oval. It only shows where the big parts go, so press softly. You will erase it at the end.
Step 2: Top of the body
Draw the top half of a big wide oval in the middle of your paper, like an upside-down bowl. Stop on each side a little above the middle of the oval.
Step 3: Bottom of the body
Draw a gently curved line across the bottom to join the two ends of your arch. Now the body is a closed, wide oval.
Step 4: Top propellers
Draw two long, flat ovals up high, one on the left and one on the right. Leave a big space between them and the body.
Step 5: Side propellers
Draw two more flat ovals, one on each side of the body, a little lower than the top ones. Let their inner ends touch the body.
Step 6: Face, motors and arms
Under each propeller, draw a small cup shape like the letter U, and add a dot in the middle of each propeller. Draw a short curved arm from each top cup down to the body. Inside the body, add two dot eyes and a curvy smile. Under the body, draw a short line with a big dot and a small dash below it.
Step 7: Two straight legs
From the bottom of the body, draw two long straight lines going down, one on the left and one on the right of the little line and dot.
Step 8: Landing feet
At the bottom of each leg, draw a curved foot like a ski. Sweep the line outward and curl the tip up, then curve the other end up toward the middle. Make the left and right feet match.
Step 9: The camera
Draw a circle around the big dot under the middle of the body, so it hangs from the short line. The dot is the camera lens in the middle.
All done!
Erase the guide shapes, go over your lines, then color it in.
Finished your drone? Keep the pencils out and learn how to draw maracas or how to draw a girl next.
Tips for drawing a drone
- Draw the big body oval first and keep it light. Everything else attaches to it, so it is easier to fit the parts around it.
- Make the four propeller ovals flat and wide, and try to match each pair, left and right. It helps to draw the top ones first.
- The curved feet are the trickiest part. Start at the leg, sweep out, then flick the tip up, and do both feet the same way.
Free drone coloring page
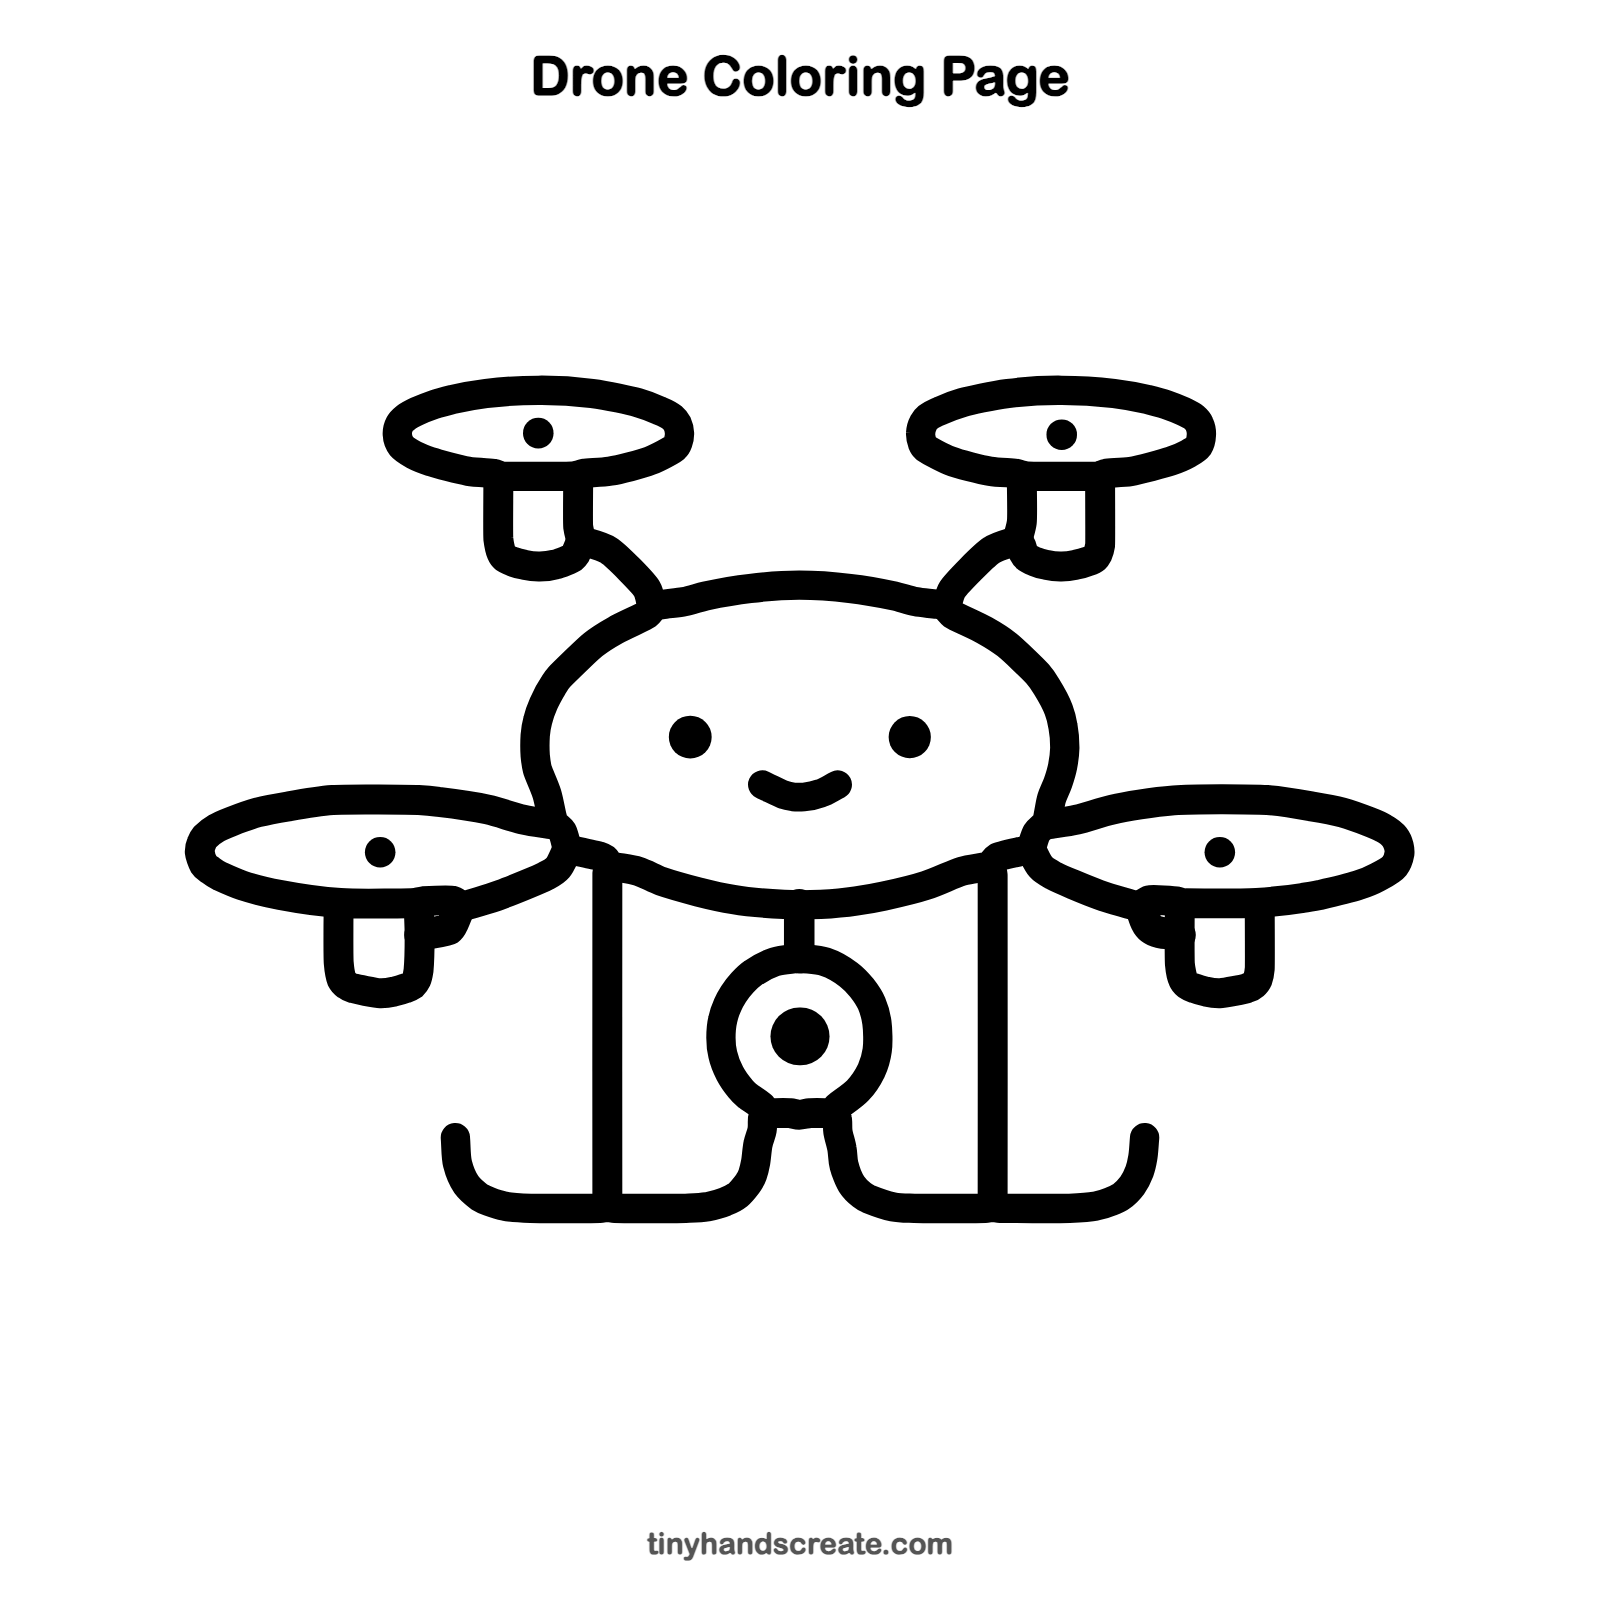
Want to go straight to coloring? Open this drone coloring page at full size and print it. It is the same drawing you just learned, with clean lines ready for crayons or markers.
How to color your drone drawing
Try a bright red or blue body with gray propellers and a yellow camera lens. You could also color the sky behind it light blue.
Drone fun fact for kids
Many drones have four propellers and are called quadcopters. Spinning the propellers at different speeds lets the drone hover, tilt and turn.
Questions about drawing a drone
What shapes do I need to draw a drone?
You need a big oval for the body, four flat ovals for the propellers, small U shapes for the motors, and straight and curved lines for the legs and feet. A small circle makes the camera.
How do I make my drone look cuter?
Give it a round face with two dot eyes and a smile. Keep the body big and the face simple and it will look friendly.
How do I draw the propellers so they look flat?
Draw each one as a wide, flat oval with a small dot in the middle. Keep the left and right ones about the same size.