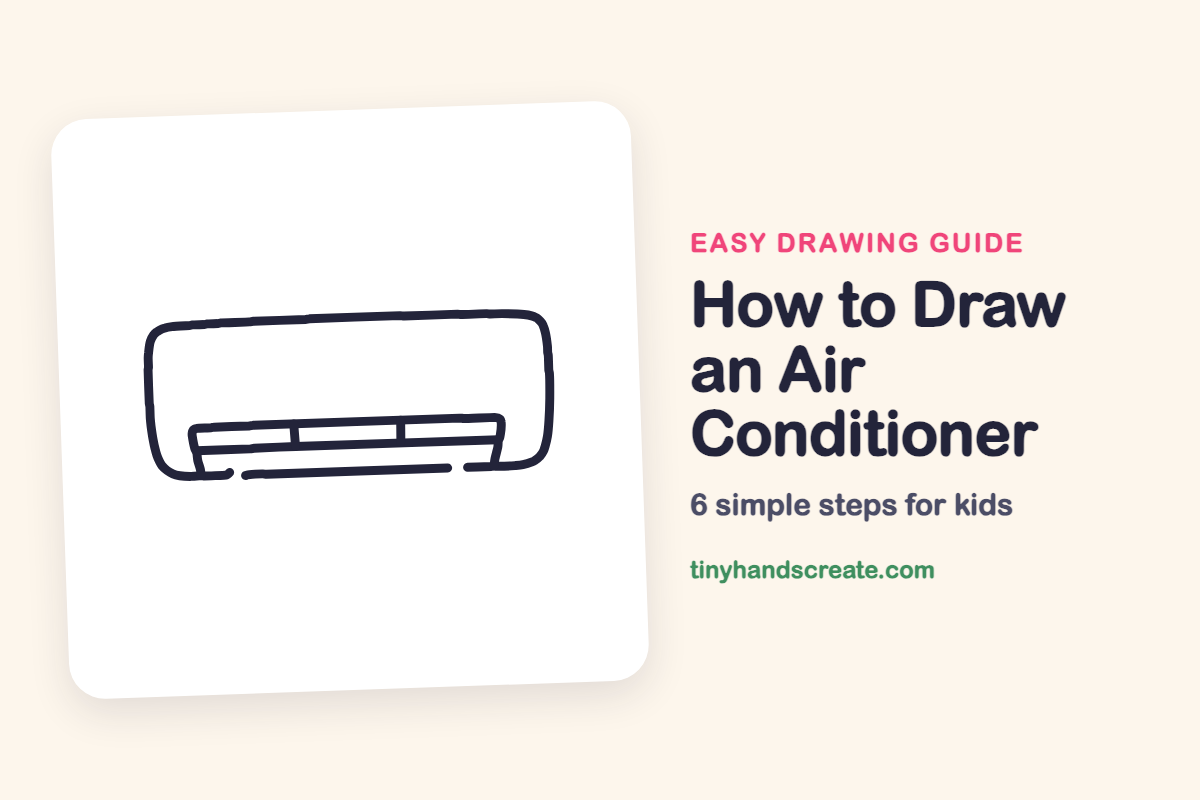
How to Draw an Air Conditioner (Easy Step by Step)
You will learn to draw an air conditioner using simple shapes like straight lines and rounded rectangles. This step-by-step guide helps you practice drawing neat, even shapes by building it from a big box, a vent frame, and basic lines.
- Start your air conditioner drawing with one large box.
- Add a smaller vent frame to the main body of the AC.
- Use simple straight lines to complete your air conditioner design.
- Practice drawing neat and even shapes with this easy object.
This post contains affiliate links. As an Amazon Associate I earn from qualifying purchases.
An air conditioner is a great first object to draw because it is made almost entirely of straight lines and rounded rectangles. You will build it from one big box, a smaller vent frame, and a few simple lines. It is a fun way to practice drawing neat, even shapes.
- Easy
- 8 minutes
- 6 steps
You need: paper, a pencil, an eraser, and crayons or markers for coloring.
Start drawing


In this article (7 sections)
How to draw an air conditioner step by step
How to Draw an Air Conditioner · tinyhandscreate.com
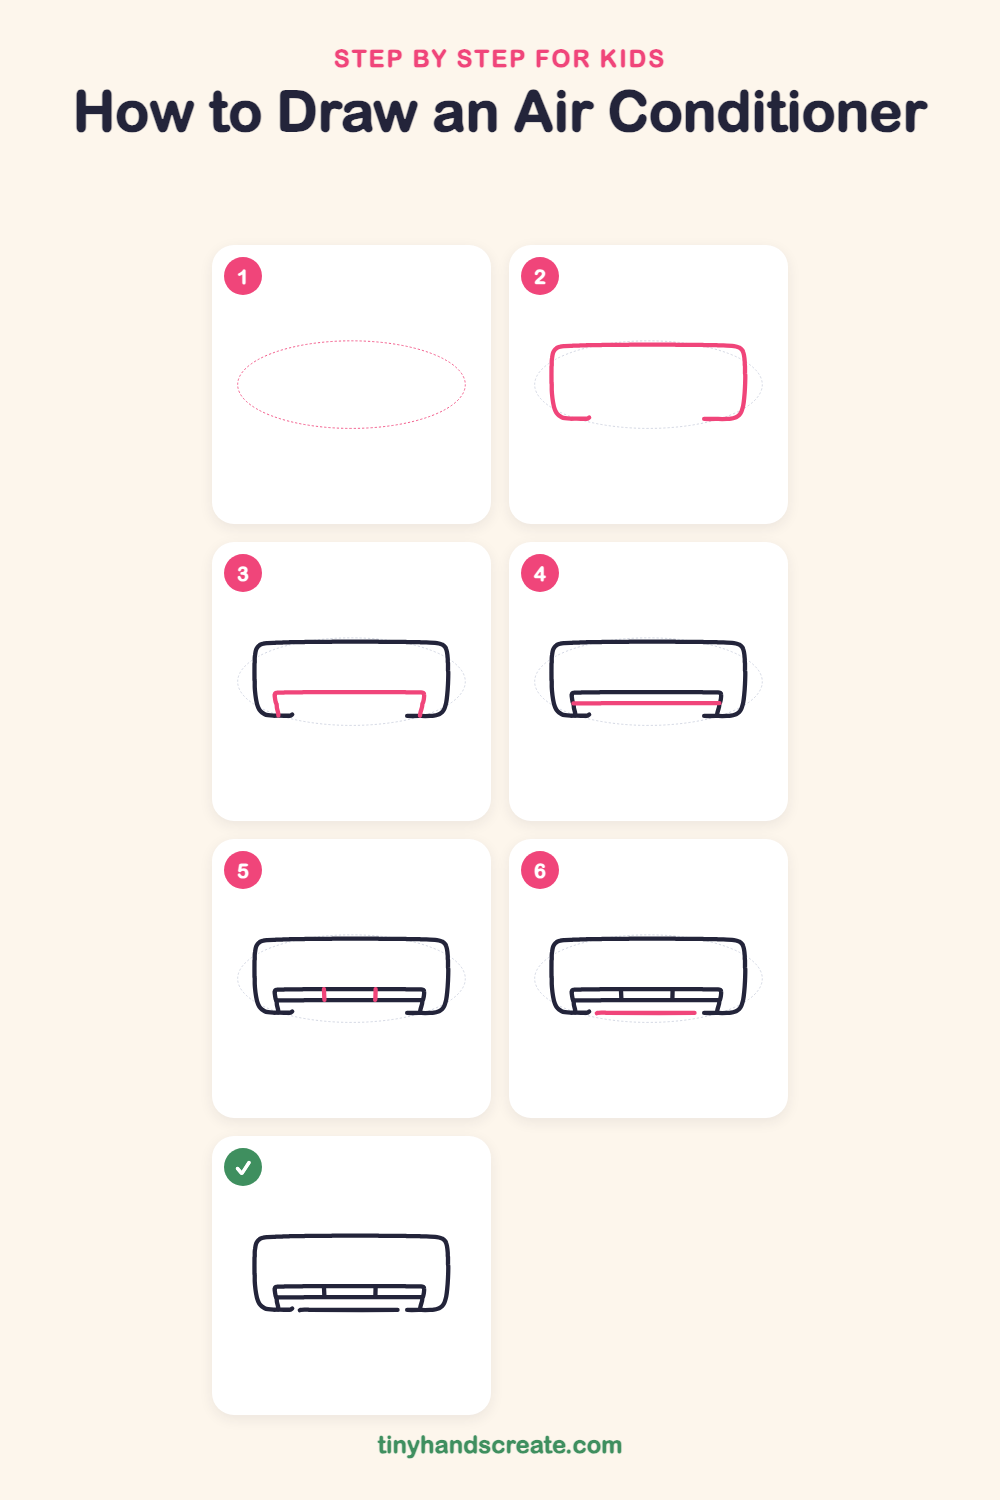
Step 1: Guide shapes
Lightly sketch this oval. It only shows where the big parts go, so press softly. You will erase it at the end.
Step 2: The main box
Draw a long, wide rectangle with soft, rounded corners. Stop the bottom line a little short on the left and right, leaving a gap in the middle of the bottom.
Step 3: The vent frame
Inside the bottom of the box, draw a wide, shallow shape like an upside-down tray. Start low on the left, go up and across the top, then come down on the right. The two short sides lean in just a tiny bit.
Step 4: The flap line
Draw a long straight line across the inside of the vent frame, a little below its top. Start at the left side and end at the right side. This is the flap that points the air.
Step 5: Little dividers
Draw two short straight lines going down from the top of the vent frame to the flap line. They split the top part into three equal sections.
Step 6: The air slot
In the gap at the bottom of the box, draw a long, thin straight line. This is where the cool air blows out.
All done!
Erase the guide shapes, go over your lines, then color it in.
Finished your air conditioner? Keep the pencils out and learn how to draw a rocket or how to draw a shooting star next.
Tips for drawing an air conditioner
- Draw the big box lightly first, so you can fix the corners if they look too sharp. Rounded corners make it look like a real wall unit.
- The vent frame is the trickiest part. Keep its top line straight and let its two short sides lean in just a little as they go down.
- Use the edge of a book as a ruler for the flap line and the air slot if your hand wobbles. Straight lines make this drawing look tidy.
Free air conditioner coloring page
Want to go straight to coloring? Open this air conditioner coloring page at full size and print it. It is the same drawing you just learned, with clean lines ready for crayons or markers.
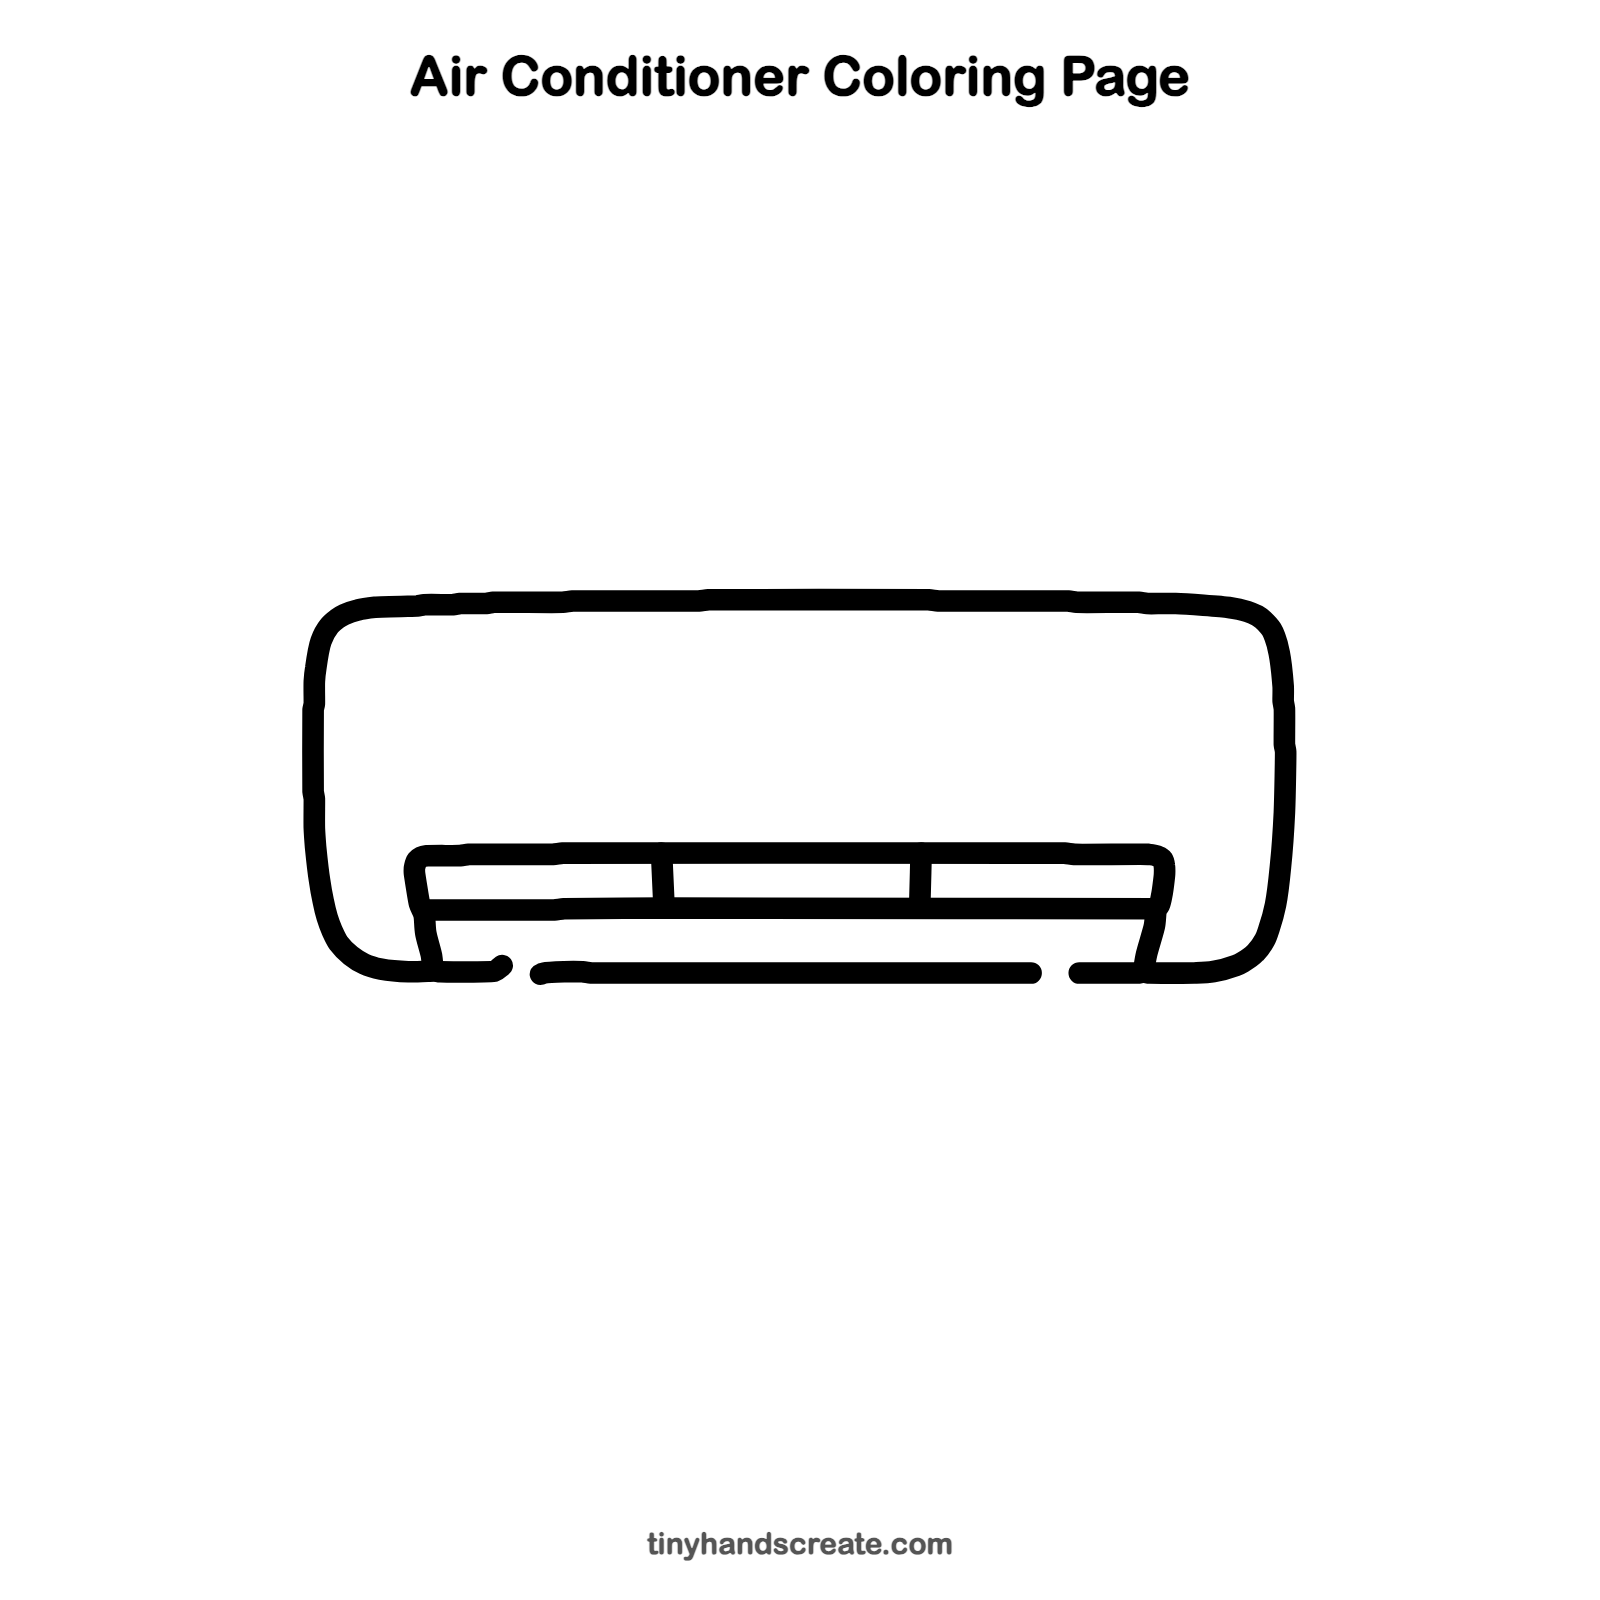
How to color your air conditioner drawing
Try soft white, light gray, and pale blue for the body, with a bright blue slot where the cool air comes out. For a creative twist, draw tiny snowflakes and swirly wind lines blowing out of the bottom.
Air conditioner fun fact for kids
Air conditioners do not make cold air from nothing. They pull heat out of a room and send it outside, which is why the box on the outside of a house feels warm.
Questions about drawing an air conditioner
What shapes do I need to draw an air conditioner?
You only need a big rounded rectangle for the body and a smaller wide shape for the vent. A few straight lines add the flap, the dividers, and the air slot.
How do I make my air conditioner look more real?
Keep the corners of the main box rounded and the vent lines straight. Adding the thin air slot along the bottom makes it look like a real wall unit.
How do I show that the air is cold?
Draw curvy wind lines and little snowflakes coming out of the bottom slot. You can also color the air light blue.