How to Draw an Electric Plug (Easy Step by Step)
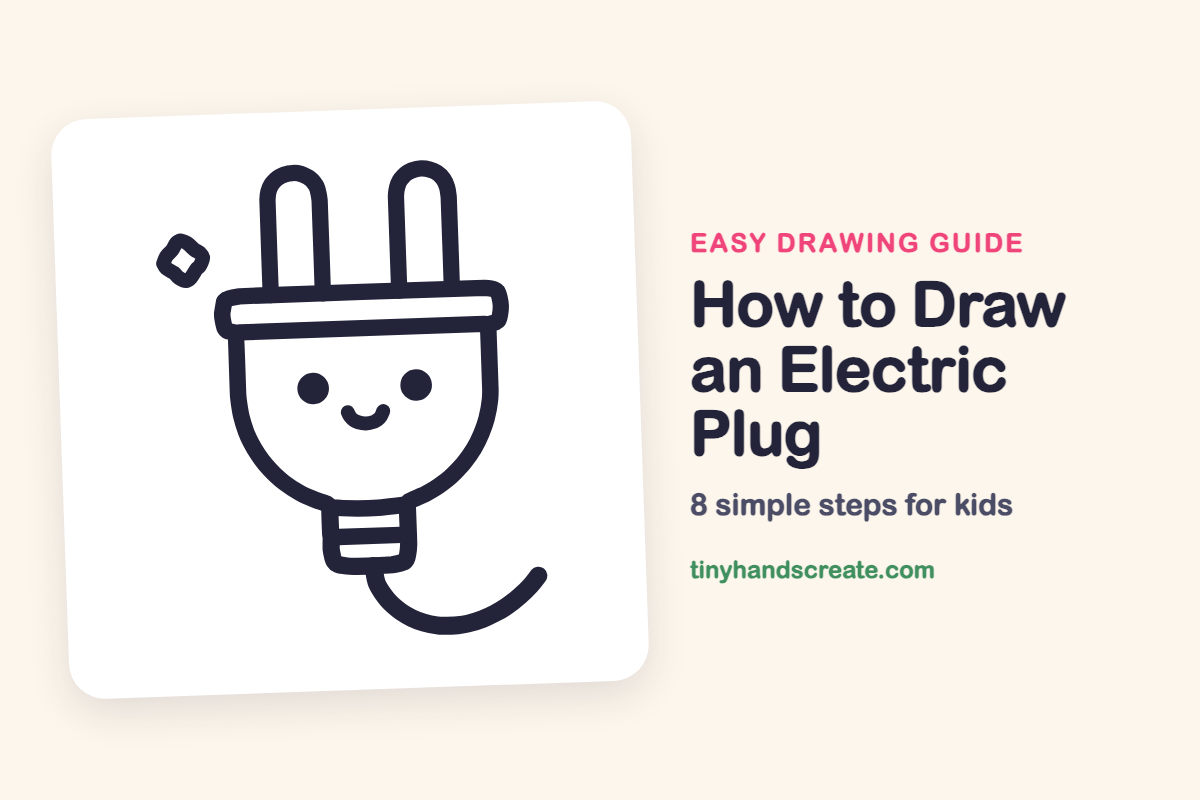
Learn to draw a cheerful electric plug with a smiling face, prongs, and a curvy cord using simple shapes like rectangles and rounded bars. This easy, step-by-step guide helps you practice basic drawing skills.
- Draw a cheerful electric plug with a smiling face.
- Construct the plug using basic shapes: rectangles, bars, and a bowl.
- Follow simple steps to create prongs and a curvy cord.
- Practice fundamental drawing skills by animating an everyday object.
This post contains affiliate links. As an Amazon Associate I earn from qualifying purchases.
This cheerful plug has a round smiling face, two tall prongs, and a curvy cord. It is built from simple shapes: a rectangle, two rounded bars, a bowl shape, a small box, and one little diamond sparkle. Giving an everyday object a happy face is a great way to practice basic shapes.
- Easy
- 10 minutes
- 8 steps
You need: paper, a pencil, an eraser, and crayons or markers for coloring.
Start drawing


In this article (7 sections)
How to draw an electric plug step by step
How to Draw an Electric Plug · tinyhandscreate.com
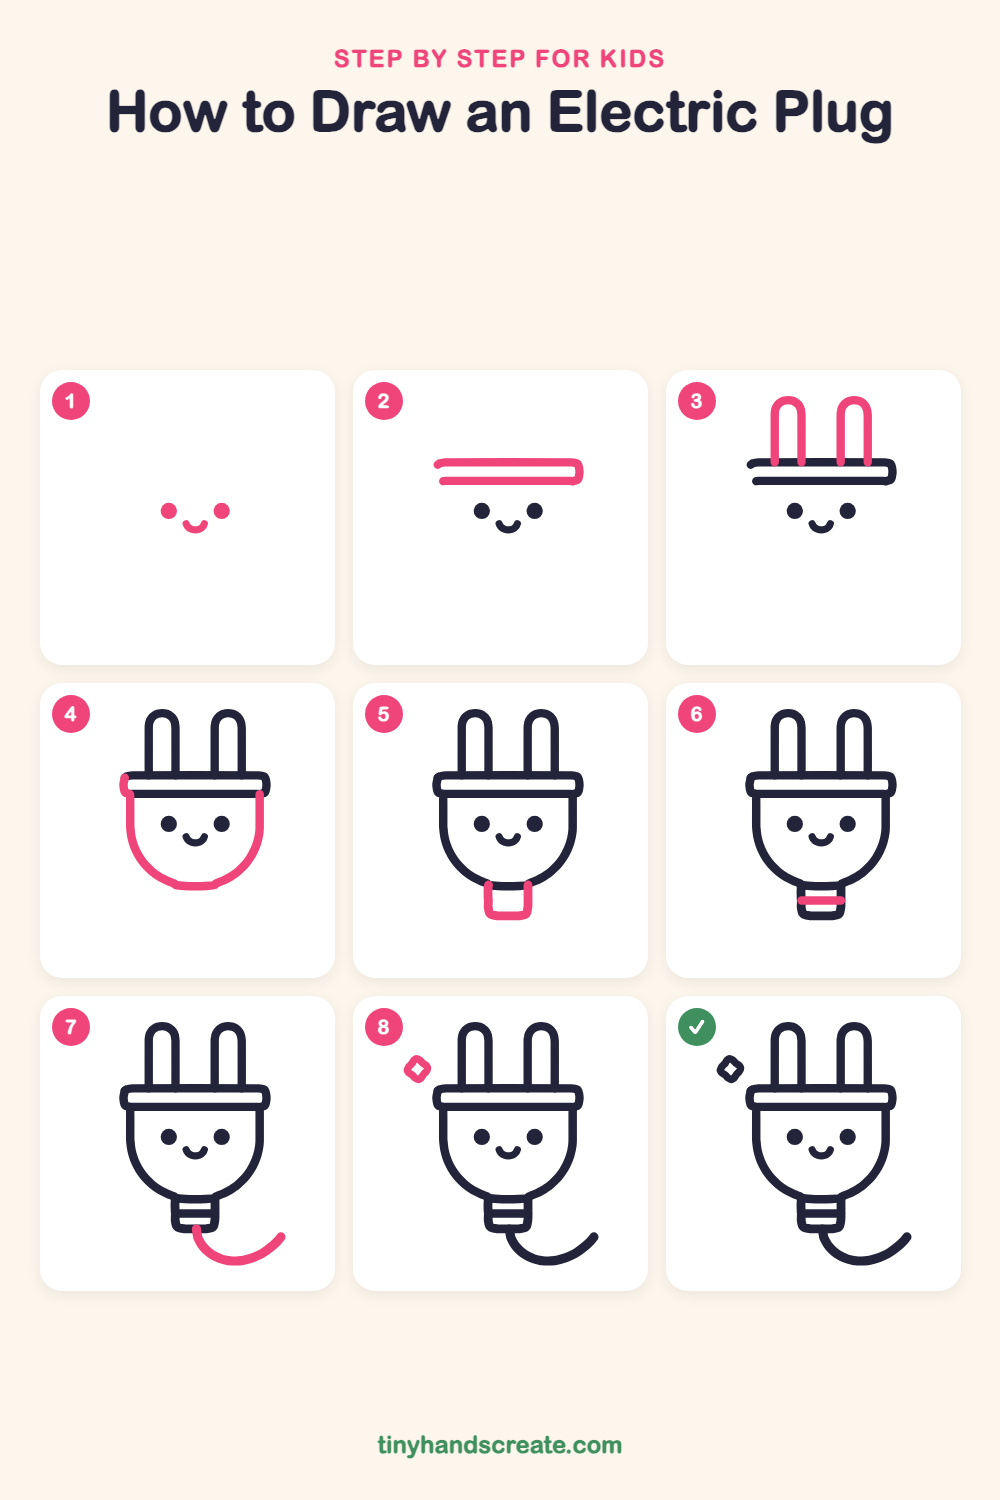
Step 1: The happy face
In the middle of the page, draw two small round dots for eyes, side by side. Between them and a little lower, draw a tiny curved smile like a little bowl.
Step 2: The top cap
Above the face, draw a long, wide rectangle with rounded corners. Make it flat and about as wide as the face is tall, with a thin empty strip inside it.
Step 3: The two prongs
Draw two tall skinny shapes standing up from the cap, like bunny ears with round tops. Keep them the same height and space them apart evenly.
Step 4: The round body
Under the cap, draw a big bowl shape around the face. Start at the left end of the cap, go straight down, curve around the bottom, and go back up to the right end of the cap.
Step 5: The neck
Under the round body, draw a small box with rounded bottom corners. It is where the cord will attach.
Step 6: The neck stripe
Draw one short, straight line across the middle of the neck box, from one side to the other.
Step 7: The curvy cord
Start at the bottom of the neck and draw a long curvy line that swoops down and then up to the right, like a big smile.
Step 8: The sparkle
Off to the upper left of the prongs, draw a little diamond shape with softly rounded corners. Add a tiny diamond in the middle.
All done!
Go over your lines with a marker, then color it in.
Finished your electric plug? Keep the pencils out and learn how to draw a rocket or how to draw a shooting star next.
Tips for drawing an electric plug
- Draw the two prongs the same height and the same width. Light guide lines at the top can help them match.
- Draw the face first, then build the cap and body around it. Start the bowl at the ends of the cap and curve down so both sides match.
- Keep the face small and centered. Place the eyes first, then tuck the smile between and below them.
Free electric plug coloring page
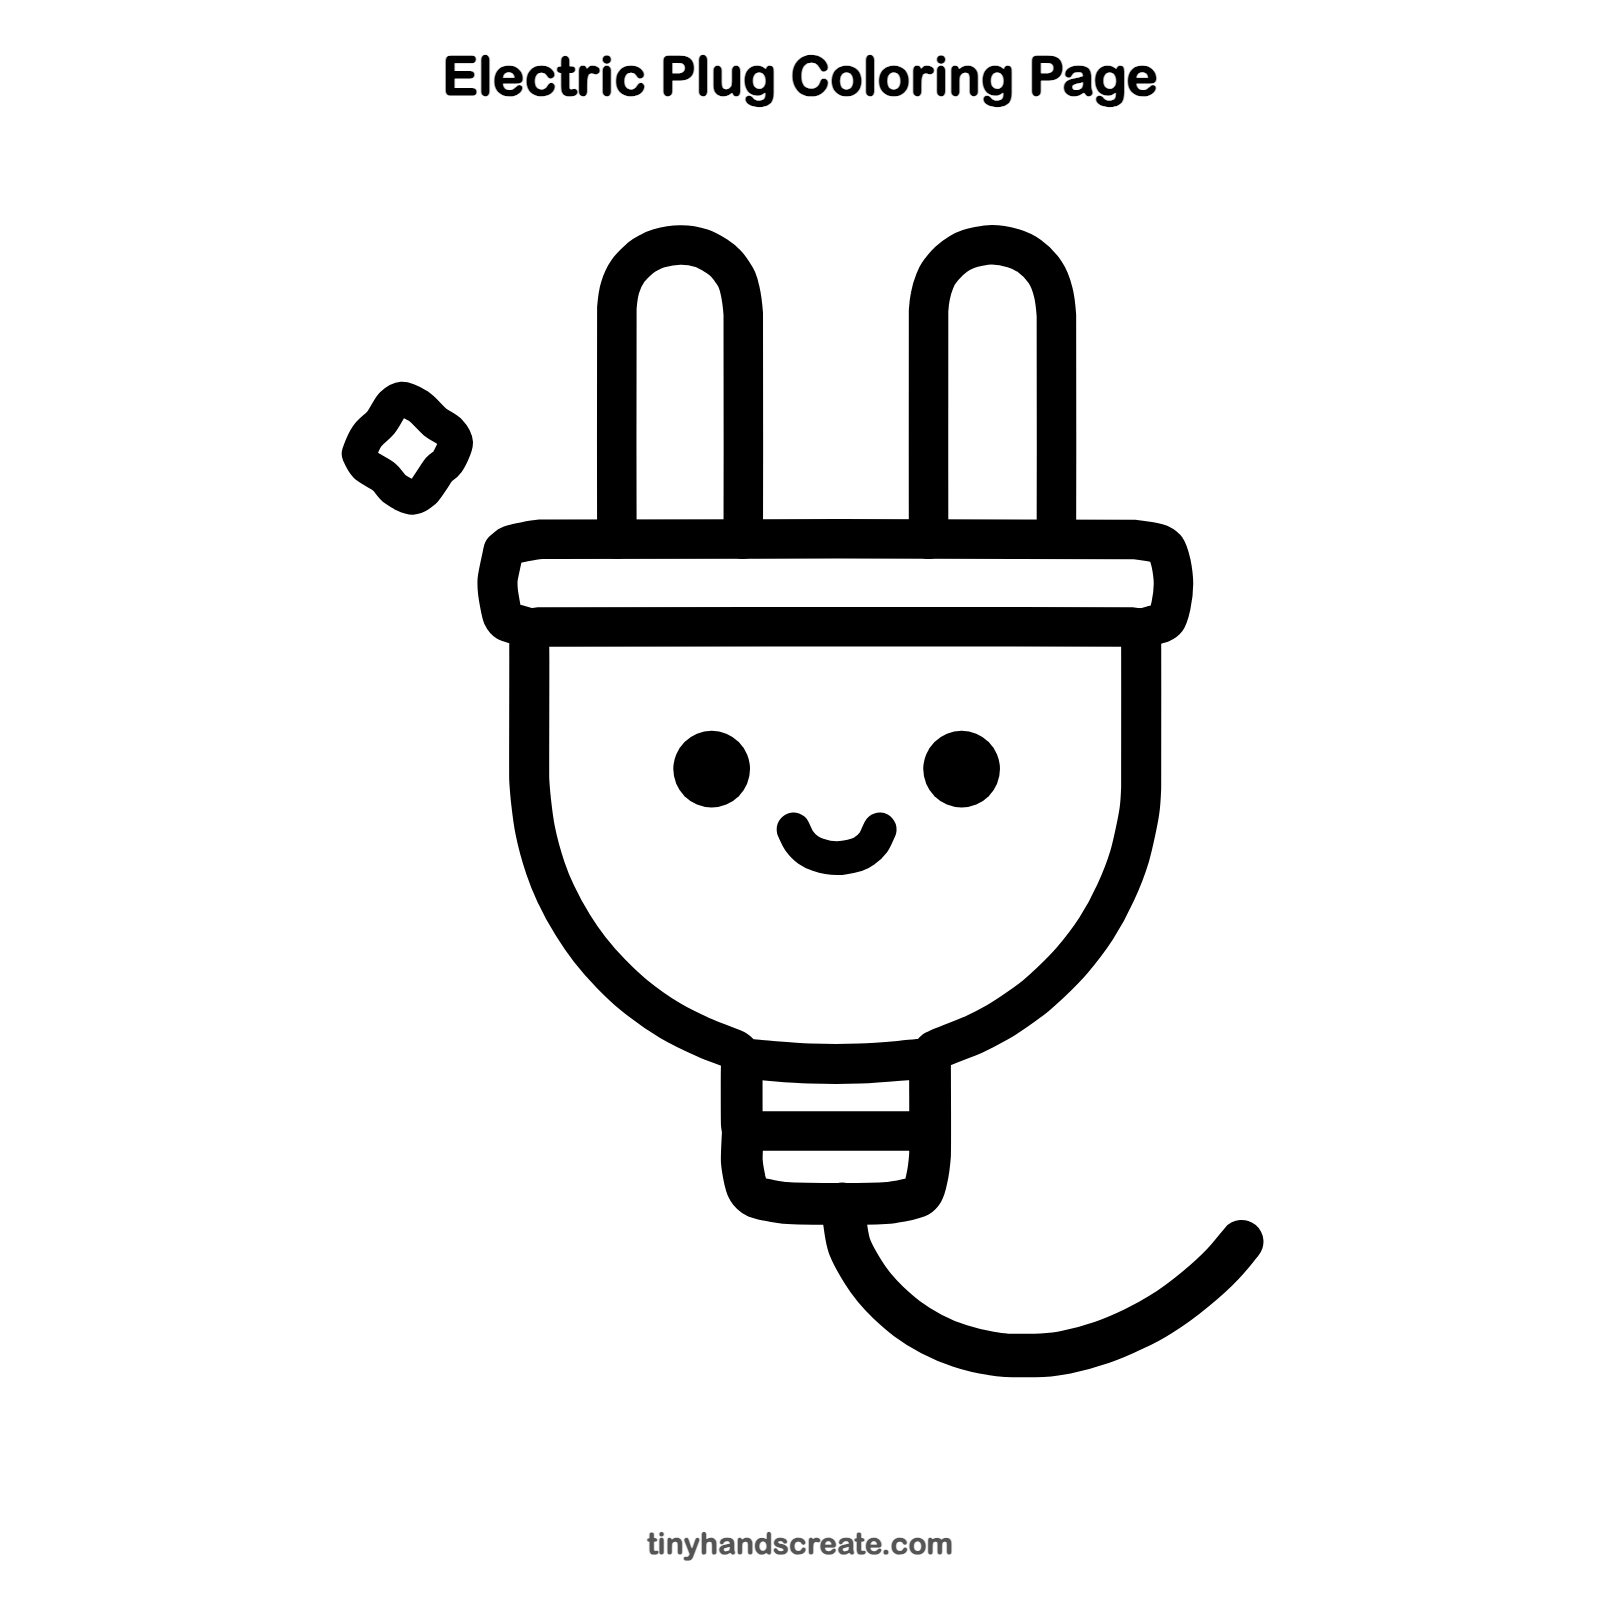
Want to go straight to coloring? Open this electric plug coloring page at full size and print it. It is the same drawing you just learned, with clean lines ready for crayons or markers.
How to color your electric plug drawing
Try a bright yellow or orange body with gray prongs and a blue cord. For a creative twist, color the sparkle in rainbow stripes or give the plug rosy cheeks.
Electric plug fun fact for kids
The metal prongs on a plug are called blades or pins. They slide into the holes of a wall socket so electricity can travel through the cord to power lamps, toys, and chargers.
Questions about drawing an electric plug
What shapes do I need to draw an electric plug?
You need a wide rectangle for the cap, two tall rounded bars for the prongs, a bowl shape for the body, and a small box for the neck.
How do I make my plug look cuter?
Start with a little dot-eyed face and a smile, and add a sparkle nearby. Rosy cheeks also help.
How do I draw the cord so it looks smooth?
Draw it in one slow, curving line from the neck down and up, like a smile. Lightly sketch the curve first if you like.