How to Draw an Electric Bike (Easy Step by Step)
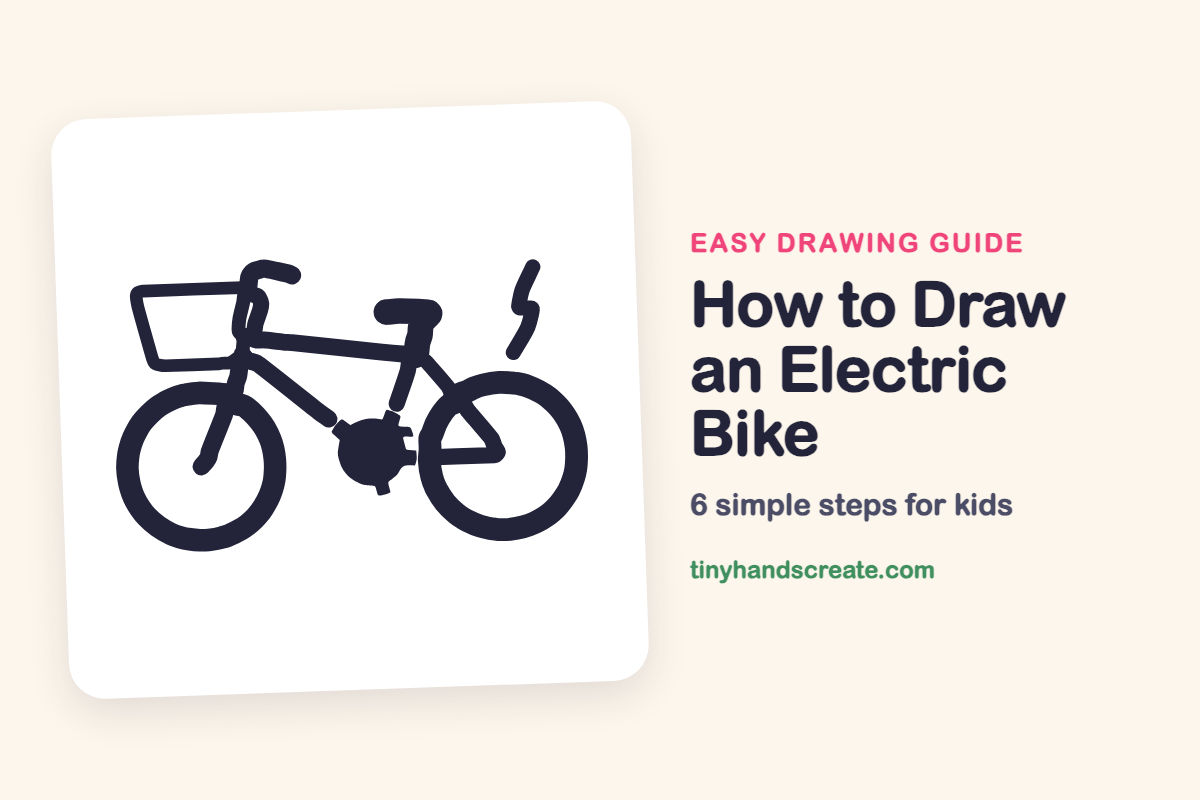
Learn to draw an electric bike easily by breaking it down into simple shapes. You'll use rings for wheels, straight lines for the frame, a round blob for the motor, and a box for the basket.
- Start your electric bike drawing with simple shapes.
- Use two rings to form the wheels of your bike.
- Draw straight lines to create the bike's frame.
- Add a round blob for the motor and a box for the basket.
This post contains affiliate links. As an Amazon Associate I earn from qualifying purchases.
An electric bike looks a lot like a regular bike, with a motor and a lightning bolt as special extras. You can build it from simple shapes: two rings for wheels, straight lines for the frame, a round blob for the motor, and a box for the basket.
- Medium
- 15 minutes
- 6 steps
You need: paper, a pencil, an eraser, and crayons or markers for coloring.
Start drawing


In this article (7 sections)
How to draw an electric bike step by step
How to Draw an Electric Bike · tinyhandscreate.com
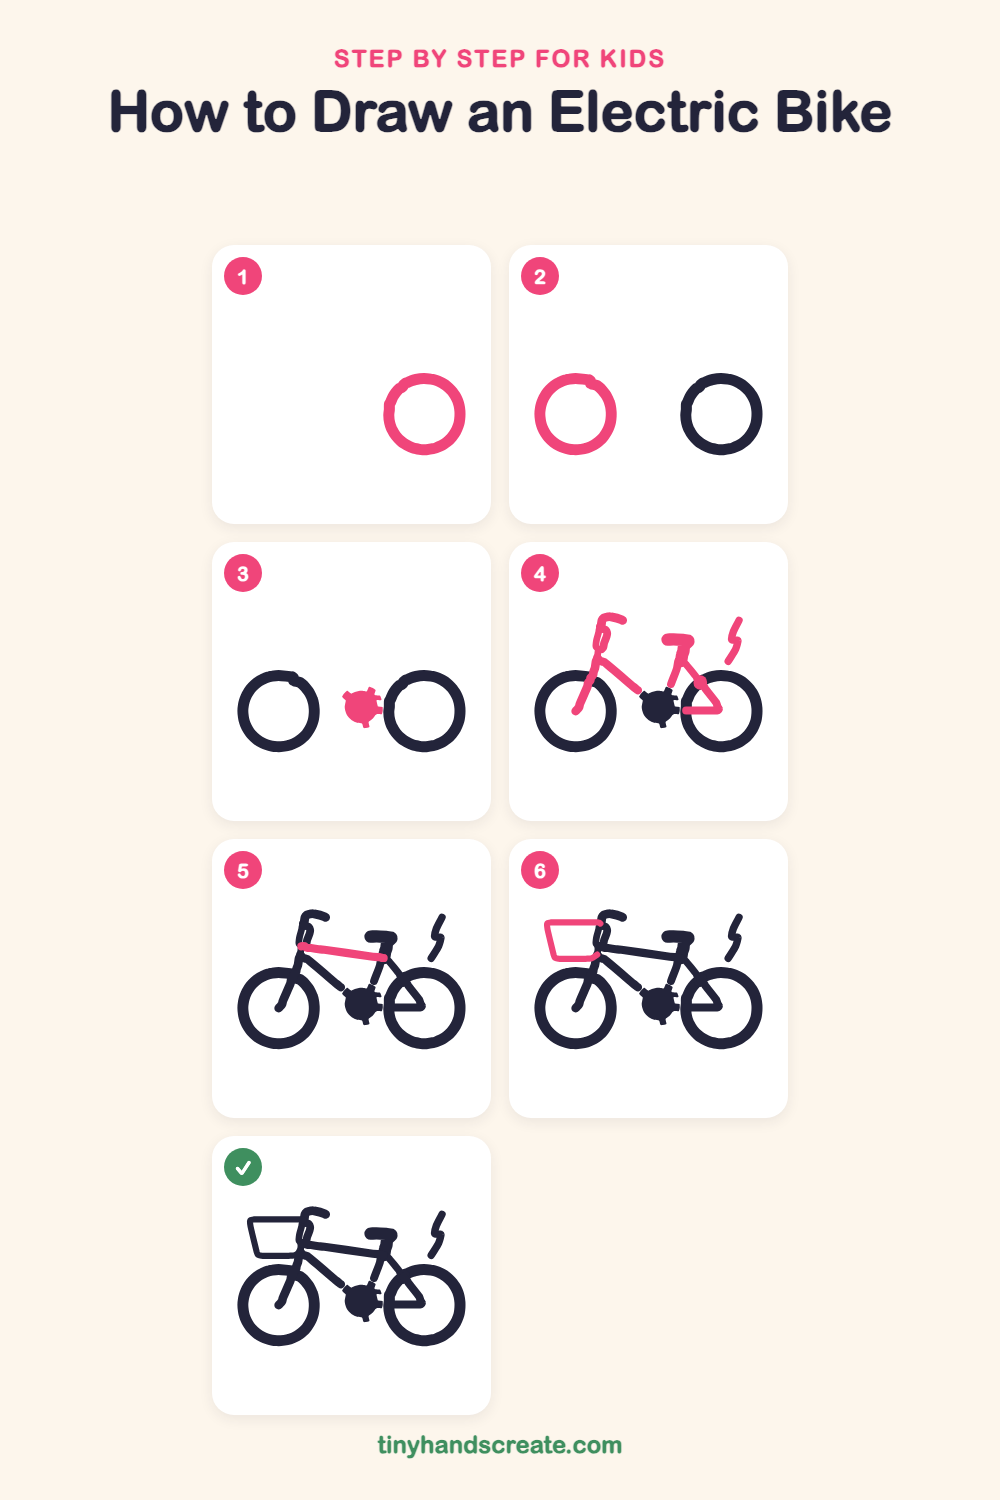
Step 1: The right wheel
On the right side of your paper, draw a big circle with a thick line, like a ring. This is the back wheel, so leave room on the left for the rest of the bike.
Step 2: The left wheel
On the left side, draw another thick ring the same size as the first one. Keep both wheels sitting on the same line, like they are on the ground.
Step 3: The motor
Between the wheels, close to the right wheel and near the bottom, draw a small round blob for the motor. Add a few little bumps around its edge.
Step 4: Frame, seat and bolt
Start at the middle of the left wheel and draw a slanted line up to a curved handlebar on top. From that line, draw a second line down to the motor. Then draw a short slanted seat post with a flat rounded seat on top, and a line from the seat down to the middle of the right wheel. Finish with a small zigzag lightning bolt above the right wheel.
Step 5: The top bar
Draw one long, slightly slanted line from the handlebar post across to the seat post. It connects the front and back of the bike.
Step 6: The basket
In front of the handlebar, draw a box that is wider at the top than at the bottom, like a flowerpot. Let its top right corner touch the handlebar post.
All done!
Go over your lines with a marker, then color it in.
Finished your electric bike? Keep the pencils out and learn how to draw a rocket or how to draw a shooting star next.
Tips for drawing an electric bike
- Draw the two wheels first and make them about the same size. If one looks squished, lightly trace around a round lid or cup.
- The frame is the trickiest part. Start the first line at the middle of the left wheel and slant it up toward the handlebar, then add the other lines one at a time.
- Draw the basket as a box that is wider at the top than at the bottom. Keep its top edge level and let it touch the handlebar post.
Free electric bike coloring page
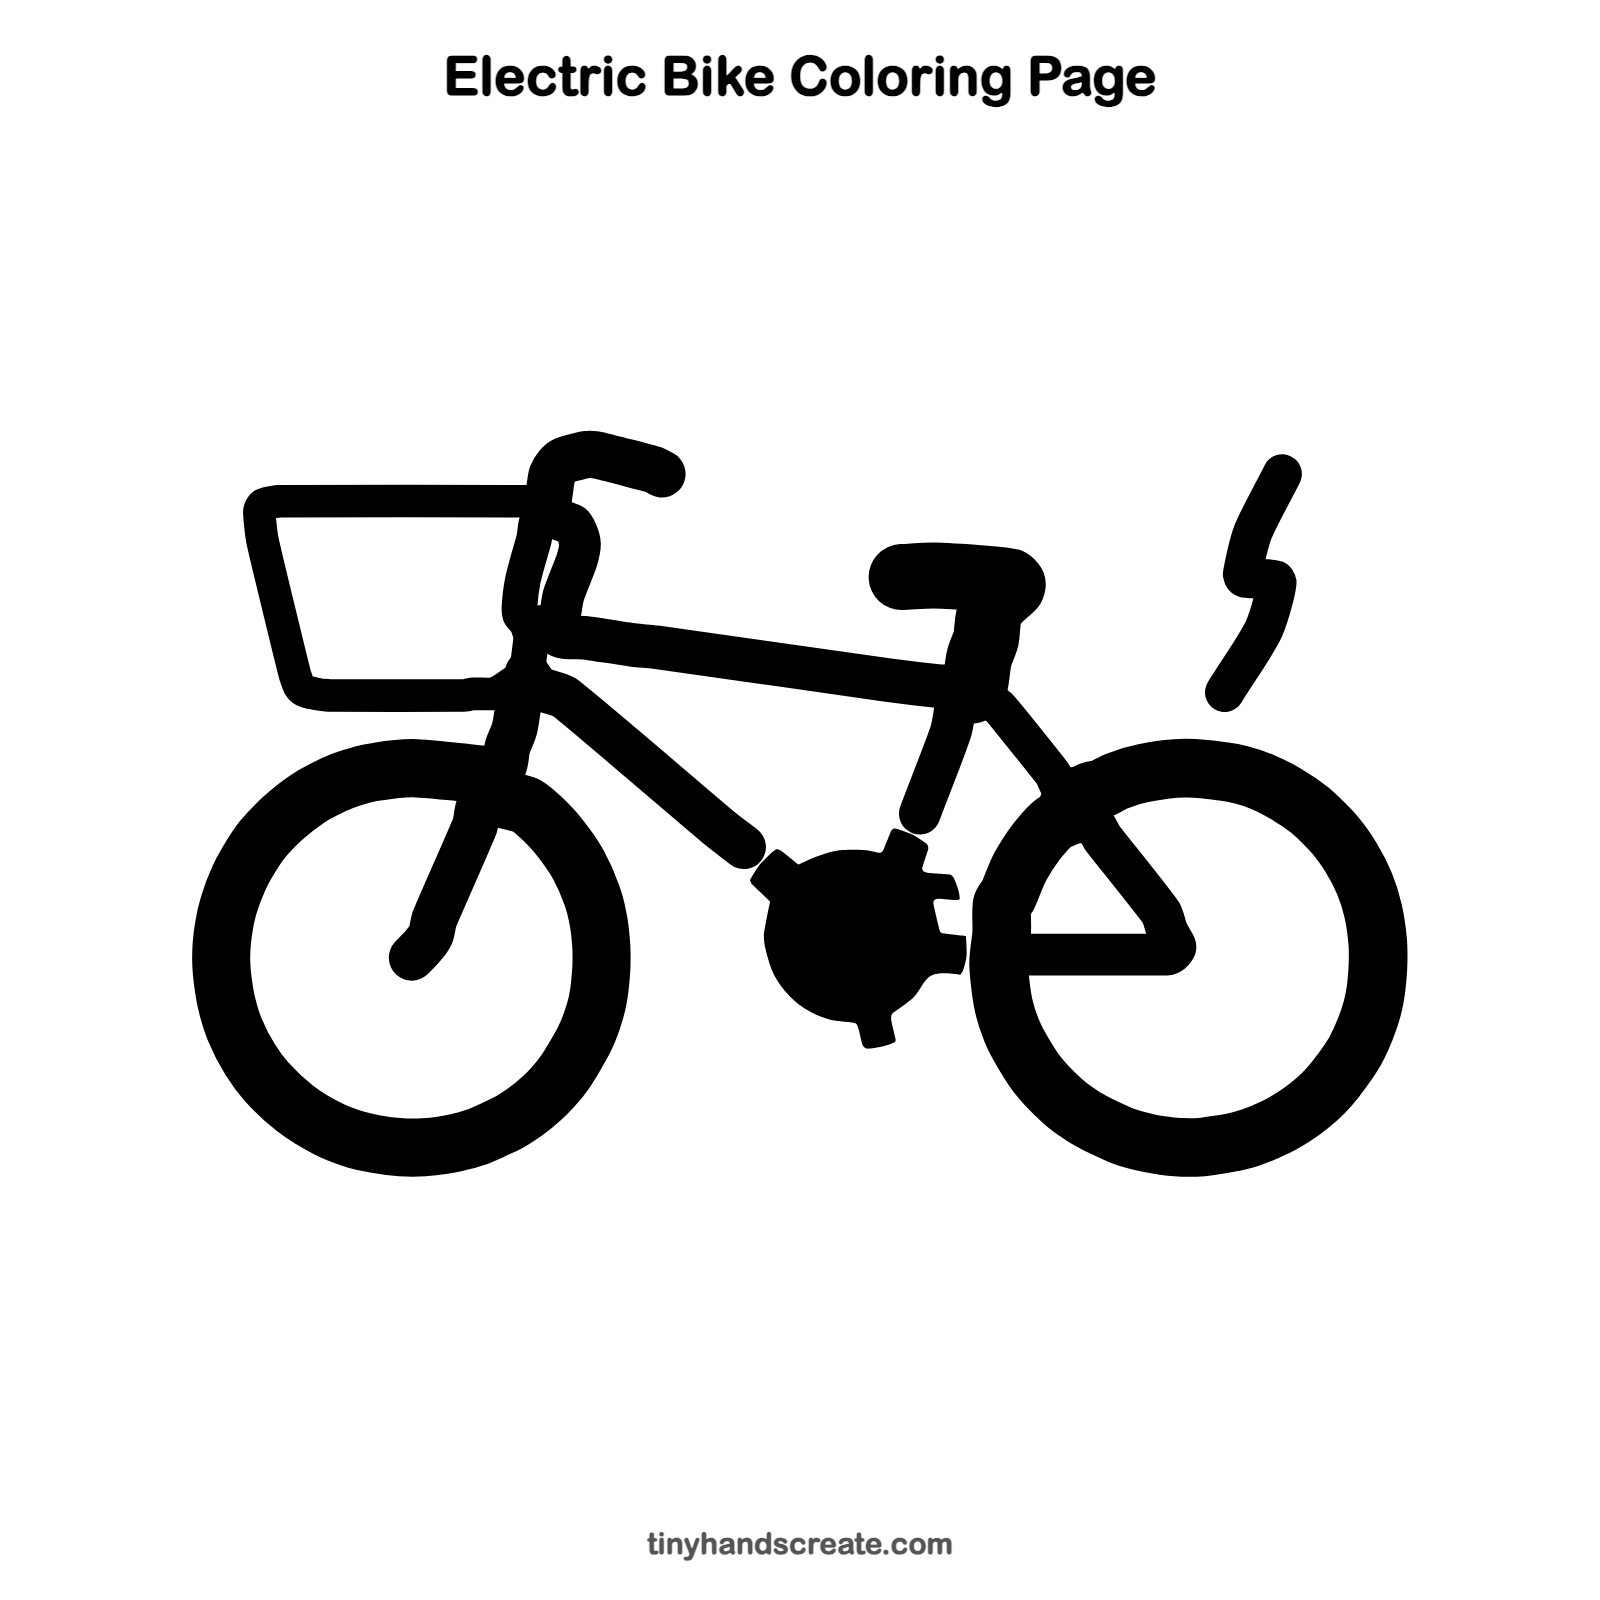
Want to go straight to coloring? Open this electric bike coloring page at full size and print it. It is the same drawing you just learned, with clean lines ready for crayons or markers.
How to color your electric bike drawing
Try a bright blue or red frame with black tires and a yellow lightning bolt. For a creative twist, color the basket brown like woven straw.
Electric bike fun fact for kids
Many electric bikes have pedal assist, which means the motor helps your legs only while you are pedaling.
Questions about drawing an electric bike
What shapes do I need to draw an electric bike?
You need two thick rings for the wheels, a few straight lines for the frame and top bar, a round blob for the motor, and a box for the basket.
How do I make my bike wheels look round?
Trace a cup or a lid very lightly in pencil first, then draw the thick tire ring around it. You can also draw the circle in one slow, smooth motion.
How can I show that the bike is electric?
Add a round motor between the wheels and a lightning bolt above the back wheel. The bolt tells everyone this bike has extra power.