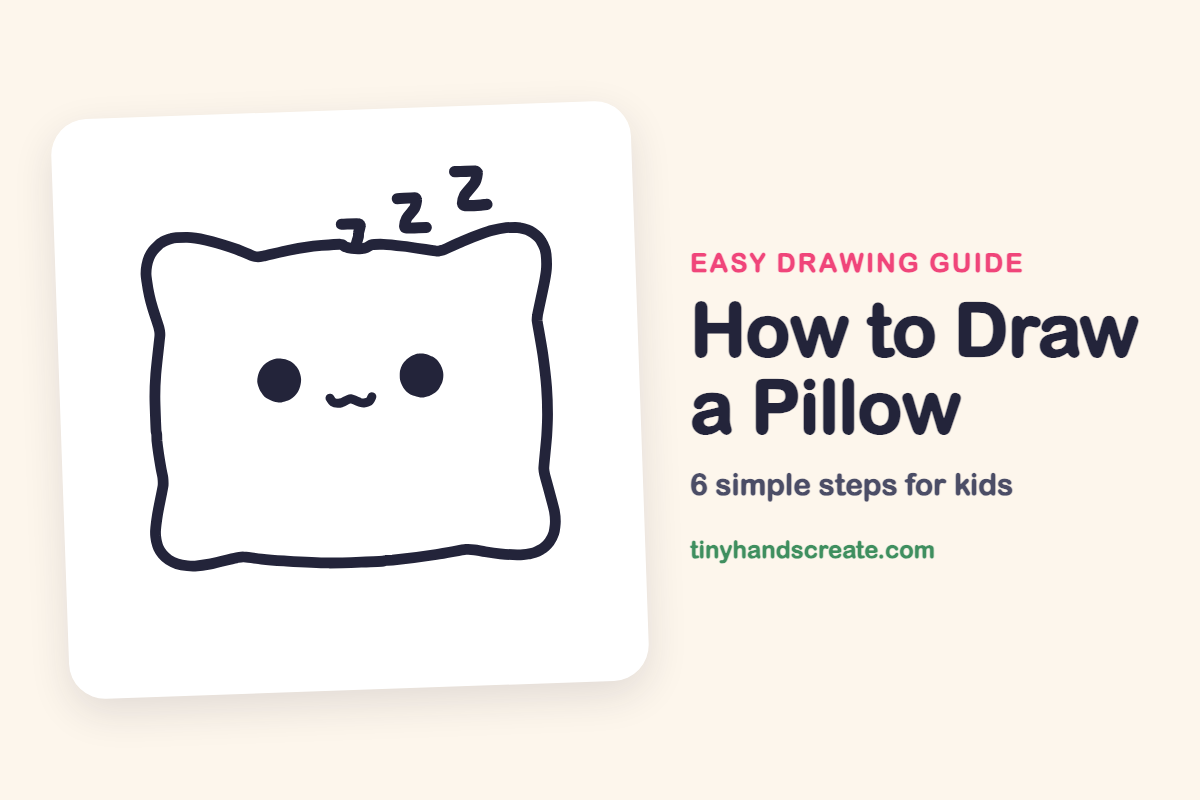
How to Draw a Pillow (Easy Step by Step)
Learn to draw a cute, sleepy pillow with simple shapes. You'll create a puffy rounded square, add two dots for eyes, a wavy smile, and a few letter Zs, making it easy for anyone to follow.
- Begin your pillow with a puffy rounded square.
- Add two simple dots to form the eyes.
- Draw a small wavy line for a sleepy smile.
- Include a few letter Zs to show the pillow is sleeping.
This post contains affiliate links. As an Amazon Associate I earn from qualifying purchases.
A sleepy pillow with a tiny face is one of the easiest cute drawings to make. It is built from a puffy rounded square, two dots for eyes, a little wavy smile, and a few letter Zs. Anyone who can write a Z can draw this one.
- Easy
- 8 minutes
- 6 steps
You need: paper, a pencil, an eraser, and crayons or markers for coloring.
Start drawing


In this article (7 sections)
How to draw a pillow step by step
How to Draw a Pillow · tinyhandscreate.com
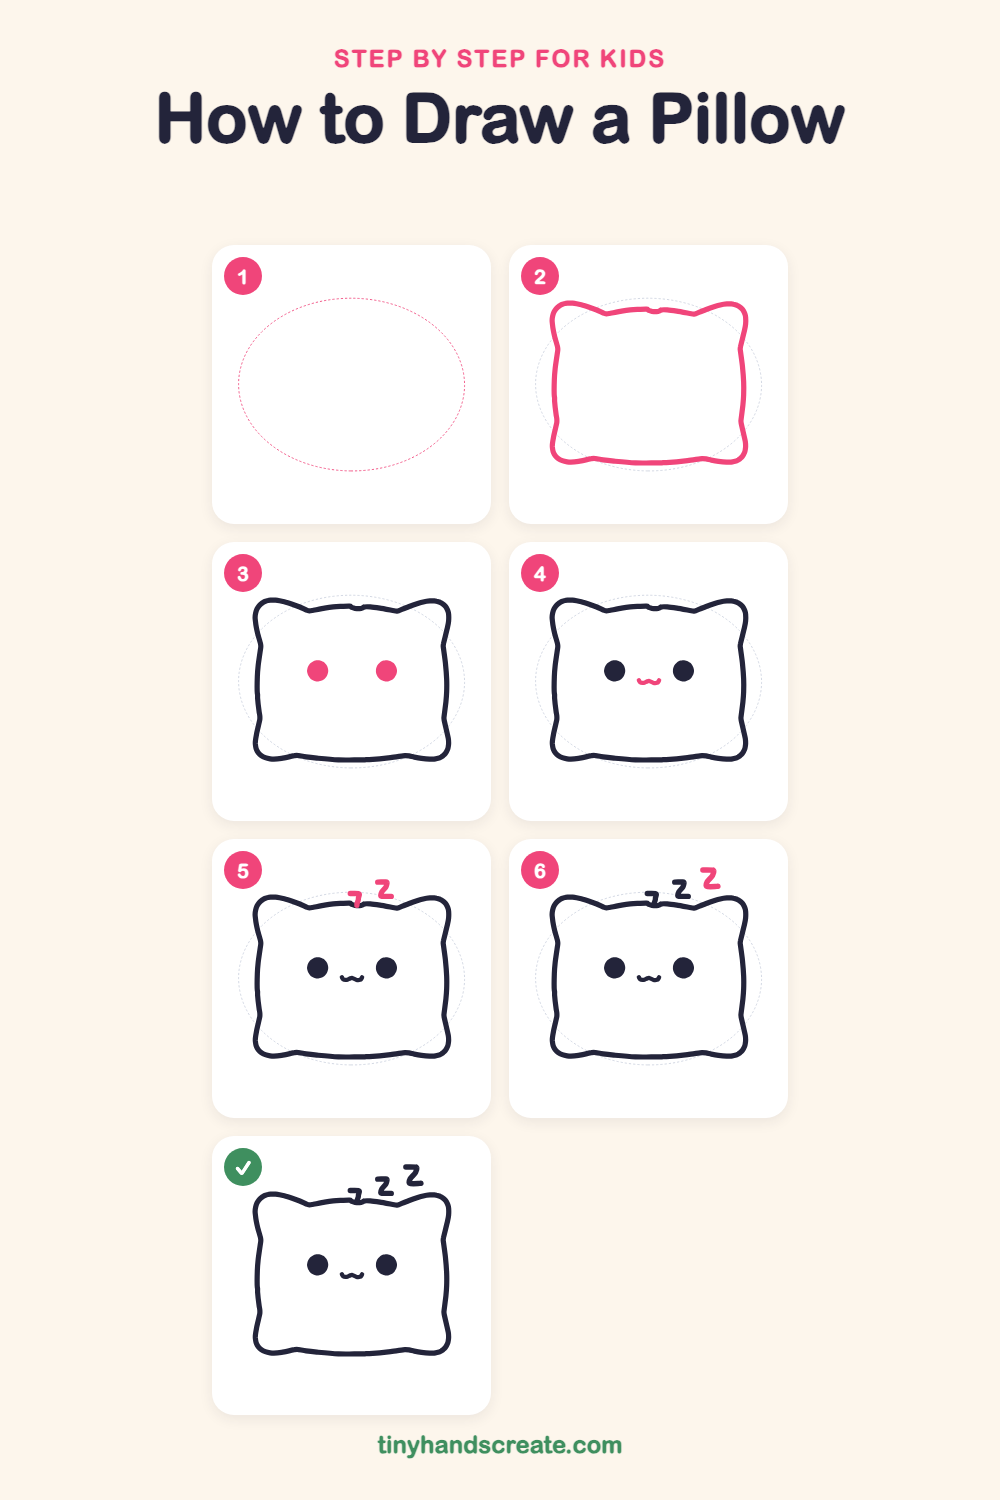
Step 1: Guide shapes
Lightly sketch this oval. It only shows where the big parts go, so press softly. You will erase it at the end.
Step 2: The pillow shape
Draw a big rounded square with a wobbly outline. Make the four corners puffy and curve each side in just a little, like a squished cushion.
Step 3: The two eyes
Draw two round dots in the middle of the pillow, side by side, with a gap between them. Color them in solid.
Step 4: The little smile
Between the eyes and just below them, draw a tiny wavy line, like a small sideways w.
Step 5: Two small Zs
Near the top edge of the pillow, draw a small Z with one line across and a slanted line down. Draw a second small Z just to its right, a little higher up.
Step 6: The biggest Z
Up and to the right of the other Zs, draw one more Z that is bigger than the first two: a line across, a slanted line down, and a line across again.
All done!
Erase the guide shapes, go over your lines, then color it in.
Finished your pillow? Keep the pencils out and learn how to draw a rocket or how to draw a shooting star next.
Tips for drawing a pillow
- Start with a light rounded square, then add the puffy corners. Curving each side in a little makes it look soft instead of stiff.
- Keep the two eyes the same size and at the same height. Draw one, then match the second one across from it.
- Draw the Zs a bit bigger as they float up and to the right. Leave a little space between them so they do not touch.
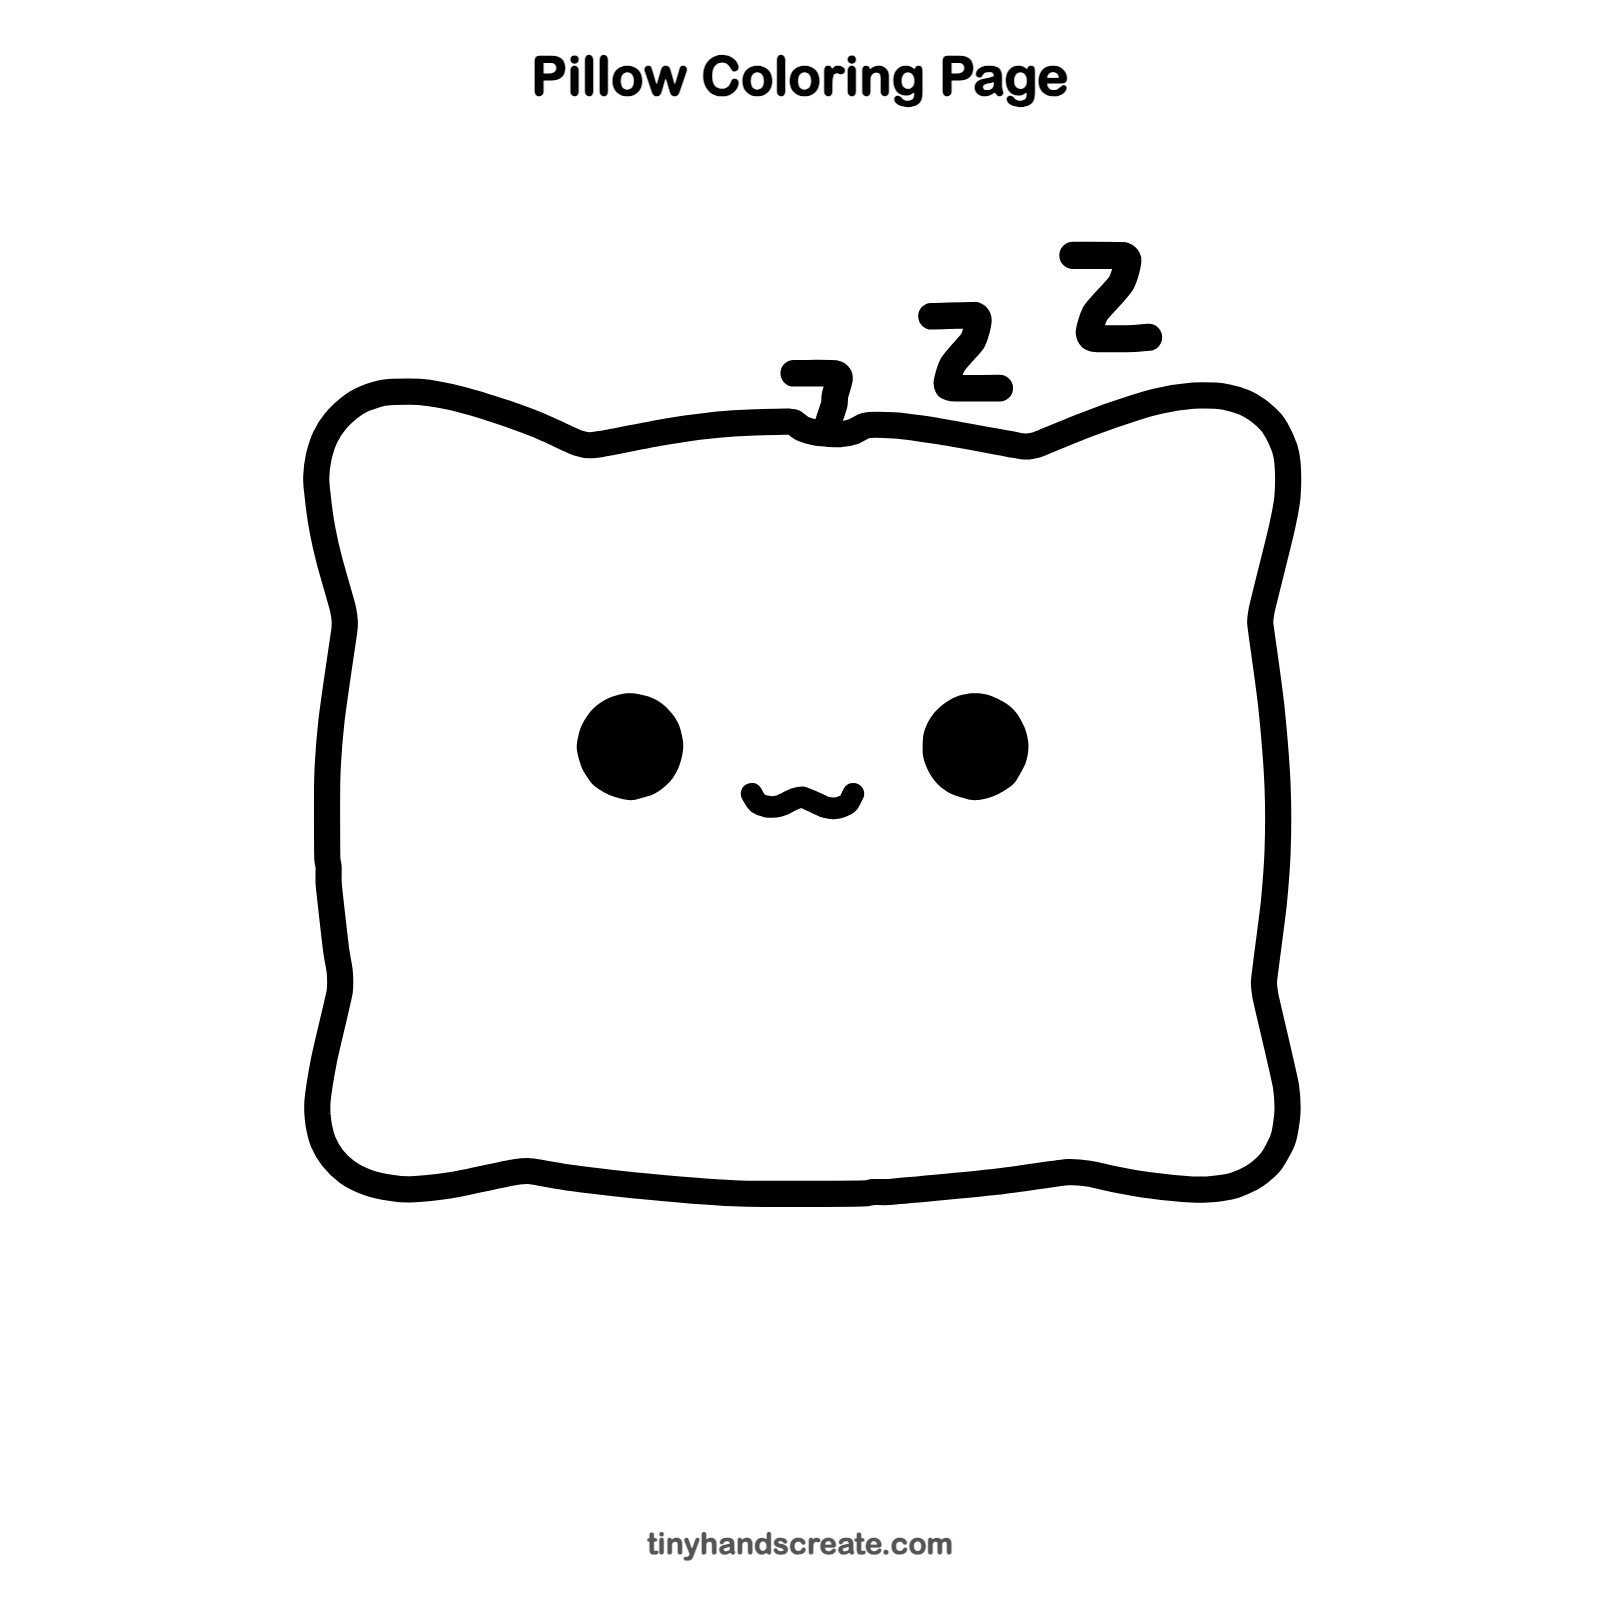
Free pillow coloring page
Want to go straight to coloring? Open this pillow coloring page at full size and print it. It is the same drawing you just learned, with clean lines ready for crayons or markers.
How to color your pillow drawing
Try a soft blue or lavender for the pillow and a bright yellow for the Zs. For a creative twist, give the pillow a pattern of stars, stripes, or polka dots.
Pillow fun fact for kids
Long ago, people in ancient Egypt rested their heads on hard curved headrests made of wood or stone. Soft pillows stuffed with feathers or straw came much later.
Questions about drawing a pillow
What shapes do I need to draw a pillow?
Start with a rounded square and curve the edges so the corners puff out. Then add two dots for eyes and a small wavy line for the mouth.
How do I make my pillow look cuter?
Keep the eyes the same size with a gap between them, and keep the mouth small and close to them. Adding a few floating Zs makes it look sleepy and sweet.
How do I draw the Zs for a sleeping pillow?
Draw a line across, a slanted line down, and another line across. Make the Zs a little bigger as they float up and to the right.