How to Draw a Pansy (Easy Step by Step)
This post contains affiliate links. As an Amazon Associate I earn from qualifying purchases.
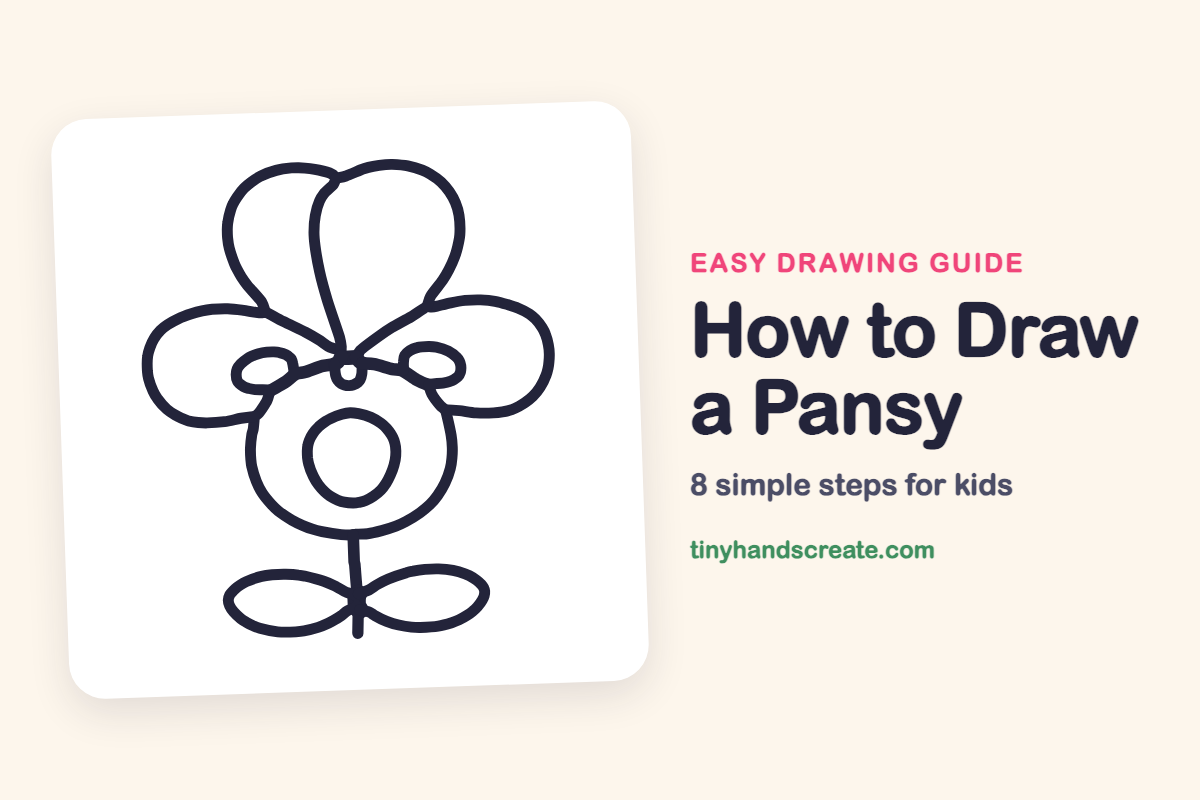
A pansy is a friendly flower with soft, rounded petals. This drawing is built from curves, ovals and rounded petals, so it is a good one for new artists. You will draw the middle first and add petals around it, one shape at a time.
- Easy
- 15 minutes
- 8 steps
You need: paper, a pencil, an eraser, and crayons or markers for coloring.
Start drawing
In this article (7 sections)
How to draw a pansy step by step
How to Draw a Pansy · tinyhandscreate.com
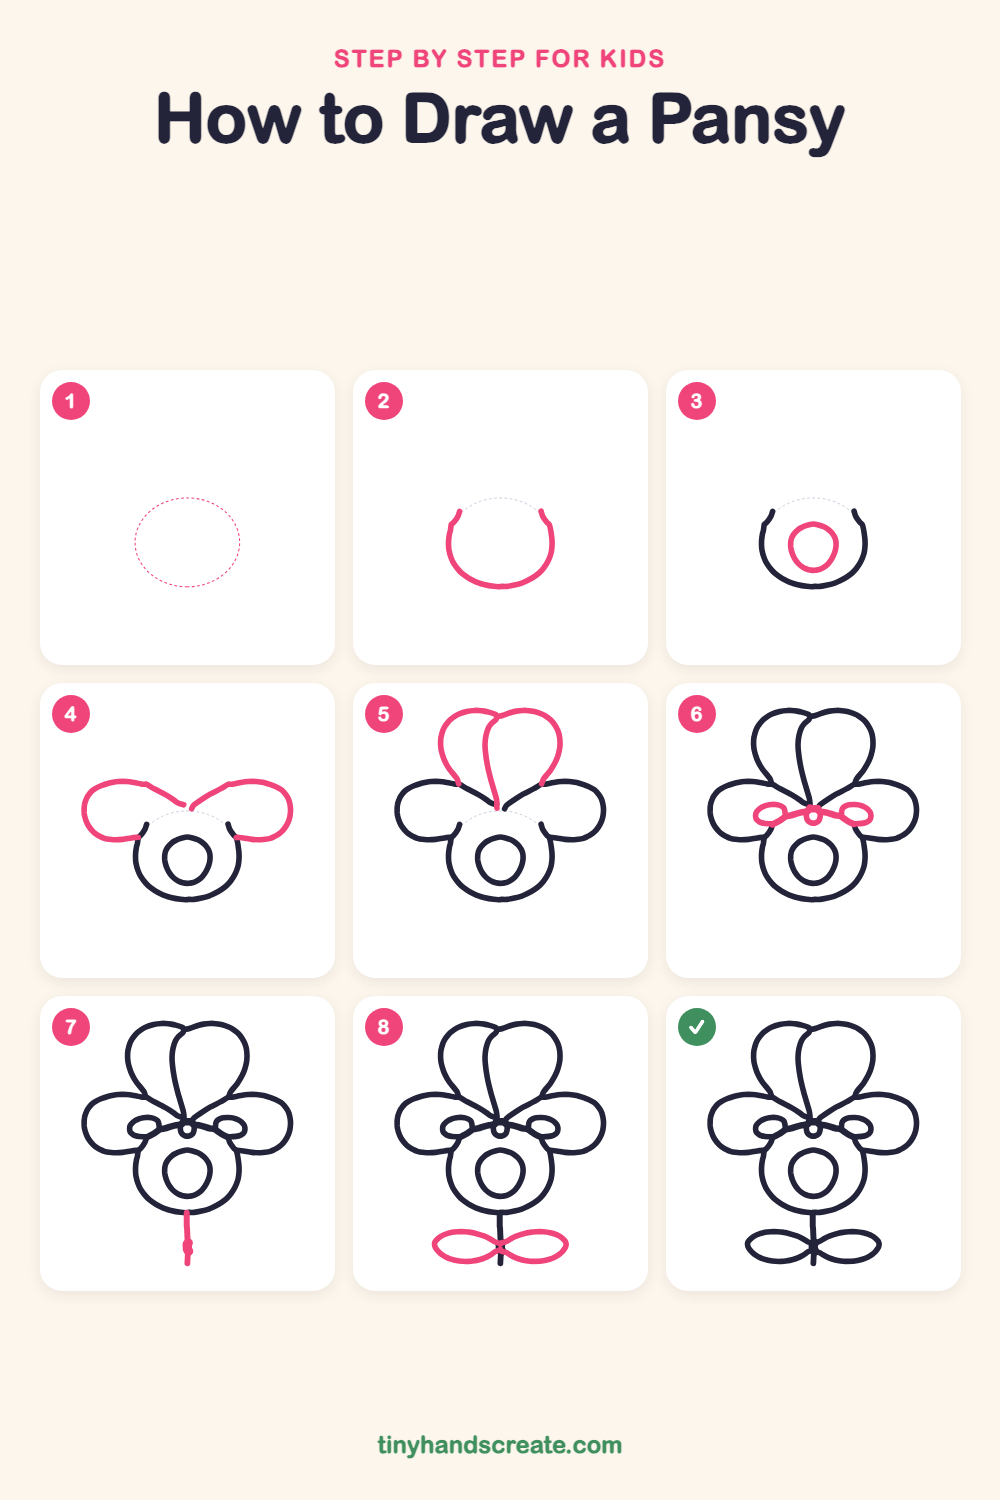
Step 1: Guide shapes
Lightly sketch this oval. It only shows where the big parts go, so press softly. You will erase it at the end.
Step 2: The round bottom
Draw a big curve like a bowl, starting high on the left, swooping down around the bottom and back up on the right. Leave the top open for now, with room above it for petals.
Step 3: The center ring
Inside the bowl shape, draw a small rounded oval like a lopsided egg. It sits in the middle and makes the pansy's open center.
Step 4: The side petals
Draw a big rounded petal on the left that starts at the top left of the bowl and loops out and back toward the middle. Draw a matching petal on the right. Their inner tips almost touch above the center.
Step 5: The top petals
Above the side petals, draw two big rounded petals that lean against each other. Start each one on the edge of a side petal, curve it up and over, and bring both down to meet in the middle.
Step 6: The small petals
Draw a small oval on each side, tucked between the big petals and the center ring. Add a tiny circle in the middle where all the petals meet, and join each oval to it with a short curved line.
Step 7: The stem
Draw a short, straight line going down from the bottom of the flower. Stop a little way down, about as long as the center ring is tall.
Step 8: The leaves
Draw a leaf on each side of the stem, near its bottom. Make each one a pointy oval, like a lemon lying on its side, with the tip crossing the stem. Then let the stem go down a little below the leaves.
All done!
Erase the guide shapes, go over your lines, then color it in.
Finished your pansy? Keep the pencils out and learn how to draw a water lily or how to draw a Venus flytrap next.
Tips for drawing a pansy
- Draw the bowl shape lightly first. The side petals start from it, so a smooth curve helps the whole flower look balanced.
- The two top petals lean against each other and share a line in the middle, so draw one fully, then draw the second to meet it.
- For the leaves, draw a curved line out from the stem and a second curved line back to meet it. The pointed tips should land on the stem.
Free pansy coloring page
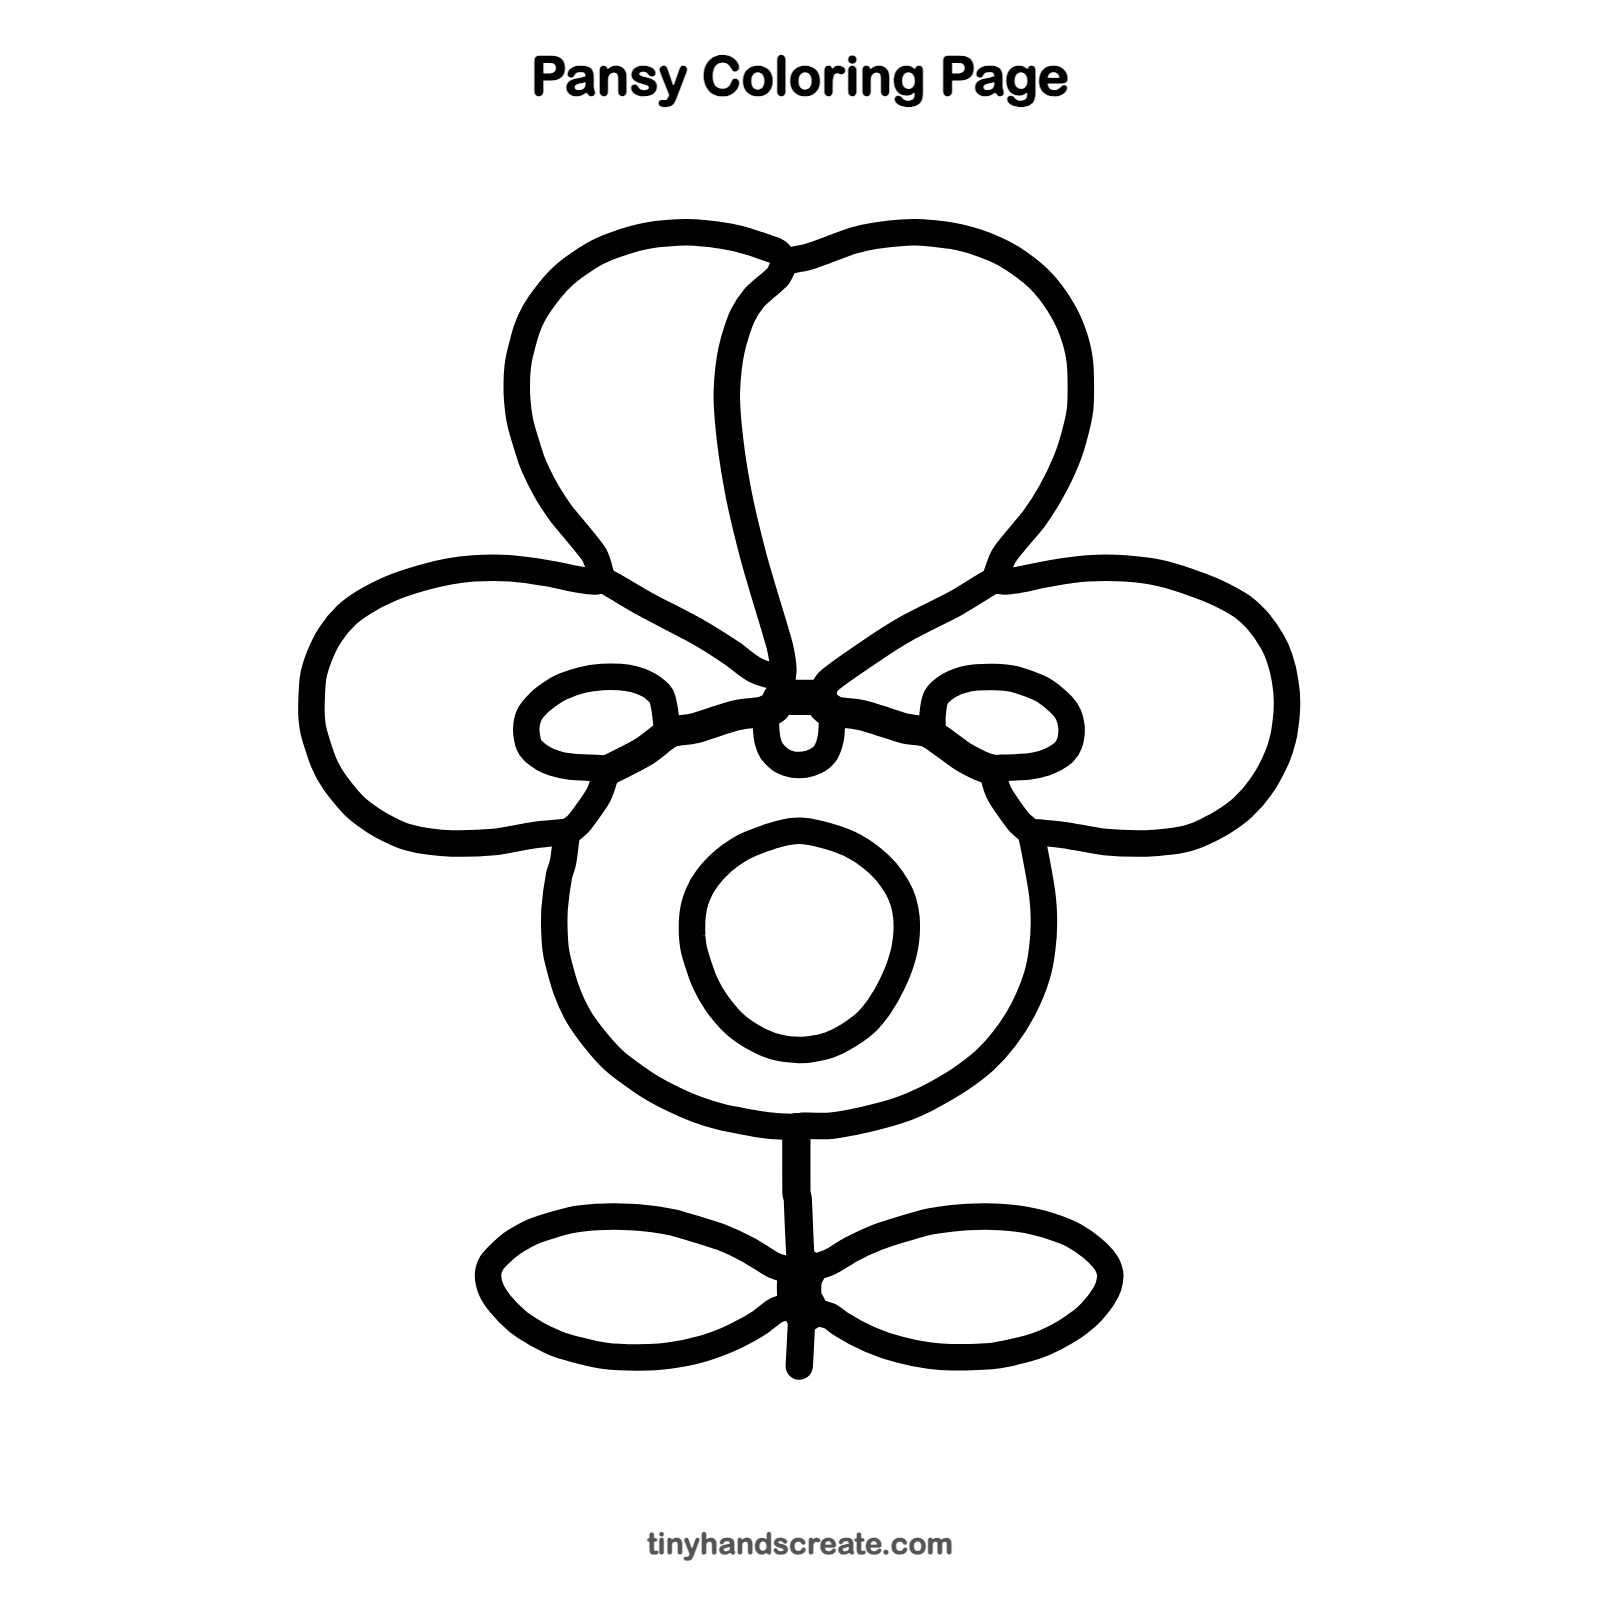
Want to go straight to coloring? Open this pansy coloring page at full size and print it. It is the same drawing you just learned, with clean lines ready for crayons or markers.
How to color your pansy drawing
Try purple, yellow and deep blue for the petals, with a bright yellow center and green leaves and stem. For a twist, give each petal a different color and make a rainbow pansy.
Pansy fun fact for kids
Pansy flowers are edible. People sometimes put them on cakes and salads as a pretty decoration. The name comes from the French word pensee, which means thought.
Questions about drawing a pansy
What shapes do I need to draw a pansy?
You need a bowl-shaped curve, a few ovals, four big rounded petals and two pointed leaf shapes. Most of the flower is made from rounded shapes joined together.
How do I make my pansy look cuter?
Make the petals extra round and puffy. You can also make the two small ovals a bit bigger, so the flower looks like it is peeking out at you.
Which petal should I draw first?
Start with the bowl shape and the center ring, then add the two side petals. Draw the top petals next, and finish with the small ovals, stem and leaves.