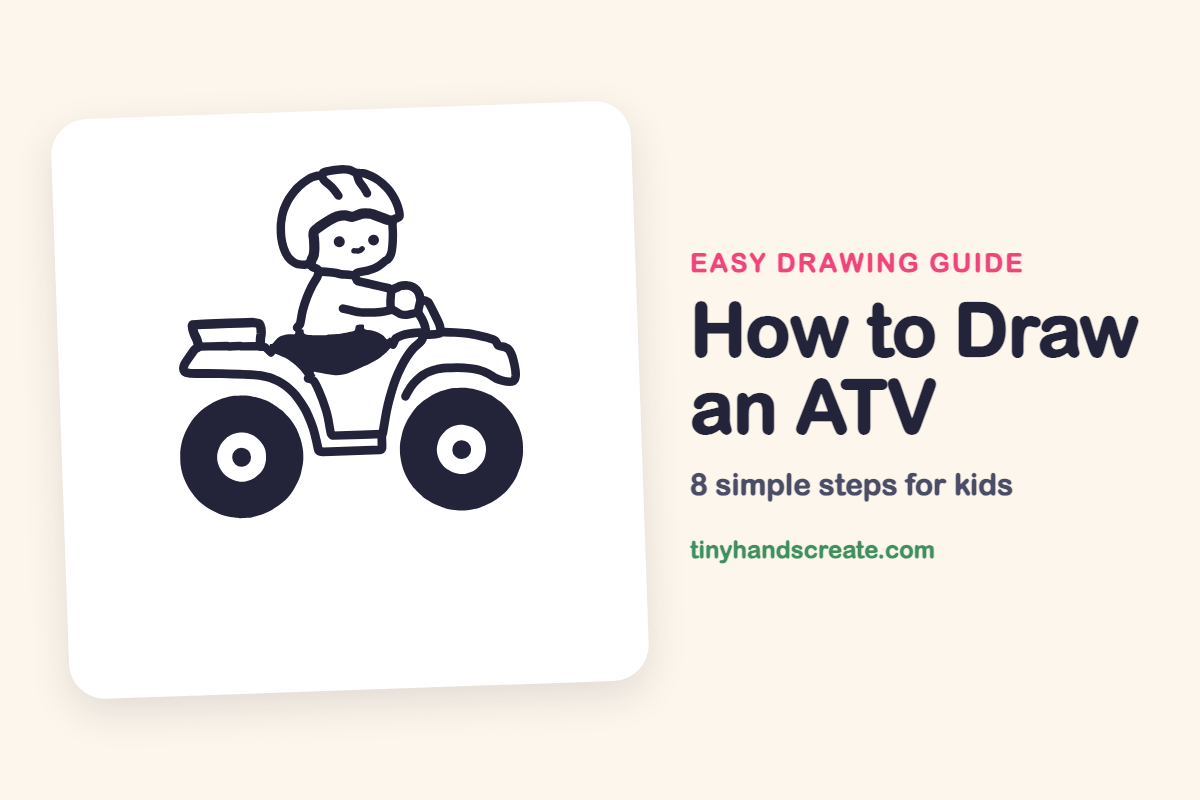
How to Draw an ATV (Easy Step by Step)
Learn to draw an ATV with this easy step-by-step guide. You'll focus on using circles and curves to create the wheels, a curvy body, and a rider with a round helmet.
- Focus on circles and curves for the ATV's shape.
- Start your drawing by creating two big wheels.
- Develop the ATV's main structure with a curvy body.
- Complete your drawing by adding a smiling rider in a round helmet.
This post contains affiliate links. As an Amazon Associate I earn from qualifying purchases.
An ATV is a four-wheeled vehicle for bumpy trails, and it is fun to draw because it is mostly circles and curves. You will build it from two big wheels, a curvy body, and a smiling rider in a round helmet.
- Medium
- 15 minutes
- 8 steps
You need: paper, a pencil, an eraser, and crayons or markers for coloring.
Start drawing


In this article (7 sections)
How to draw an ATV step by step
How to Draw an ATV · tinyhandscreate.com
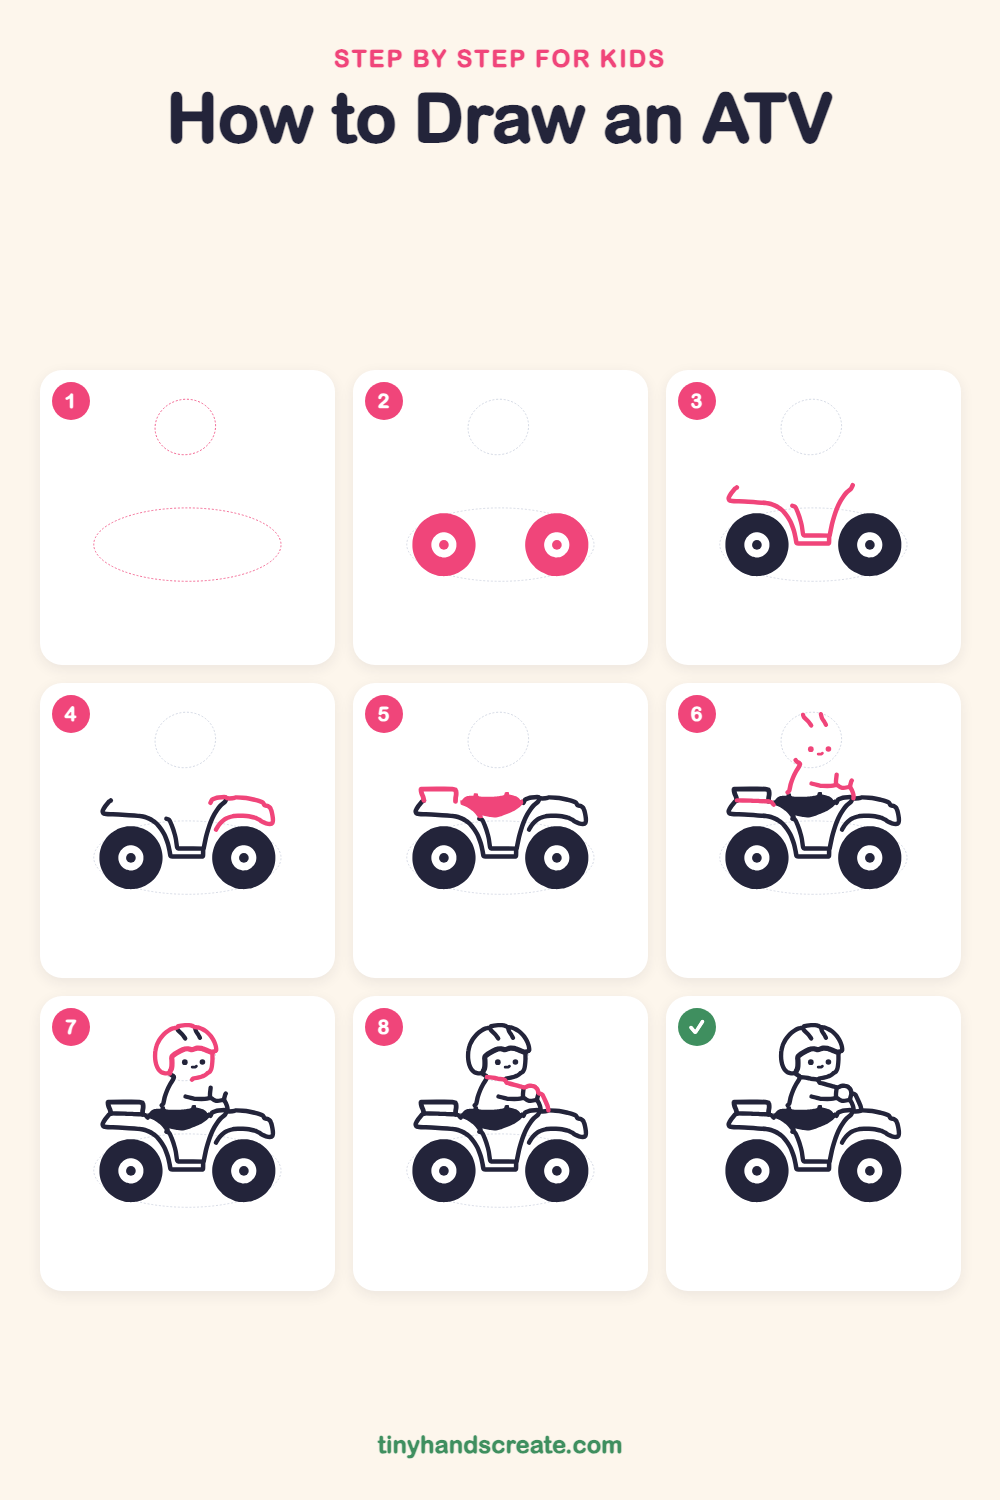
Step 1: Guide shapes
Lightly sketch these 2 ovals. They only show where the big parts go, so press softly. You will erase them at the end.
Step 2: Two big wheels
Draw two big circles near the bottom, one on the left and one on the right, with a gap between them. Add a small circle in the middle of each wheel for the hub, with a tiny dot in the center.
Step 3: The ATV body
Start at the top of the back, above the left wheel, and curve a line over that wheel and down. Draw a flat, U-shaped line between the wheels, then sweep a line up and over toward the front wheel.
Step 4: Front fender
Over the right wheel, draw a rounded fender that curves like a hood, with a little lip at the front. Let its back end meet the body line.
Step 5: Rack and seat
At the back, draw a small flat box shape on top of the body for the cargo rack. Next to it, fill in a squishy oval shape in the middle of the body for the seat.
Step 6: The rider's body
Above the seat, draw the rider's back and body leaning forward, and a short arm reaching toward the front. Above that, add three tiny hair marks and two dots with a small smile where the face will go.
Step 7: The helmet
Around the face marks, draw a big round helmet that is open at the front. Add a small curved chin line under the face and a few curved lines on top of the helmet.
Step 8: Arm and handlebars
Draw the rider's arm reaching forward from the shoulder and end it with a small circle for the hand on the handlebar. Add a short slanted bar going down to the front fender.
All done!
Erase the guide shapes, go over your lines, then color it in.
Finished your ATV? Keep the pencils out and learn how to draw a rocket or how to draw a shooting star next.
Tips for drawing an ATV
- Draw both wheels first and make them about the same size. Everything else sits between and above them.
- The body is the trickiest part. Take it slowly, and draw the back curve, the U-shaped bottom, and the front curve one after another.
- Draw the rider's face marks first, then wrap the helmet around them so the head stays round.
Free ATV coloring page
Want to go straight to coloring? Open this ATV coloring page at full size and print it. It is the same drawing you just learned, with clean lines ready for crayons or markers.
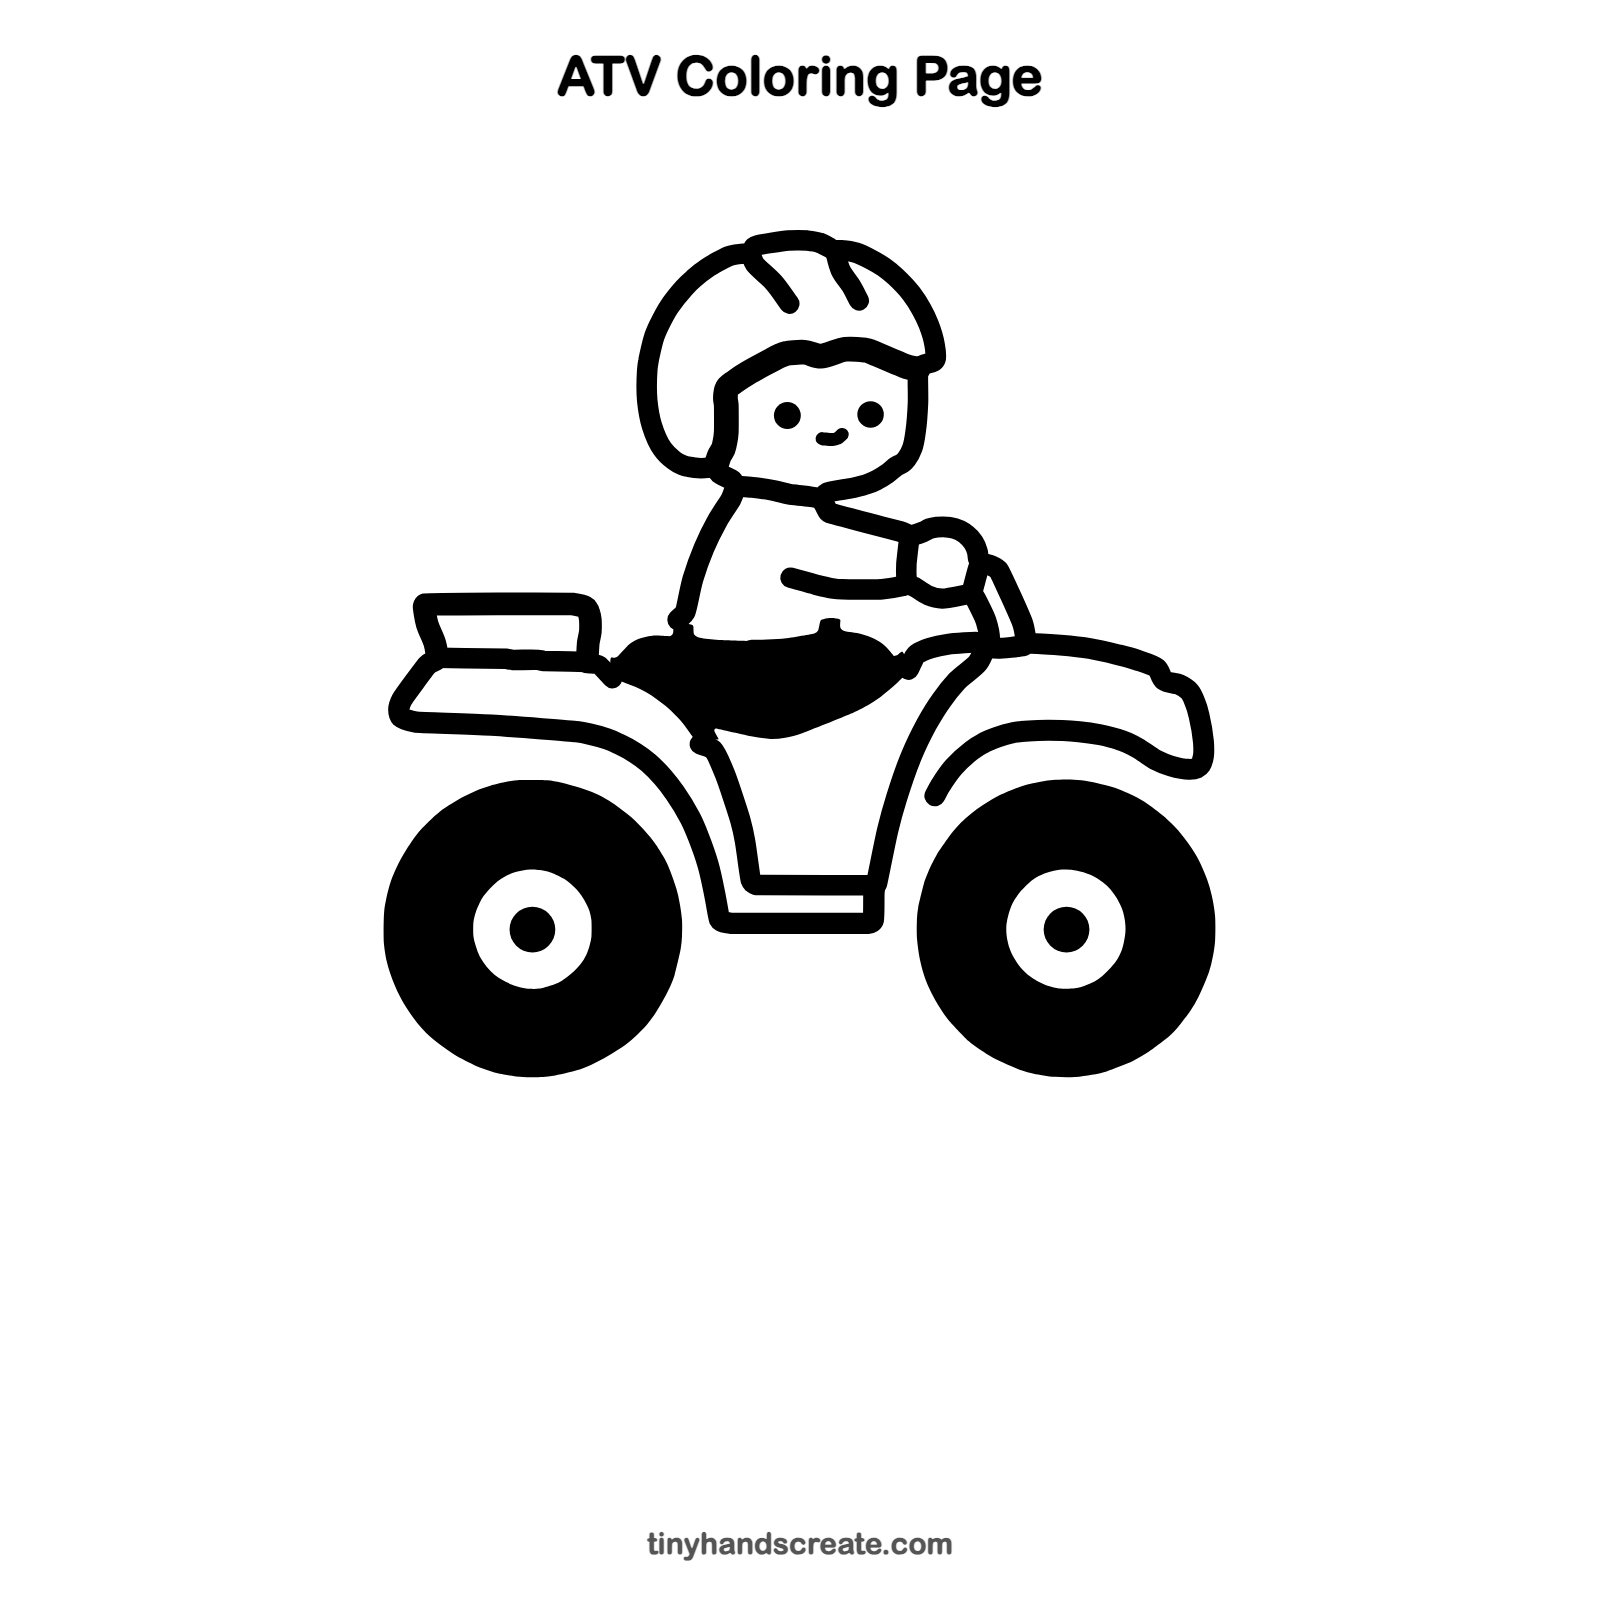
How to color your ATV drawing
Try a bright red or green body with dark gray tires and a blue helmet. You can color the seat black and the rider's clothes any color you like.
ATV fun fact for kids
ATV stands for all-terrain vehicle, which means it is built to drive over rough ground like dirt trails and sand.
Questions about drawing an ATV
What shapes do I need to draw an ATV?
You need two big circles for the wheels, a curvy shape for the body and fender, and a squishy oval for the seat. The rider uses a round helmet and a rounded body.
How do I draw the rider's arm?
Start at the rider's shoulder and draw a line reaching forward. End it with a small circle for the hand on the handlebar.
How do I draw the rider's helmet?
Draw a big circle around the face marks, leaving an opening at the front for the face. Add a few short curved lines on top to make it look sporty.