How to Draw a Mummy Bunny (Easy Step by Step)
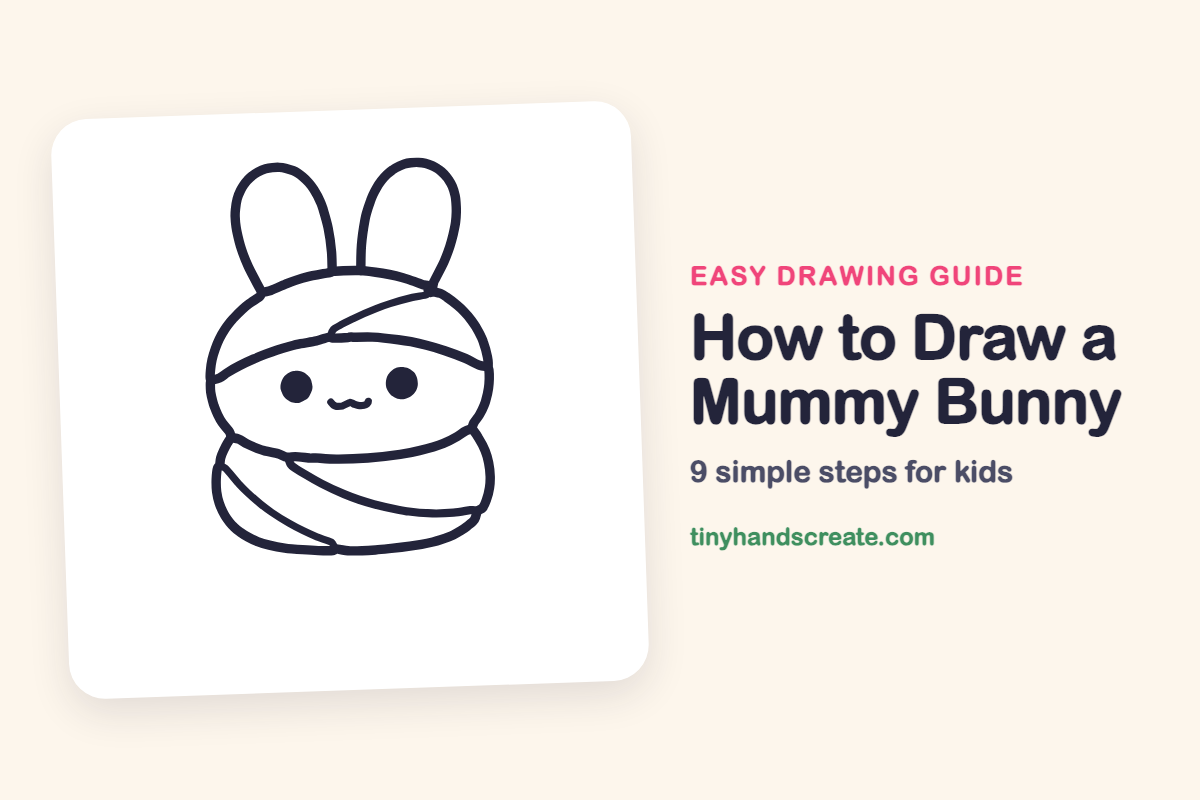
Learn to draw an adorable yet spooky mummy bunny step-by-step. You'll use simple shapes like a rounded head, body, loop ears, and curved stripes to create its bandaged look.
- Start your mummy bunny drawing with a rounded head and body.
- Form the bunny's ears using two long, simple loop shapes.
- Create the mummy wrapping by adding curved stripes to your bunny.
- Combine these basic shapes to achieve a unique spooky-cute design.
This post contains affiliate links. As an Amazon Associate I earn from qualifying purchases.
A little bunny wrapped in bandages is a sweet mix of spooky and cute. It is built from a few simple shapes: a rounded head, a rounded body, two long loops for ears, and curved stripes for the wrapping.
- Easy
- 12 minutes
- 9 steps
You need: paper, a pencil, an eraser, and crayons or markers for coloring.
Start drawing
In this article (7 sections)
How to draw a mummy bunny step by step
How to Draw a Mummy Bunny · tinyhandscreate.com
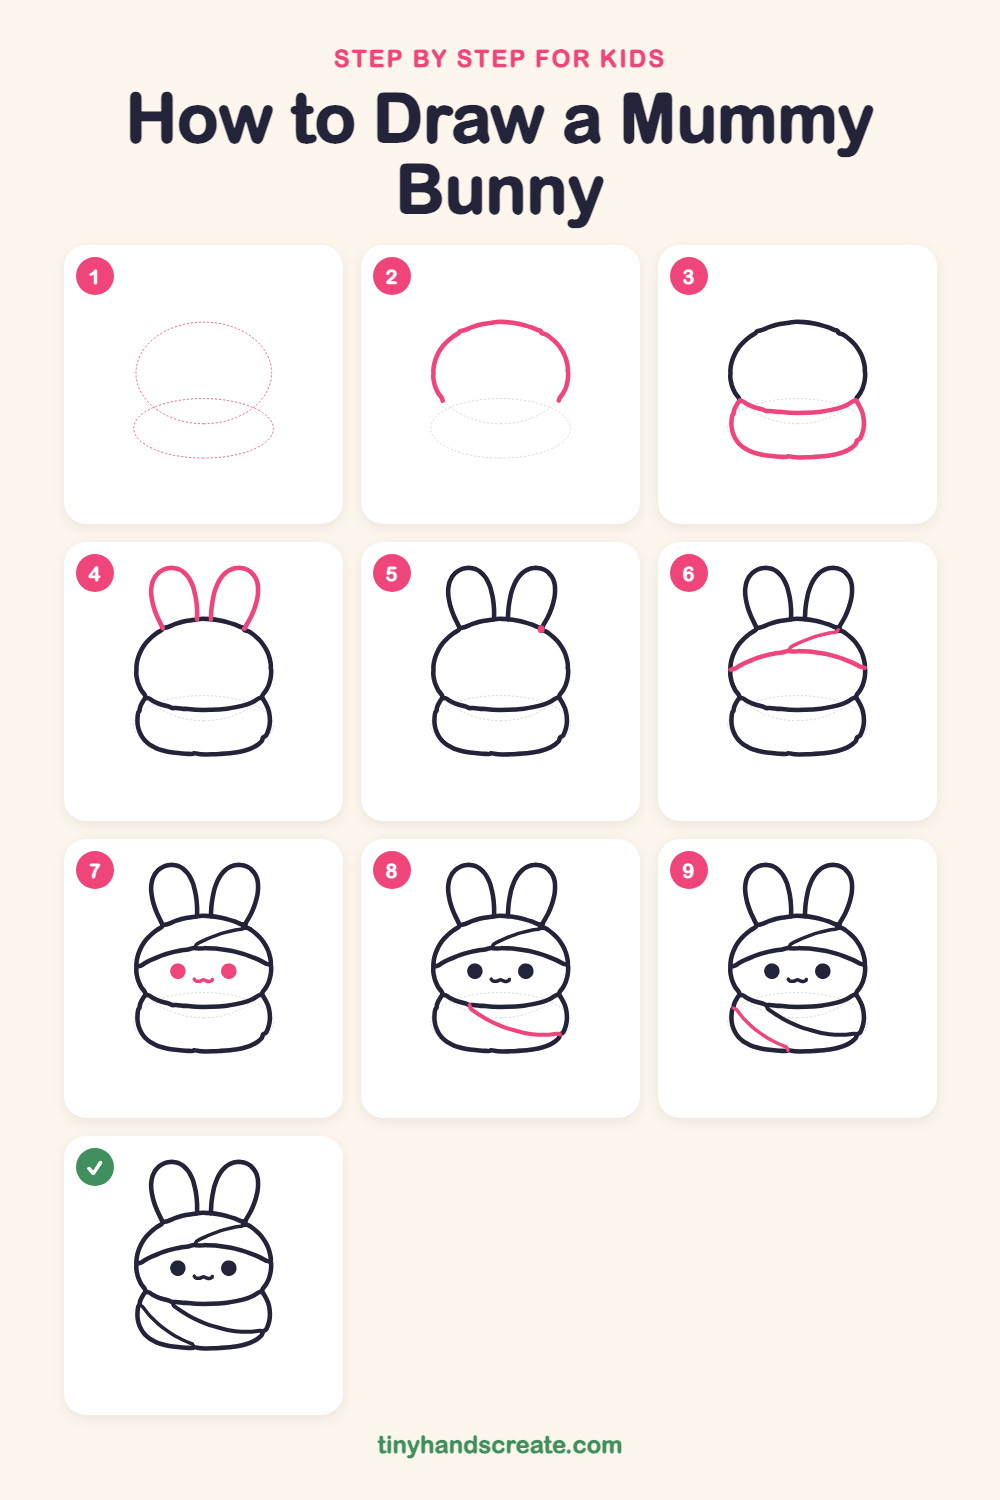
Step 1: Guide shapes
Lightly sketch these 2 ovals. They only show where the big parts go, so press softly. You will erase them at the end.
Step 2: Rounded head top
Draw a wide, curved arch for the top and sides of the bunny's head, like a rounded bun. Leave the bottom open for now.
Step 3: The round body
Under the head, draw a wide rounded body. Start with a gentle curve across the top, then add a big U shape below it.
Step 4: Two tall ears
Draw two long, skinny loops standing up from the top of the head. Make the bottom of each ear touch the head.
Step 5: Ear dot
Add a tiny dot on the right side of the head, right where the right ear meets it. This marks where the bandage will end.
Step 6: Head bandages
Draw a curved band across the middle of the head from one side to the other. Then add a short slanted line above it that runs up toward the right ear.
Step 7: Eyes and smile
Below the head band, draw two round dots for eyes. Between them, draw a tiny wavy smile.
Step 8: Body wrap
Draw a long curved stripe across the body, starting below the head on the left and sweeping down to the right side.
Step 9: Extra bandage
On the left side of the body, draw one more curved line sloping down toward the bottom. It makes the wrap look wound around.
All done!
Erase the guide shapes, go over your lines, then color it in.
Finished your mummy bunny? Keep the pencils out and learn how to draw a menorah or how to draw a dreidel next.
Tips for drawing a mummy bunny
- Draw the head wide and flat, wider than it is tall. That squished shape is what makes the bunny look so cute.
- Let the bandage lines touch the edges of the head and body so they look like they wrap all the way around.
- Keep the two ears about the same height, but they do not need to match perfectly. A little wobble makes them look friendly.
Free mummy bunny coloring page
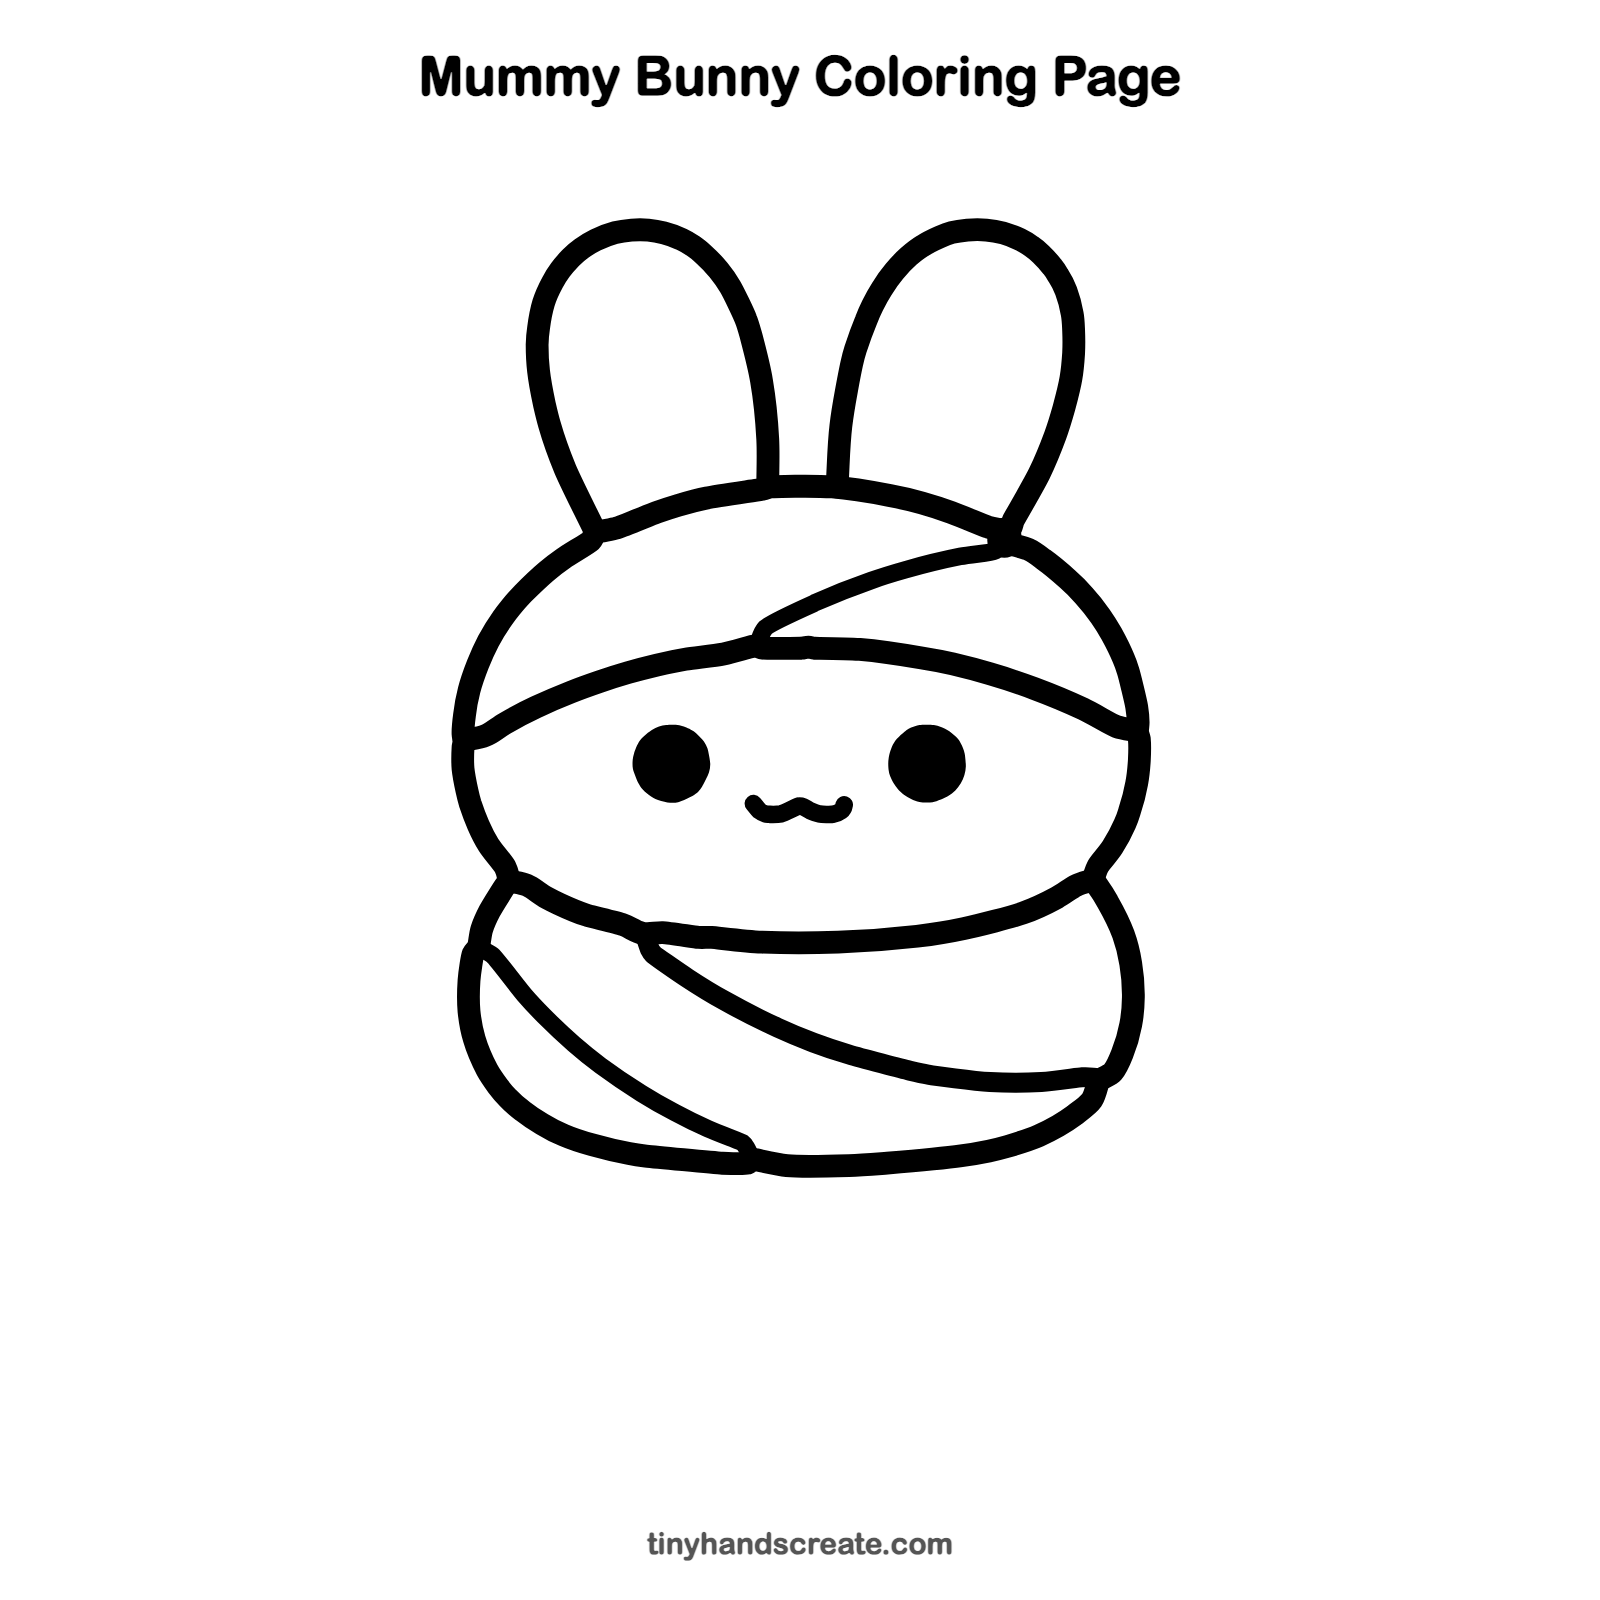
Want to go straight to coloring? Open this mummy bunny coloring page at full size and print it. It is the same drawing you just learned, with clean lines ready for crayons or markers.
How to color your mummy bunny drawing
Color the bandages cream or light gray and the ears soft pink inside. For a creative twist, give the bunny a bright green or purple bandage for a silly Halloween look.
Mummy bunny fun fact for kids
Ancient Egyptians wrapped mummies in long strips of linen cloth, which is why mummy costumes use bandages.
Questions about drawing a mummy bunny
What shapes do I need to draw a mummy bunny?
You need a wide rounded shape for the head, a rounded body below it, two long thin loops for the ears, two dots for eyes, and a few curved lines for the bandages.
How do I make my mummy bunny look cuter?
Place the eyes low and far apart on the face, and add a tiny smile between them. Round, chubby shapes also help.
How do I draw the bandages so they look wrapped?
Draw curved lines that bend with the shape of the head and body, starting and ending right at the outline. Slanted lines make it look like the cloth is wound around.