How to Draw Footprints (Easy Step by Step)
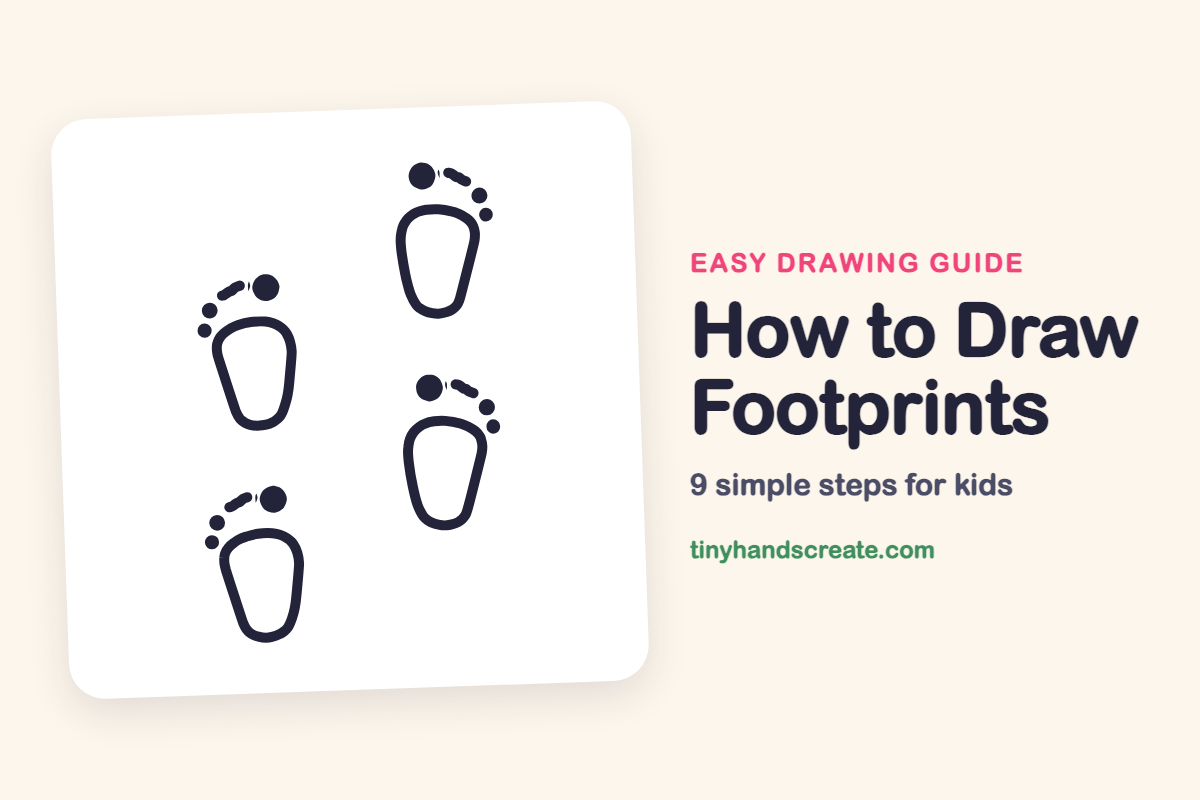
Learn to draw simple footprints using a rounded shape for the sole and a curve of dots for the toes. You can then easily repeat this process to create a trail of footprints.
- Use a rounded shape for the sole of the footprint.
- Add a simple curve of dots to create the toes.
- Repeat these two basic steps to draw multiple footprints.
- Create a whole trail by repeating your drawn footprints.
This post contains affiliate links. As an Amazon Associate I earn from qualifying purchases.
Footprints are a fun first drawing because they tell a little story, like someone walking by. They are made from just two simple parts: a rounded shape for the sole and a curve of dots for the toes. Once you can draw one, you can repeat it to make a whole trail.
- Easy
- 8 minutes
- 9 steps
You need: paper, a pencil, an eraser, and crayons or markers for coloring.
Start drawing


In this article (7 sections)
How to draw footprints step by step
How to Draw Footprints · tinyhandscreate.com
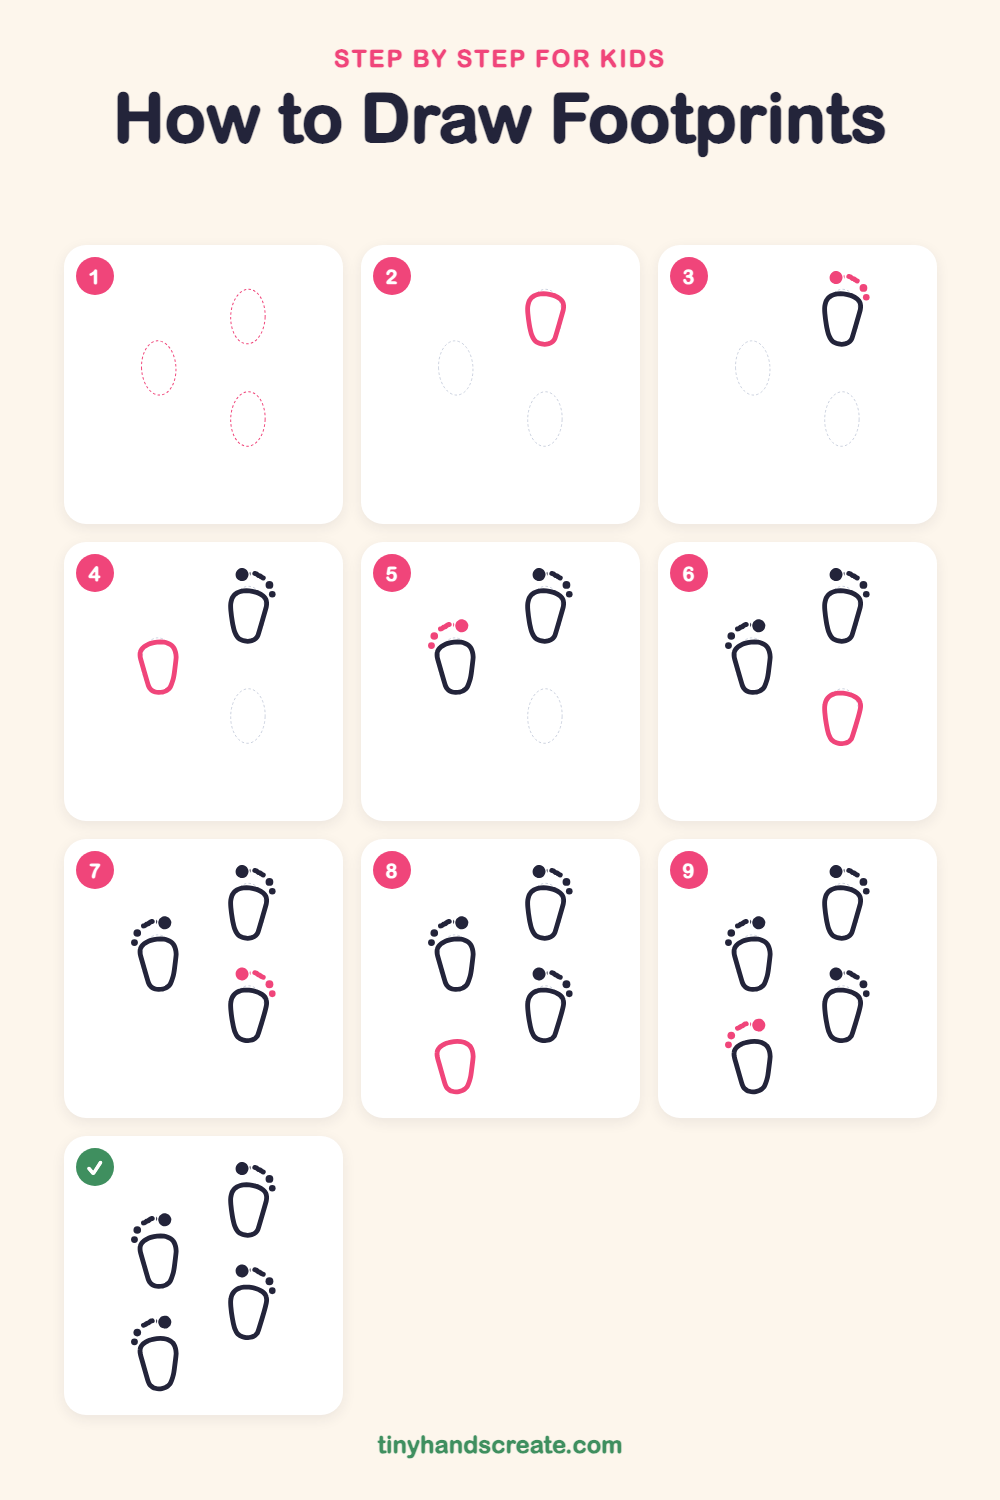
Step 1: Guide shapes
Lightly sketch these 3 ovals. They only show where the big parts go, so press softly. You will erase them at the end.
Step 2: First foot sole
Near the top right, draw a rounded shape that is wider at the top and narrower at the bottom, like a rounded triangle with soft corners. Keep the inside empty.
Step 3: First foot toes
Just above the top of the sole, draw one bigger dot on the left for the big toe. Then draw a short curve of smaller dots going down to the right, each one smaller than the last.
Step 4: Second foot sole
On the left, a little lower than the first print, draw another rounded shape, wide at the top and narrow at the bottom. Make it the same size as the first so the prints match.
Step 5: Second foot toes
Above this sole, draw a bigger dot on the right for the big toe. Then draw smaller dots curving down to the left, each one smaller than the last.
Step 6: Third foot sole
On the right, below the first print, draw a third rounded shape the same size as the others. Leave a little space between it and the first print.
Step 7: Third foot toes
Above this sole, draw a bigger dot on the left. Then add smaller dots curving down to the right, just like the first foot.
Step 8: Fourth foot sole
At the bottom left, below the second print, draw the last rounded shape. Keep it the same size and tilt as the others.
Step 9: Fourth foot toes
Finish with a bigger dot above the right side of this sole, then smaller dots curving down to the left. Now you have a trail of footprints.
All done!
Erase the guide shapes, go over your lines, then color it in.
Finished your footprints? Keep the pencils out and learn how to draw a rocket or how to draw a shooting star next.
Tips for drawing footprints
- The toes are the trickiest part. Draw the big dot first, then make each dot a little smaller as you curve around.
- Draw the sole wider at the top and narrower at the bottom so the heel looks right.
- To make the trail look like walking, place the prints in a zigzag, one left and one right, with a gap between.
Free footprints coloring page
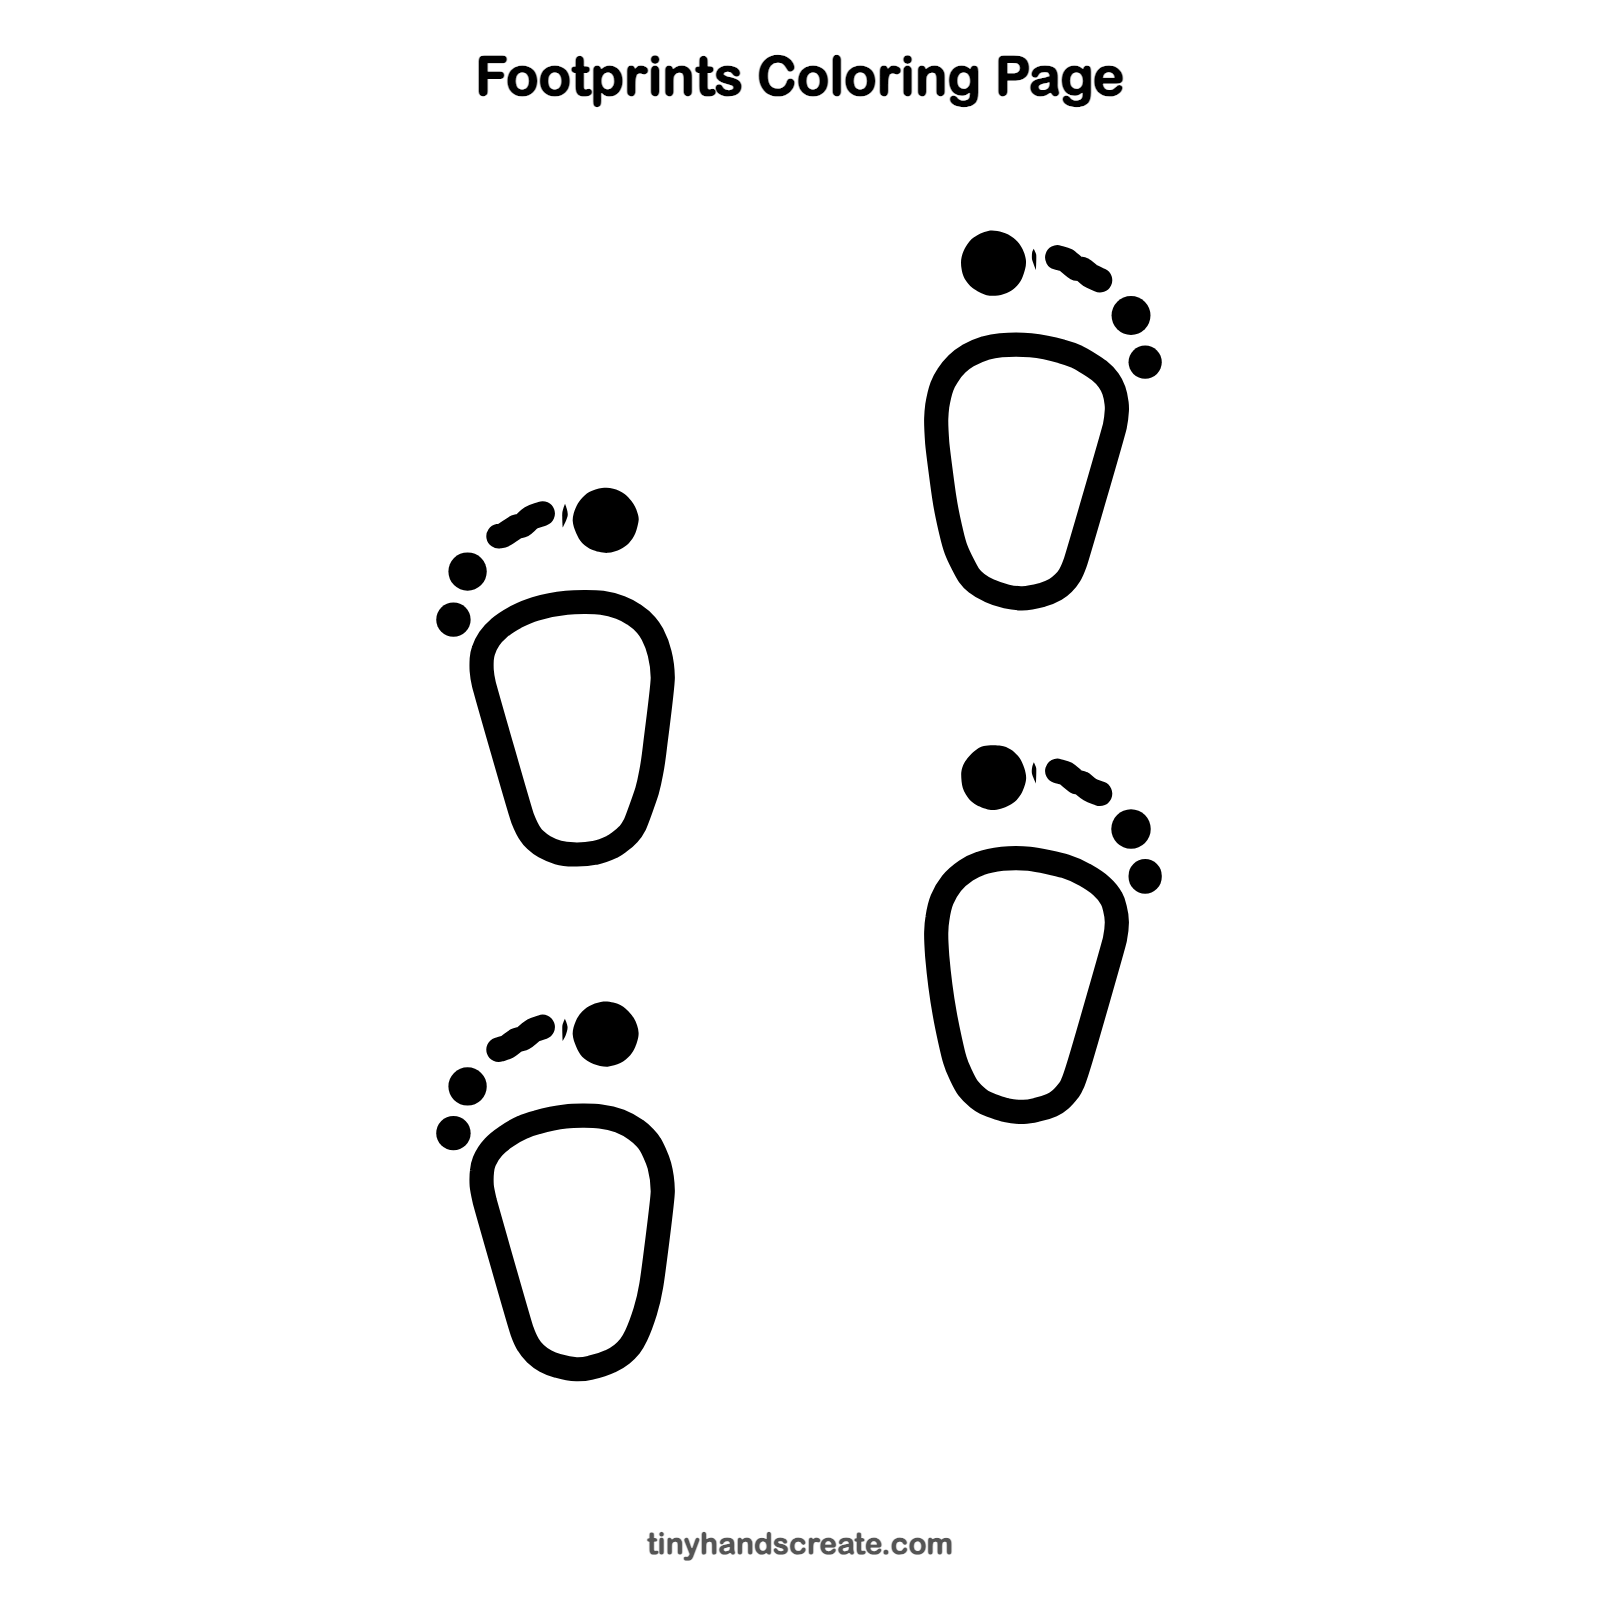
Want to go straight to coloring? Open this footprints coloring page at full size and print it. It is the same drawing you just learned, with clean lines ready for crayons or markers.
How to color your footprints drawing
Color the soles sandy brown or muddy brown, and make the toe dots a slightly darker shade. For a fun twist, make each print a different color, like a rainbow trail.
Footprints fun fact for kids
Each of your feet has 26 bones, so your two feet hold about a quarter of all the bones in your body.
Questions about drawing footprints
What shapes do I need to draw footprints?
You need a rounded shape that is wider at the top for the sole and small dots for the toes. Make one dot bigger for the big toe.
How do I make my footprints look like they are walking?
Place the prints in a zigzag pattern, alternating left and right, with space between each one. Point all the toes in the same direction.
How do I draw the toes so they look even?
Start with the big toe dot and make each dot a little smaller than the one before it. Curve them in a short arc just above the sole.