How to Draw a Whistle (Easy Step by Step)
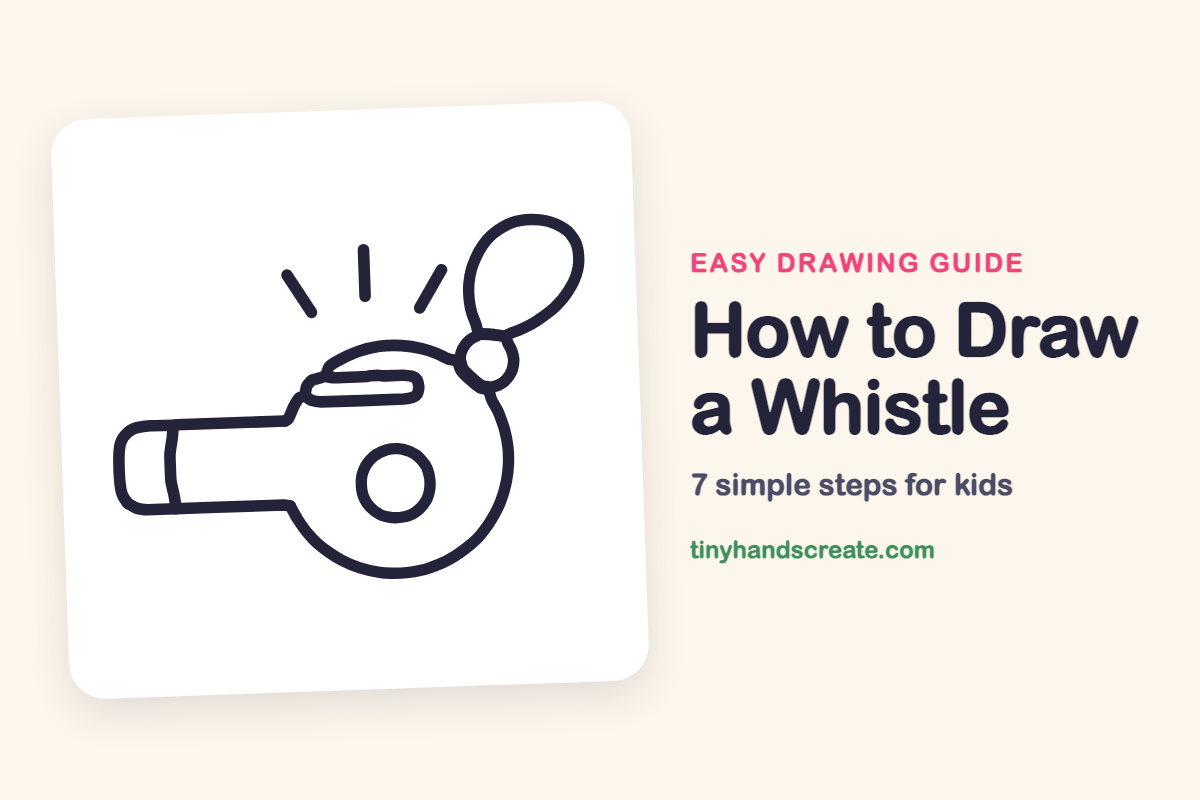
Learn to draw a whistle easily by combining a large circle with a flat tube. You'll add a ring, string, and sound lines, perfect for practicing your circles and straight lines.
- Start your whistle drawing with a large circle.
- Attach a long, flat tube to the side of the circle.
- Add a small ring and a loop of string.
- Draw a few short lines to represent the sound.
- Practice your circles and straight lines with this drawing.
This post contains affiliate links. As an Amazon Associate I earn from qualifying purchases.
A whistle looks tricky until you see it is just a big circle with a long, flat tube stuck on the side. Add a small ring, a loop of string, and a few short lines for the sound, and you have a whistle ready to blow. It is a great drawing for practicing circles and straight lines.
- Easy
- 10 minutes
- 7 steps
You need: paper, a pencil, an eraser, and crayons or markers for coloring.
Start drawing


In this article (7 sections)
How to draw a whistle step by step
How to Draw a Whistle · tinyhandscreate.com
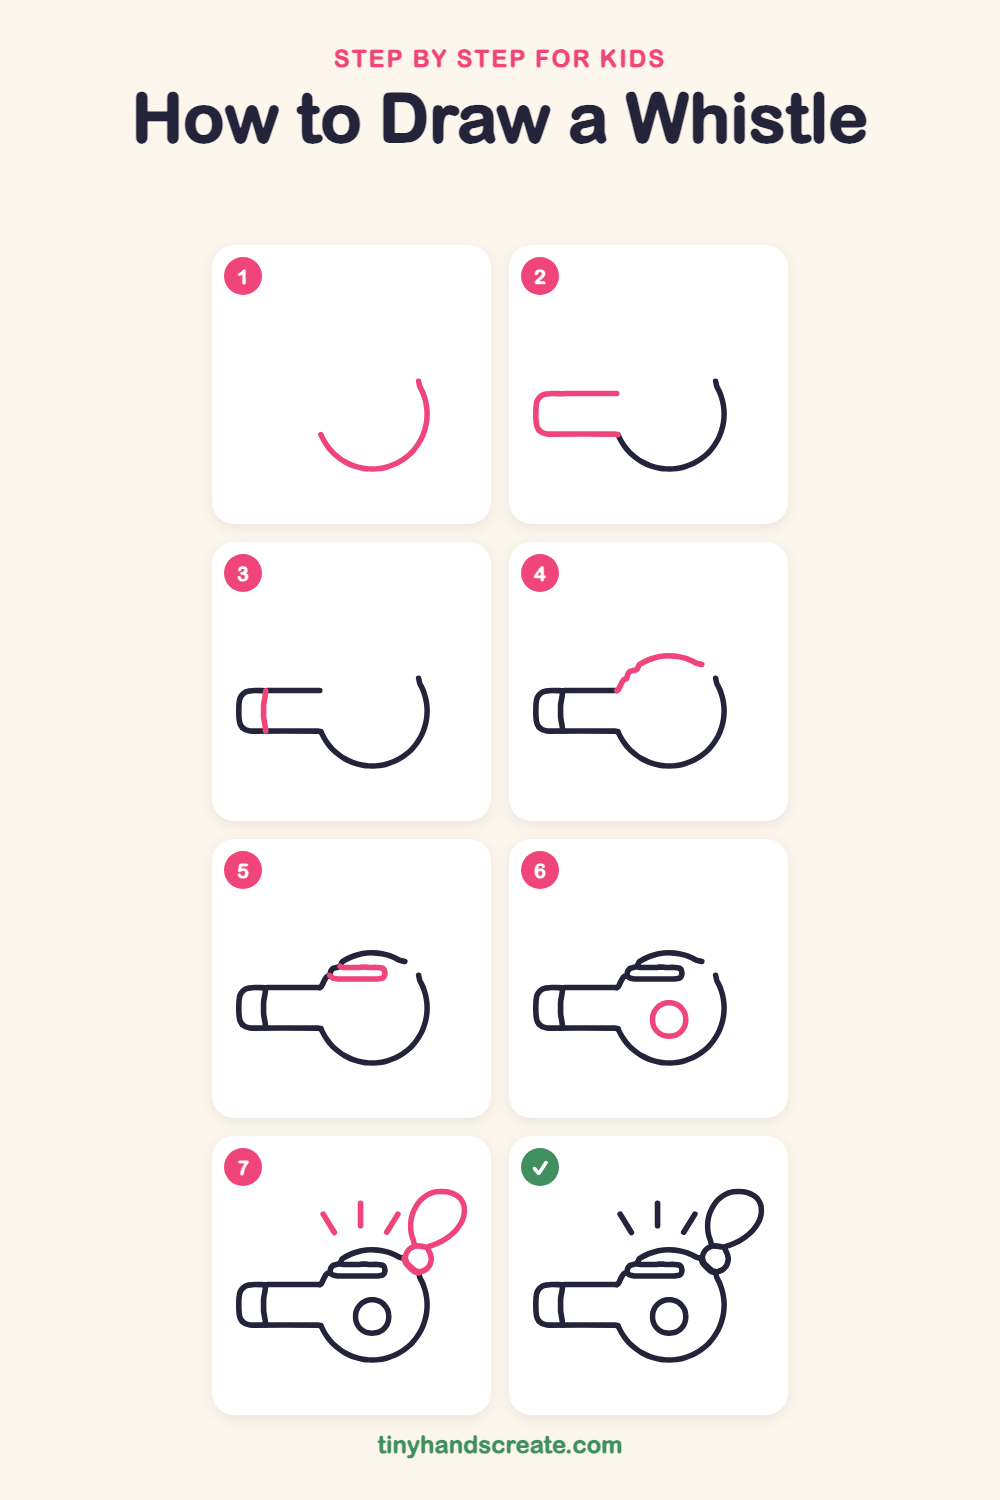
Step 1: Bottom of the circle
Draw a big curve like a bowl, starting at the left, swooping down around the bottom and curving up on the right. Leave the top open, because the rest of the circle comes later.
Step 2: The mouthpiece
To the left of the curve, draw a long sideways rectangle with a rounded left end. Draw the top line and bottom line going left, and leave the right end open where it meets the circle.
Step 3: The mouthpiece band
Near the left end of the mouthpiece, draw a short, slightly curved line from the top edge down to the bottom edge.
Step 4: The top of the circle
Draw a wobbly arch over the top. Start at the top line of the mouthpiece, curve up and over, and stop just before the right side of the circle.
Step 5: The sound hole
Inside the top of the circle, next to the mouthpiece, draw a long skinny shape with round ends, like a pill lying on its side.
Step 6: The center circle
Draw a smaller circle in the lower middle of the big round body. Try to keep it centered.
Step 7: Ring, string and sound
At the upper right edge of the big circle, draw a small circle for the ring. Then draw a teardrop loop above it for the string, and add three short lines above the whistle, spreading out like rays.
All done!
Go over your lines with a marker, then color it in.
Finished your whistle? Keep the pencils out and learn how to draw a rocket or how to draw a shooting star next.
Tips for drawing a whistle
- Draw the big curve slowly so there is room to fit the mouthpiece onto its left side without squishing it.
- Keep the two long lines of the mouthpiece parallel, like train tracks, so the tube looks even.
- Add the ring, string loop and sound lines last. It is fine if the teardrop is a little wobbly.
Free whistle coloring page
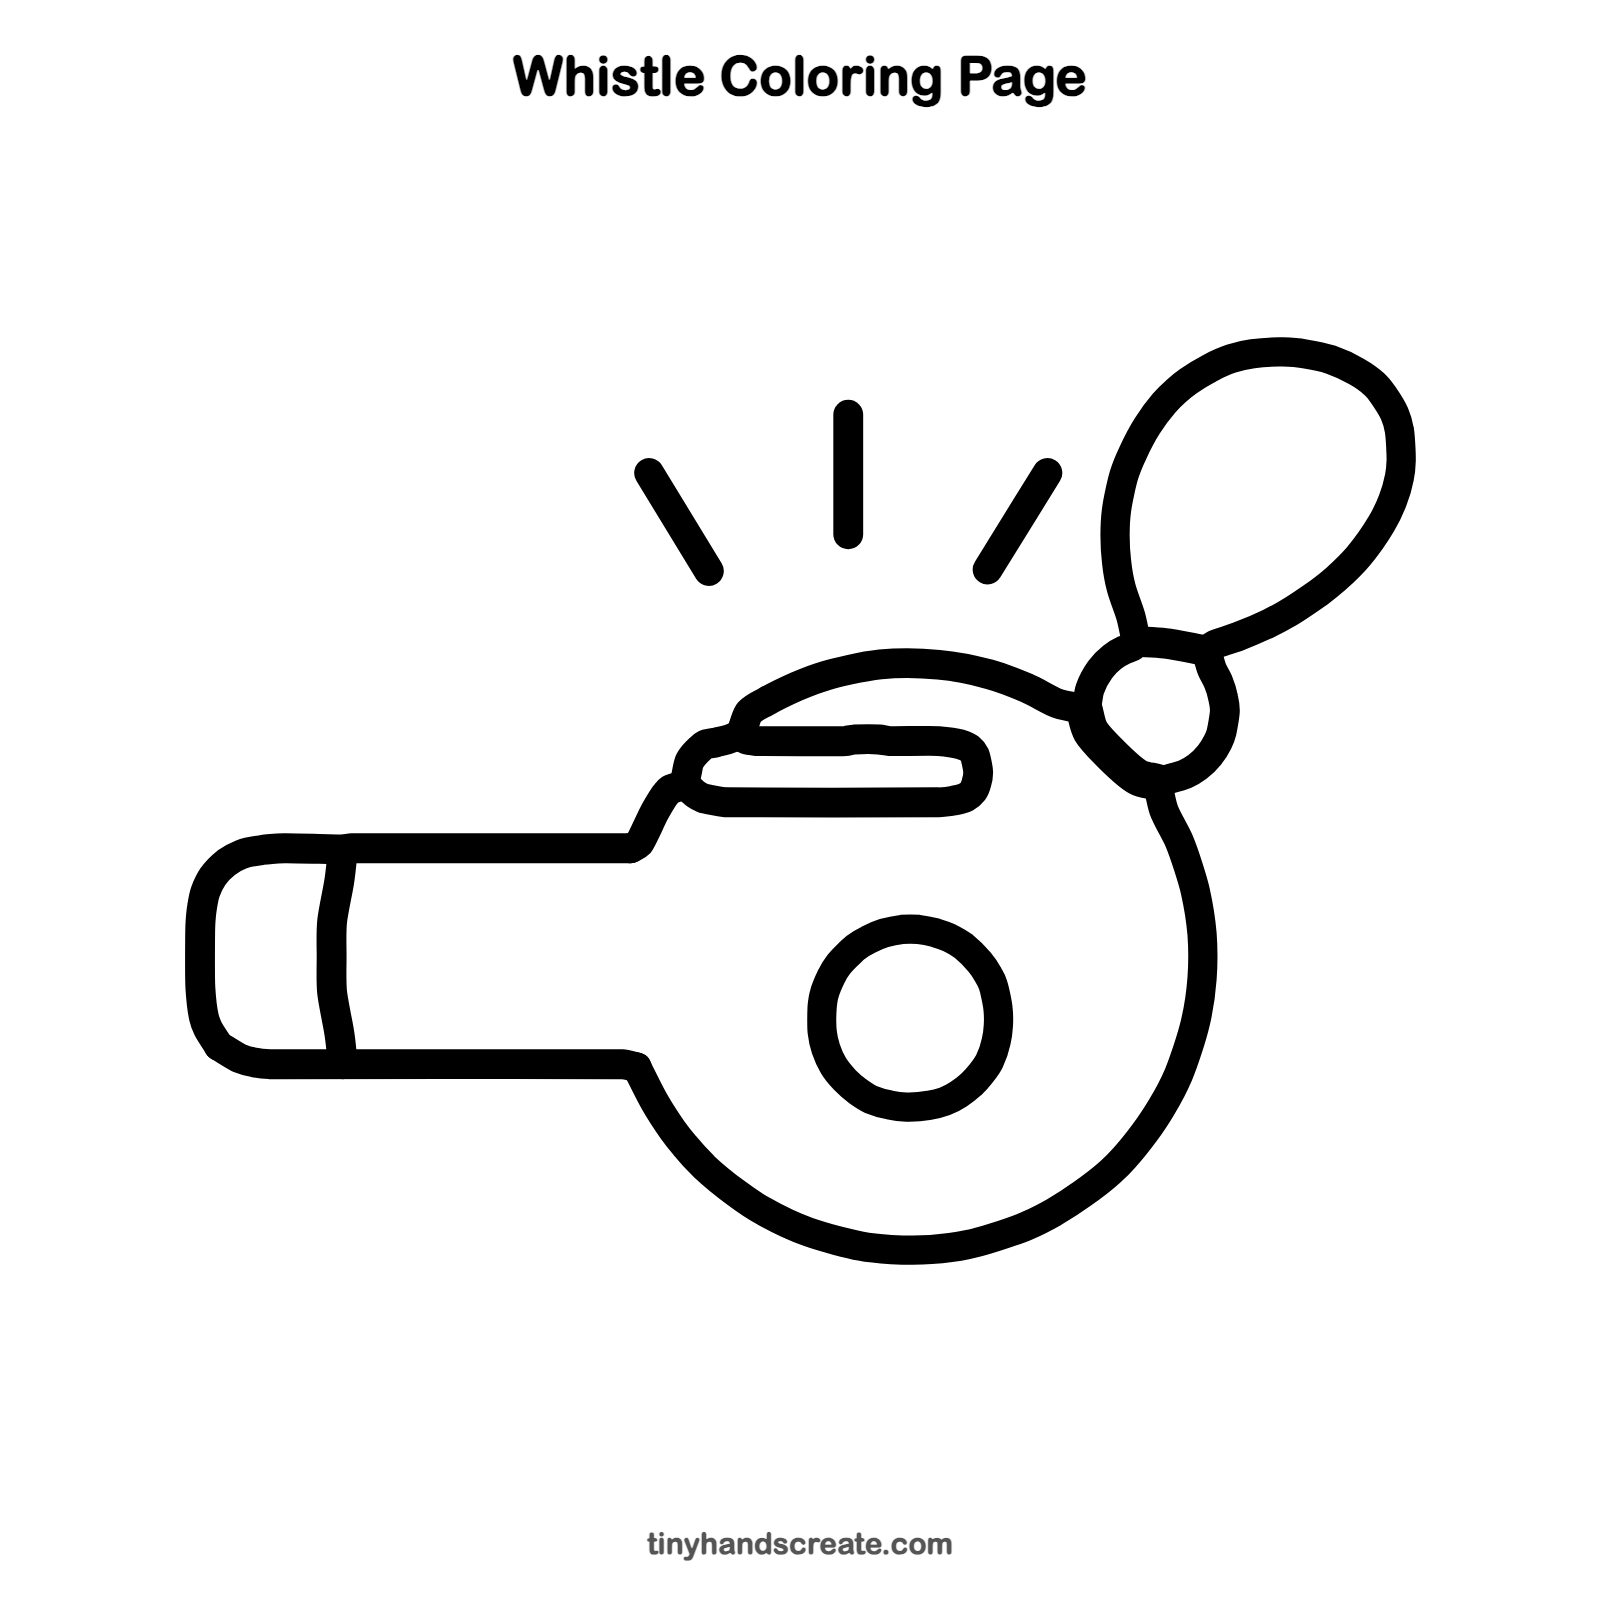
Want to go straight to coloring? Open this whistle coloring page at full size and print it. It is the same drawing you just learned, with clean lines ready for crayons or markers.
How to color your whistle drawing
Try a shiny silver or bright red whistle with a colorful string. For a creative twist, color the sound lines in rainbow colors, as if the whistle is making a happy tune.
Whistle fun fact for kids
People have made whistles for thousands of years. Archaeologists have found ancient whistles made from clay and bone.
Questions about drawing a whistle
What shapes do I need to draw a whistle?
You need a big circle, a long rounded rectangle for the mouthpiece, a small circle, a skinny oval, and a teardrop loop for the string. A few short lines show the sound.
How do I make my whistle look like it is blowing?
Add three short lines above the top of the whistle, spreading out like rays. They show the sound coming out.
Why does my circle look lopsided?
Try drawing it lightly first and turning the paper as you go. You can also trace around a cup or lid to get a nice round circle.