How to Draw a Foot (Easy Step by Step)
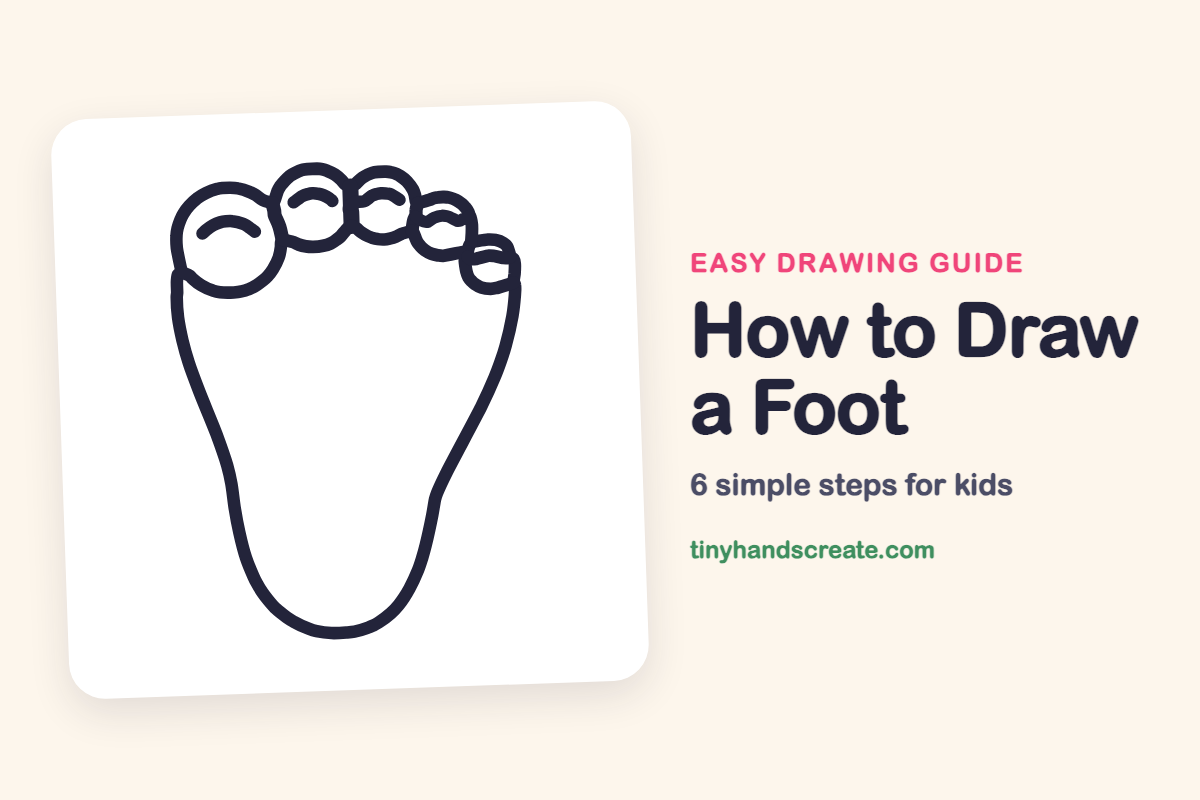
Learn how to draw a foot easily by breaking it down into simple shapes. You'll discover how to combine one big rounded shape with five smaller toe circles and a few short curved lines.
- Start your foot drawing with one large rounded shape.
- Line up five smaller, round toes along the top of the main shape.
- Add a few short curved lines to complete your foot drawing.
- Simplify the process by thinking of the toes as a row of bubbles.
A foot looks tricky until you see that it is mostly round toes lined up along the top of one big rounded shape. This drawing is a fun one for little artists because the toes get smaller one by one, like a row of bubbles. You only need one long outline, five toe circles, and a few short curved lines.
- Easy
- 10 minutes
- 6 steps
You need: paper, a pencil, an eraser, and crayons or markers for coloring.
Start drawing

In this article (7 sections)
How to draw a foot step by step
How to Draw a Foot · tinyhandscreate.com
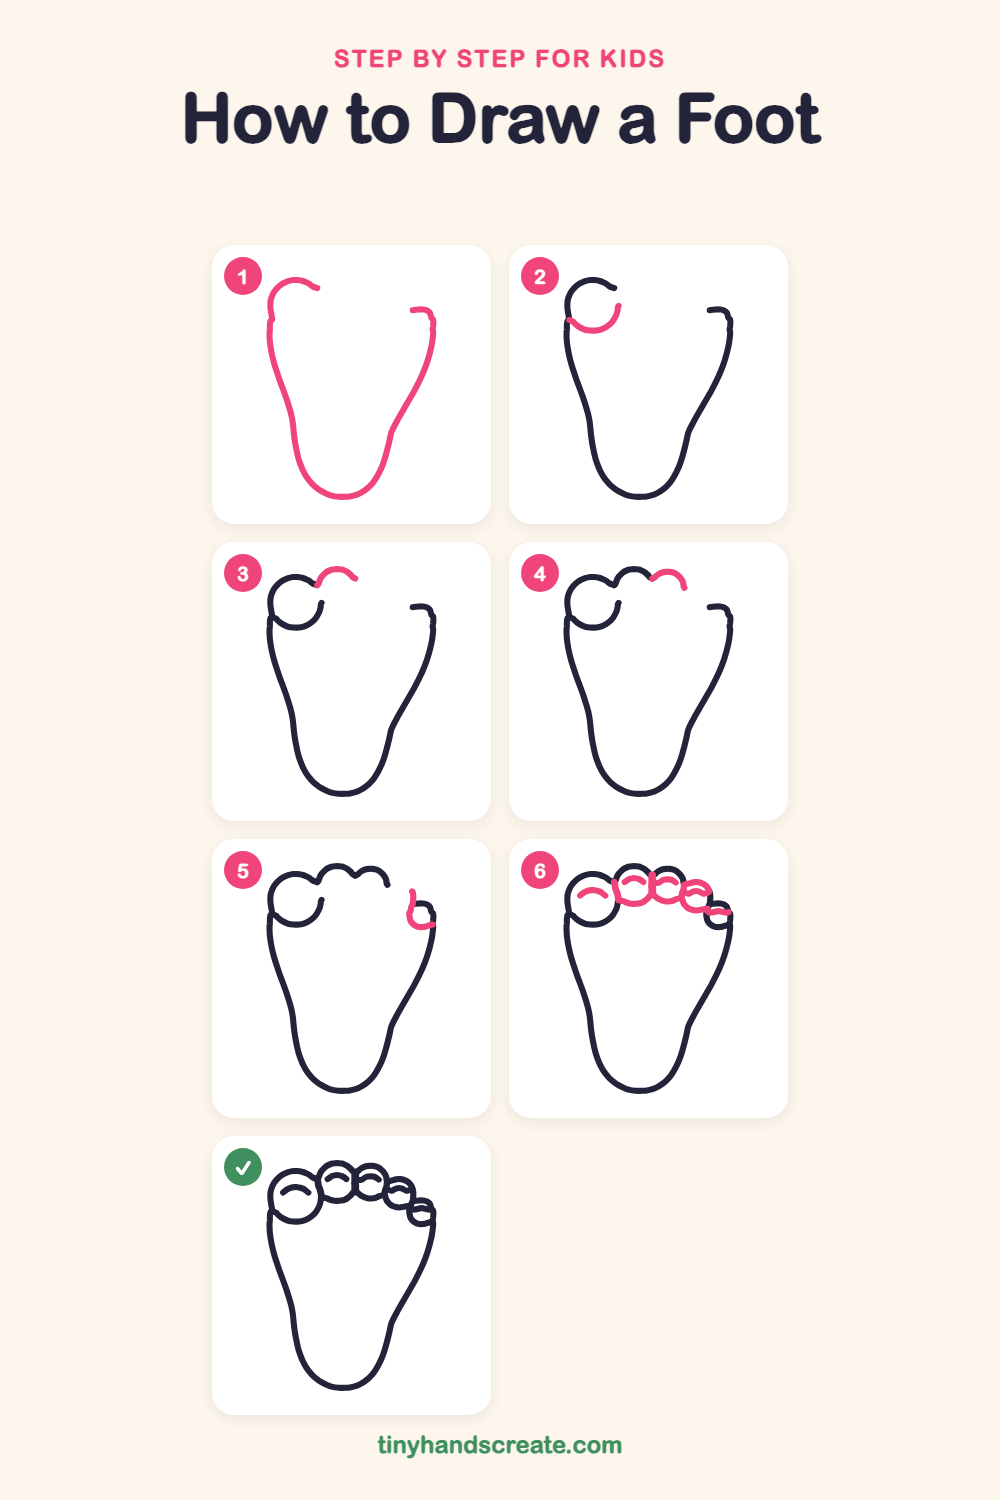
Step 1: Foot outline
Draw the outline of the foot. Start at the top left with a little curl, go down the side, curve around the rounded heel, and come up the other side, stopping with a small hook near the top right. Leave a gap across the top for the toes.
Step 2: The big toe
Draw the bottom half of a big circle at the top left, so it closes the curl you started. This is the big toe.
Step 3: The second toe
Next to the big toe, draw a small curved arch, like a little hill, that starts on the big toe and bumps up above it. This is the top of the second toe.
Step 4: The third toe
Draw another small arch right beside the second one, starting where the second arch ends. This is the top of the third toe.
Step 5: The smallest toe
At the top right edge of the foot, draw a tiny curl that tucks in next to the hook you drew in the first step. This is the smallest toe, like a little pea.
Step 6: Toes and toenails
Finish the rounded bottoms of the second, third, and fourth toes, and draw the top of the fourth toe in the gap between the third toe and the smallest toe. Then add a short curved line, like a little smile, on each toe for a toenail.
All done!
Go over your lines with a marker, then color it in.
Finished your foot? Keep the pencils out and learn how to draw a rocket or how to draw a shooting star next.
Tips for drawing a foot
- Draw the big toe first and make it the largest circle. Every toe after it should be a little smaller, which makes the row look natural.
- Let the toe circles touch or overlap a tiny bit instead of leaving gaps. It helps them look like they belong to the same foot.
- Keep the toenail curves short and gentle, like little smiles. If they are too long they start to look like eyebrows.
Free foot coloring page
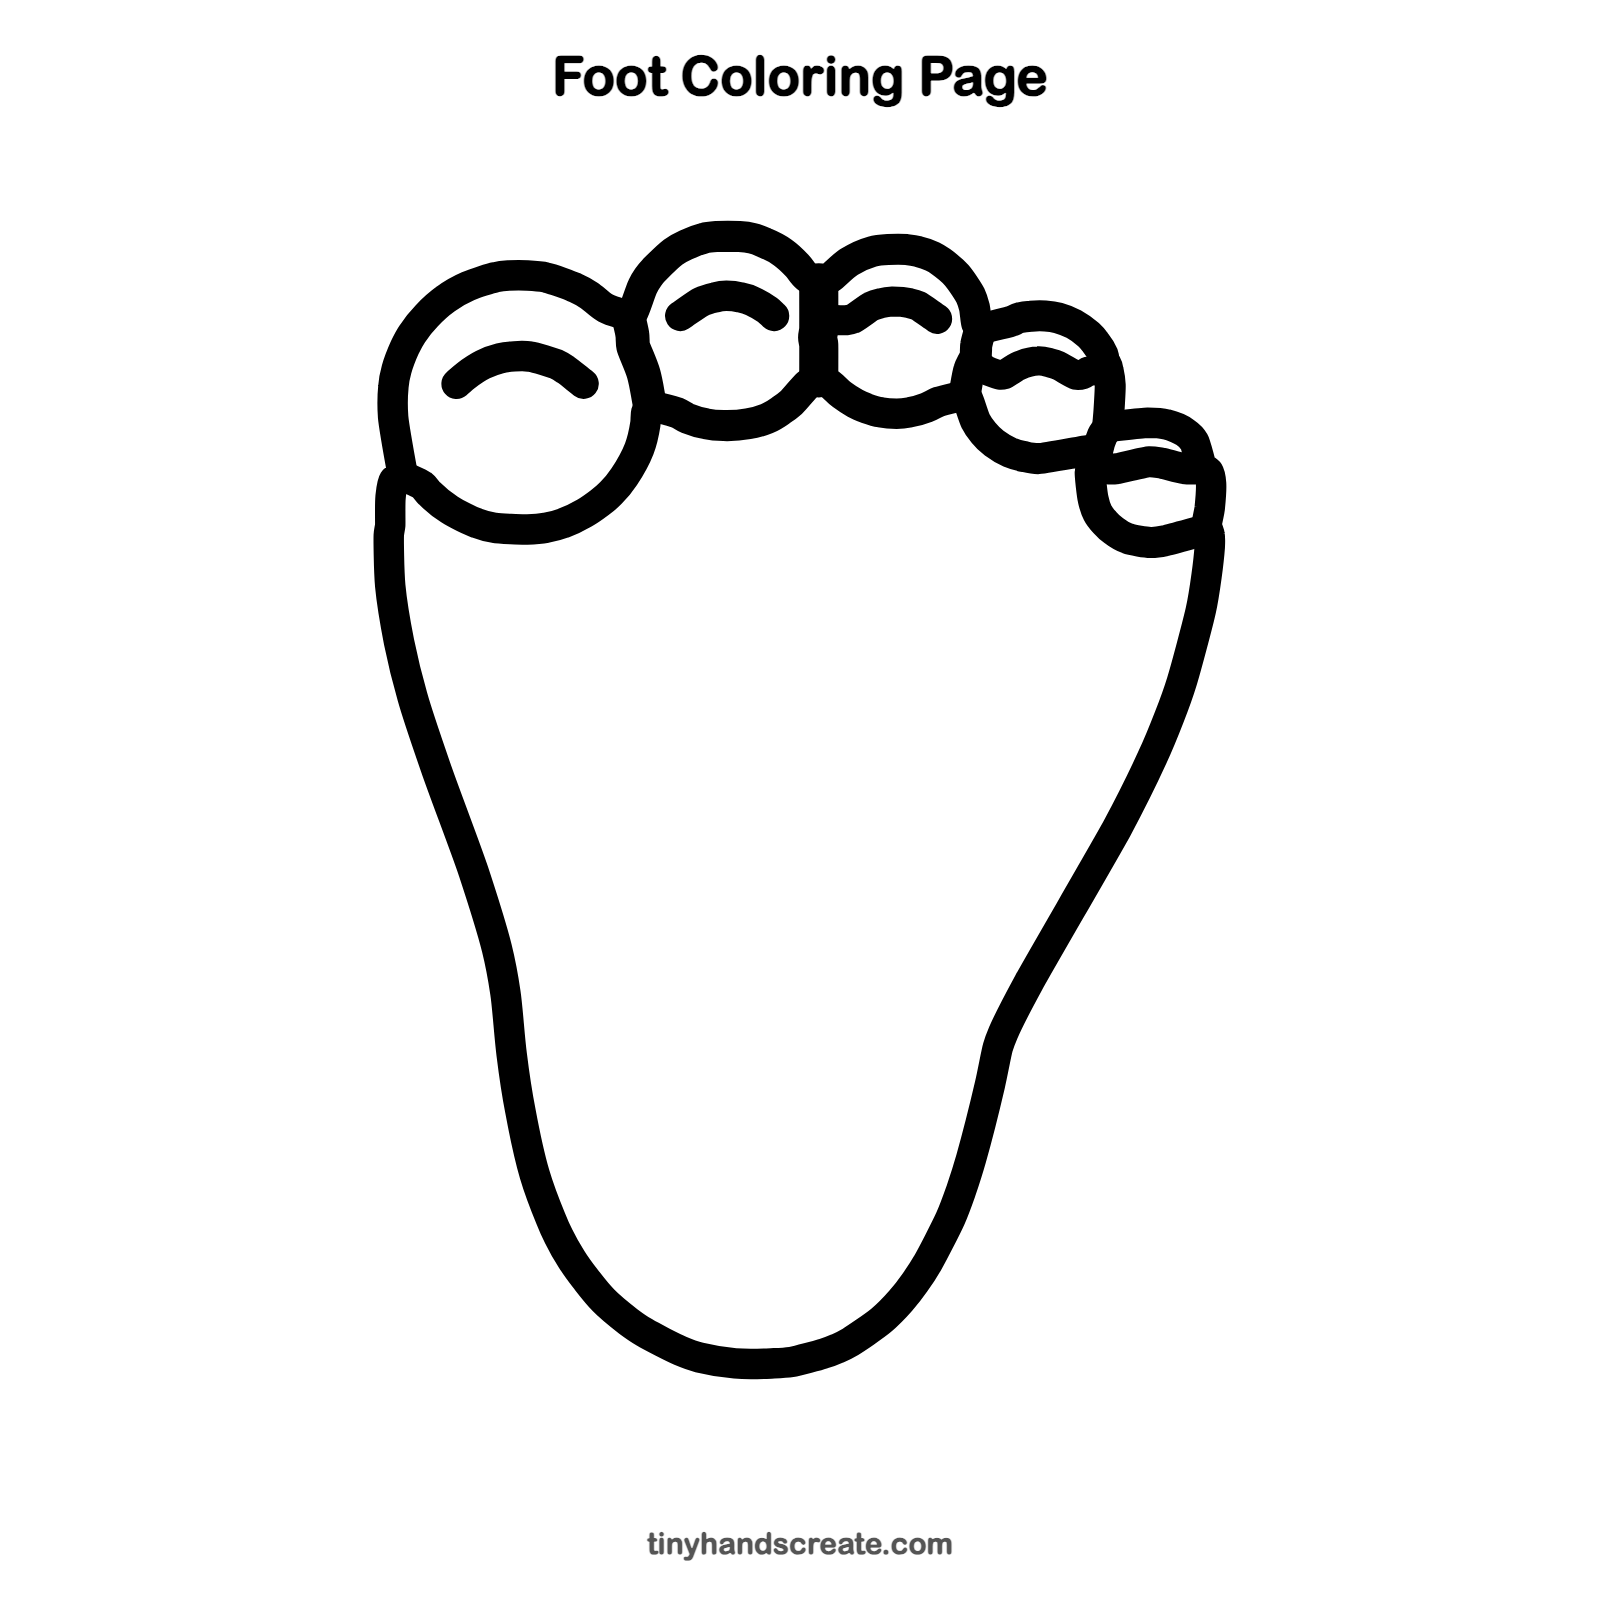
Want to go straight to coloring? Open this foot coloring page at full size and print it. It is the same drawing you just learned, with clean lines ready for crayons or markers.
How to color your foot drawing
Try a warm peach, tan, or brown skin tone for the foot, and color each toenail a different bright color. For a creative twist, give every toe a sparkly nail polish stripe.
Foot fun fact for kids
Each foot has 26 bones, so two feet together hold 52 bones, about a quarter of the 206 bones in a grown-up's body.
Questions about drawing a foot
What shapes do I need to draw a foot?
Start with a long, rounded outline for the foot, then add five circles along the top for the toes. Small curved lines on each toe make the toenails.
How do I make the toes look right?
Make the big toe the biggest circle and shrink each toe a little as you go across. Letting the circles touch slightly keeps them looking connected.
How do I make my foot drawing look cuter?
Color the toenails in bright colors or add a sparkly stripe to each one. Rounder toes also look friendlier.