How to Draw Garden Tools (Easy Step by Step)
Learn to draw common garden tools like shears, rakes, and trowels, along with gloves and a sprout, using simple step-by-step instructions. You'll build each item from basic shapes, making it easy to follow along.
- Draw garden shears, a hand rake, trowel, gloves, and a sprout.
- Build your drawings using simple shapes: circles, ovals, and leaf shapes.
- Follow step-by-step instructions, drawing each tool individually.
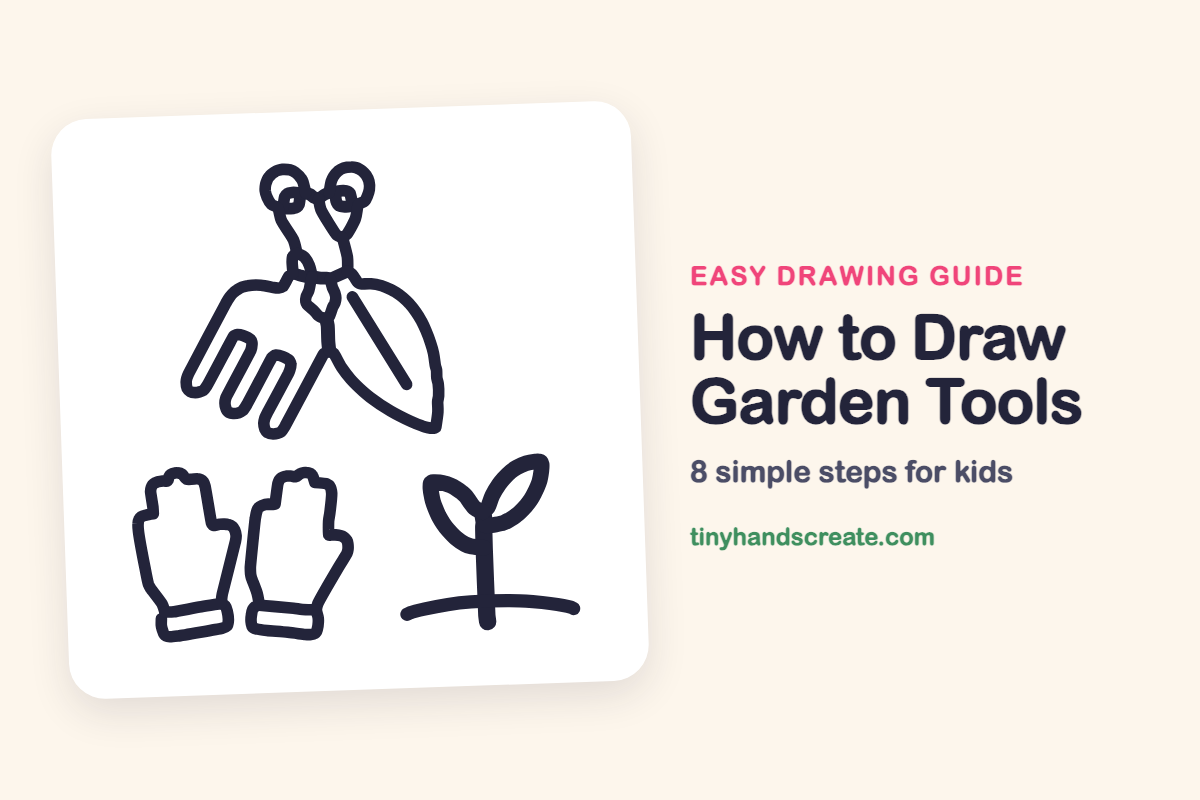
This drawing puts a pair of garden shears, a hand rake, a trowel, gloves, and a tiny sprout together in one picture. It is built from simple shapes: circles, long skinny ovals, pointy leaf shapes, and mitten shapes. Each part is drawn on its own, so you can stop at any step and still have something you like.
- Medium
- 20 minutes
- 8 steps
You need: paper, a pencil, an eraser, and crayons or markers for coloring.
Start drawing
In this article (7 sections)
How to draw garden tools step by step
How to Draw Garden Tools · tinyhandscreate.com
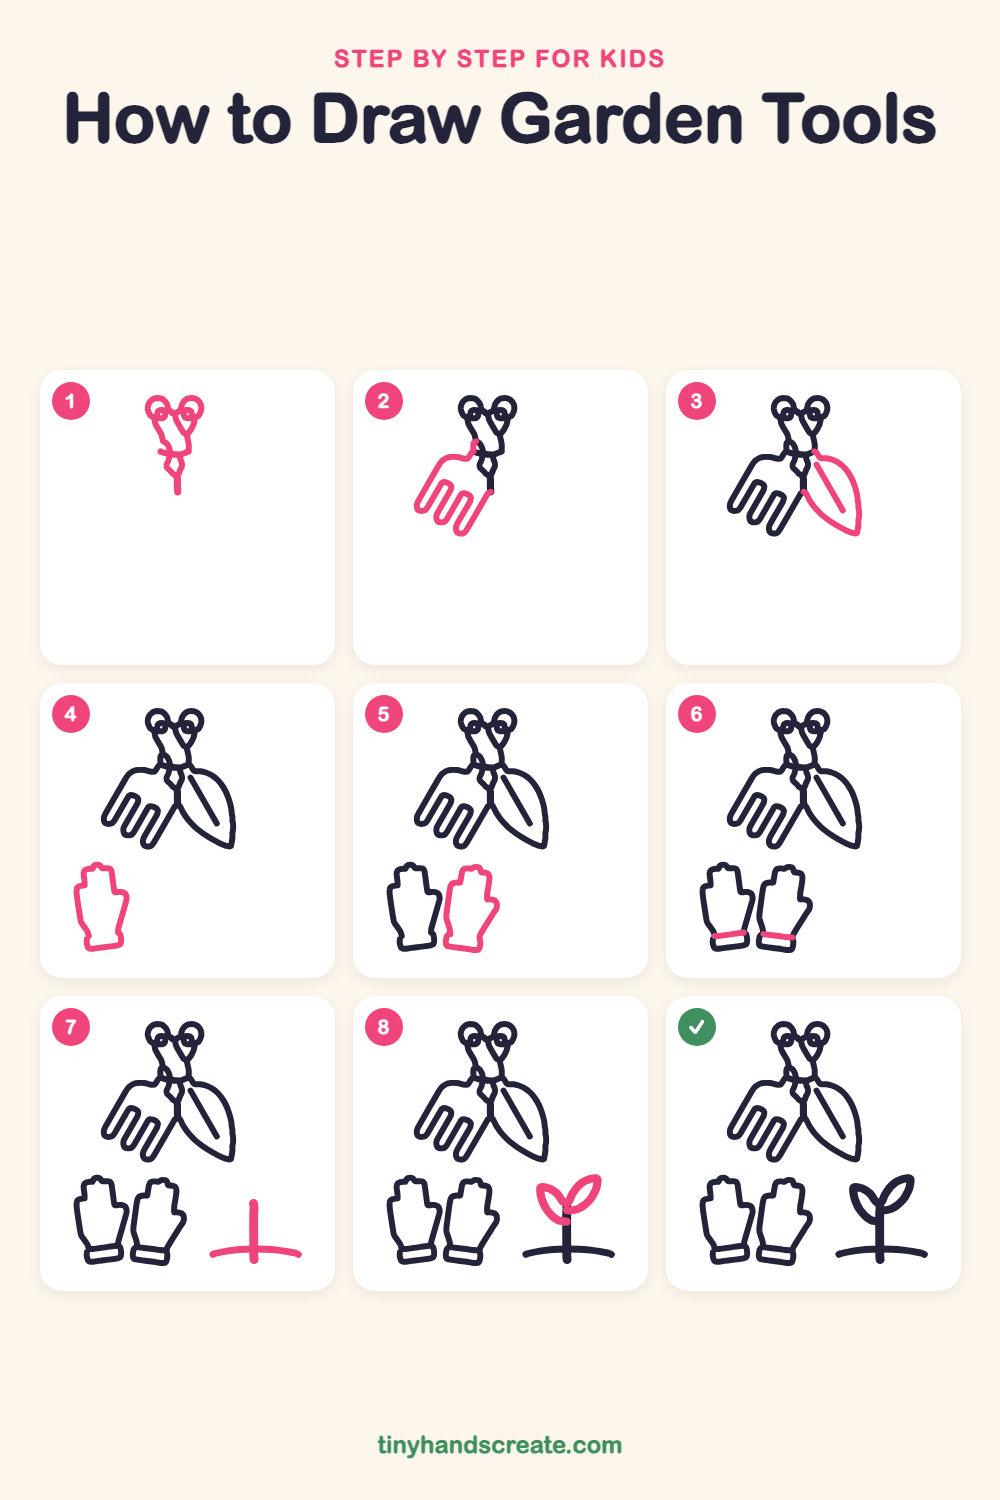
Step 1: Scissor handles
Near the top, draw two small circles side by side for the finger holes. Below them, draw two long, thin shapes that slant down and cross like an X, ending in a short line at the bottom.
Step 2: The hand rake
Start at the crossing point and draw a line sloping down to the left. Make a wide curved top, then draw three skinny rounded fingers pointing down and left, like a comb.
Step 3: The trowel blade
On the right side of the crossing, draw a big leaf shape that curves out and ends in a point at the bottom. Add one straight line inside, running from the top toward the point.
Step 4: The left glove
At the bottom left, draw a tall rounded shape like a mitten. Give it a thumb sticking out on the right and a bumpy top for the fingers. Close the bottom with a small flat edge.
Step 5: The right glove
Next to the first glove, draw its twin. Start with a tall mitten shape, add the bumpy fingers on top and the thumb on the right, then close the bottom.
Step 6: Glove cuffs
Near the bottom of each glove, draw a slightly slanted line across to make a snug band around the wrist.
Step 7: The ground and stem
In the bottom right, draw a gently curved line for the ground. Then draw a short, straight line going up from the middle of the ground for the stem.
Step 8: The sprout leaves
At the top of the stem, draw two pointed leaf shapes, one leaning left and one leaning right. Make each one like a pointy oval, with the tips touching the stem.
All done!
Go over your lines with a marker, then color it in.
Finished your garden tools? Keep the pencils out and learn how to draw a mushroom or how to draw a sunflower next.
Tips for drawing garden tools
- Draw the two crossed handles lightly first. The X shape where they cross is the trickiest part, so start with two straight guide lines.
- For the rake, draw the three fingers the same length and keep the gaps between them even. Try drawing each one like a long, skinny U shape.
- Draw the left glove first, then copy its shape for the right one. The second glove can be a little different, since real gloves never match perfectly.
Free garden tools coloring page
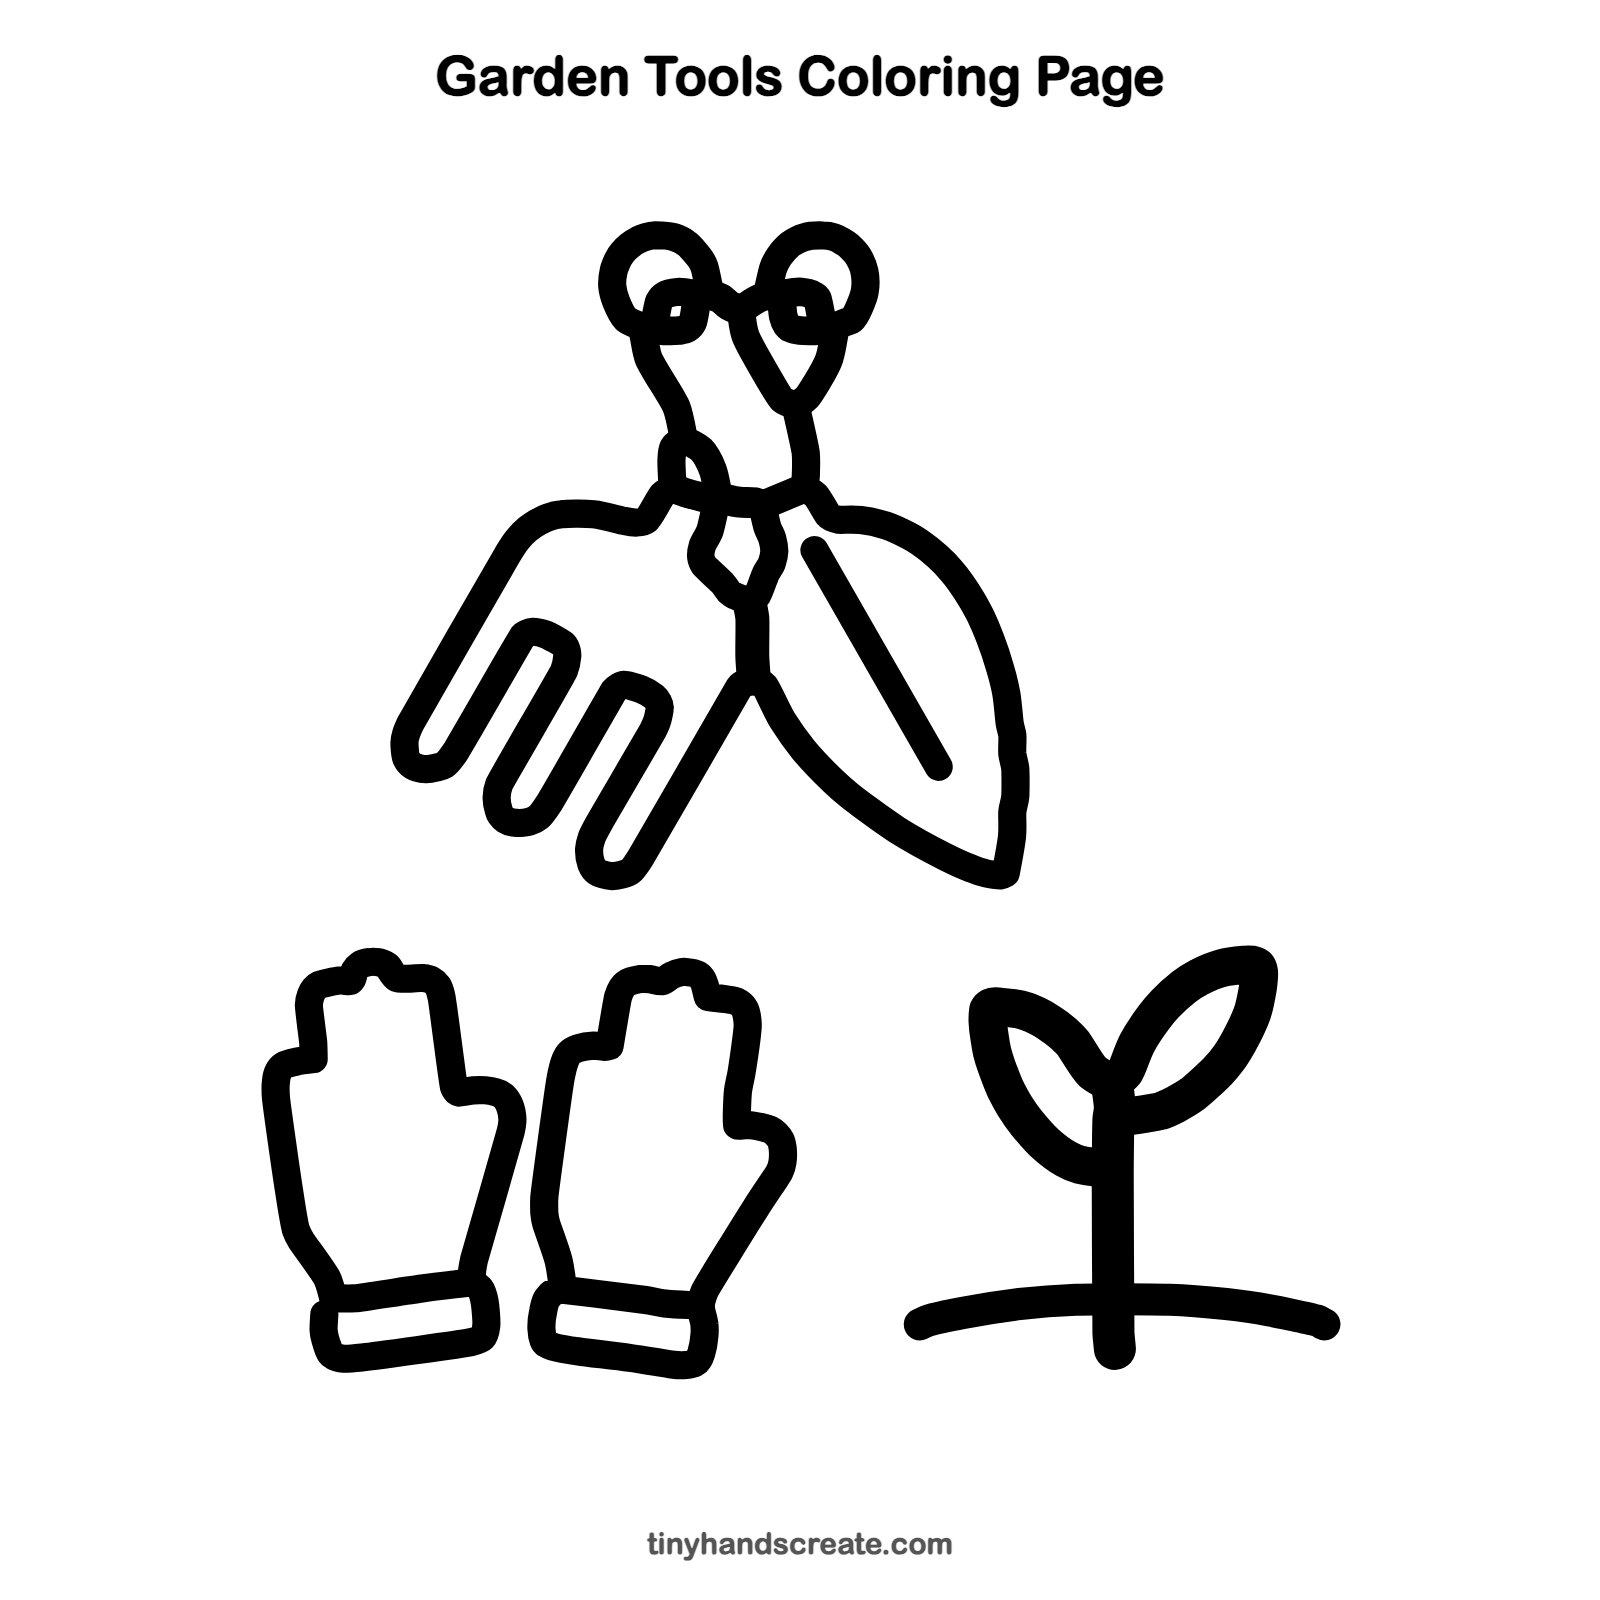
Want to go straight to coloring? Open this garden tools coloring page at full size and print it. It is the same drawing you just learned, with clean lines ready for crayons or markers.
How to color your garden tools drawing
Try red or orange handles, a silver-gray trowel and rake, yellow gloves, and fresh green leaves on a brown soil line. For a creative twist, give each glove a different pattern, such as stripes or polka dots.
Garden tools fun fact for kids
Earthworms help gardens by tunneling through soil, which lets air and water reach plant roots.
Questions about drawing garden tools
What shapes do I need to draw garden tools?
You need circles for the handle holes, long ovals for the handles, a leaf shape for the trowel, and mitten shapes for the gloves. Everything else is just a few lines.
How do I draw the rake fingers evenly?
Draw one finger first, then copy its length and width for the other two. Leave the same gap between each one so they look like a comb.
How do I make my gloves look more real?
Add a bumpy line across the top for the fingers and a small thumb on the side. A cuff band at the bottom makes them look like real work gloves.