How to Draw a Kwanzaa Unity Cup (Easy Step by Step)
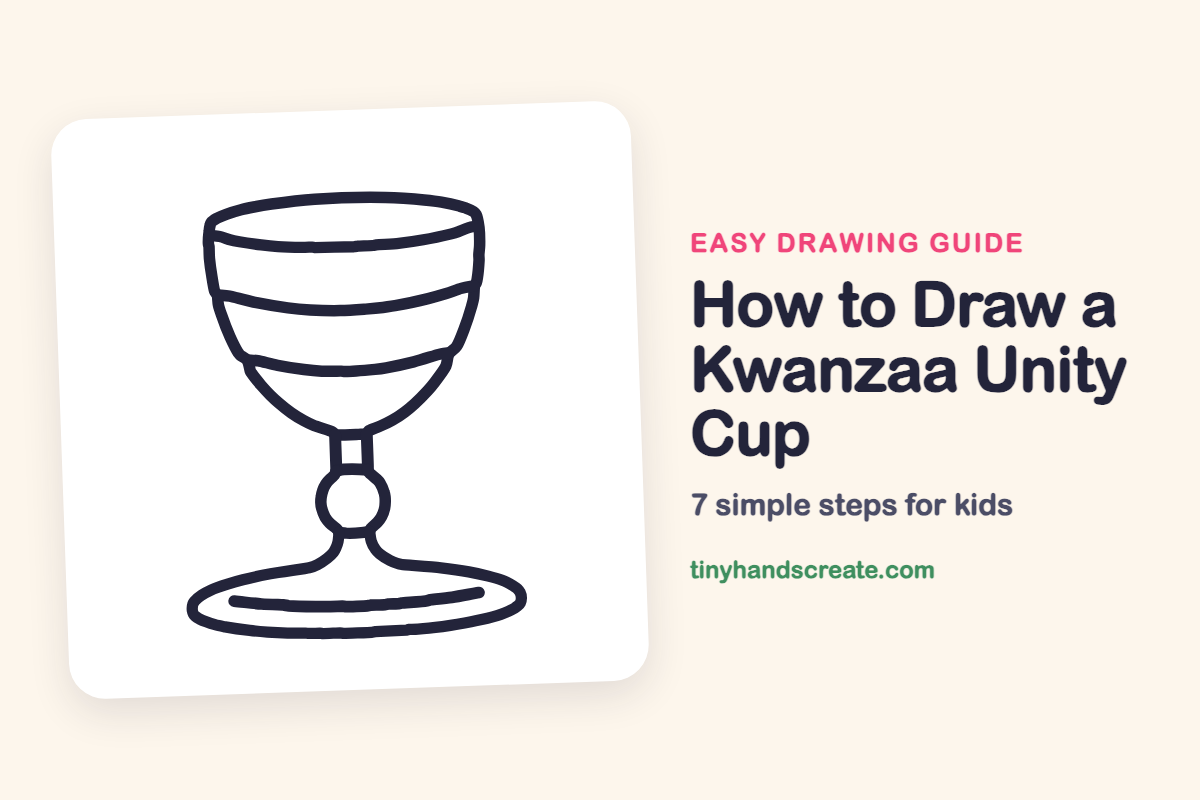
Learn to draw the Kwanzaa Unity Cup (Kikombe cha Umoja) with this easy step-by-step guide. You'll discover how to construct it from basic shapes like a bowl, curved stripes, a ball, and an oval foot.
- Learn to draw the Kwanzaa Unity Cup easily.
- Identify the basic shapes: bowl, curved stripes, ball, oval foot.
- Follow simple step-by-step drawing instructions.
- Understand the cup's traditional name, Kikombe cha Umoja.
This post contains affiliate links. As an Amazon Associate I earn from qualifying purchases.
The unity cup, called the Kikombe cha Umoja, is a special cup used during Kwanzaa. It is built from a few friendly shapes: a bowl, curved stripes, a round ball and a wide oval foot. Once you see those shapes, drawing it step by step is easy.
- Easy
- 10 minutes
- 7 steps
You need: paper, a pencil, an eraser, and crayons or markers for coloring.
Start drawing
In this article (7 sections)
How to draw a Kwanzaa unity cup step by step
How to Draw a Kwanzaa Unity Cup · tinyhandscreate.com
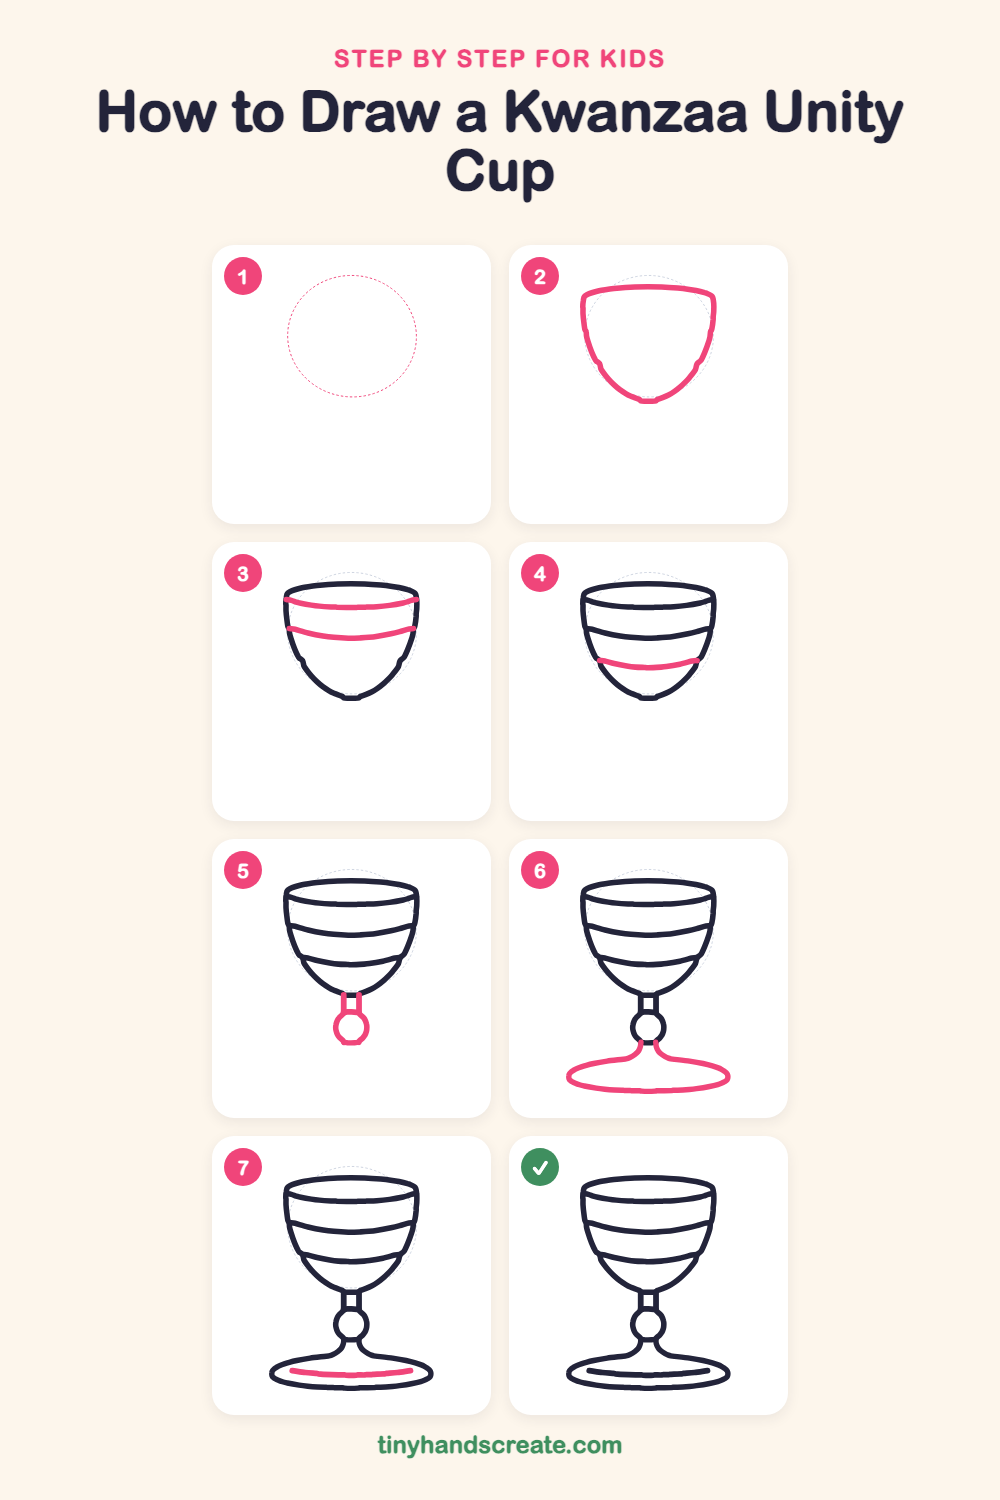
Step 1: Guide shapes
Lightly sketch this oval. It only shows where the big parts go, so press softly. You will erase it at the end.
Step 2: The cup bowl
Start with a gently curved line across the top for the rim. From each end, draw a side line curving down and in, and join them at the bottom in a round U shape, like a bowl.
Step 3: Rim and first stripe
Just under the top edge, draw a smiling curve from the left wall to the right wall to make the front of the rim. Then draw a second smiling curve a little lower, also touching both walls.
Step 4: The bottom stripe
Draw one more smiling curve lower down, where the bowl starts to get narrower. Let both ends touch the sides of the cup.
Step 5: Stem and ball
Under the bottom of the bowl, draw two short straight lines going down to make a skinny stem. Then draw a small circle at the bottom of the stem for the ball.
Step 6: The wide foot
Start at the sides of the ball and curve two lines outward and down, like a little slide. Then draw a wide flat oval at the bottom, joining the slide lines, so the cup has a base to stand on.
Step 7: Shine line
Inside the foot oval, draw one long, gently curved line near the bottom edge. It makes the base look shiny and round.
All done!
Erase the guide shapes, go over your lines, then color it in.
Finished your Kwanzaa unity cup? Keep the pencils out and learn how to draw a menorah or how to draw a dreidel next.
Tips for drawing a Kwanzaa unity cup
- Draw the bowl first and keep both sides matching, because every curve below it follows its shape.
- Make the three curves inside the bowl bend the same way, like smiles, so they look like they wrap around the cup.
- Draw the ball as a small circle at the bottom of the stem, then add the wide foot so the cup stands up straight.
Free Kwanzaa unity cup coloring page
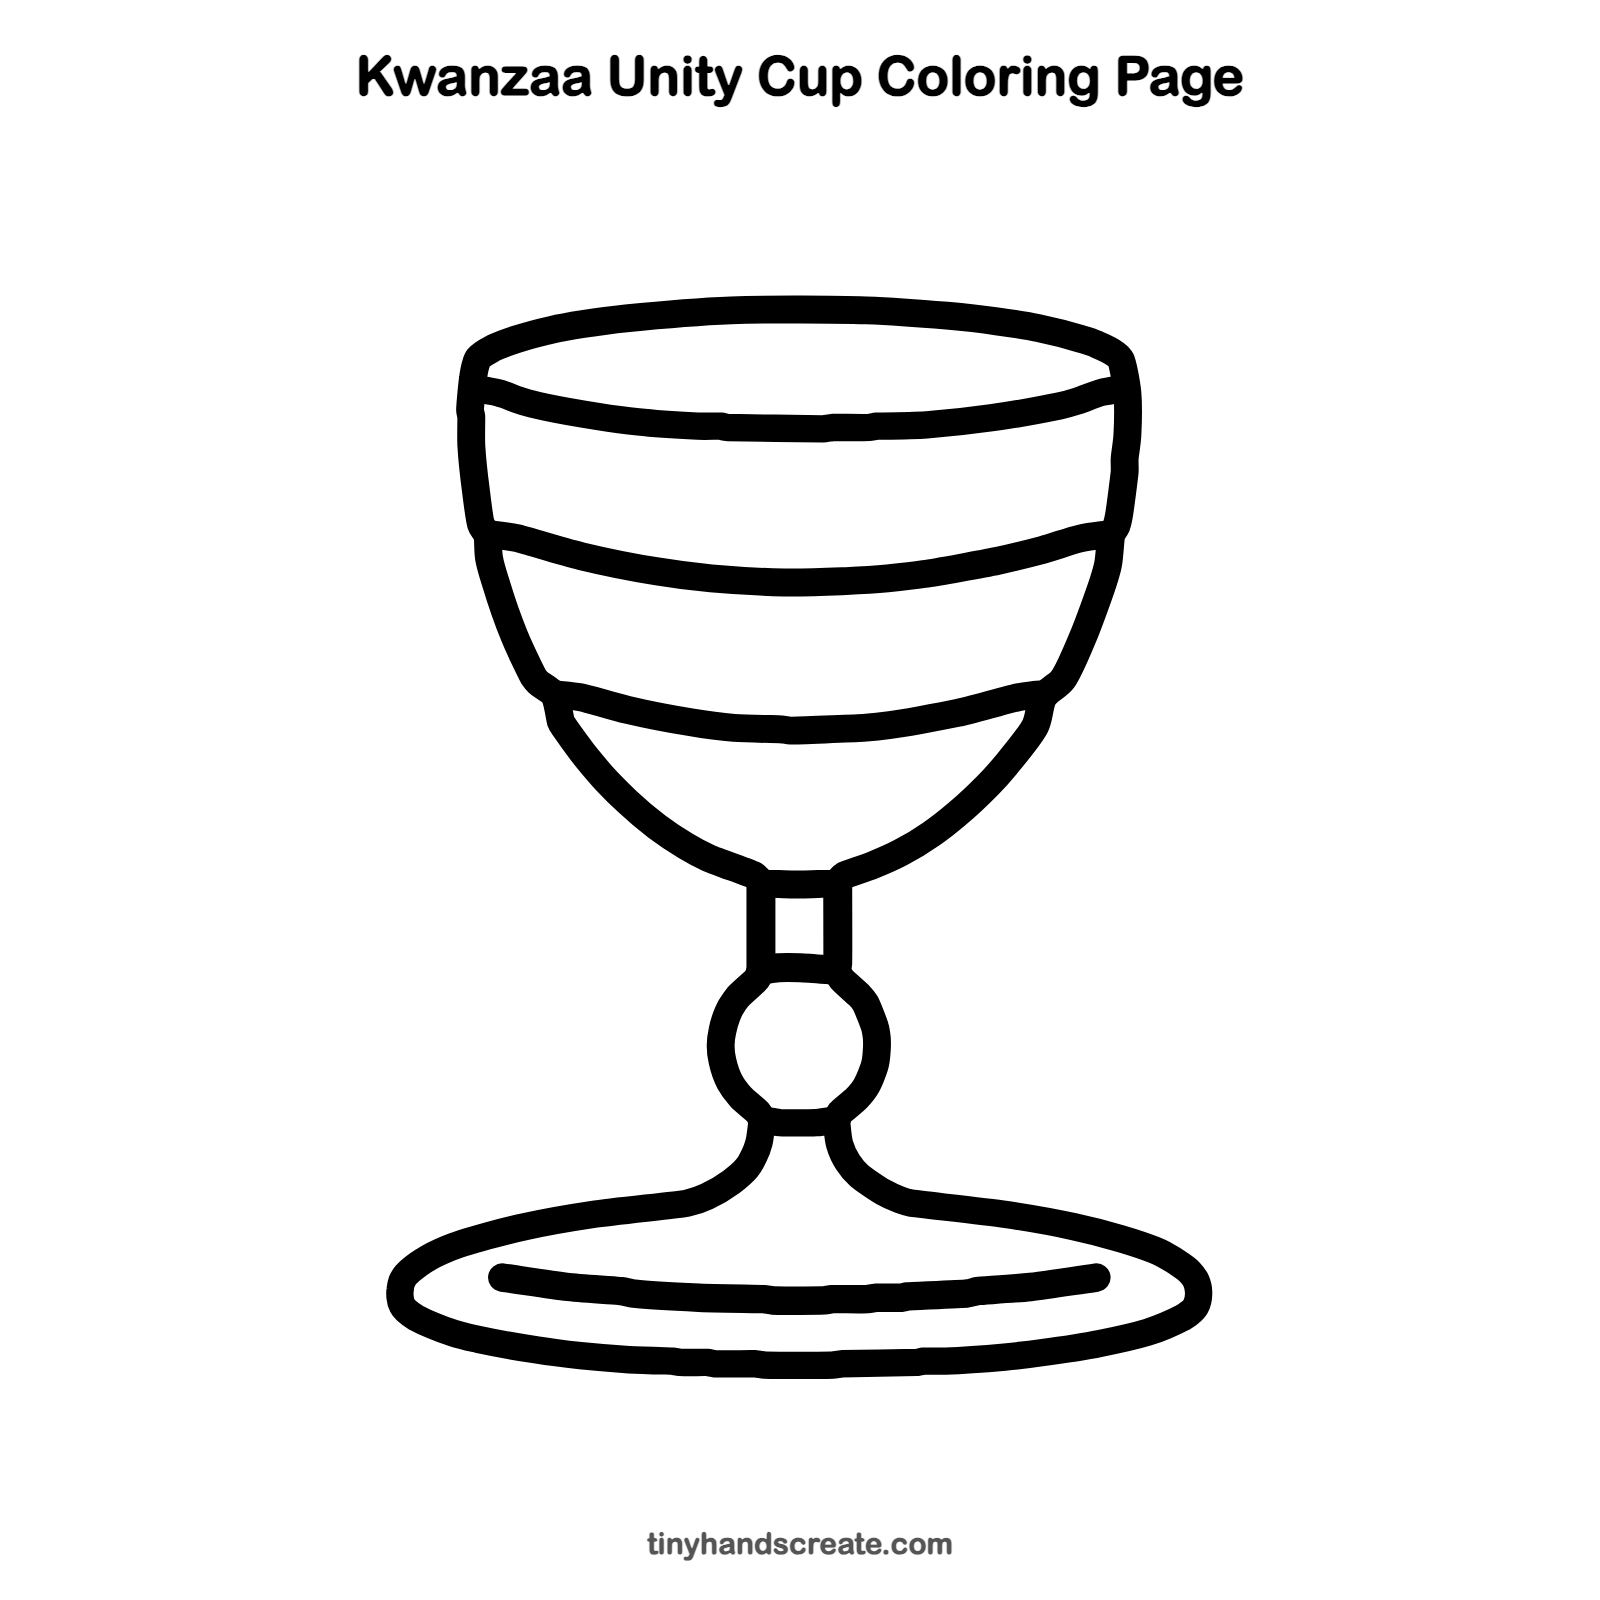
Want to go straight to coloring? Open this Kwanzaa unity cup coloring page at full size and print it. It is the same drawing you just learned, with clean lines ready for crayons or markers.
How to color your Kwanzaa unity cup drawing
Try the Kwanzaa colors of red, black and green on the bands of the bowl, with a golden stem and foot. For a twist, color the bands in different patterns, like dots or zigzags.
Kwanzaa unity cup fun fact for kids
Kwanzaa lasts seven days, starting on December 26, and umoja, the Swahili word for unity, is the first of its seven principles. The unity cup is named after it.
Questions about drawing a Kwanzaa unity cup
What shapes do I need to draw a unity cup?
You need a U-shaped bowl, a few curved lines across it, a small circle for the ball and a wide flat oval for the foot.
How do I make my unity cup look more even?
Draw the bowl first and keep both sides matching. Make each curved line bend the same amount and touch both walls.
What is the unity cup used for?
It is used in Kwanzaa celebrations to share a sip together as a sign of unity. It reminds families to honor their community and ancestors.