How to Draw Snowshoes (Easy Step by Step)
This post contains affiliate links. As an Amazon Associate I earn from qualifying purchases.
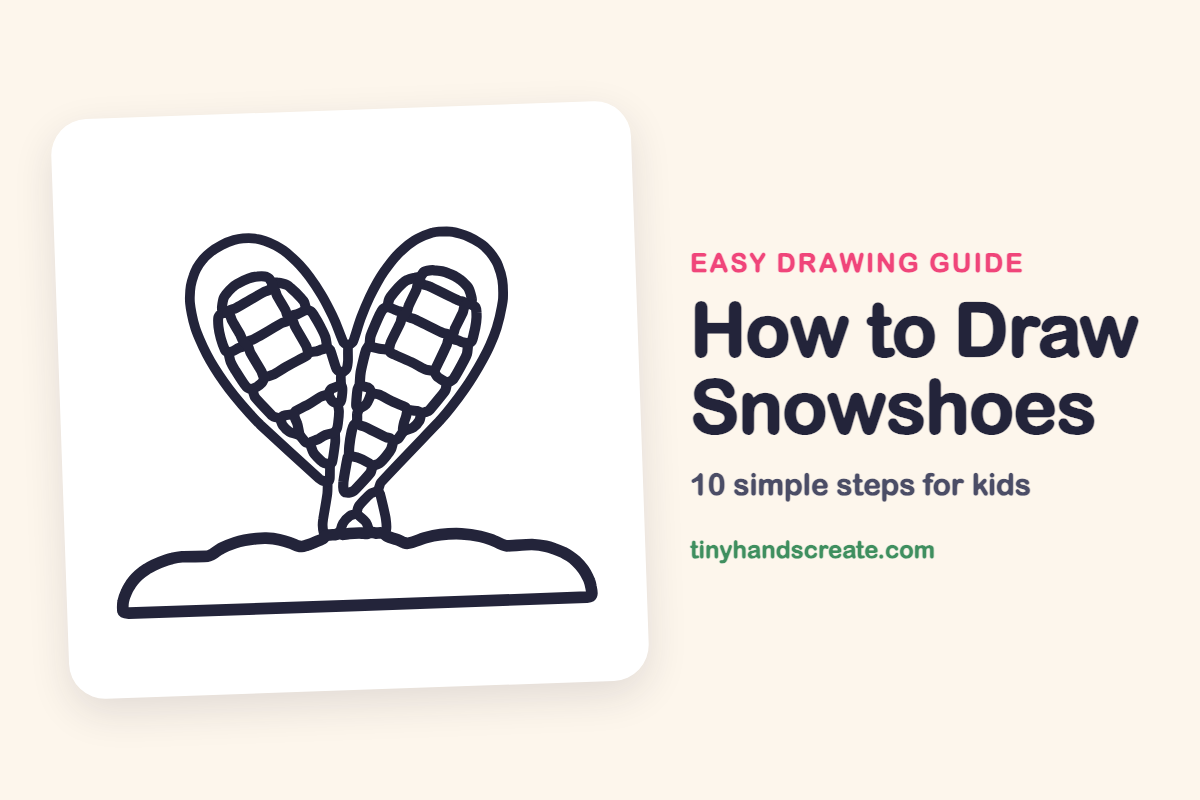
A pair of snowshoes side by side in the snow is a cozy winter drawing, and it is easier than it looks. It is built from two teardrop shapes, some straight lines for the net, and one bumpy snow pile. Together the two snowshoes even make a heart.
- Medium
- 15 minutes
- 10 steps
You need: paper, a pencil, an eraser, and crayons or markers for coloring.
Start drawing
In this article (7 sections)
How to draw snowshoes step by step
How to Draw Snowshoes · tinyhandscreate.com
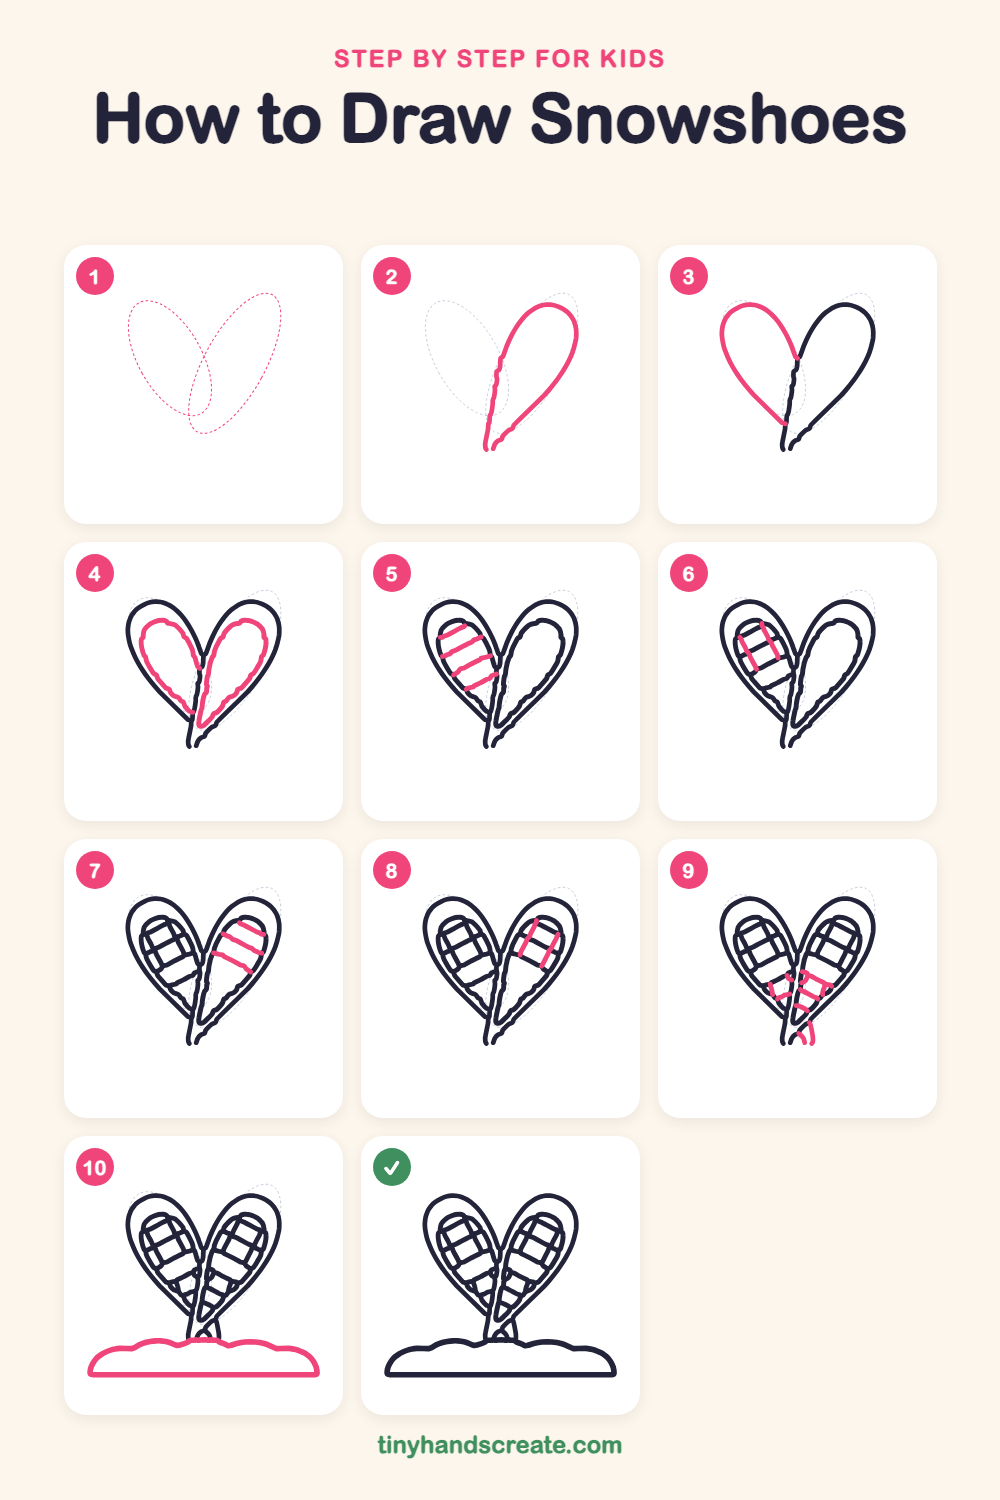
Step 1: Guide shapes
Lightly sketch these 2 ovals. They only show where the big parts go, so press softly. You will erase them at the end.
Step 2: The right frame
Start with the right snowshoe. Draw a big teardrop that is round and wide at the top and narrows to a point at the bottom, leaning toward the middle.
Step 3: The left frame
Draw a second teardrop on the left that leans the other way. Its pointed tip meets the first tip at the bottom, so the two together make a heart shape.
Step 4: Inner webbing frames
Inside each big teardrop, draw a smaller teardrop that follows the same curve. This is the net part of the snowshoe.
Step 5: Left crossbars
On the left snowshoe, draw four short slanted lines from one side of the small teardrop to the other. Space them out like the rungs of a ladder.
Step 6: Left cross lines
Add two short lines across the left snowshoe's rungs, slanting the other way. Where they cross the rungs they make little boxes.
Step 7: Right crossbars
Now do the same on the right snowshoe. Draw slanted rungs across the inside of the small teardrop, keeping them about the same distance apart.
Step 8: Right cross lines
Draw two short lines across the right snowshoe's rungs, slanting the other way, so the rungs turn into a neat net of boxes.
Step 9: Straps and bindings
Near the bottom where the snowshoes meet, add a few short lines and little curves for the straps. These hold the snowshoe on a boot.
Step 10: The snow bank
Finish with a snow pile at the bottom. Draw a flat line along the bottom, then a wide, bumpy cloud shape above it that covers the tips of the snowshoes.
All done!
Erase the guide shapes, go over your lines, then color it in.
Finished your snowshoes? Keep the pencils out and learn how to draw a stack of firewood or how to draw a snow shovel next.
Tips for drawing snowshoes
- Draw the two big teardrops lightly first. If they are not perfect, the heart shape still looks great.
- The crossbars are the trickiest part. Make each one slant the same way on a snowshoe, and keep the gaps about equal.
- Let the snow bank cover the bottom tips of the snowshoes. It makes them look like they are standing in the snow.
Free snowshoes coloring page
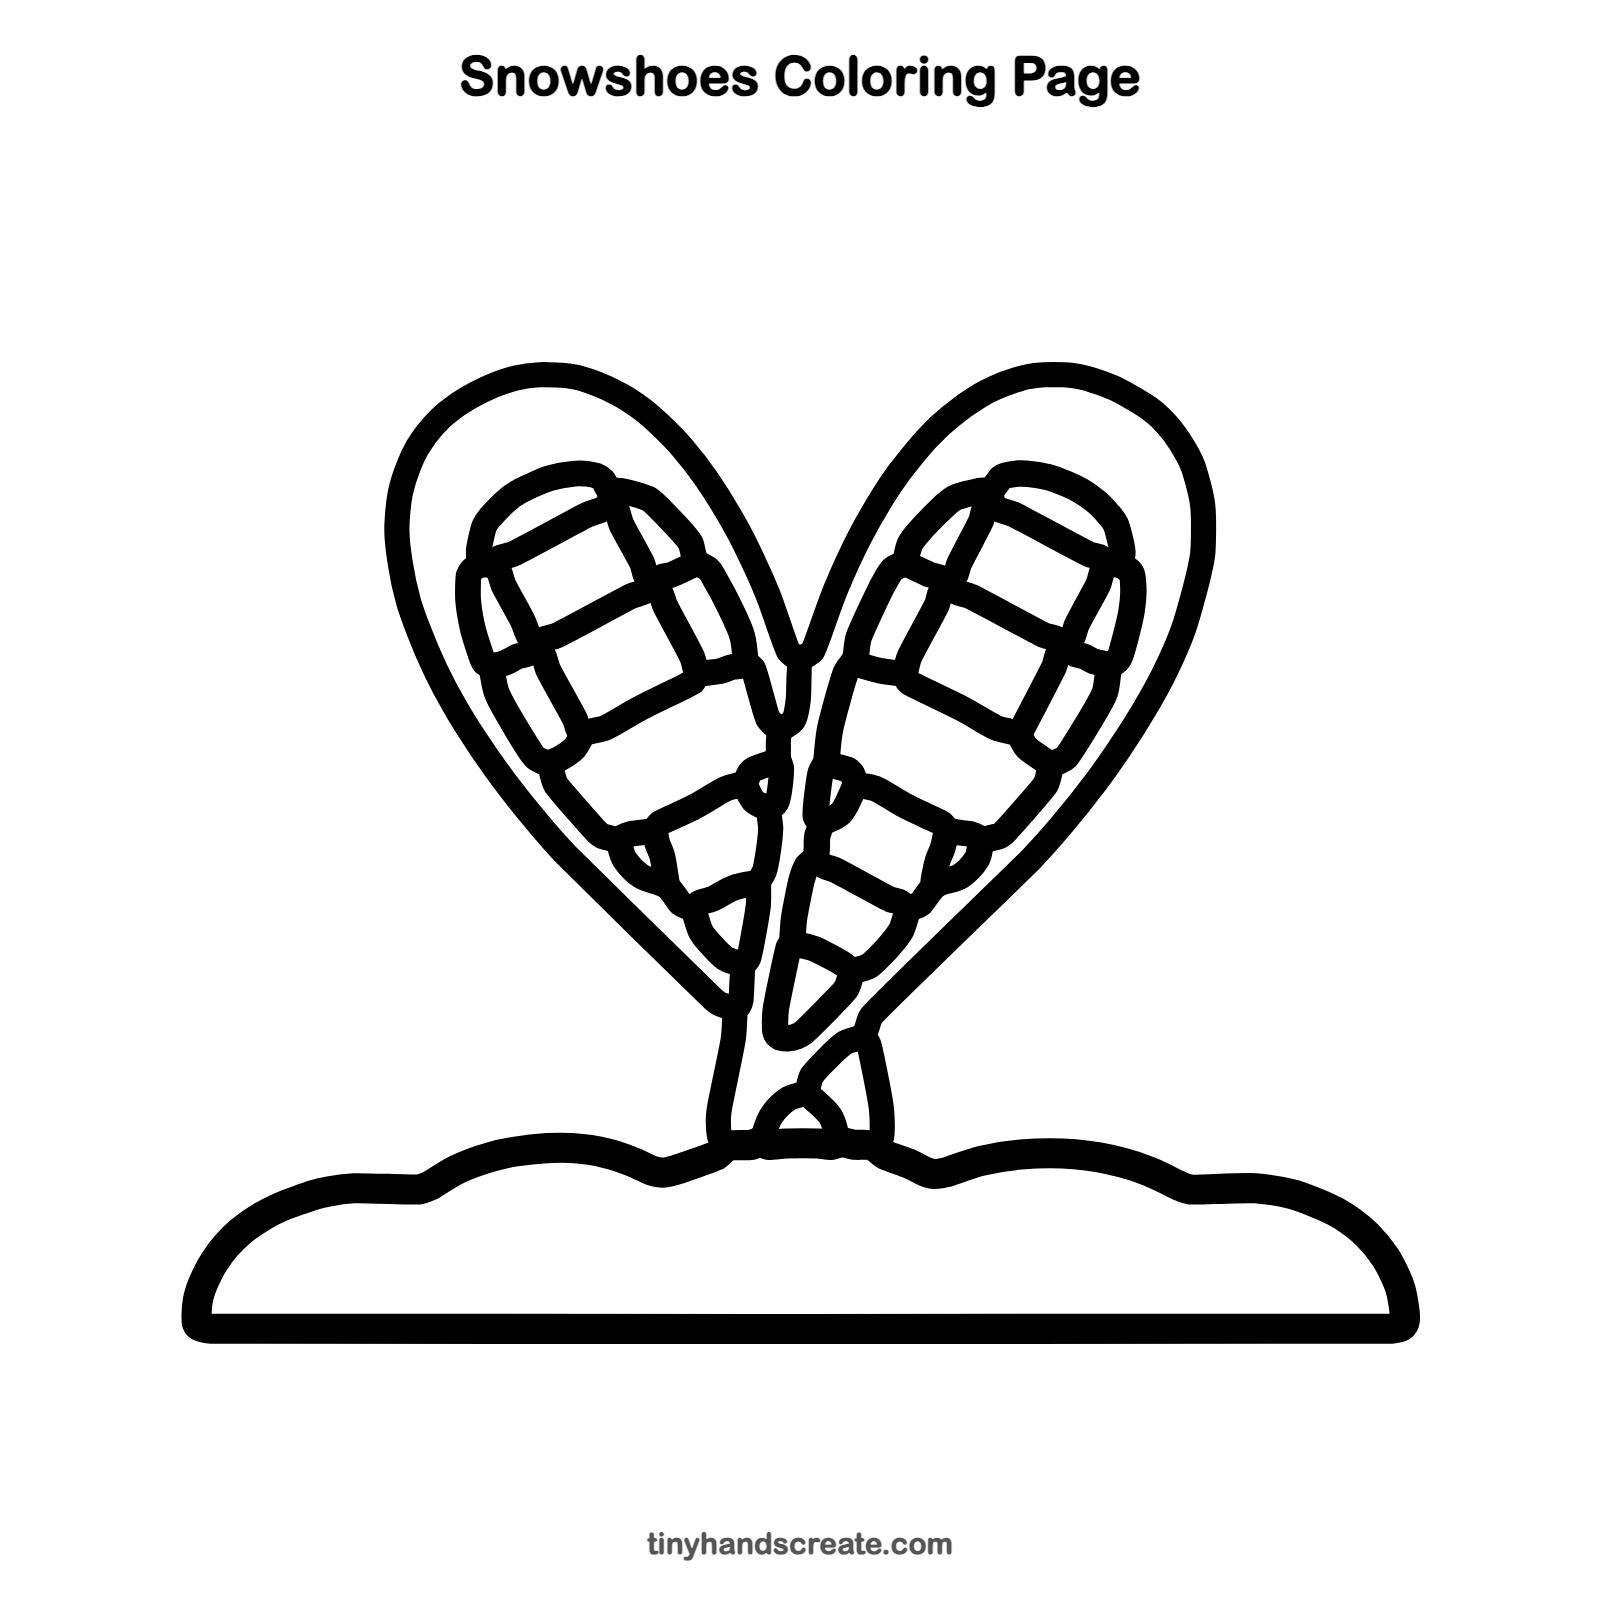
Want to go straight to coloring? Open this snowshoes coloring page at full size and print it. It is the same drawing you just learned, with clean lines ready for crayons or markers.
How to color your snowshoes drawing
Try warm wood browns and tans for the frames, and red or blue for the straps, with a pale blue snow bank. For a creative twist, add falling snowflakes and a sunset sky behind.
Snowshoes fun fact for kids
Snowshoes work because they spread your weight over a wider area, so your feet sink less into deep snow. People have used them for thousands of years to walk across snowy land.
Questions about drawing snowshoes
What shapes do I need to draw snowshoes?
You need two teardrops, a smaller teardrop inside each one, and short straight lines for the net. A bumpy cloud shape makes the snow.
How do I make my snowshoes look like a heart?
Lean the two teardrops toward each other so their tips meet at the bottom. The round tops then spread apart like the top of a heart.
How do I make the net lines look neat?
Draw the rungs first, then the lines that cross them, and keep the spacing even. Using a pencil lets you fix any wobbles before you trace.