How to Draw a Snowshoe Hare (Easy Step by Step)
This post contains affiliate links. As an Amazon Associate I earn from qualifying purchases.
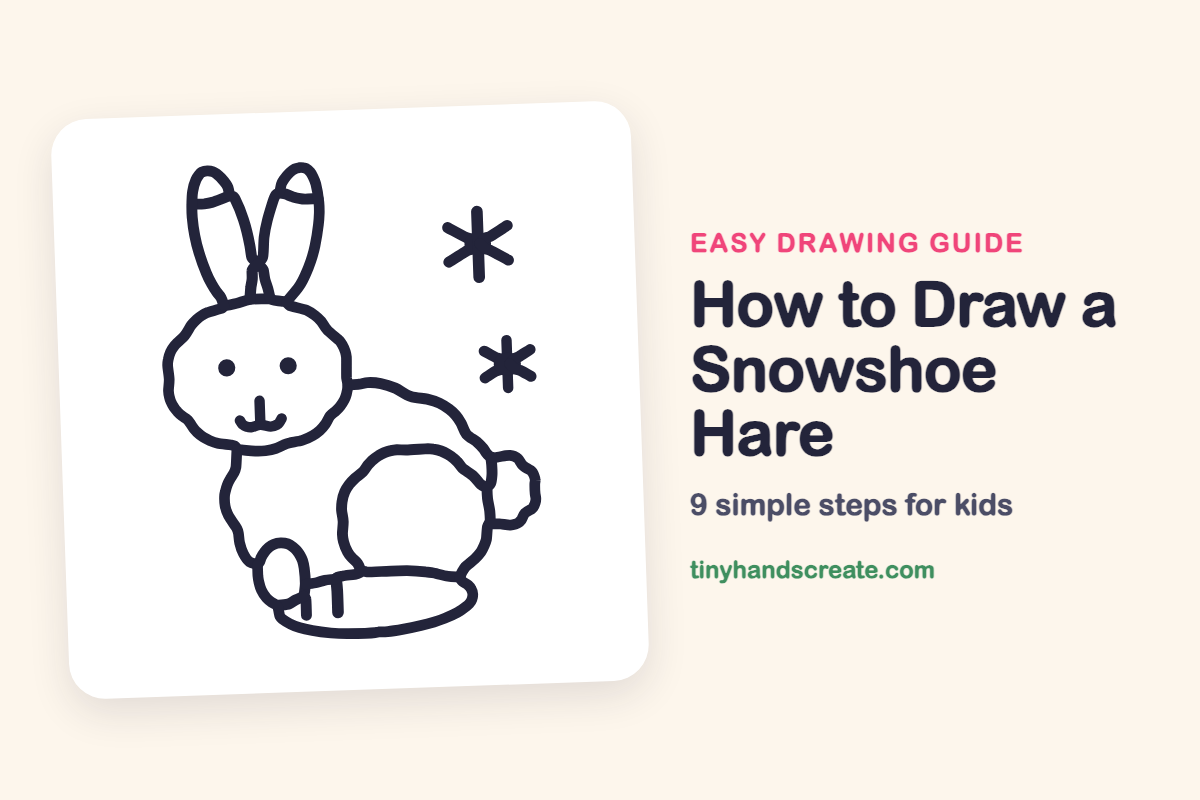
A snowshoe hare is a fluffy winter friend built from simple shapes: circles, ovals and a cloud-like tail. The tall ears and big back feet make it easy to spot, and the snowflakes finish the cozy scene. The wobbly, furry outlines are fun to draw.
- Medium
- 15 minutes
- 9 steps
You need: paper, a pencil, an eraser, and crayons or markers for coloring.
Start drawing
In this article (7 sections)
How to draw a snowshoe hare step by step
How to Draw a Snowshoe Hare · tinyhandscreate.com
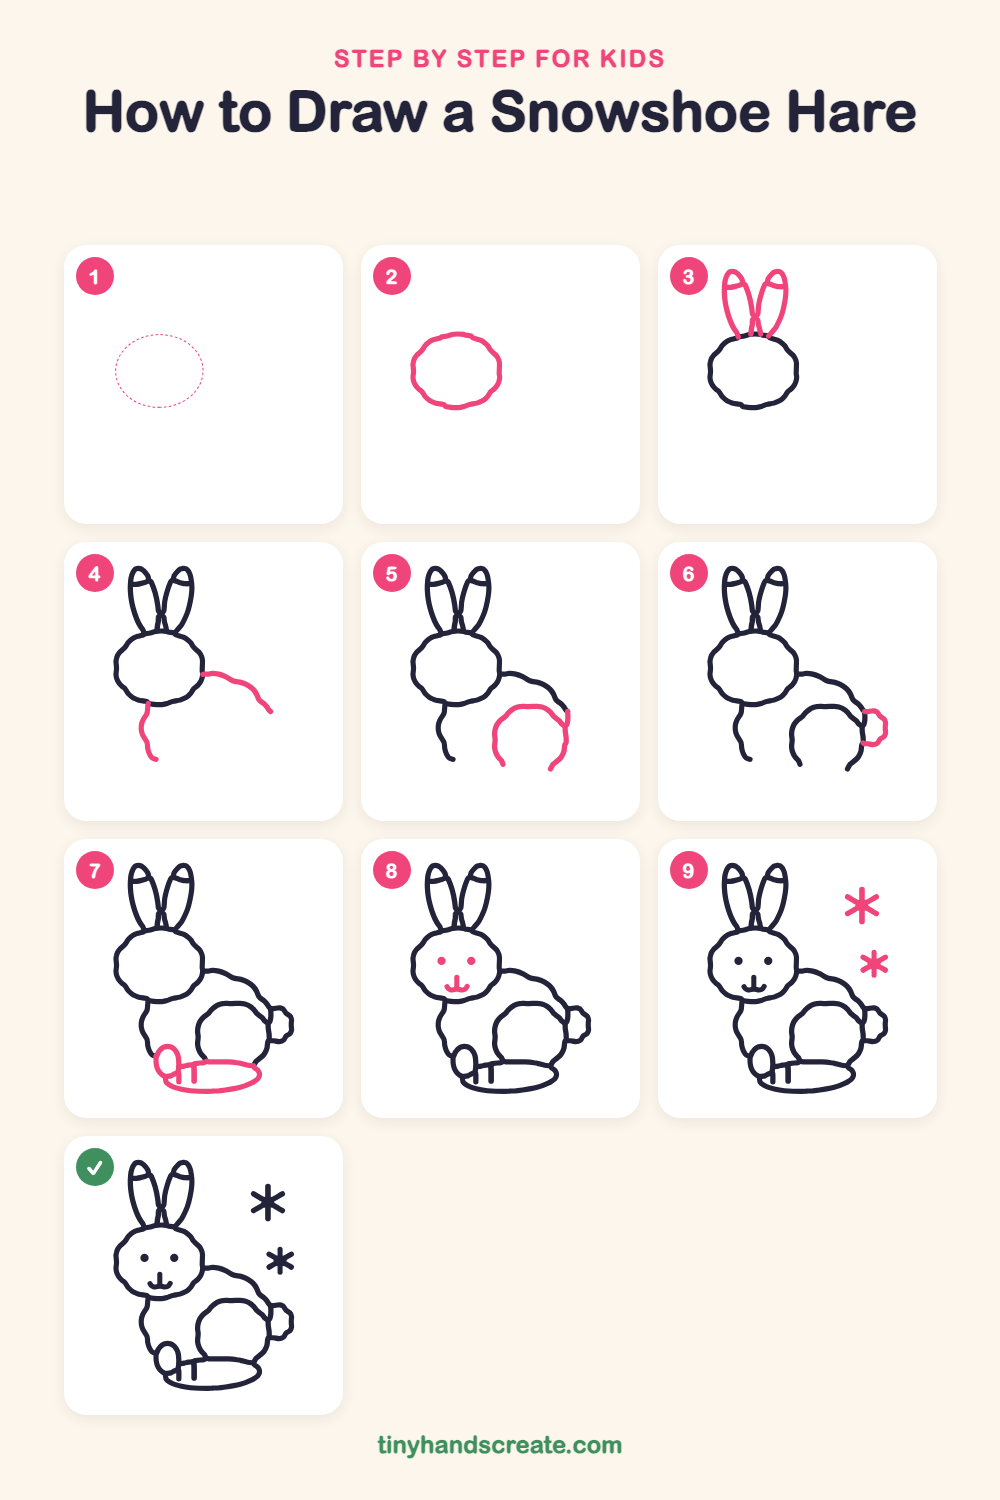
Step 1: Guide shapes
Lightly sketch this oval. It only shows where the big parts go, so press softly. You will erase it at the end.
Step 2: The fluffy head
Start with a big wobbly circle for the head, with a bumpy, furry edge. Make it a little wider than it is tall.
Step 3: The long ears
Draw two tall, skinny ovals standing up from the top of the head, with their bottoms crossing a little. Add a curved line across the tip of each ear for the dark ear tips.
Step 4: Back and chest lines
Start at the right side of the head and draw a long, bumpy curve sloping down and to the right for the back. Then draw a wiggly line going down from under the chin for the chest.
Step 5: The back leg
Draw a big upside-down U, like a rainbow, on the right side of the body for the strong back leg. Let the top of the U touch the back line near the end.
Step 6: The fluffy tail
Next to the end of the back, draw a small puffy cloud shape for the cotton ball tail.
Step 7: Feet on the ground
Draw a small oval for the front foot at the bottom of the chest line. Then draw a long flat oval on the ground for the big back foot, with two little lines for toes.
Step 8: Eyes, nose and mouth
Add two round dots for eyes inside the face. Draw a short line down for the nose, then a little curve below it for a happy smile.
Step 9: Falling snowflakes
Next to the hare, draw two snowflakes. For each one, make a plus sign, then add one more crossing line to make six little spokes.
All done!
Erase the guide shapes, go over your lines, then color it in.
Finished your snowshoe hare? Keep the pencils out and learn how to draw an ermine or how to draw a musk ox next.
Tips for drawing a snowshoe hare
- Draw the head circle with little bumps instead of a smooth line. The bumps make the fur look soft and fluffy.
- Lean the two ears slightly toward each other and make them the same height. Let their bottoms cross a little where they meet the head.
- Draw the big back leg as an upside-down U, and let the top touch the back line. Then the leg looks like it belongs to the hare.
Free snowshoe hare coloring page
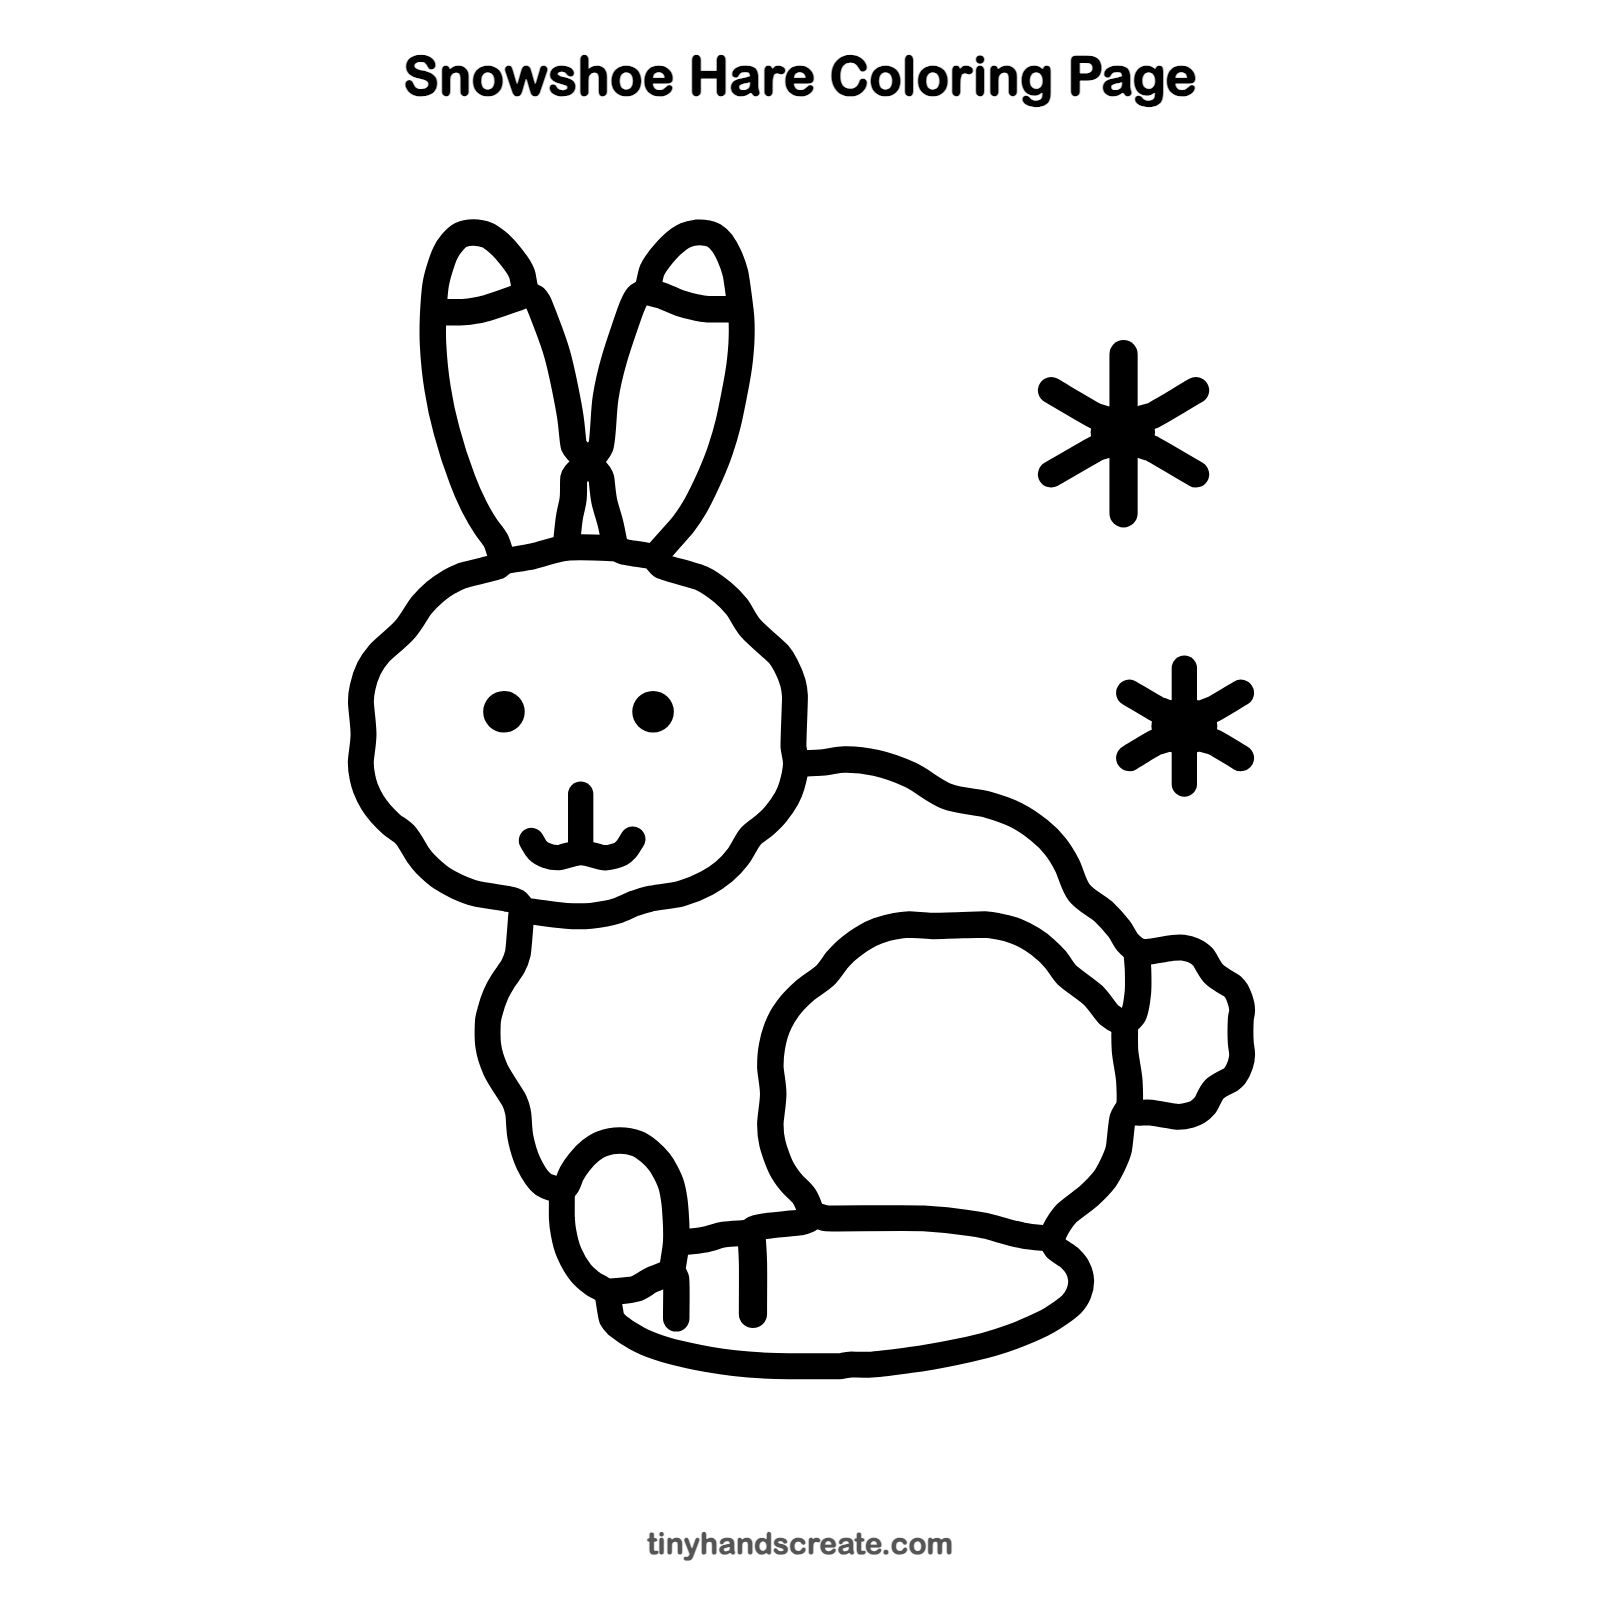
Want to go straight to coloring? Open this snowshoe hare coloring page at full size and print it. It is the same drawing you just learned, with clean lines ready for crayons or markers.
How to color your snowshoe hare drawing
Try soft browns and grays for the fur, with darker tips on the ears and pale blue for the snowflakes and the snow around the hare. For a creative twist, give the hare a winter scarf.
Snowshoe hare fun fact for kids
Snowshoe hares have huge back feet that spread out like snowshoes, so they can run on top of deep snow. Their fur also changes from brown in summer to white in winter, which helps them hide.
Questions about drawing a snowshoe hare
What shapes do I need to draw a snowshoe hare?
You need a bumpy circle for the head, two long ovals for the ears, and a long curve for the back. An upside-down U for the back leg, a small cloud for the tail and flat ovals for the feet finish it.
How do I make my hare look cuter?
Keep the eyes as small round dots and the nose and mouth small. Extra fluffy bumps on the head and tail make it look even softer.
How do I draw the ears so they stand up straight?
Start each ear as a tall, thin oval standing on top of the head. Let the bottoms cross a little, and tilt the ears just a little toward each other.