How to Draw an Ermine (Easy Step by Step)
This post contains affiliate links. As an Amazon Associate I earn from qualifying purchases.
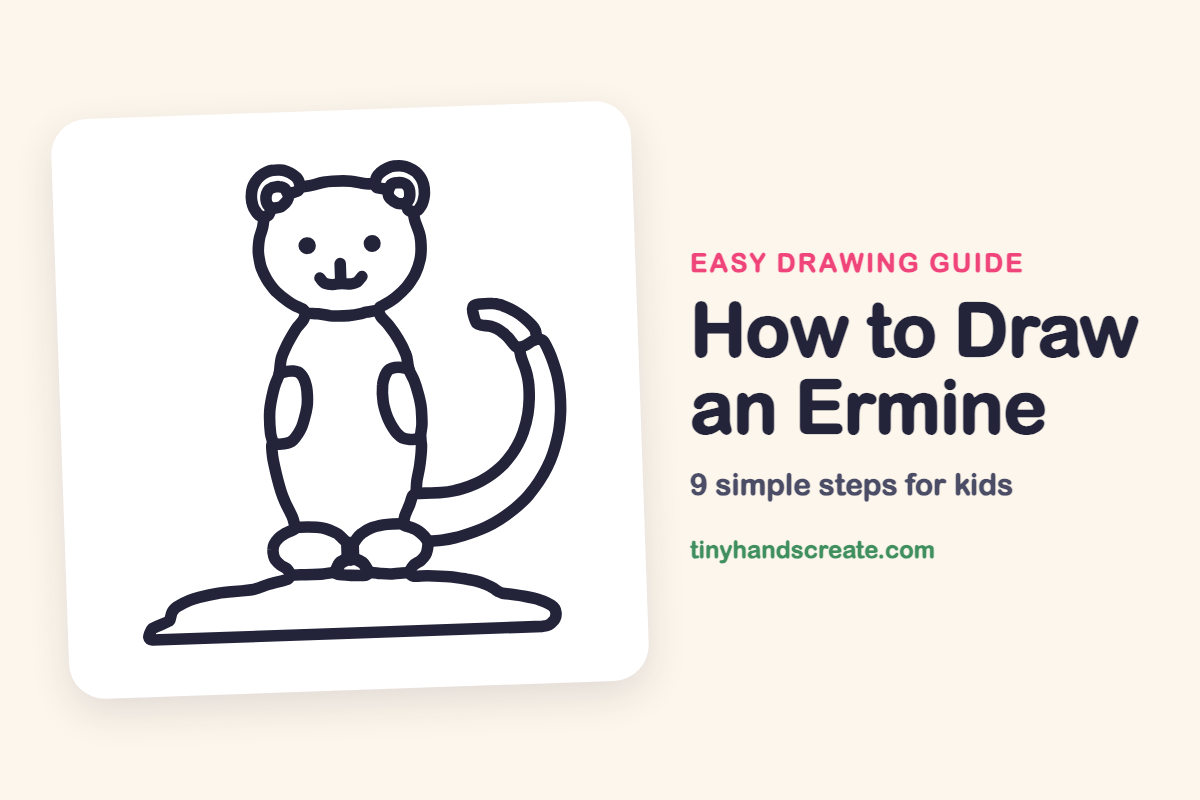
This ermine is a fun first animal because it is built from simple ovals and curves. You will draw a round head, add two long body lines and two round ears, and finish with a long curved tail. The smiling face gives it lots of personality.
- Easy
- 12 minutes
- 9 steps
You need: paper, a pencil, an eraser, and crayons or markers for coloring.
Start drawing
In this article (7 sections)
How to draw an ermine step by step
How to Draw an Ermine · tinyhandscreate.com
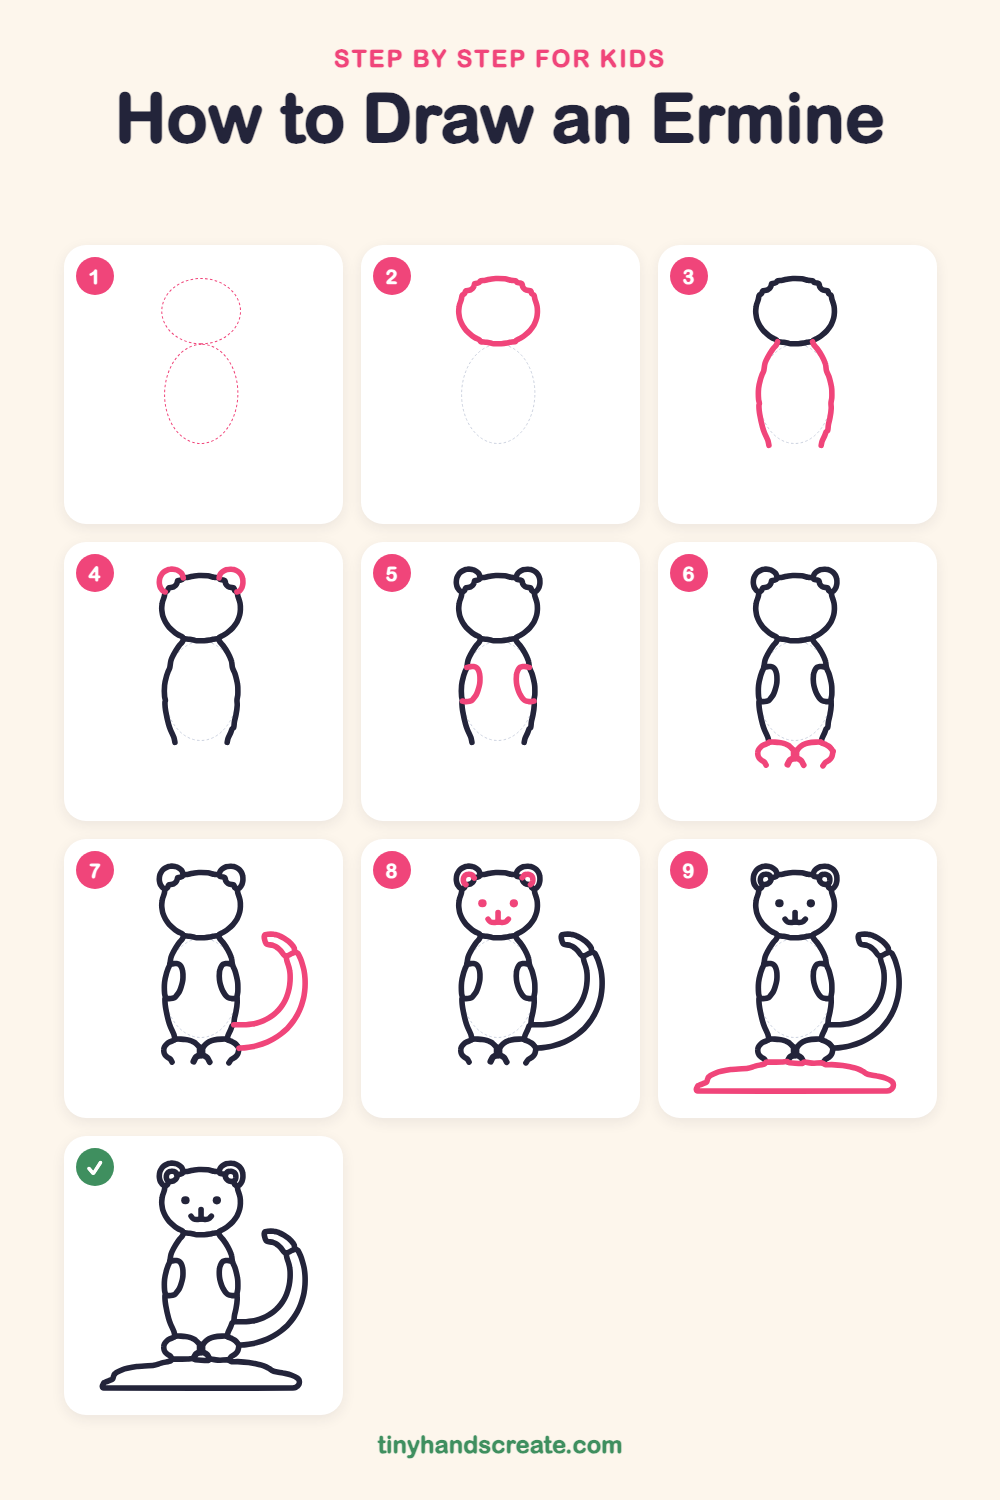
Step 1: Guide shapes
Lightly sketch these 2 ovals. They only show where the big parts go, so press softly. You will erase them at the end.
Step 2: The head
Start near the top of your paper and draw a wide, round oval for the head. Make it a little wider than it is tall.
Step 3: The long body
Under the head, draw two long curved lines for the sides of the body. Start each one at the bottom corner of the head and curve it down, bulging out a little in the middle. Leave the bottom open for now.
Step 4: The round ears
Add a small curl on each top corner of the head, one on each side. Each one looks like a little round half circle, like a teddy bear ear.
Step 5: Little front paws
Draw a small upright oval on each side of the tummy, close to the body edge. These are the arms hanging down.
Step 6: Feet at the bottom
At the bottom of the body, draw two little rounded feet side by side so they almost touch. Add a few tiny lines at the bottom of each for toes.
Step 7: The long tail
Start from the back of the body near the feet and draw a long curve that swoops up and out to the right. Draw a second line beside it to make the tail wide, then close the tip and add a short line across the tail.
Step 8: The happy face
Draw two round dots for eyes in the middle of the head. Add a tiny line for the nose and a smiling curve under it. Then draw a small curve inside each ear.
Step 9: The ground
Under the feet, draw a bumpy hill line that stretches out to both sides. Finish with a long flat line along the bottom to close it, so the ermine has a place to stand.
All done!
Erase the guide shapes, go over your lines, then color it in.
Finished your ermine? Keep the pencils out and learn how to draw a musk ox or how to draw a Samoyed next.
Tips for drawing an ermine
- Draw the two body lines longer than you think you need. Ermines are long and slim, so tall, gently curved sides look just right.
- Make the two front paws the same size and keep them close to the body edge so they look like matching arms.
- Draw the tail in one slow, smooth swoop. The curve is the trickiest part, so start at the body and keep your hand moving until the tip.
Free ermine coloring page
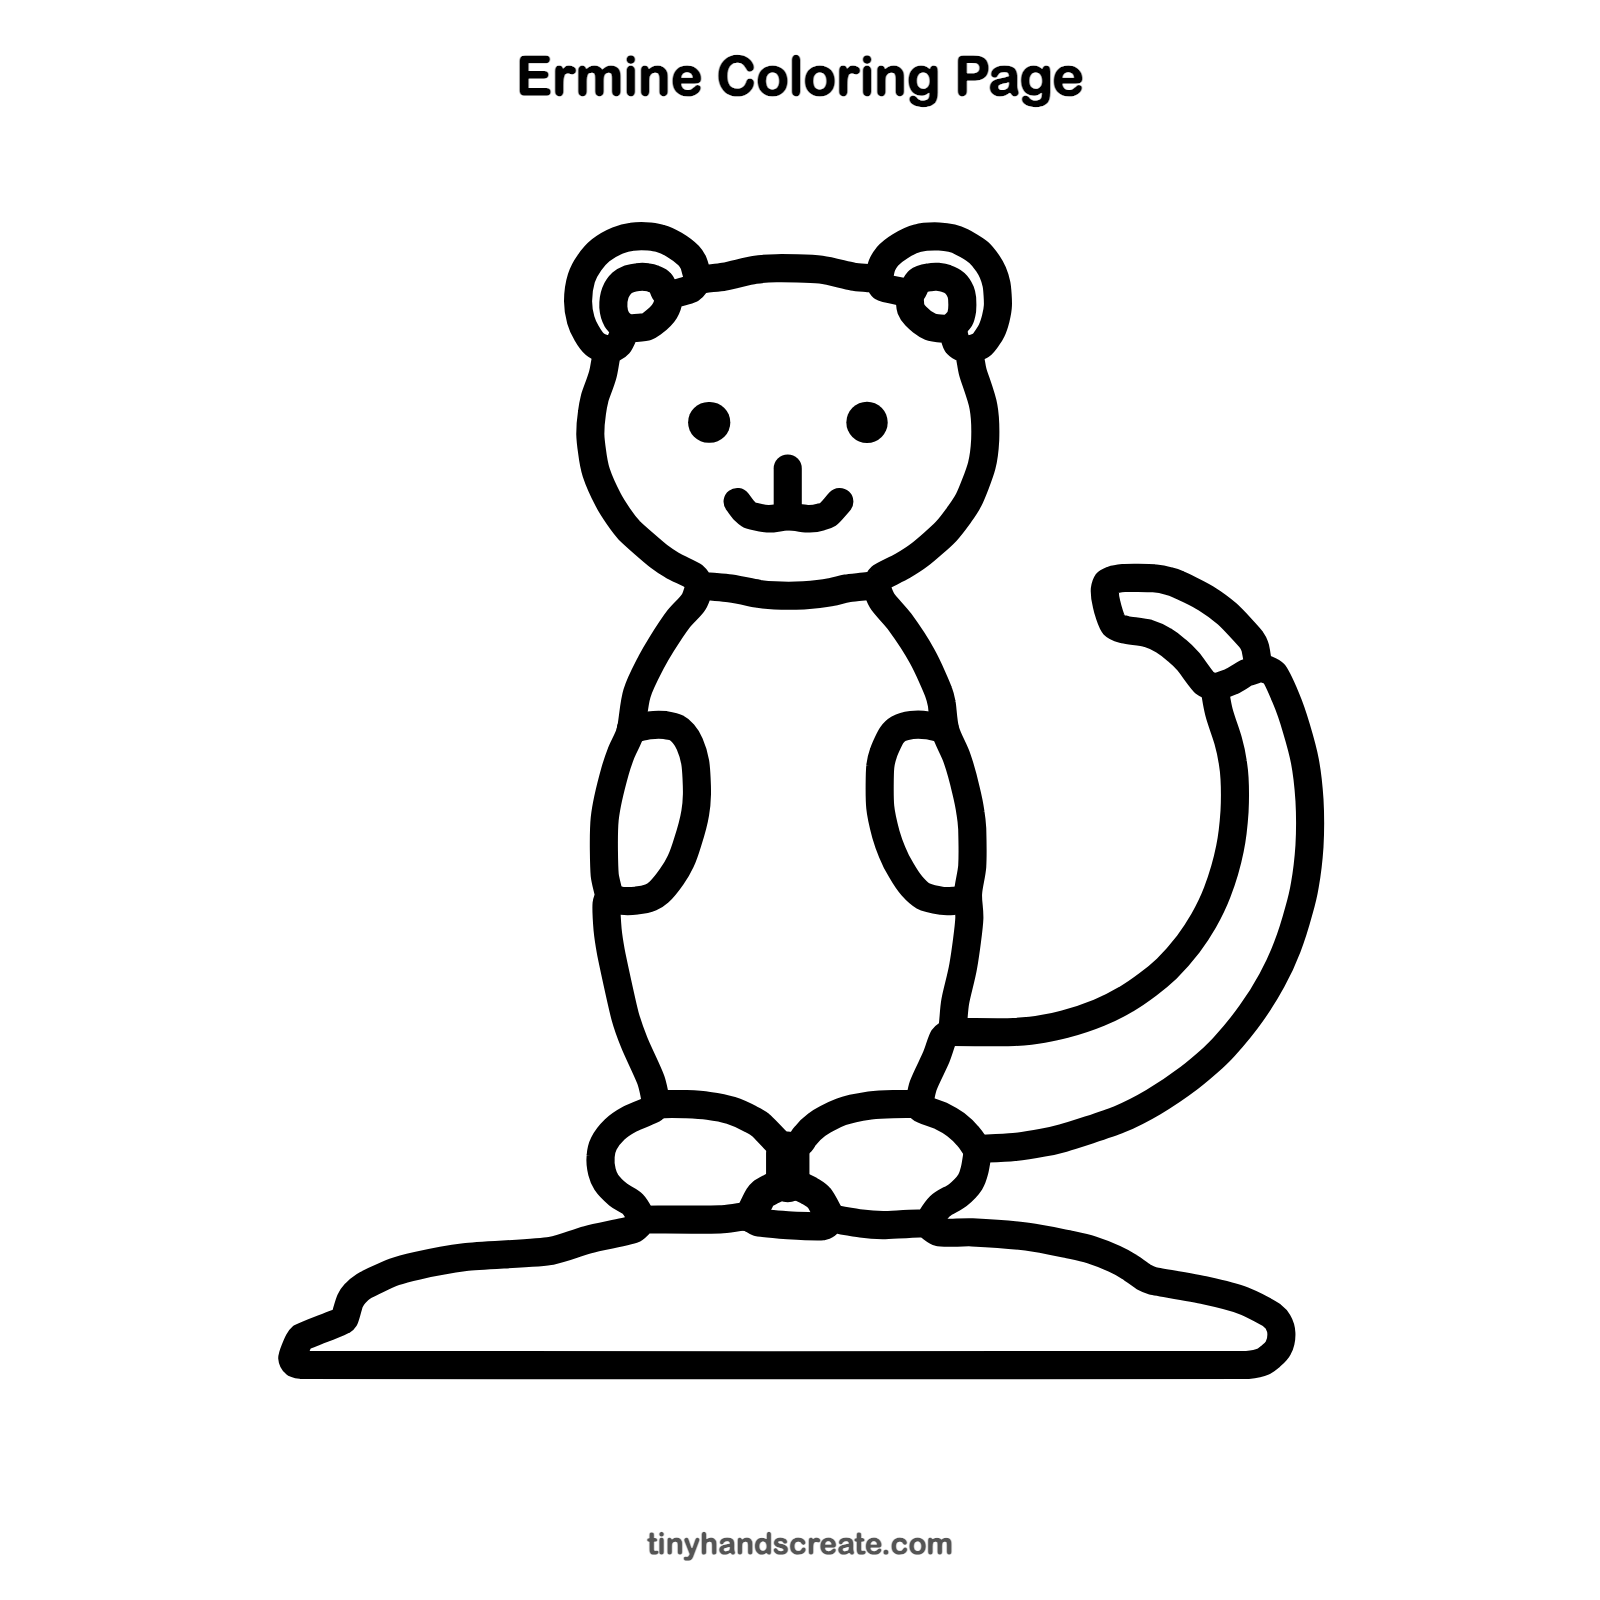
Want to go straight to coloring? Open this ermine coloring page at full size and print it. It is the same drawing you just learned, with clean lines ready for crayons or markers.
How to color your ermine drawing
Try warm brown on the head, back, and tail for a summer ermine, with a creamy white tummy. For a creative twist, color it all snowy white and add a blue winter sky and sparkly snow on the ground.
Ermine fun fact for kids
An ermine is a stoat in its winter coat. In places with snowy winters its brown fur turns white, but the tip of its tail stays black.
Questions about drawing an ermine
What shapes do I need to draw an ermine?
You need a wide oval for the head, two long curved lines for the body, small curls for the ears, and small ovals for the paws. The feet are rounded bumps, and the tail is one long curved shape.
How do I make my ermine look cuter?
Keep the eyes as simple round dots and give it a small curved smile under a tiny nose. Adding a little curve inside each round ear also makes it look sweet.
How do I draw the tail so it curls nicely?
Draw one long curved line first, then draw a second line beside it that follows the same curve. Close the two lines at the tip.