How to Draw a Polar Bear Cub (Easy Step by Step)
This post contains affiliate links. As an Amazon Associate I earn from qualifying purchases.
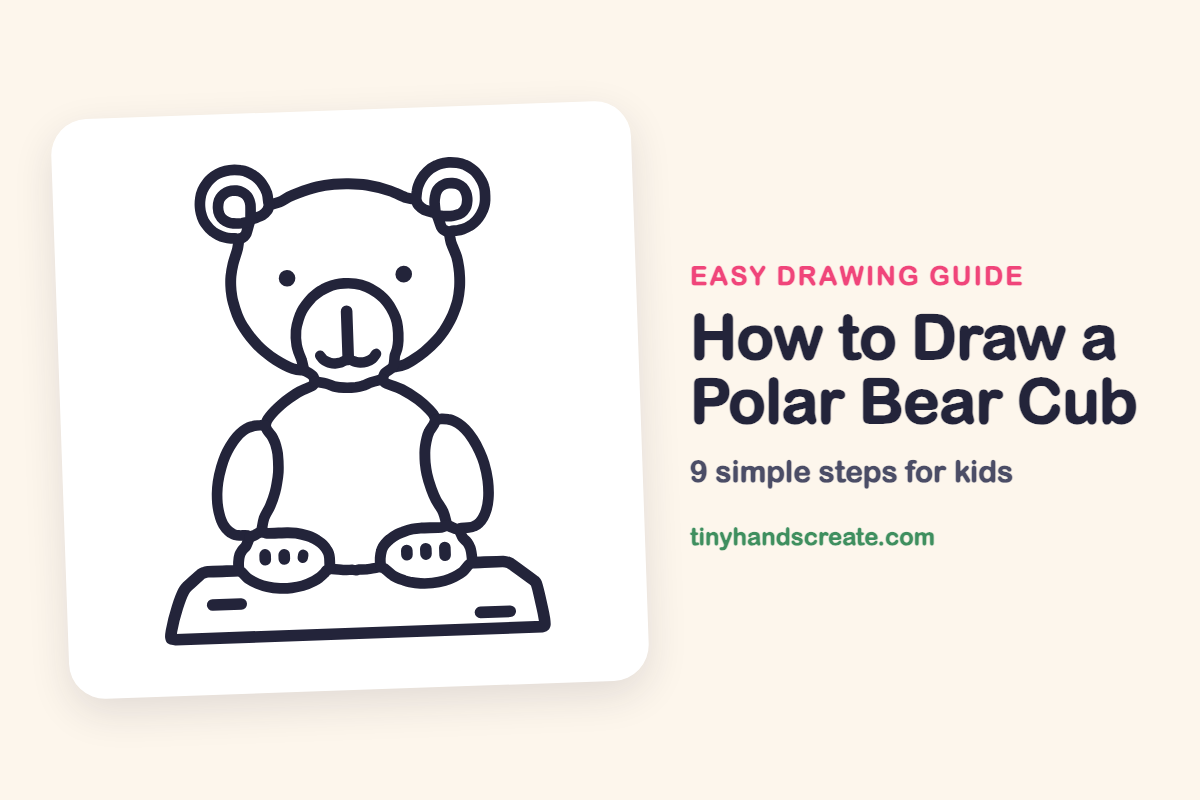
A polar bear cub is a friendly one to draw because it is made almost entirely of circles and ovals. You will draw a round head with two round ears, a muzzle, a round tummy, two oval arms and two oval feet. It sits on a block of ice, so it feels like a tiny arctic story.
- Easy
- 15 minutes
- 9 steps
You need: paper, a pencil, an eraser, and crayons or markers for coloring.
Start drawing
In this article (7 sections)
How to draw a polar bear cub step by step
How to Draw a Polar Bear Cub · tinyhandscreate.com
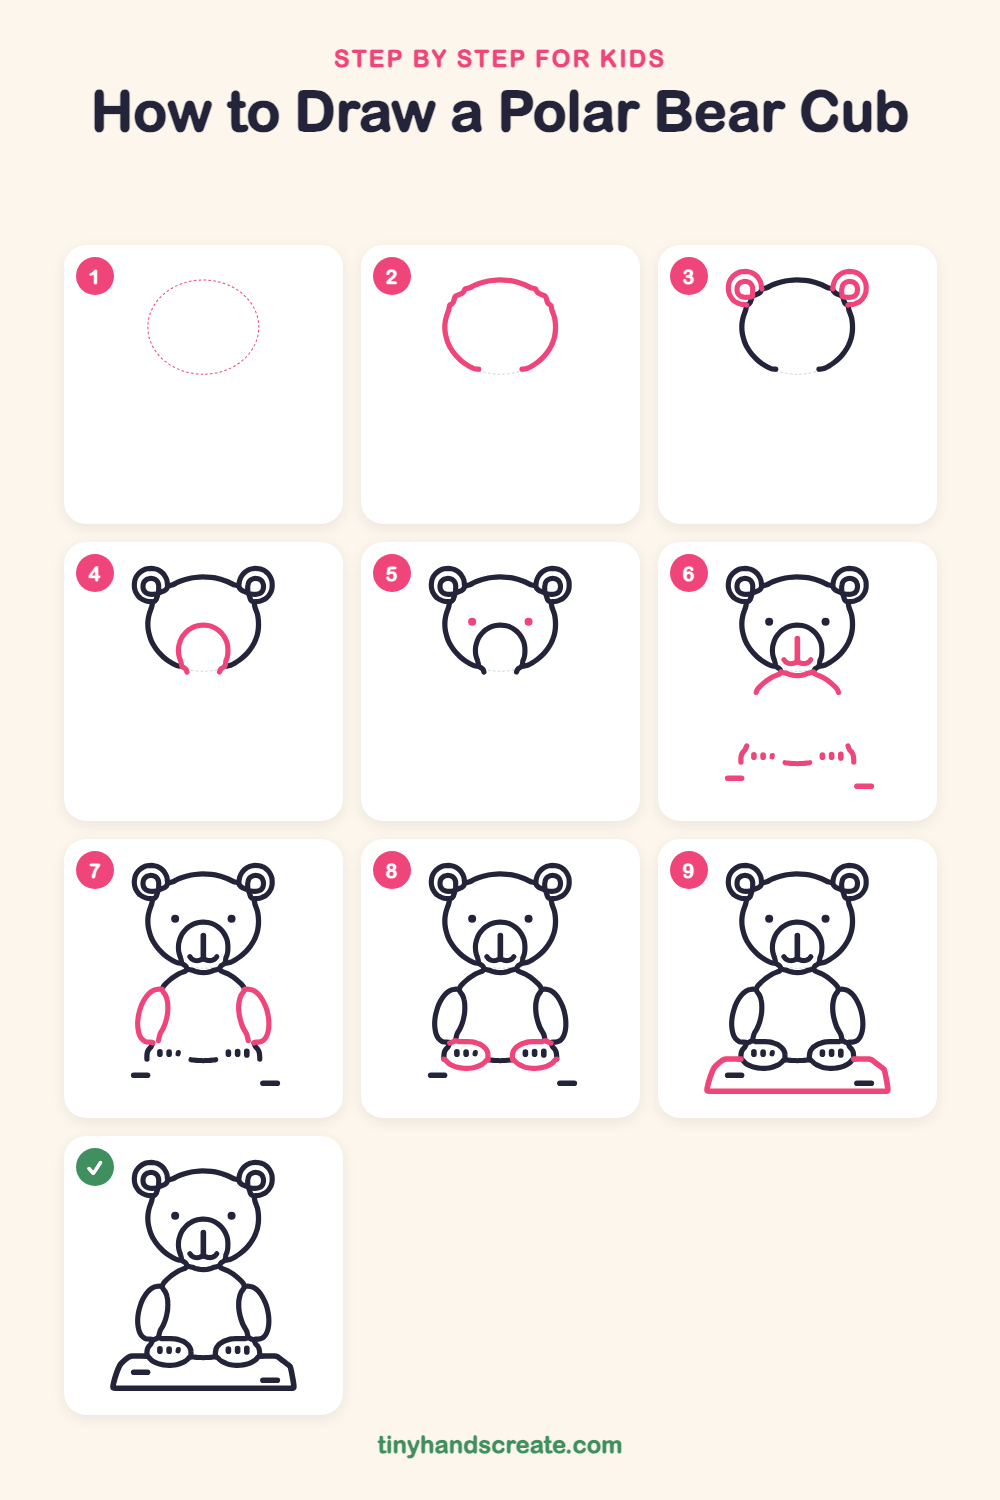
Step 1: Guide shapes
Lightly sketch this oval. It only shows where the big parts go, so press softly. You will erase it at the end.
Step 2: The head
Draw a big wide curve for the top and sides of the cub's head, like an oval with a small gap at the bottom. Leave room above it for ears and room below it for the body.
Step 3: Round ears
Draw a circle on each upper corner of the head so the ears peek out. Then draw a smaller circle inside each one for the inner ear.
Step 4: The muzzle
In the lower middle of the head, draw an upside-down U for the muzzle. Start and end its two sides at the bottom edge of the head.
Step 5: Two eyes
Make two small dots for eyes, one on each side of the head, above the muzzle. Keep them at the same height so your cub looks friendly.
Step 6: Nose, tummy top
Inside the muzzle, draw a small nose with a short line down from it and a smiley curve beneath. Then draw a wide curve under the head for the top of the tummy, and add a few small dots and dashes near the bottom where the feet and ice will go.
Step 7: Arms
On each side of the tummy, draw a tall skinny oval for an arm. Tilt them a little so they hang down and slightly out.
Step 8: Feet
At the bottom of the tummy, draw a wide oval for each foot, right below the toe dots you made earlier. The arms rest just above them.
Step 9: The ice block
Under the feet, draw a flat block with slanted sides and clipped top corners, like a chunk of ice. It sits right under the feet and the two short dashes.
All done!
Erase the guide shapes, go over your lines, then color it in.
Finished your polar bear cub? Keep the pencils out and learn how to draw a hen or how to draw tadpoles next.
Tips for drawing a polar bear cub
- Draw the head first and make it wider than it is tall. A wide head is what makes the cub look soft and baby-like.
- The muzzle starts and ends at the bottom edge of the head. Draw it as an upside-down U and do not worry if the lines cross a little.
- Draw the arms and feet as ovals, and let the arms rest just above the feet. The little toe dots are already waiting at the bottom of the tummy.
Free polar bear cub coloring page
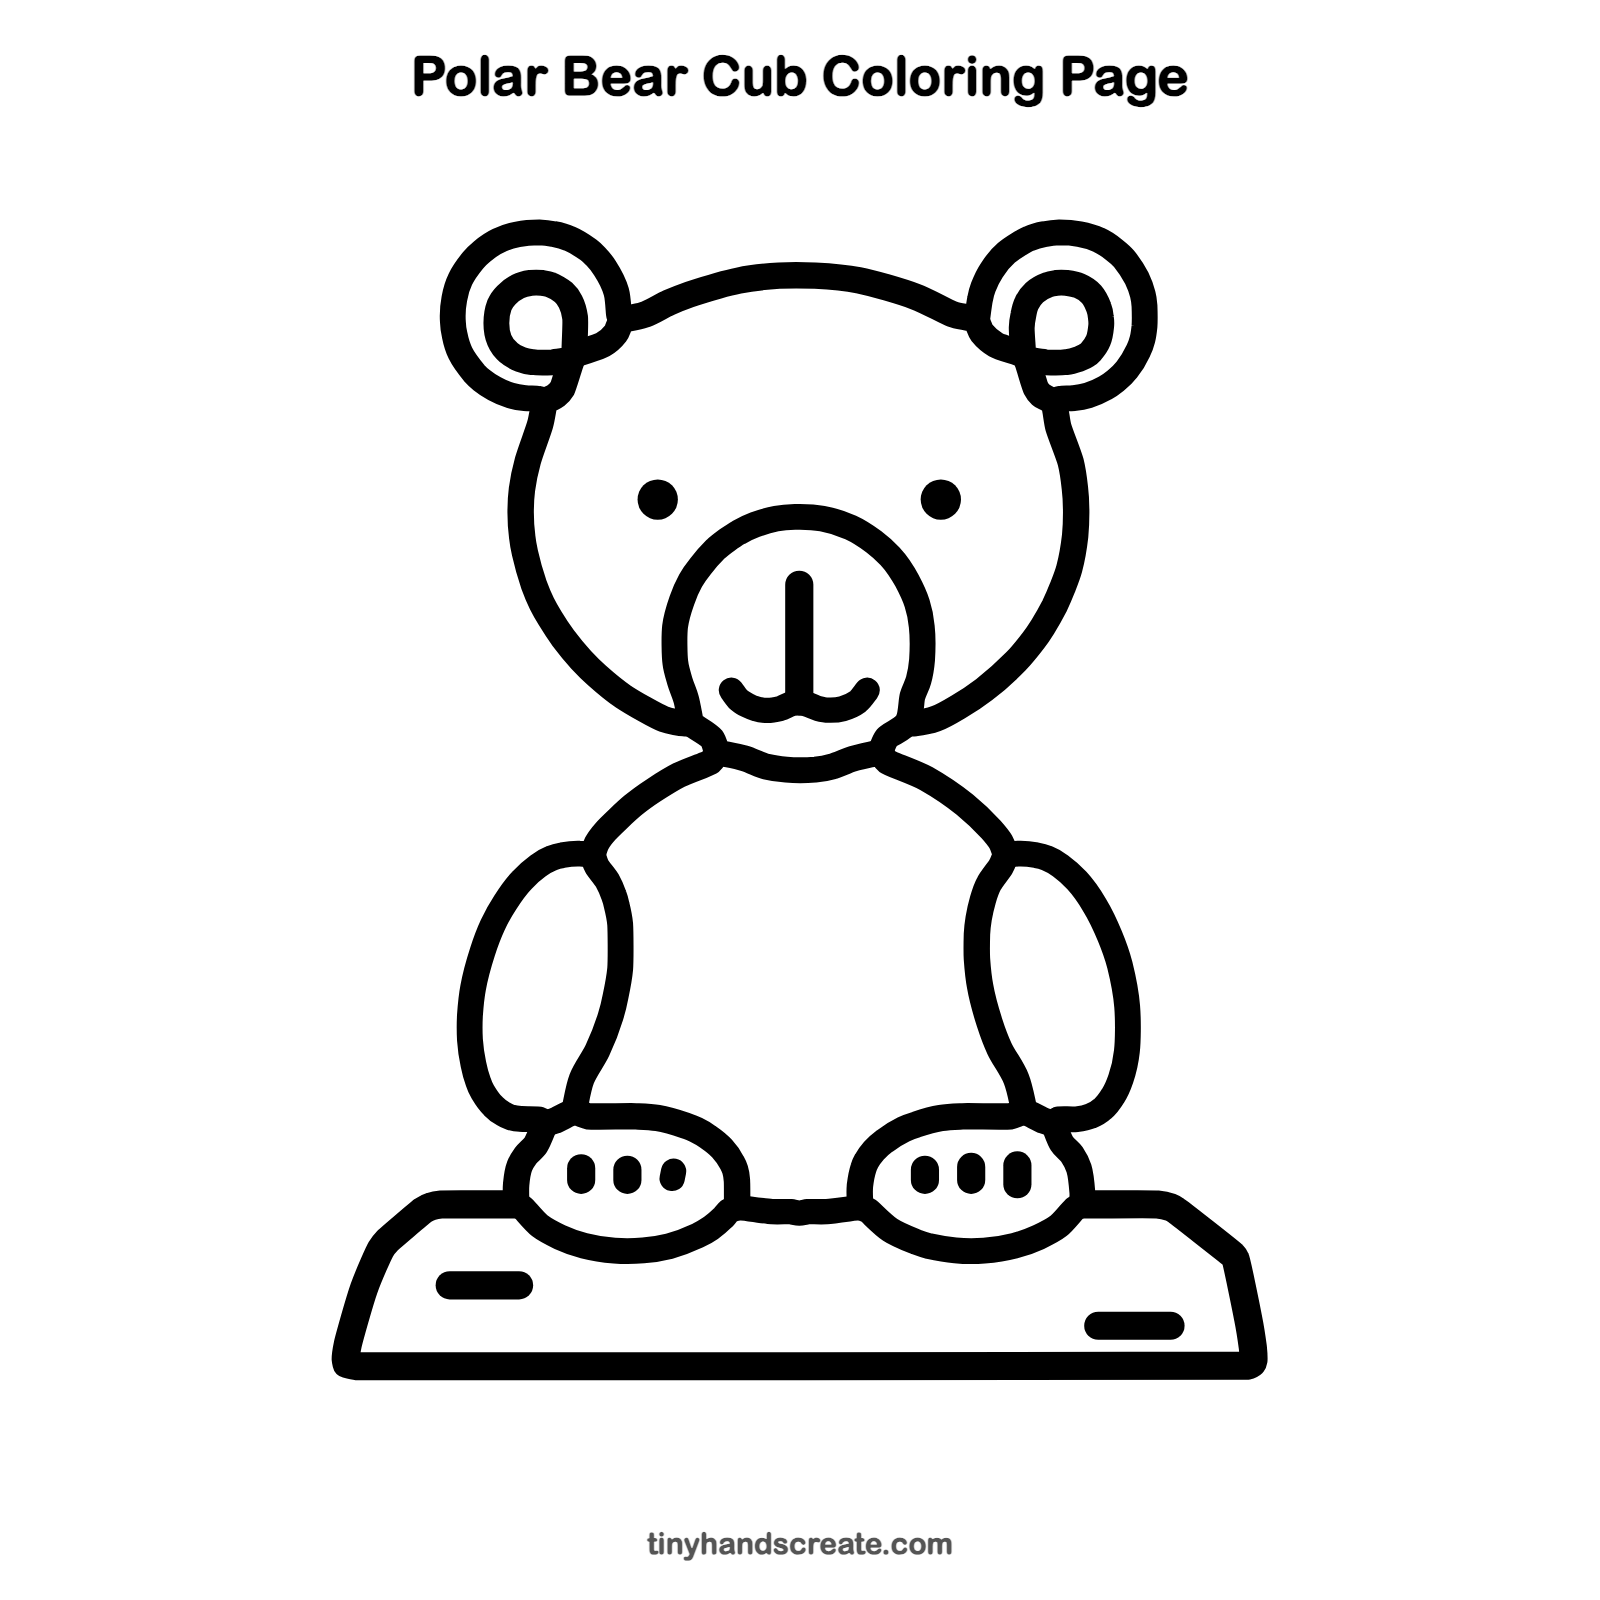
Want to go straight to coloring? Open this polar bear cub coloring page at full size and print it. It is the same drawing you just learned, with clean lines ready for crayons or markers.
How to color your polar bear cub drawing
Use light blue or lavender shading on the white fur, with a dark gray or black nose and eyes, and pale blue for the ice. For a creative twist, add snowflakes or a night sky with the northern lights behind the cub.
Polar bear cub fun fact for kids
Polar bear fur is not really white. Each hair is clear, and the fur scatters light so the bear looks white. Underneath, a polar bear's skin is black.
Questions about drawing a polar bear cub
What shapes do I need to draw a polar bear cub?
You need ovals and circles. Use a wide oval for the head, small circles for the ears, an upside-down U for the muzzle, a big curve for the tummy, and ovals for the arms and feet.
How do I make my polar bear cub look cuter?
Make the head big compared to the body and keep the eyes small and wide apart. Small round ears and a tiny smile add to the baby look.
How long does it take to draw a polar bear cub?
Most kids finish in about 15 minutes. Take your time with the head and muzzle, because the rest of the drawing is built around them.