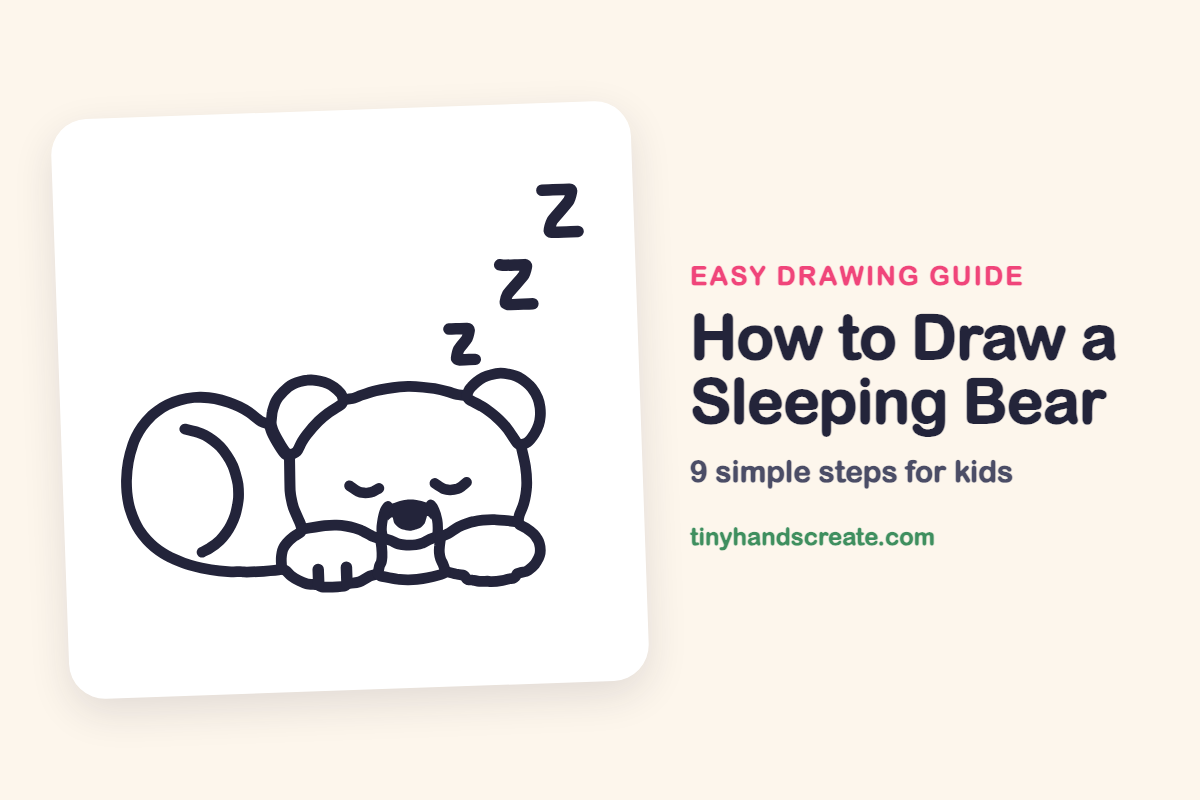
How to Draw a Sleeping Bear (Easy Step by Step)
A sleeping bear is a cozy drawing that is mostly circles and curves, so it is easy to love and hard to get wrong. You will build it from a wide head, a round curled body, two half-circle ears, a pair of tucked-in paws and three little Zs.
- Easy
- 10 minutes
- 9 steps
You need: paper, a pencil, an eraser, and crayons or markers for coloring.
Start drawingIn this article (7 sections)
How to draw a sleeping bear step by step
How to Draw a Sleeping Bear · tinyhandscreate.com
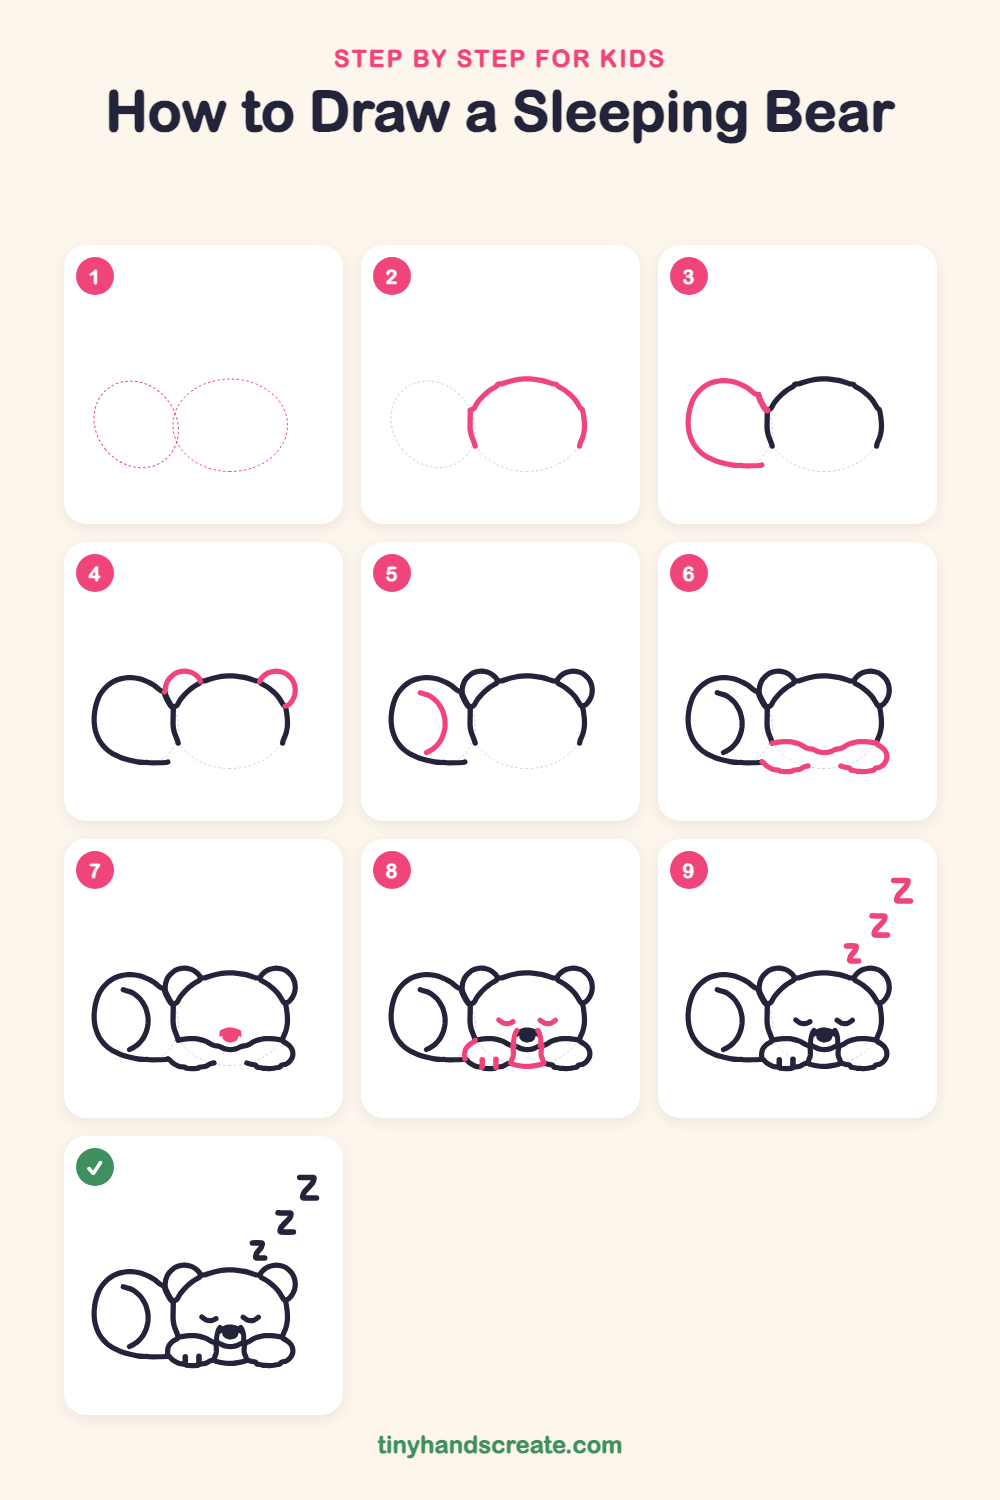
Step 1: Guide shapes
Lightly sketch these 2 ovals. They only show where the big parts go, so press softly. You will erase them at the end.
Step 2: The big head
Draw a big wide curve for the top and sides of the head, a little like a rounded loaf. Leave the bottom open for now, where the paws will tuck in.
Step 3: The curled body
Next to the head on the left, draw a big round shape for the body. Start the line at the head, curve it up and around, and sweep it back along the bottom.
Step 4: Two round ears
Draw a small half circle on each side of the top of the head. Let the ends of each ear tuck into the head line.
Step 5: The cozy curve
Inside the body, draw one long curved line like a letter C turned backward. It shows how the bear is curled up.
Step 6: Two folded paws
Along the open bottom of the head, draw a wavy line from side to side. Make a rounded paw bump at each end, one on the left and one on the right.
Step 7: A little nose
In the middle of the face, just above the wavy line, draw a small oval for the nose.
Step 8: Sleepy face and toes
Draw two small curves like little bowls for closed eyes. Then draw a rounded muzzle around the nose, down to the paws, and two short lines on the left paw for toes.
Step 9: Zzz snores
Above the bear, draw three letter Zs that get bigger as they float up. Start with a small one, then a middle one, then the biggest.
All done!
Erase the guide shapes, go over your lines, then color it in.
Finished your sleeping bear? Keep the pencils out and learn how to draw a fox or how to draw a hedgehog next.
Tips for drawing a sleeping bear
- Sketch the head lightly first, then go over it. The head is the biggest part, and the nose and muzzle fit inside it.
- Let the ends of each ear tuck into the head line. Stop each ear where it touches the head so it looks like it sits on top.
- Draw the closed eyes as small curves that smile upward, like little bowls. Keep them the same size and at the same height.
Free sleeping bear coloring page
Want to go straight to coloring? Open this sleeping bear coloring page at full size and print it. It is the same drawing you just learned, with clean lines ready for crayons or markers.
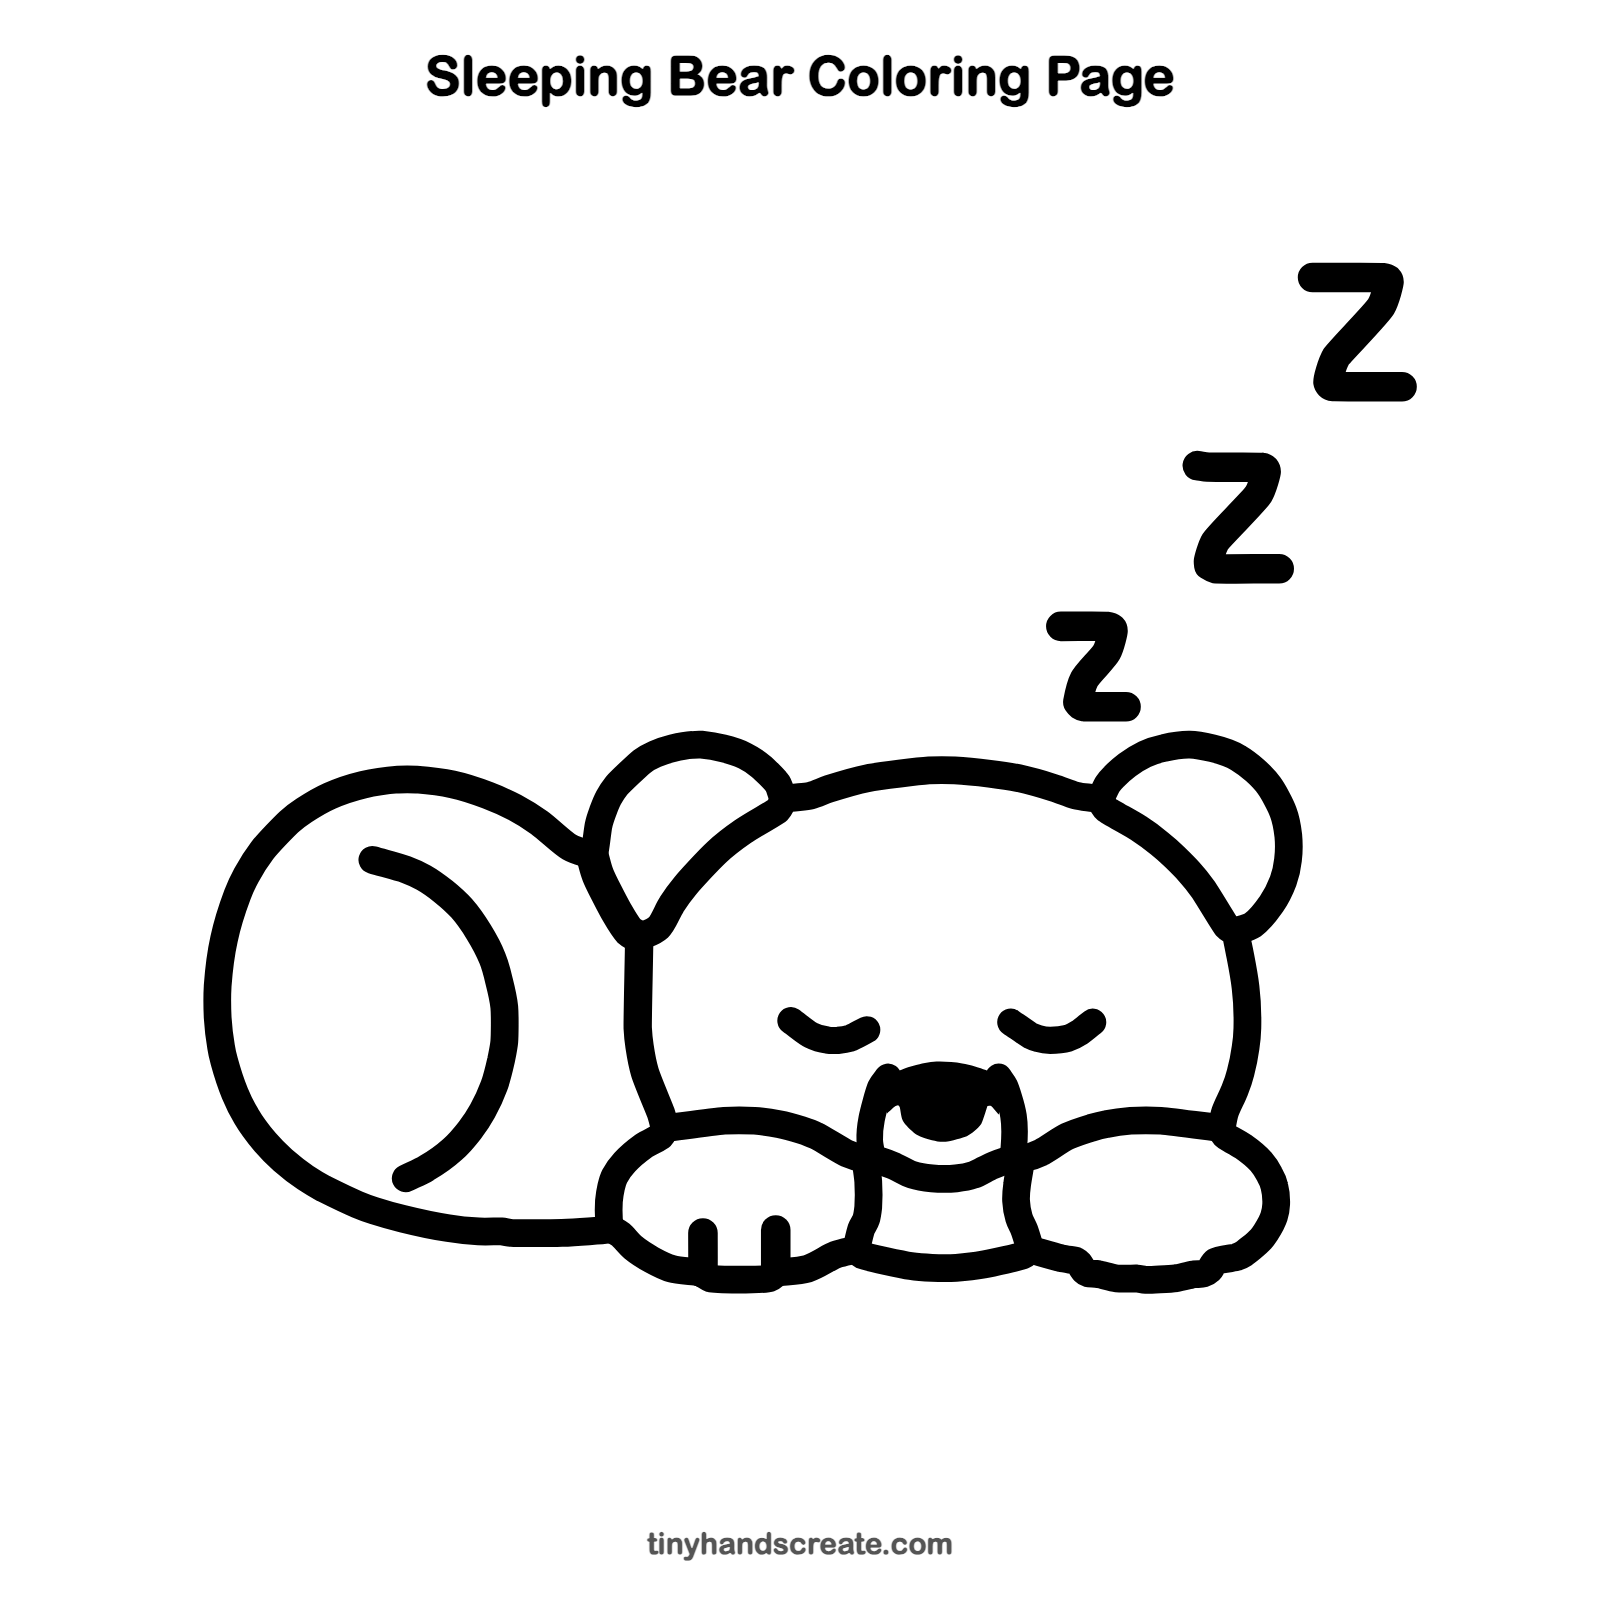
How to color your sleeping bear drawing
Try warm brown for the fur, a dark brown or black for the nose, and a soft blue for the night sky. For a creative twist, color each Z a different shade, like a rainbow of snores.
Sleeping bear fun fact for kids
Many bears spend the coldest months of winter in a den, sleeping for weeks at a time. A mother bear often has her cubs while she is in the den.
Questions about drawing a sleeping bear
What shapes do I need to draw a sleeping bear?
You need a wide rounded shape for the head, a big round shape for the body, two half circles for the ears and a small oval for the nose. The paws are two rounded bumps along the bottom, and the Zs are just straight lines joined in a zigzag.
How do I make my sleeping bear look cuter?
Make the head extra wide and keep the eyes small and far apart. Round paws tucked under the chin add to the sleepy look.
How do I show that the bear is asleep?
Draw the eyes as closed curves instead of dots. Then add the floating Zs above the bear, which tell everyone the bear is snoring.