How to Draw a Sun Behind a Cloud (Easy Step by Step)
This post contains affiliate links. As an Amazon Associate I earn from qualifying purchases.
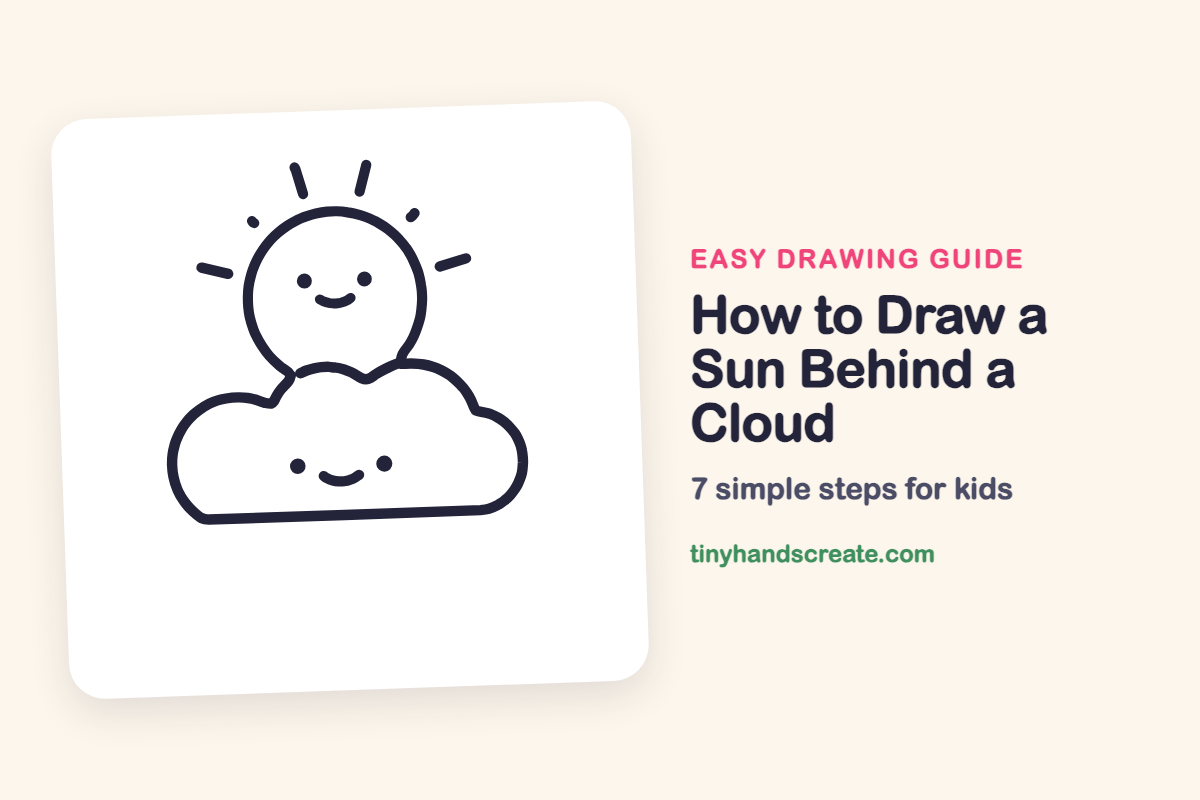
A sun peeking out from behind a cloud is a cozy picture to draw, and both of them get happy faces. It is built from just a few simple shapes: a circle, a row of round bumps with a flat bottom, and some short lines. Because the cloud overlaps the sun, you also get to practice drawing one thing in front of another.
- Easy
- 10 minutes
- 7 steps
You need: paper, a pencil, an eraser, and crayons or markers for coloring.
Start drawing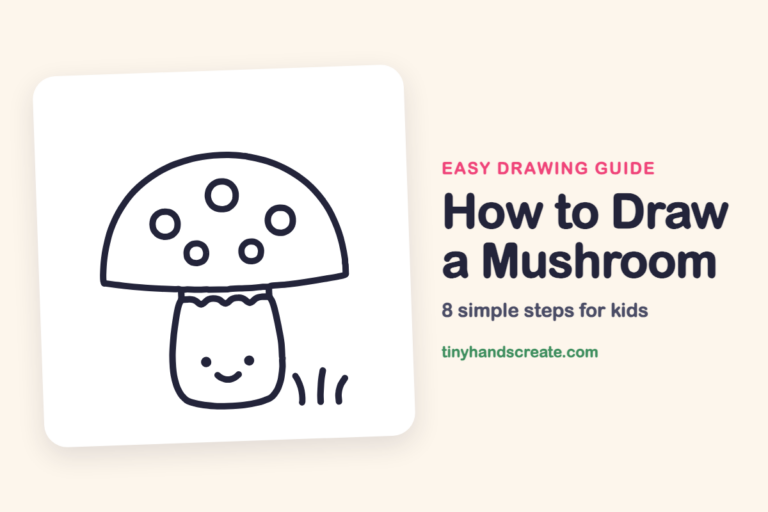
In this article (7 sections)
How to draw a sun behind a cloud step by step
How to Draw a Sun Behind a Cloud · tinyhandscreate.com
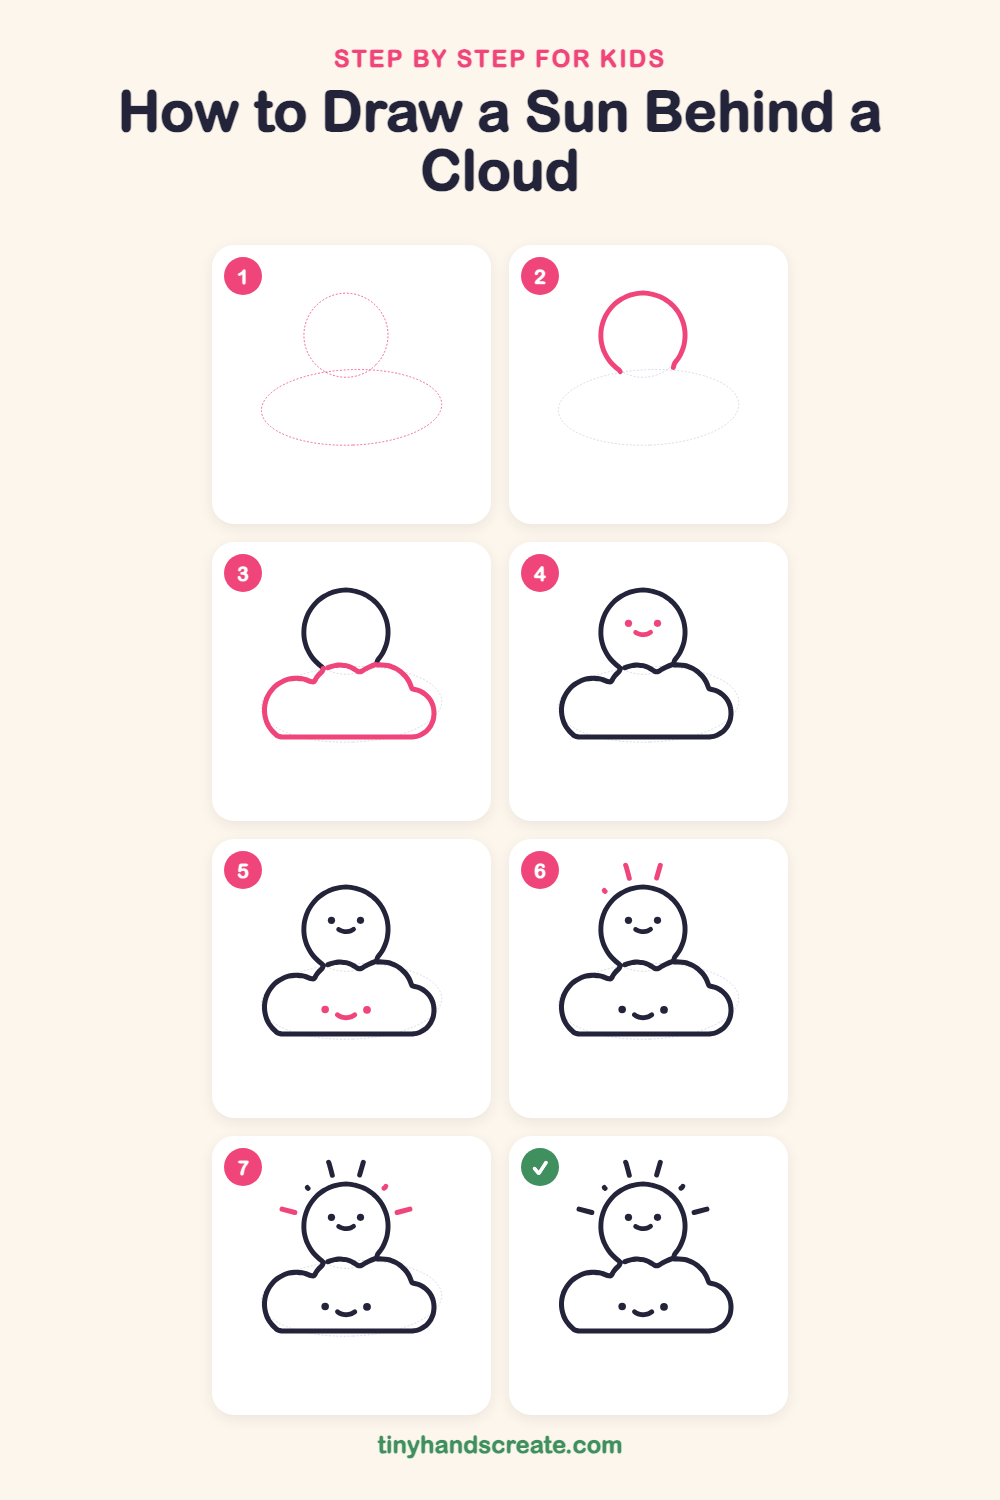
Step 1: Guide shapes
Lightly sketch these 2 ovals. They only show where the big parts go, so press softly. You will erase them at the end.
Step 2: The sun circle
Draw a big round circle near the top of the page. Stop when you get back near the bottom, leaving a small gap, because the cloud will cover it.
Step 3: The fluffy cloud
Start at the left edge of the sun's open bottom and draw a row of puffy bumps going across: a small one on the left, a few little ones under the sun, then a big one on the right. Finish with a flat line along the bottom that joins back to where you started.
Step 4: The sun's face
Inside the sun, draw two small dots for eyes. Add a little curved smile between them and just below.
Step 5: The cloud's face
Near the bottom of the cloud, draw two dots for eyes. Between them and a little lower, draw a small curved smile to match the sun.
Step 6: Rays on top
Above the sun, draw two short straight lines that point up and away from the circle. Then add a tiny dash on the upper left, a little way from the circle.
Step 7: Side rays
Add a tiny dash on the upper right to match the left one. Then draw a short slanted line on each side of the sun, keeping a little gap between each ray and the circle.
All done!
Erase the guide shapes, go over your lines, then color it in.
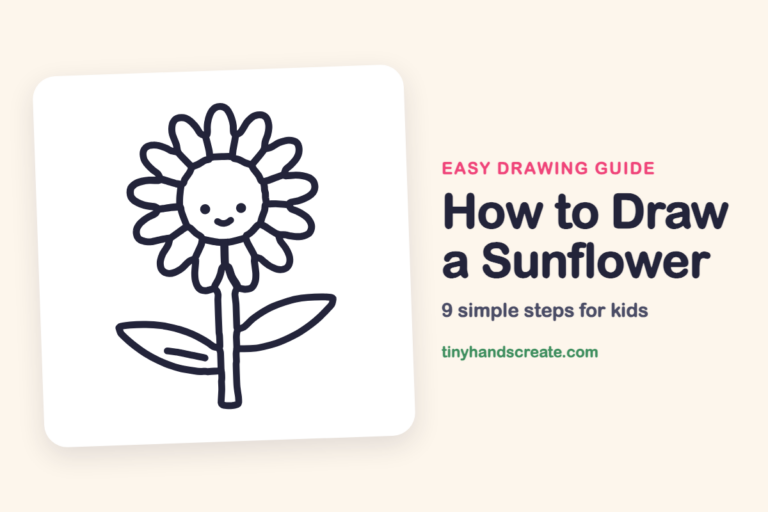
Finished your sun behind a cloud? Keep the pencils out and learn how to draw a mushroom or how to draw a sunflower next.
Tips for drawing a sun behind a cloud
- Stop the sun's circle where the cloud will go. Drawing the cloud over it afterward is easier than drawing around a finished circle.
- Make the cloud bumps different sizes, small on the left and big on the right, so the cloud looks fluffy instead of like a wavy line.
- Keep a small gap between each ray and the sun, so the rays look like they are shining outward.
Free sun behind a cloud coloring page
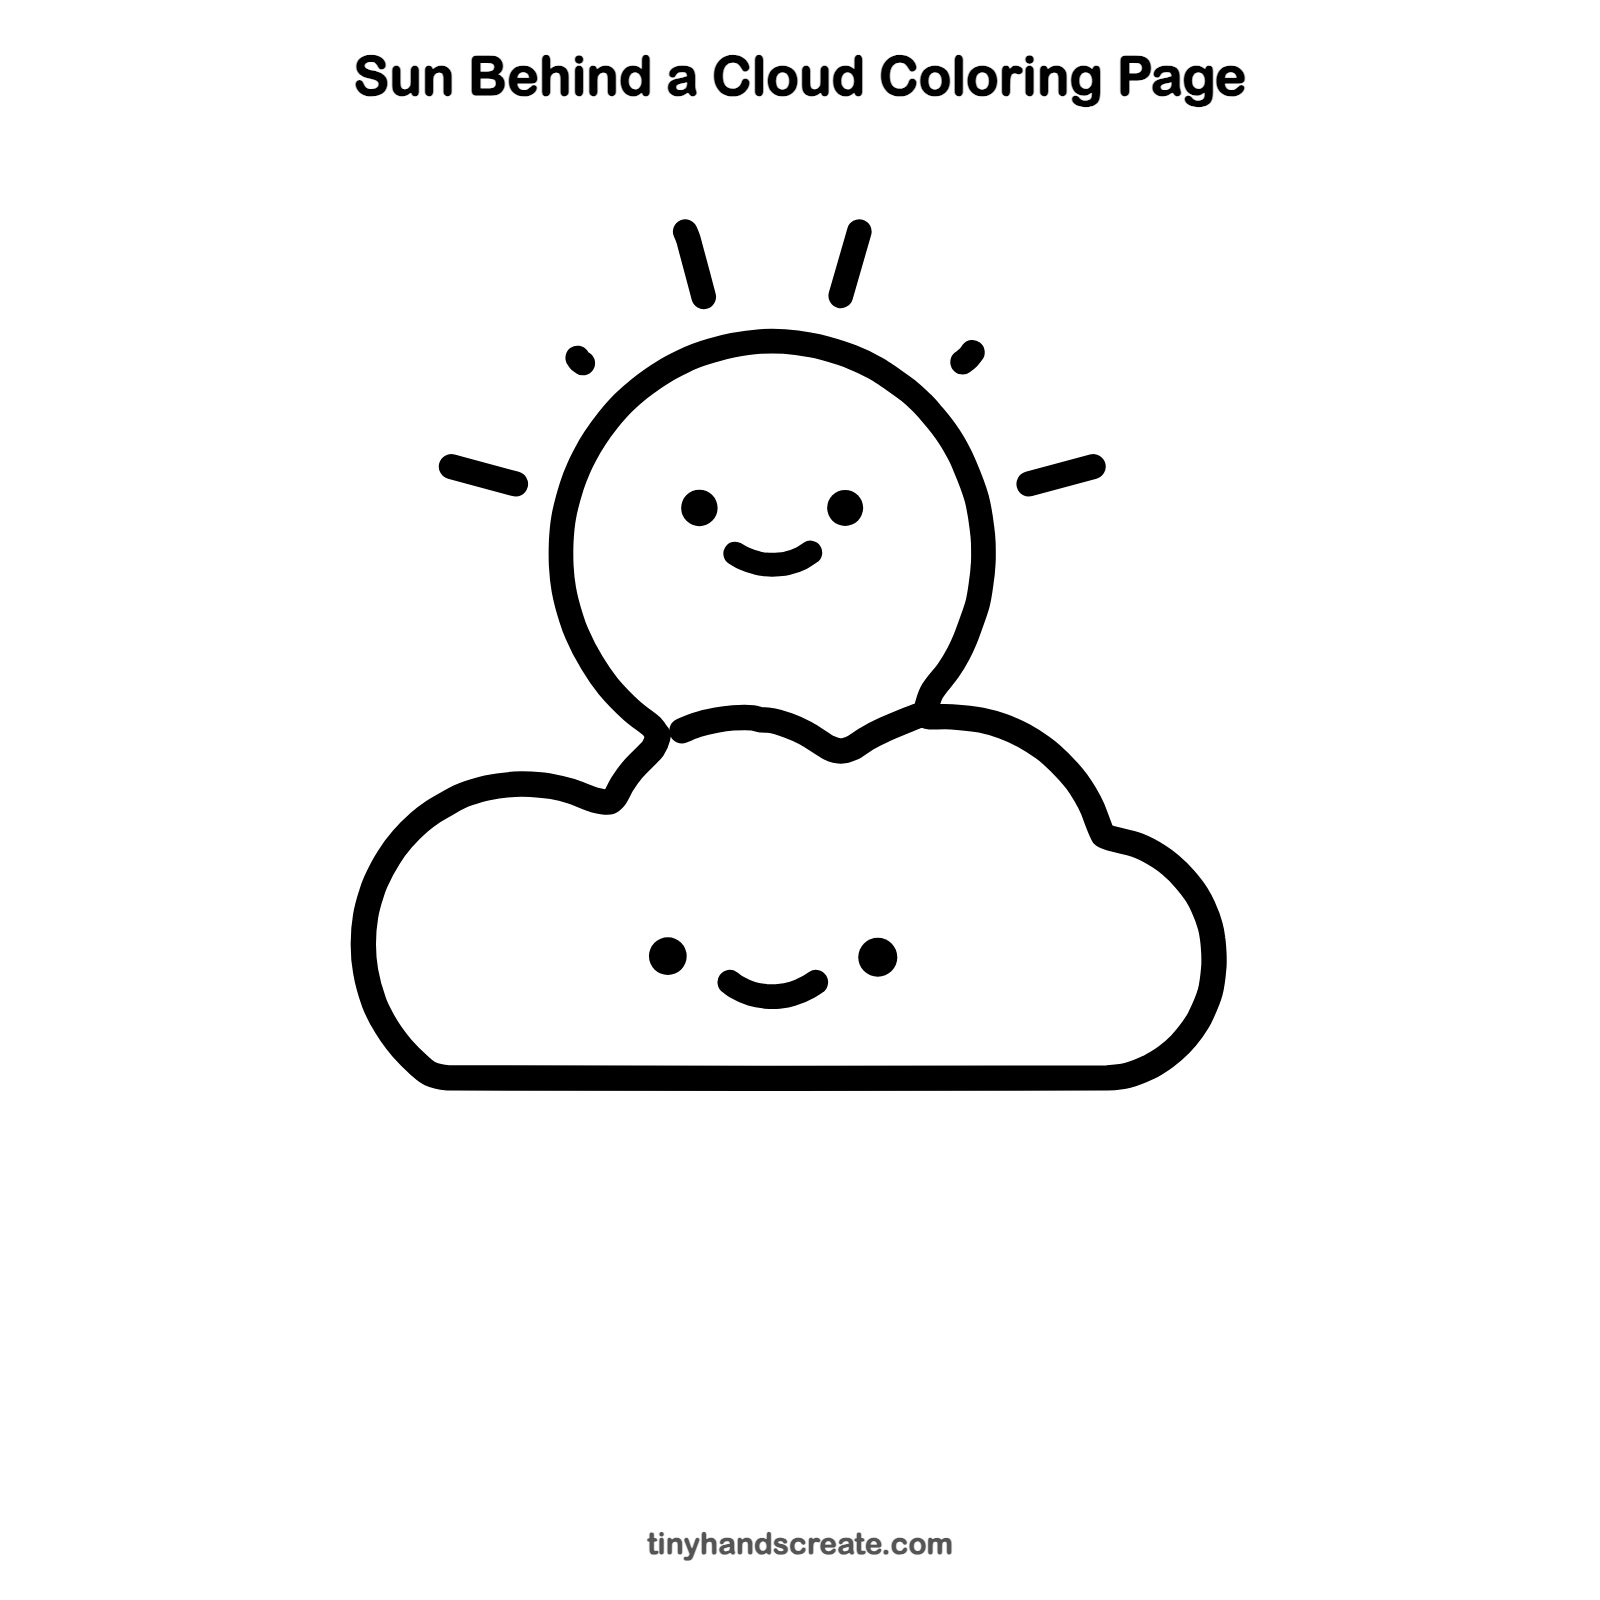
Want to go straight to coloring? Open this sun behind a cloud coloring page at full size and print it. It is the same drawing you just learned, with clean lines ready for crayons or markers.
How to color your sun behind a cloud drawing
Color the sun sunny yellow with orange rays, and make the cloud light blue or soft gray. For a creative twist, try a sunset with a pink and purple cloud, or add blue sky behind everything.
Sun behind a cloud fun fact for kids
The sun is a star, and it is the closest one to Earth. Its light takes about eight minutes to travel all the way to us.
Questions about drawing a sun behind a cloud
What shapes do I need to draw a sun behind a cloud?
You need a circle for the sun, a row of rounded bumps with a flat bottom for the cloud, and short lines for the rays. The faces are just dots and small curves.
How do I make the sun look like it is behind the cloud?
Leave the bottom of the sun's circle unfinished, then draw the cloud so its top bumps meet the sun where the gap is. Do not draw the hidden part of the sun through the cloud.
How do I make my sun and cloud look cuter?
Place the eyes wide apart and the smile small and low between them. Using the same face on the sun and the cloud makes them look like friends.