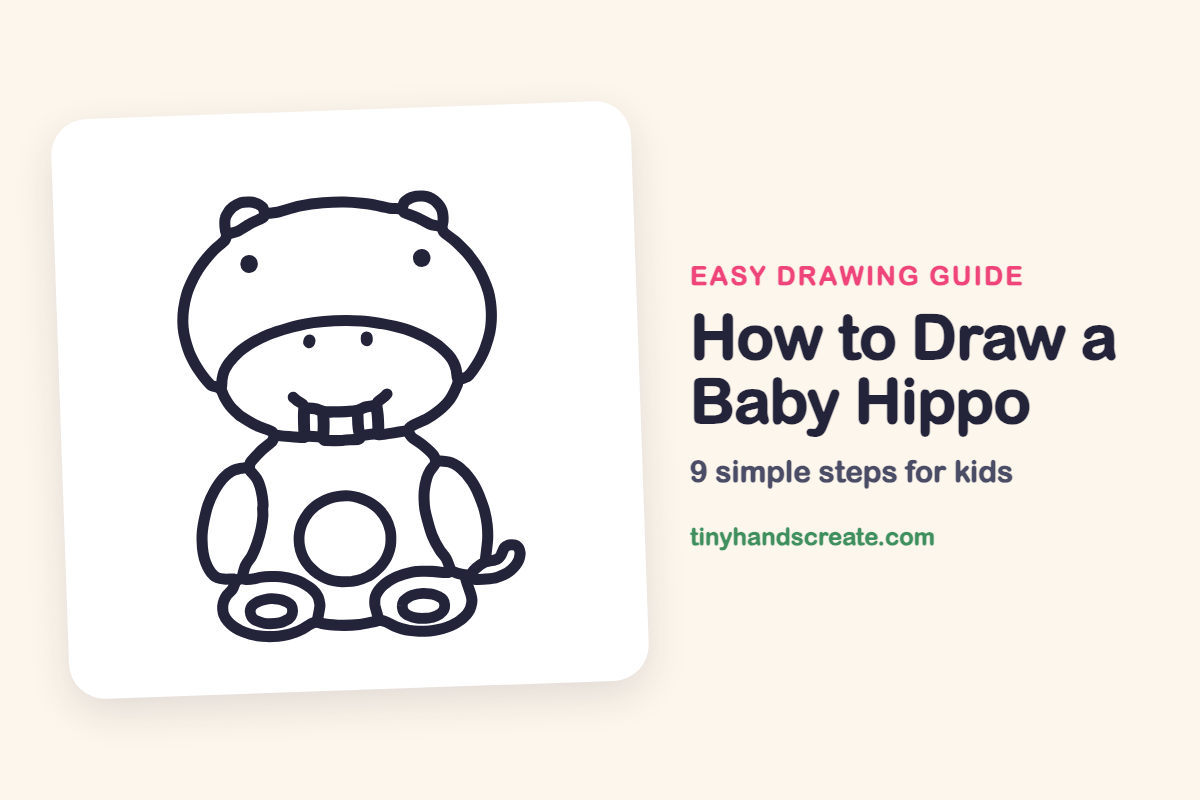
How to Draw a Baby Hippo (Easy Step by Step)
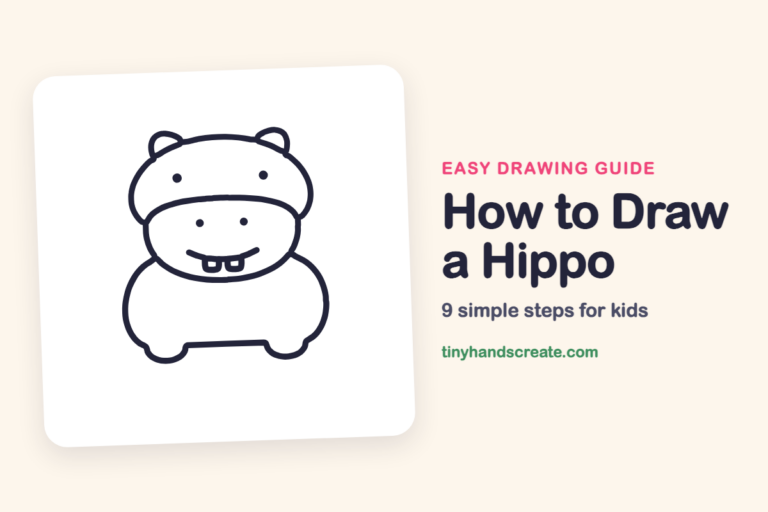
A baby hippo is a great first animal to draw because almost everything is a circle or an oval. You will build the big head, the round tummy, the tall arms and the chubby feet from simple shapes. The wide snout and a row of little teeth give it a sweet, silly smile.
- Easy
- 12 minutes
- 9 steps
You need: paper, a pencil, an eraser, and crayons or markers for coloring.
Start drawingIn this article (7 sections)
How to draw a baby hippo step by step
How to Draw a Baby Hippo · tinyhandscreate.com
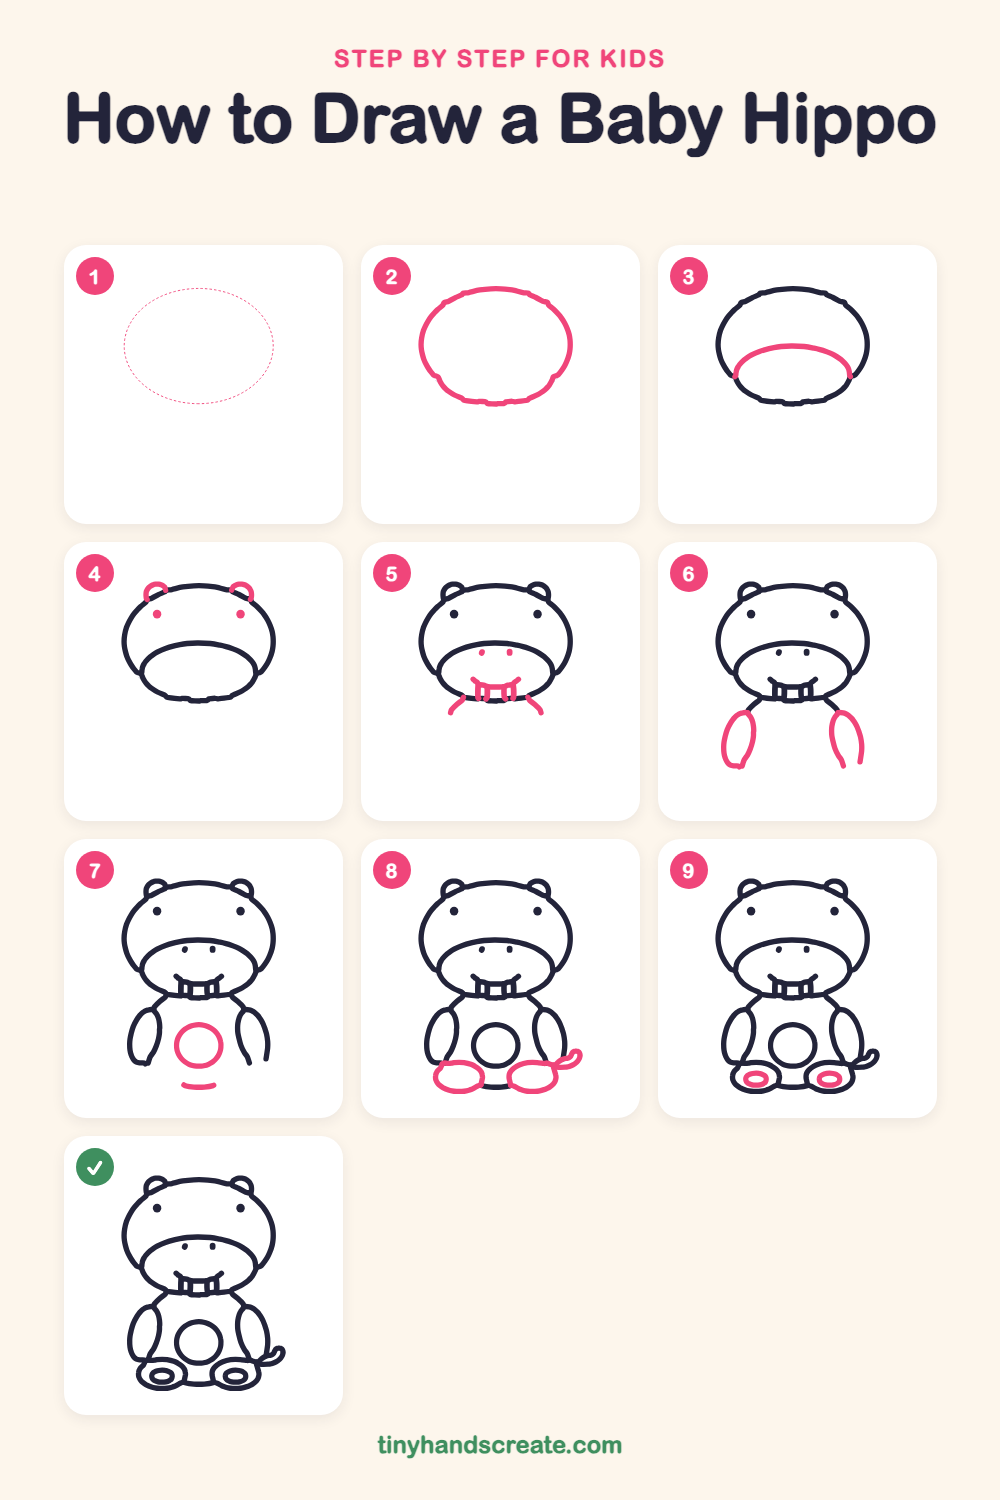
Step 1: Guide shapes
Lightly sketch this oval. It only shows where the big parts go, so press softly. You will erase it at the end.
Step 2: The big head
Draw a big wide oval for the head, a little wider than it is tall. Make it nice and round, because the head is the biggest part of your hippo.
Step 3: The snout
Near the bottom of the head, draw a curved line like a rainbow, starting at the left side of the head and ending at the right side. Together with the bottom of the head, it makes a big, wide muzzle.
Step 4: Ears and eyes
Add two small half circles on top of the head for ears, one on each side. Then draw two small dots for eyes, up high on the face.
Step 5: Nose, mouth and teeth
Draw two tiny dots on the snout for nostrils. Add a little smile near the bottom of the snout, then a row of small tall teeth hanging below it. Finish with a short curved line going down from each side of the chin.
Step 6: The arms
On each side below the head, draw a tall, skinny oval that leans a little outward. Start each one near the curved line coming down from the chin.
Step 7: Tummy circle
Draw a circle in the middle of the body for the tummy. Then add a short, gentle curved line below the circle, near the bottom of the body.
Step 8: Feet and tail
At the bottom, draw two wide ovals for the feet, one on each side below the tummy. On the right side, add a short curly tail that wiggles out from the body.
Step 9: Toes
Inside each foot, draw one small oval ring. These are the toe pads that make the feet look finished.
All done!
Erase the guide shapes, go over your lines, then color it in.
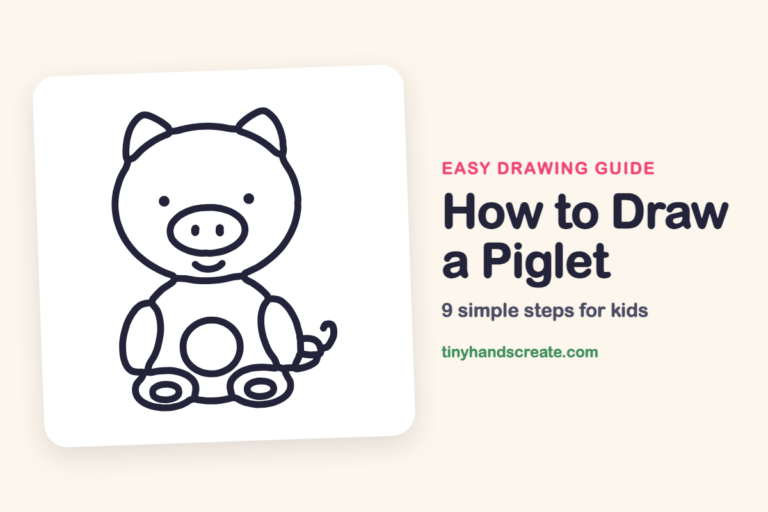
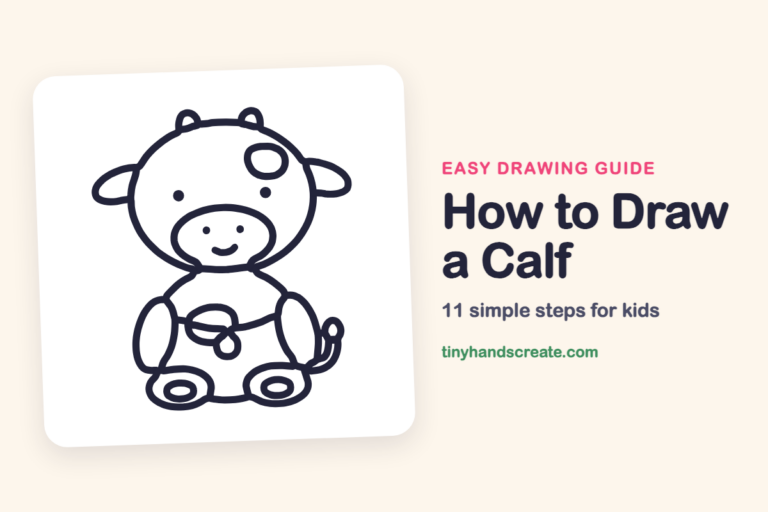
Finished your baby hippo? Keep the pencils out and learn how to draw a piglet or how to draw a calf next.
Tips for drawing a baby hippo
- Make the head oval wide and give it plenty of room. Then draw the snout curve low inside it so it looks like a big muzzle.
- The teeth are the trickiest part. Draw small tall rectangles side by side in a neat row, and keep them the same height.
- Draw the two arm ovals one on each side, so they end up about the same size and tilt.
Free baby hippo coloring page
Want to go straight to coloring? Open this baby hippo coloring page at full size and print it. It is the same drawing you just learned, with clean lines ready for crayons or markers.
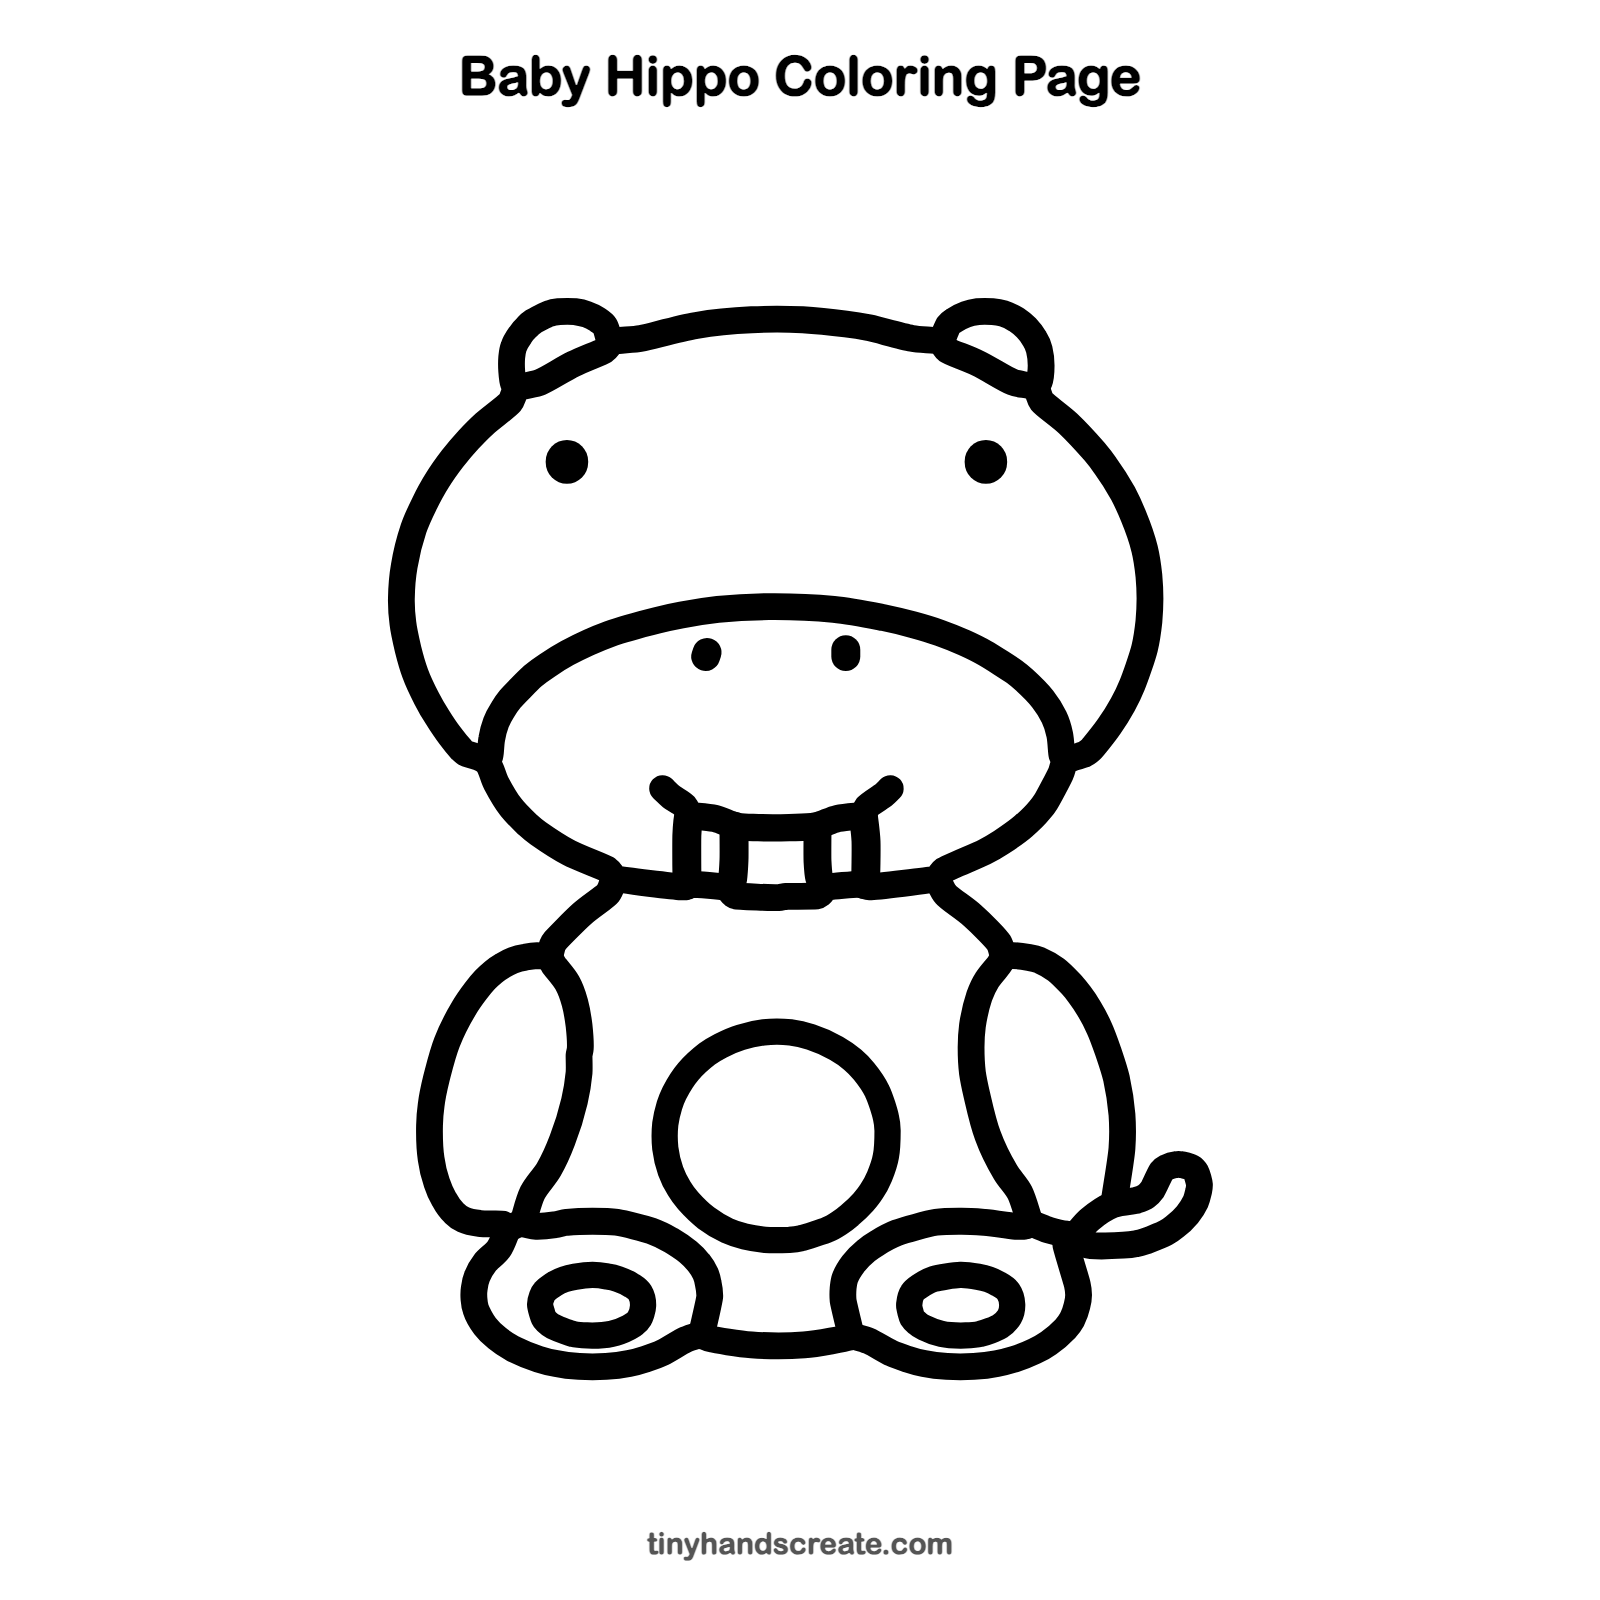
How to color your baby hippo drawing
Soft gray, purple or pink all look lovely on a baby hippo, with a lighter color on the snout and tummy. For a creative twist, add a pond around your hippo with blue water and green lily pads.
Baby hippo fun fact for kids
Baby hippos are called calves, and they are born underwater. A calf can even nurse underwater, rising to the surface to breathe.
Questions about drawing a baby hippo
What shapes do I need to draw a baby hippo?
You need a big oval for the head, a curved line for the snout, a circle for the tummy and ovals for the arms, feet and toes. Small rectangles make the teeth.
How do I make my hippo look cuter?
Keep the eyes small and set wide apart, and make the head very big compared to the body. A little smile and chubby teeth help too.
How long does it take to draw a baby hippo?
Most kids finish in about 10 to 15 minutes. Take your time with the head and the teeth, because the rest is made of easy ovals.