How to Draw a Washing Machine (Easy Step by Step)
This post contains affiliate links. As an Amazon Associate I earn from qualifying purchases.
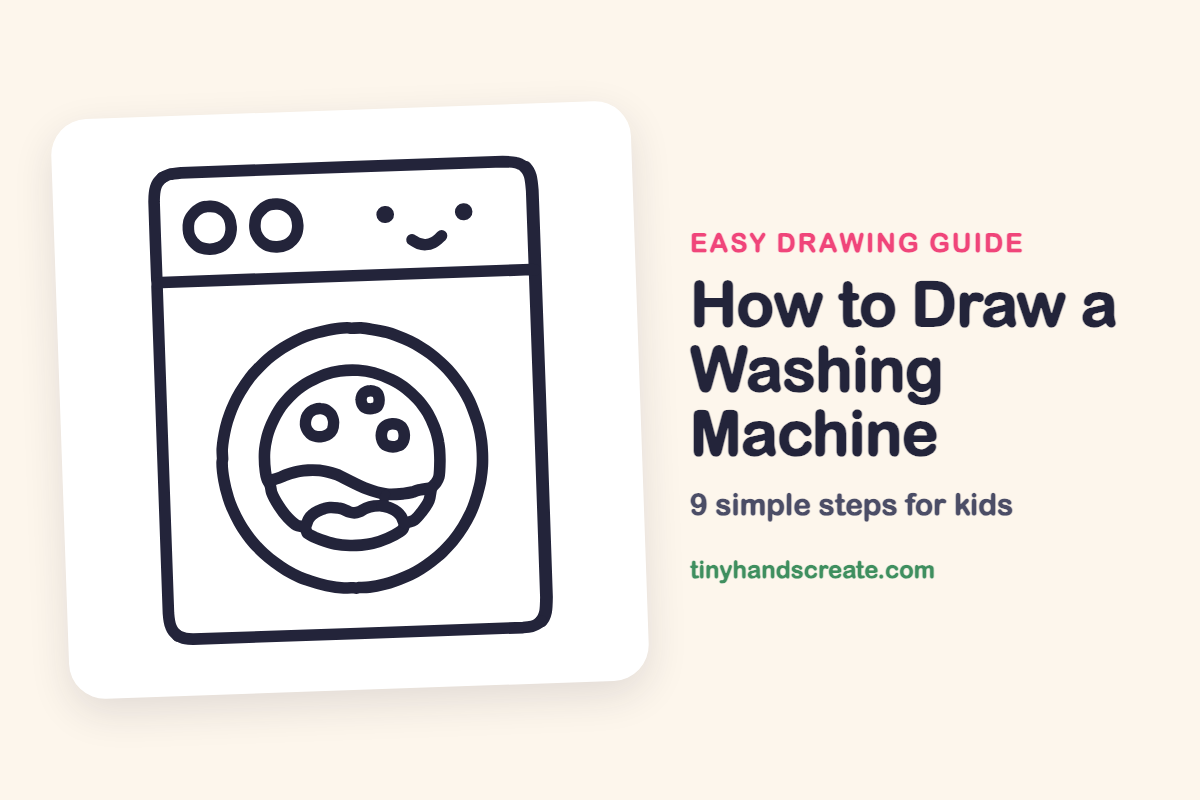
A washing machine is a friendly drawing because it is built from shapes you already know: a rectangle, a few circles, and a wavy line. This one has a smiling face on the top strip, so it looks like it enjoys its job. Once you know the circles, you can draw it again and again.
- Easy
- 10 minutes
- 9 steps
You need: paper, a pencil, an eraser, and crayons or markers for coloring.
Start drawing
In this article (7 sections)
How to draw a washing machine step by step
How to Draw a Washing Machine · tinyhandscreate.com
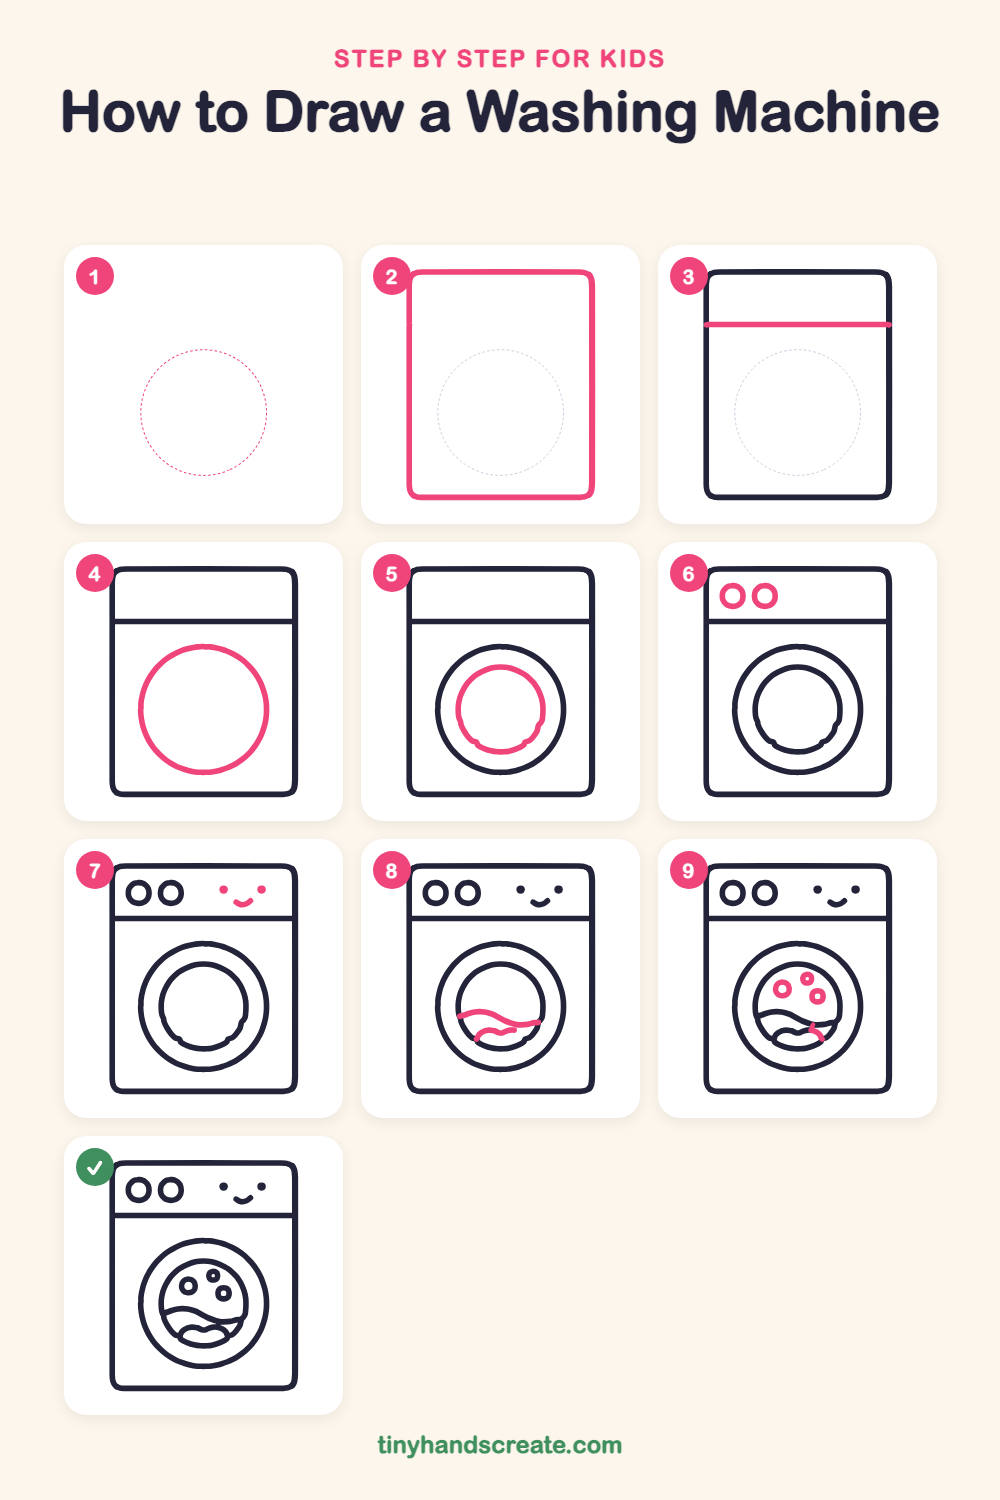
Step 1: Guide shapes
Lightly sketch this oval. It only shows where the big parts go, so press softly. You will erase it at the end.
Step 2: The machine body
Draw a tall rectangle with softly rounded corners. This is the big box that holds everything else.
Step 3: The control strip
Draw a straight line across the box, a little below the top. It starts at the left side and ends at the right side, making a strip at the top.
Step 4: The big round door
In the middle of the lower part, draw a big circle. Try to leave about the same space on the left and right sides.
Step 5: The glass window
Draw a smaller circle inside the big circle. Keep an even gap all the way around so it looks like a ring.
Step 6: Two round knobs
In the top strip on the left, draw two small circles side by side. They are the knobs for choosing a wash.
Step 7: The happy face
On the right side of the top strip, draw two little dots for eyes. Under them, draw a small curved smile.
Step 8: The soapy water
Inside the window, draw a long wavy line that goes from the left side to the right side. Then add a shorter bumpy line below it for the foamy suds.
Step 9: Bubbles and a curl
Above the water, draw three little rings of different sizes. Add a tiny curved line at the bottom right, where the suds meet the glass.
All done!
Erase the guide shapes, go over your lines, then color it in.
Finished your washing machine? Keep the pencils out and learn how to draw a vacuum cleaner or how to draw a couch next.
Tips for drawing a washing machine
- Draw the big door circle first, then the glass circle inside it. Keeping the gap even all the way around is the trickiest part, so go slowly and look at both sides.
- Make the two knobs the same size. Draw the first one, then place the second one right next to it at the same height.
- For the water, draw a gentle wave rather than a zigzag. Let the ends touch the edge of the glass circle so the water looks like it is held inside.
Free washing machine coloring page
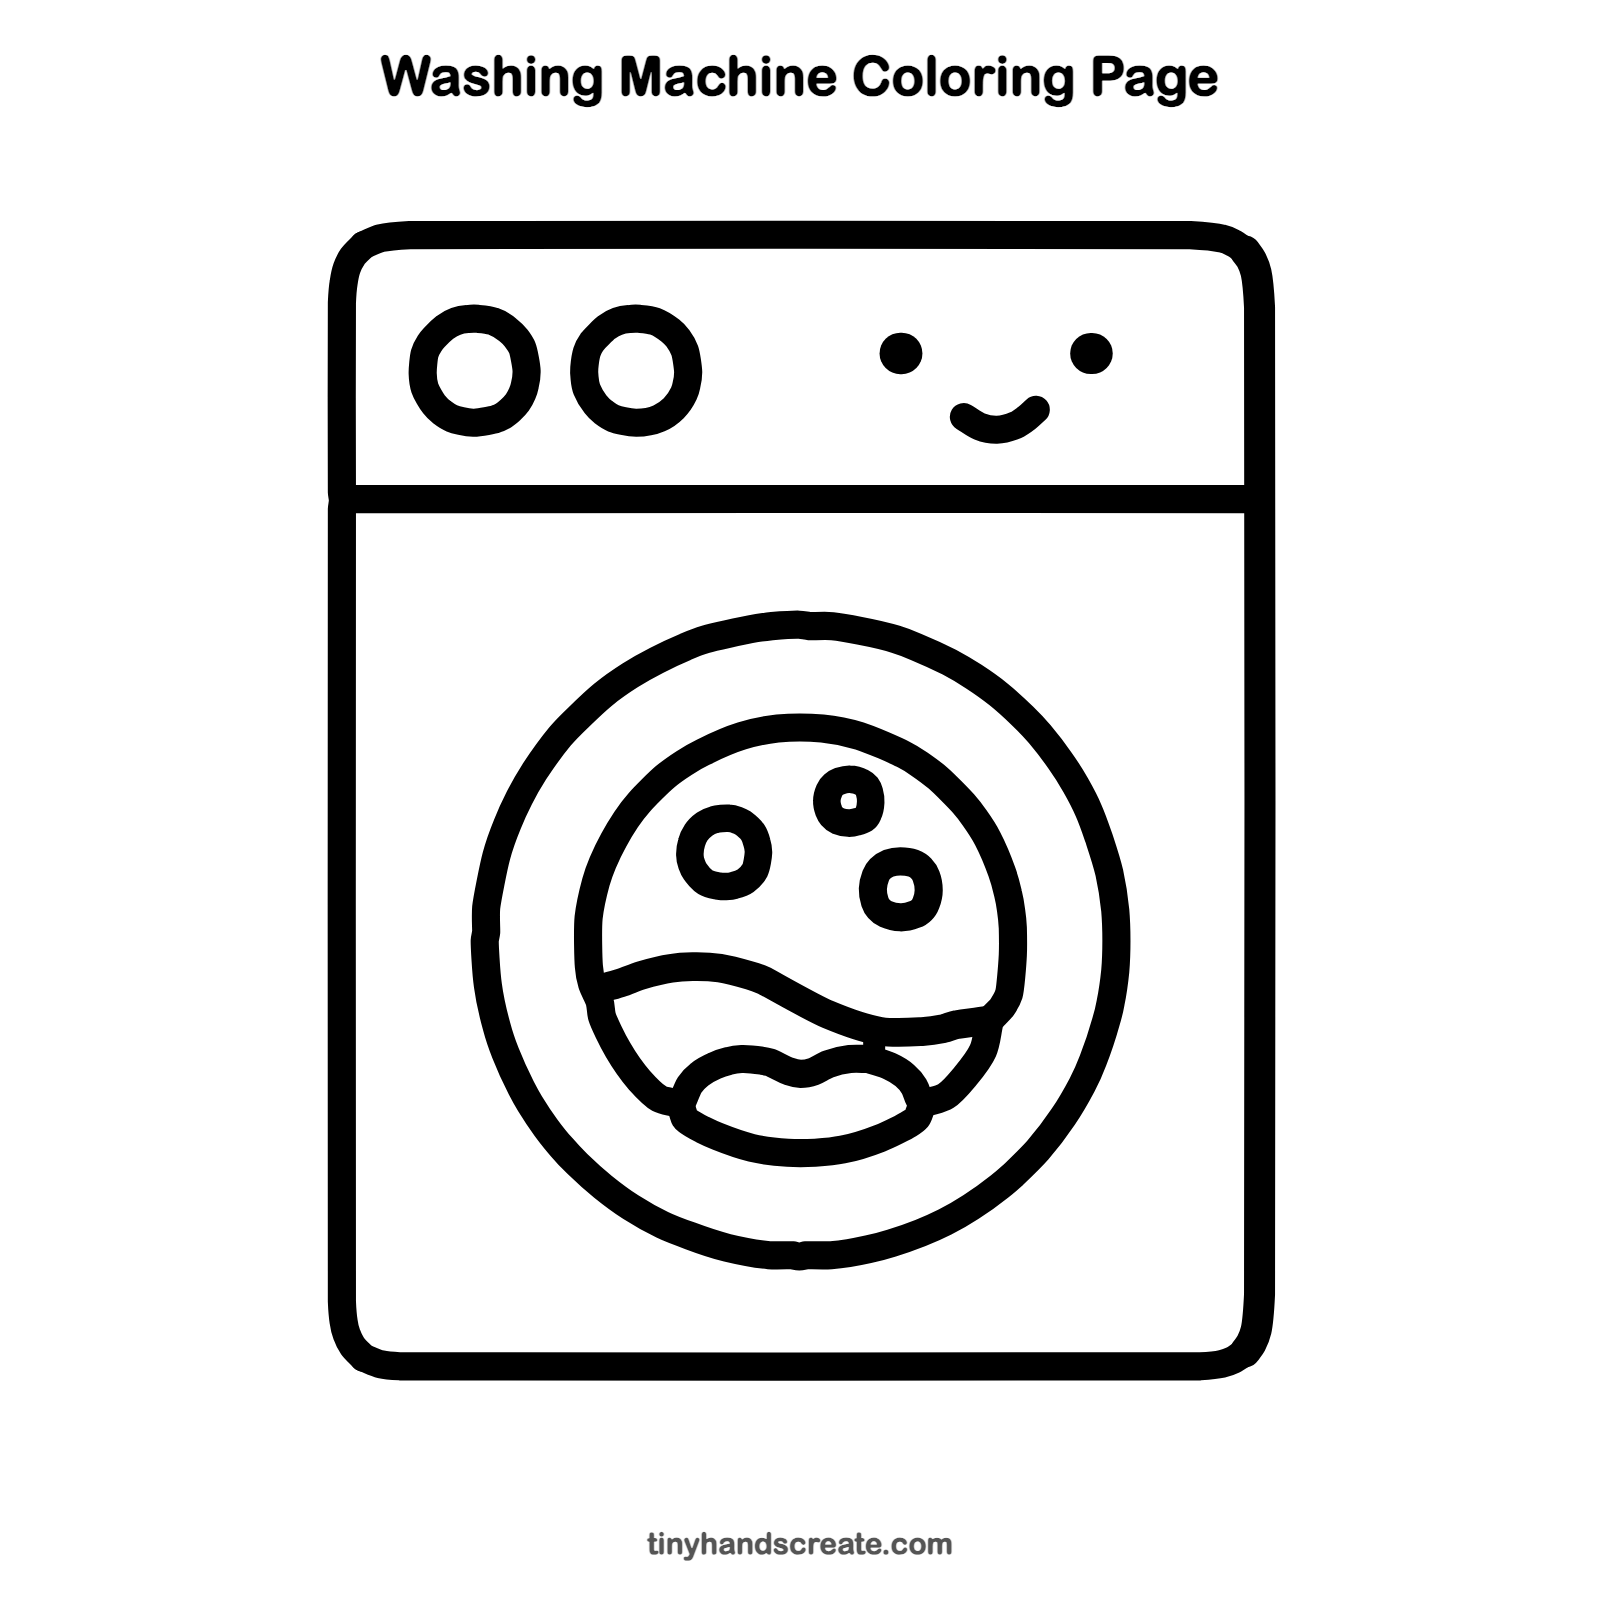
Want to go straight to coloring? Open this washing machine coloring page at full size and print it. It is the same drawing you just learned, with clean lines ready for crayons or markers.
How to color your washing machine drawing
Try light blue for the body, a darker blue for the water, and yellow or pink for the knobs. For a creative twist, color the bubbles in rainbow colors, as if the machine is washing a rainbow.
Washing machine fun fact for kids
In a front-loading washing machine, the drum spins and the clothes tumble through the water. During the spin cycle the drum turns so fast that most of the water is pushed out of the clothes.
Questions about drawing a washing machine
What shapes do I need to draw a washing machine?
You need one tall rounded rectangle, one straight line, and several circles of different sizes. Wavy lines make the water inside.
How do I make my washing machine look cuter?
Add two dot eyes and a little curved smile on the top strip. Small bubbles floating in the window make it look cheerful too.
How do I draw a perfect circle for the door?
Try tracing around a plate or a cup lightly in pencil first. You can also draw it in four quarter curves, going from the top to the side and then to the bottom.