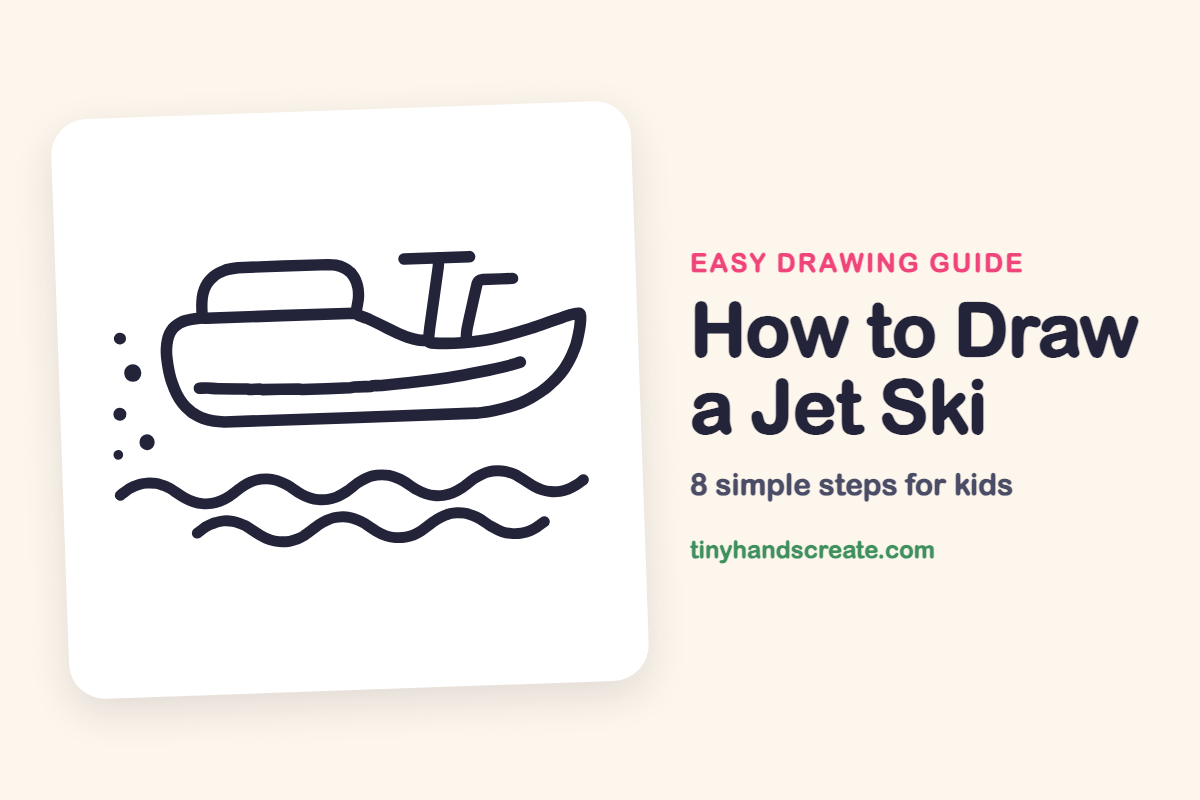
How to Draw a Jet Ski (Easy Step by Step)
This post contains affiliate links. As an Amazon Associate I earn from qualifying purchases.
A jet ski zooming over the waves is a fun thing to draw. It is built from simple shapes: a long rounded body, a bump for the seat, a few short straight lines at the front, and wiggly lines for the water. Once you know the shapes, you can draw it in just a few minutes.
- Easy
- 10 minutes
- 8 steps
You need: paper, a pencil, an eraser, and crayons or markers for coloring.
Start drawing

In this article (7 sections)
How to draw a jet ski step by step
How to Draw a Jet Ski · tinyhandscreate.com
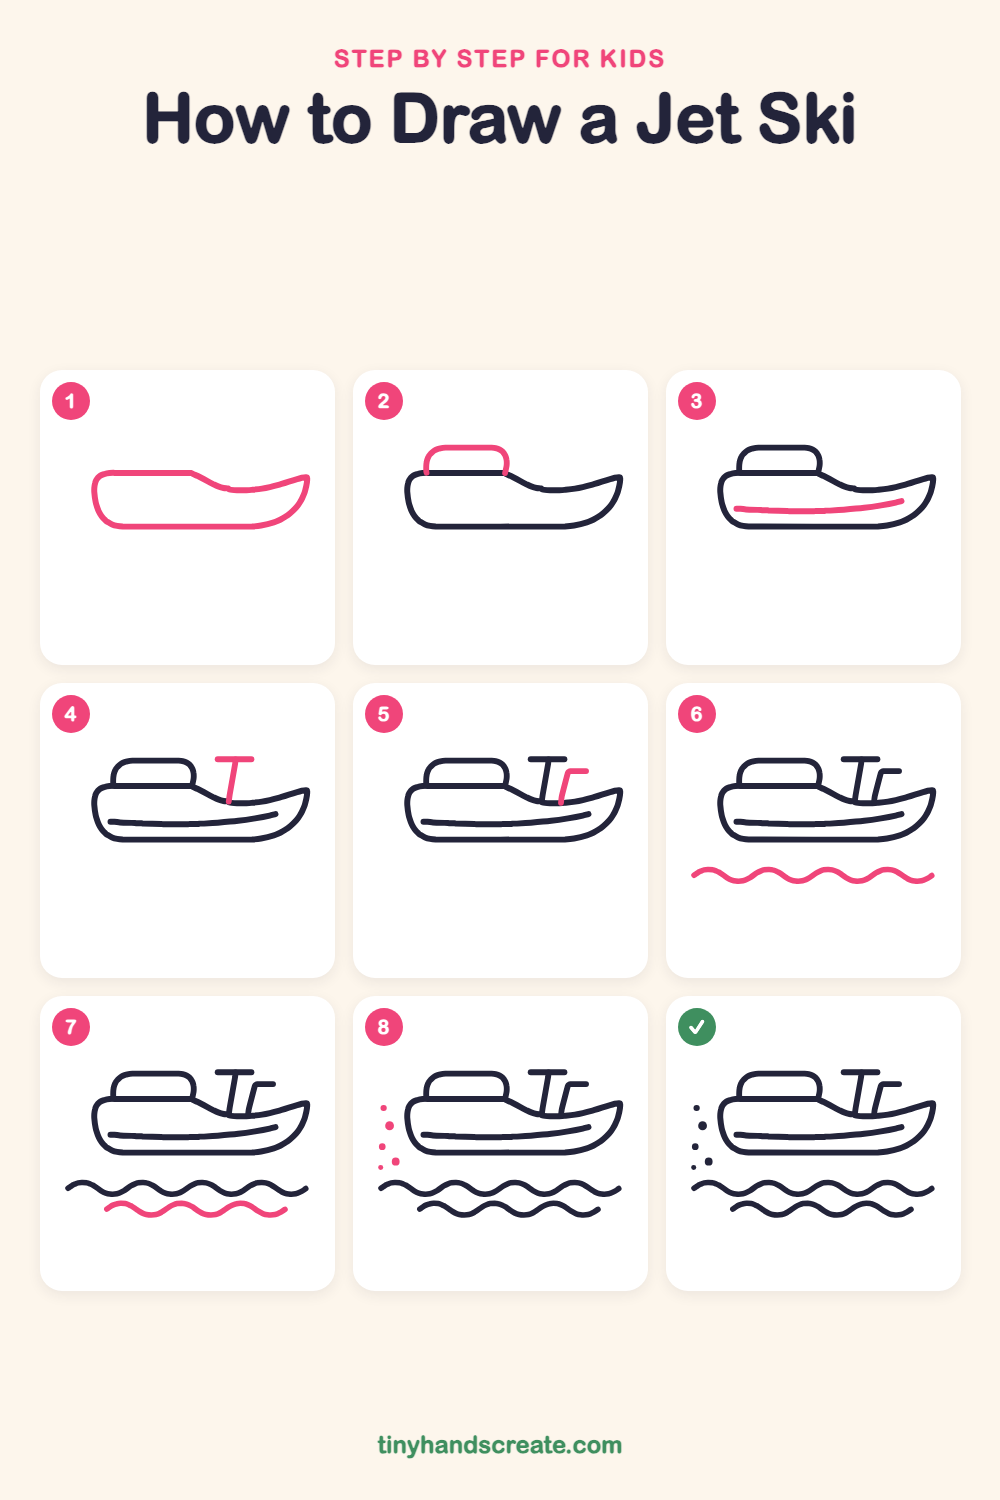
Step 1: The body
Draw a long rounded shape like a bathtub lying on its side. Start with a flat top line on the left, let it dip in a gentle curve toward the front, then curve up to a pointy nose. Sweep back along a flat bottom line and curve up the rounded back to where you began.
Step 2: The seat
On top of the body, near the back, draw a rounded bump like a loaf of bread. Start on the flat top line, go up, across, and back down to the top line again.
Step 3: The stripe
Draw one long, gently curved line inside the body, near the bottom. Start near the back and curve it a little as it rises toward the front.
Step 4: The handlebar
Near the front, draw a short straight line that leans a little and rises from the body. Then add a short flat line across the top to make a T shape.
Step 5: The windshield
Right next to the handlebar, draw a second short line that goes up from the body and leans a little. At the top, turn it to the right with a short flat line, like a little hook.
Step 6: Big waves
Under the jet ski, draw a long, wiggly line that goes up and down like a snake. Make each hill and valley about the same size.
Step 7: Small waves
Draw a second wiggly line below the first one. Make it a bit shorter and start it a little farther to the right.
Step 8: Water drops
On the left, beside the back of the jet ski, add a column of small dots in different sizes. They look like drops of water flying through the air.
All done!
Go over your lines with a marker, then color it in.
Finished your jet ski? Keep the pencils out and learn how to draw cozy socks or how to draw snowshoes next.
Tips for drawing a jet ski
- Take your time on the body. Draw the flat top first, let it dip toward the nose, then follow the curve all the way around the bottom and back.
- Draw the handlebar as a short line that leans a little, then add the flat top. A slight lean looks lively.
- For the waves, think of a roller coaster: up, down, up, down. Keep each hill about the same size so the water looks even.
Free jet ski coloring page
Want to go straight to coloring? Open this jet ski coloring page at full size and print it. It is the same drawing you just learned, with clean lines ready for crayons or markers.
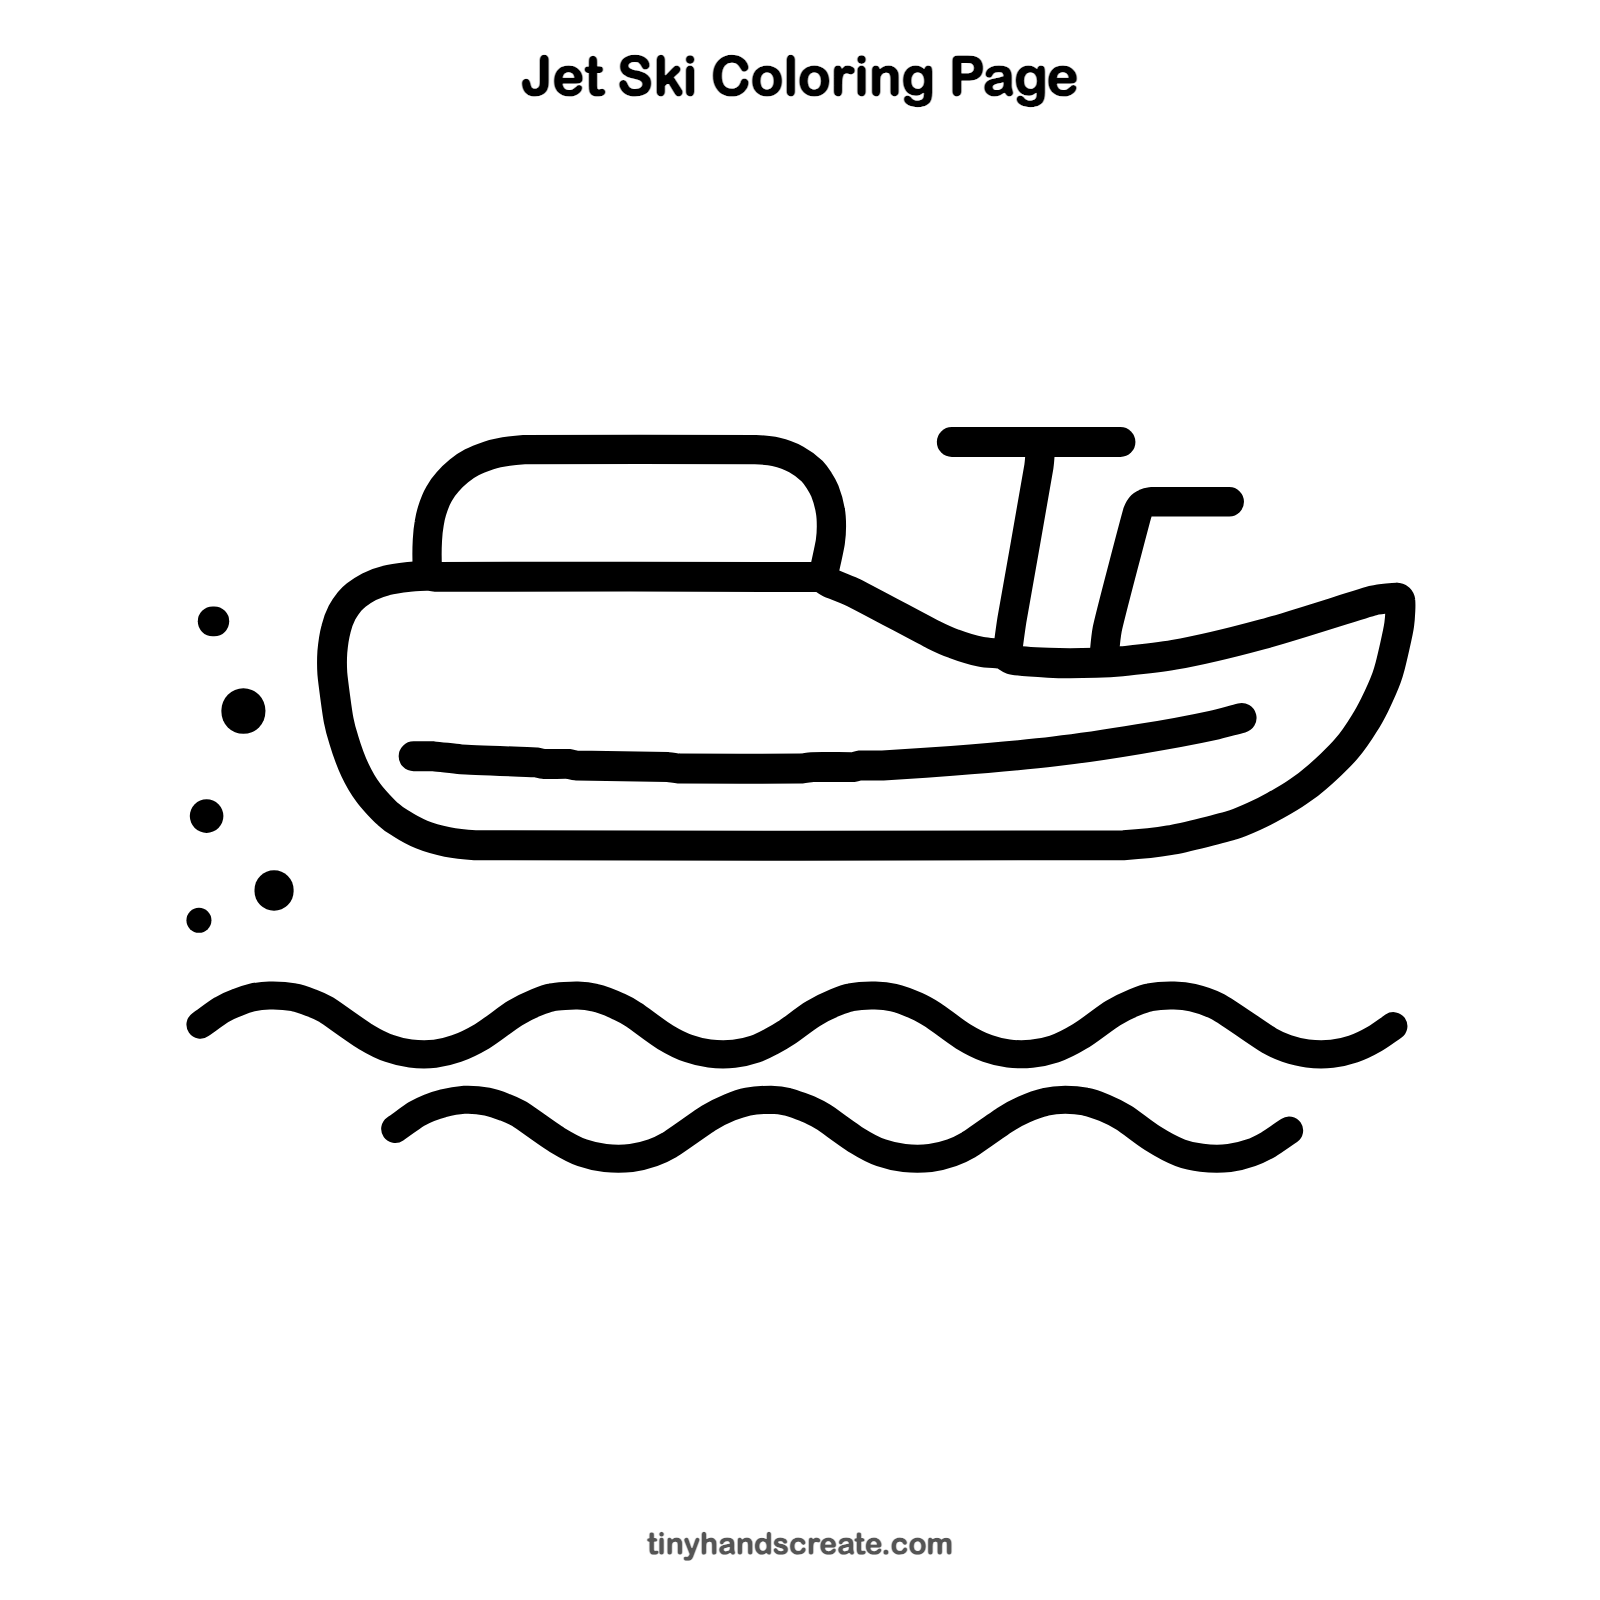
How to color your jet ski drawing
Try a bright red or yellow body with a blue and teal sea. For a creative twist, color the water drops in different colors, like a rainbow splash.
Jet ski fun fact for kids
A jet ski has no propeller sticking out into the water. It pulls water in and shoots it out the back in a strong jet, and that push moves it forward.
Questions about drawing a jet ski
What shapes do I need to draw a jet ski?
You need a long rounded shape for the body, a smaller rounded bump for the seat, a few short straight lines at the front, and wavy lines for the water.
How do I make my jet ski look like it is moving fast?
Add water drops flying out behind it. The wavy lines under it help it look like it is skimming across the water.
Is a jet ski hard to draw for a young child?
No, it is mostly long curves and short straight lines. If the body feels tricky, start by lightly sketching a long oval and then trace over it.