How to Draw a Tuk-Tuk (Easy Step by Step)
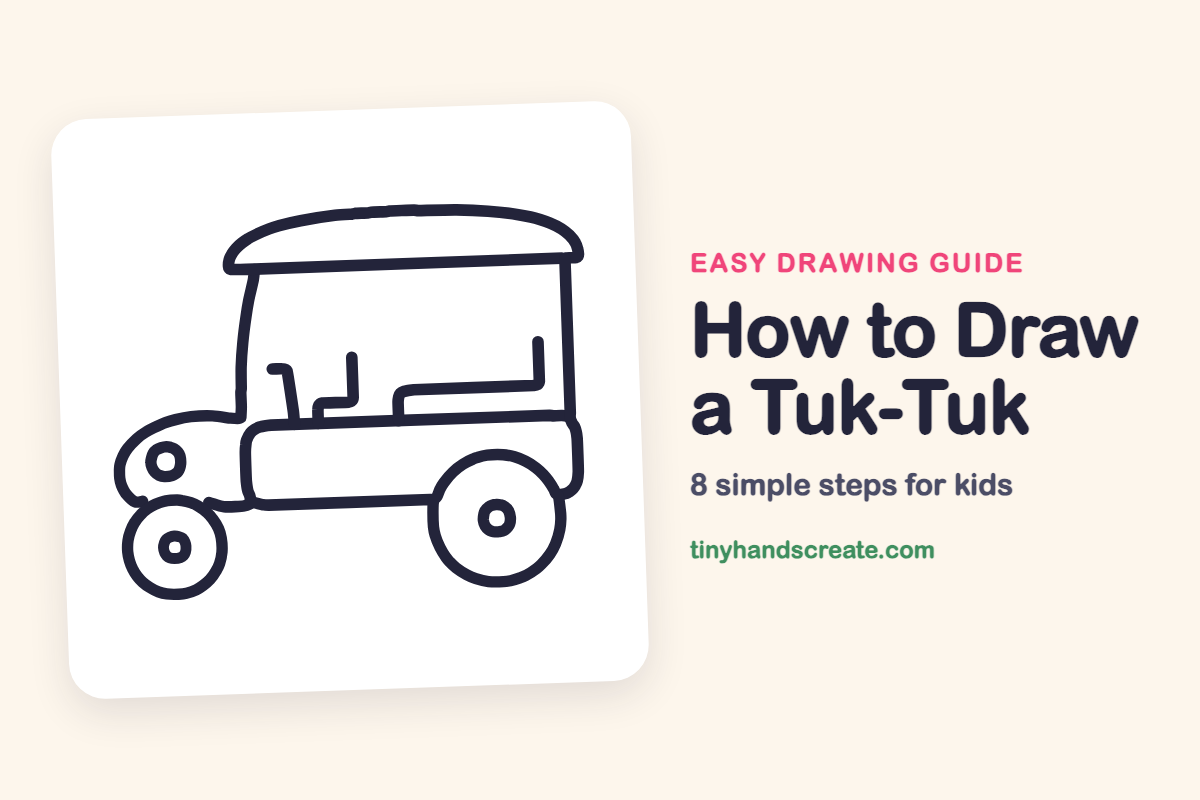
A tuk-tuk is a small taxi with a roof and an open cab, and it is built from shapes kids already know: circles, rectangles and one friendly dome. The rounded roof and big back wheel give it a cheerful look that is easy to copy. Once the body is down, the rest is just a few circles and straight lines.
- Medium
- 15 minutes
- 8 steps
You need: paper, a pencil, an eraser, and crayons or markers for coloring.
Start drawingIn this article (7 sections)
How to draw a tuk-tuk step by step
How to Draw a Tuk-Tuk · tinyhandscreate.com
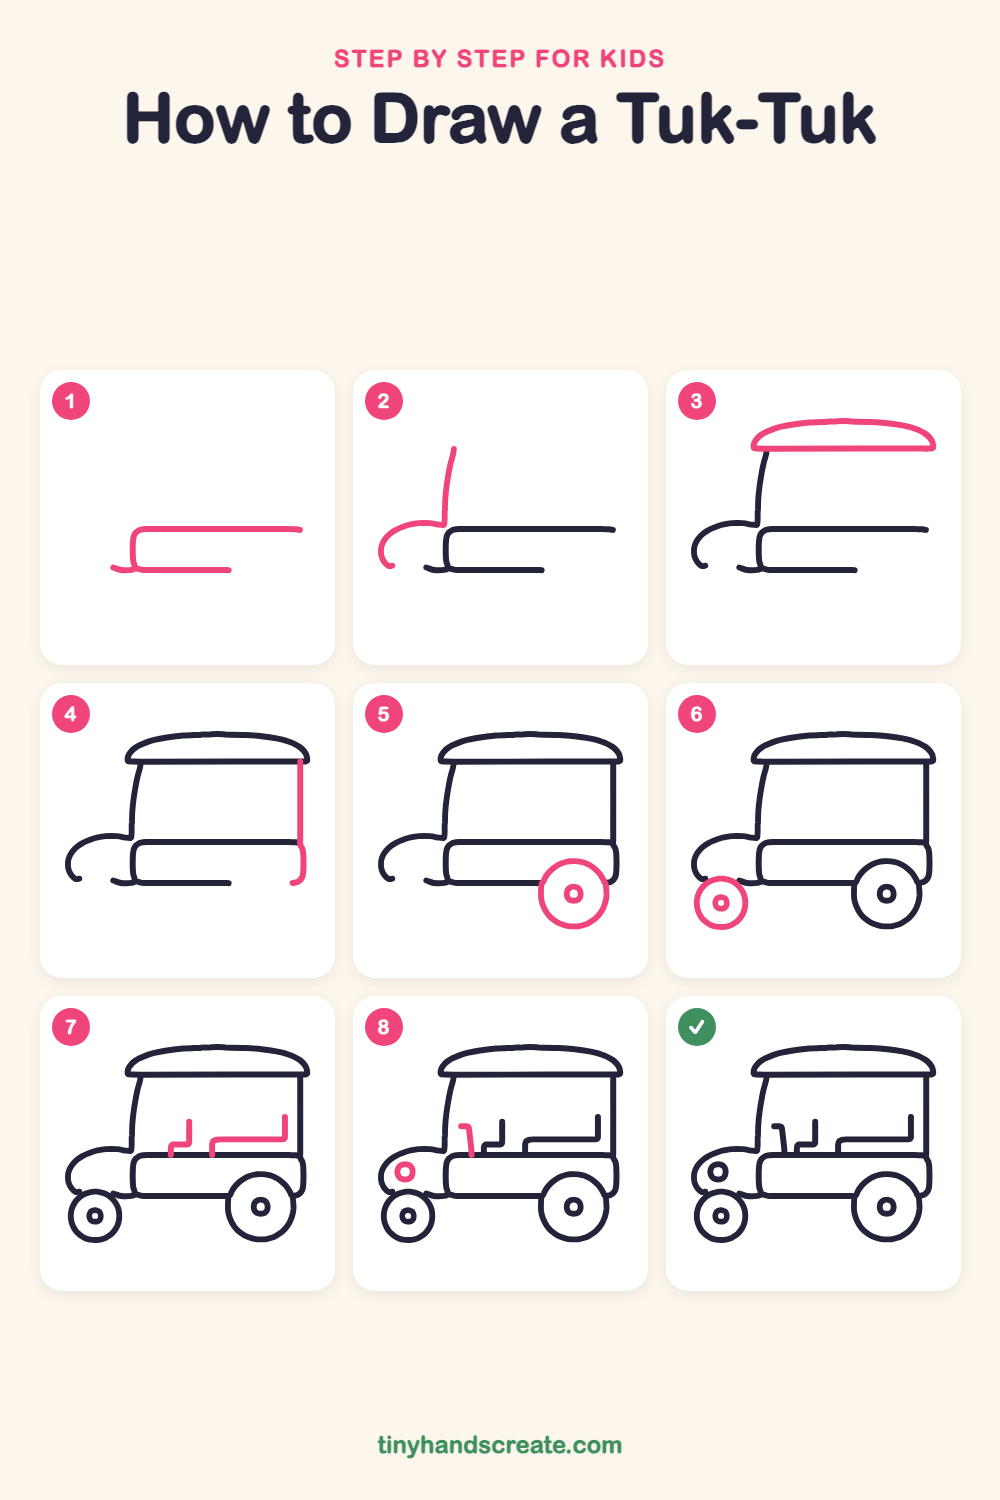
Step 1: The body
Draw a long flat shape with a rounded corner on the left. Start with a short line going down, then draw a line along the top to the right and a line along the bottom, leaving the right side open.
Step 2: Hood and front post
On the left side, draw a smooth hump that curves down and around the front, like half an egg. Then draw a tall line going up from where the hump meets the body.
Step 3: The roof
Above the body, draw a wide flat line with a gentle dome on top, like a squished bubble. The roof should stick out a little past the front post.
Step 4: Back post and corner
Draw a straight line going down from the right end of the roof to the body. Then curve it around the back corner at the bottom of the body.
Step 5: Back wheel
Draw a big circle on the right side so it overlaps the bottom of the body. Add a small circle in the middle for the hub.
Step 6: Front wheel
Draw a smaller circle at the front, under the hood. Put a small circle inside it for the hub.
Step 7: The seats
Inside the cab, draw a short seat with a tall back on its left. Then draw a longer bench with a tall back on the right, both sitting on the top of the body.
Step 8: Handlebar and headlight
Draw a short bent line rising from the body near the front post, like a little hook, for the handlebar. Then draw a small circle on the hood for the headlight.
All done!
Go over your lines with a marker, then color it in.
Finished your tuk-tuk? Keep the pencils out and learn how to draw a Viking ship or how to draw a kid singing next.
Tips for drawing a tuk-tuk
- Draw the back wheel big and the front wheel a little smaller so the tuk-tuk looks like it is rolling forward.
- Use a coin or a cup to trace the wheels if your circles come out wobbly.
- Keep the seat lines simple: a short seat with a tall back, then a longer bench. Let them sit on the top of the body so they look like they are inside the cab.
Free tuk-tuk coloring page
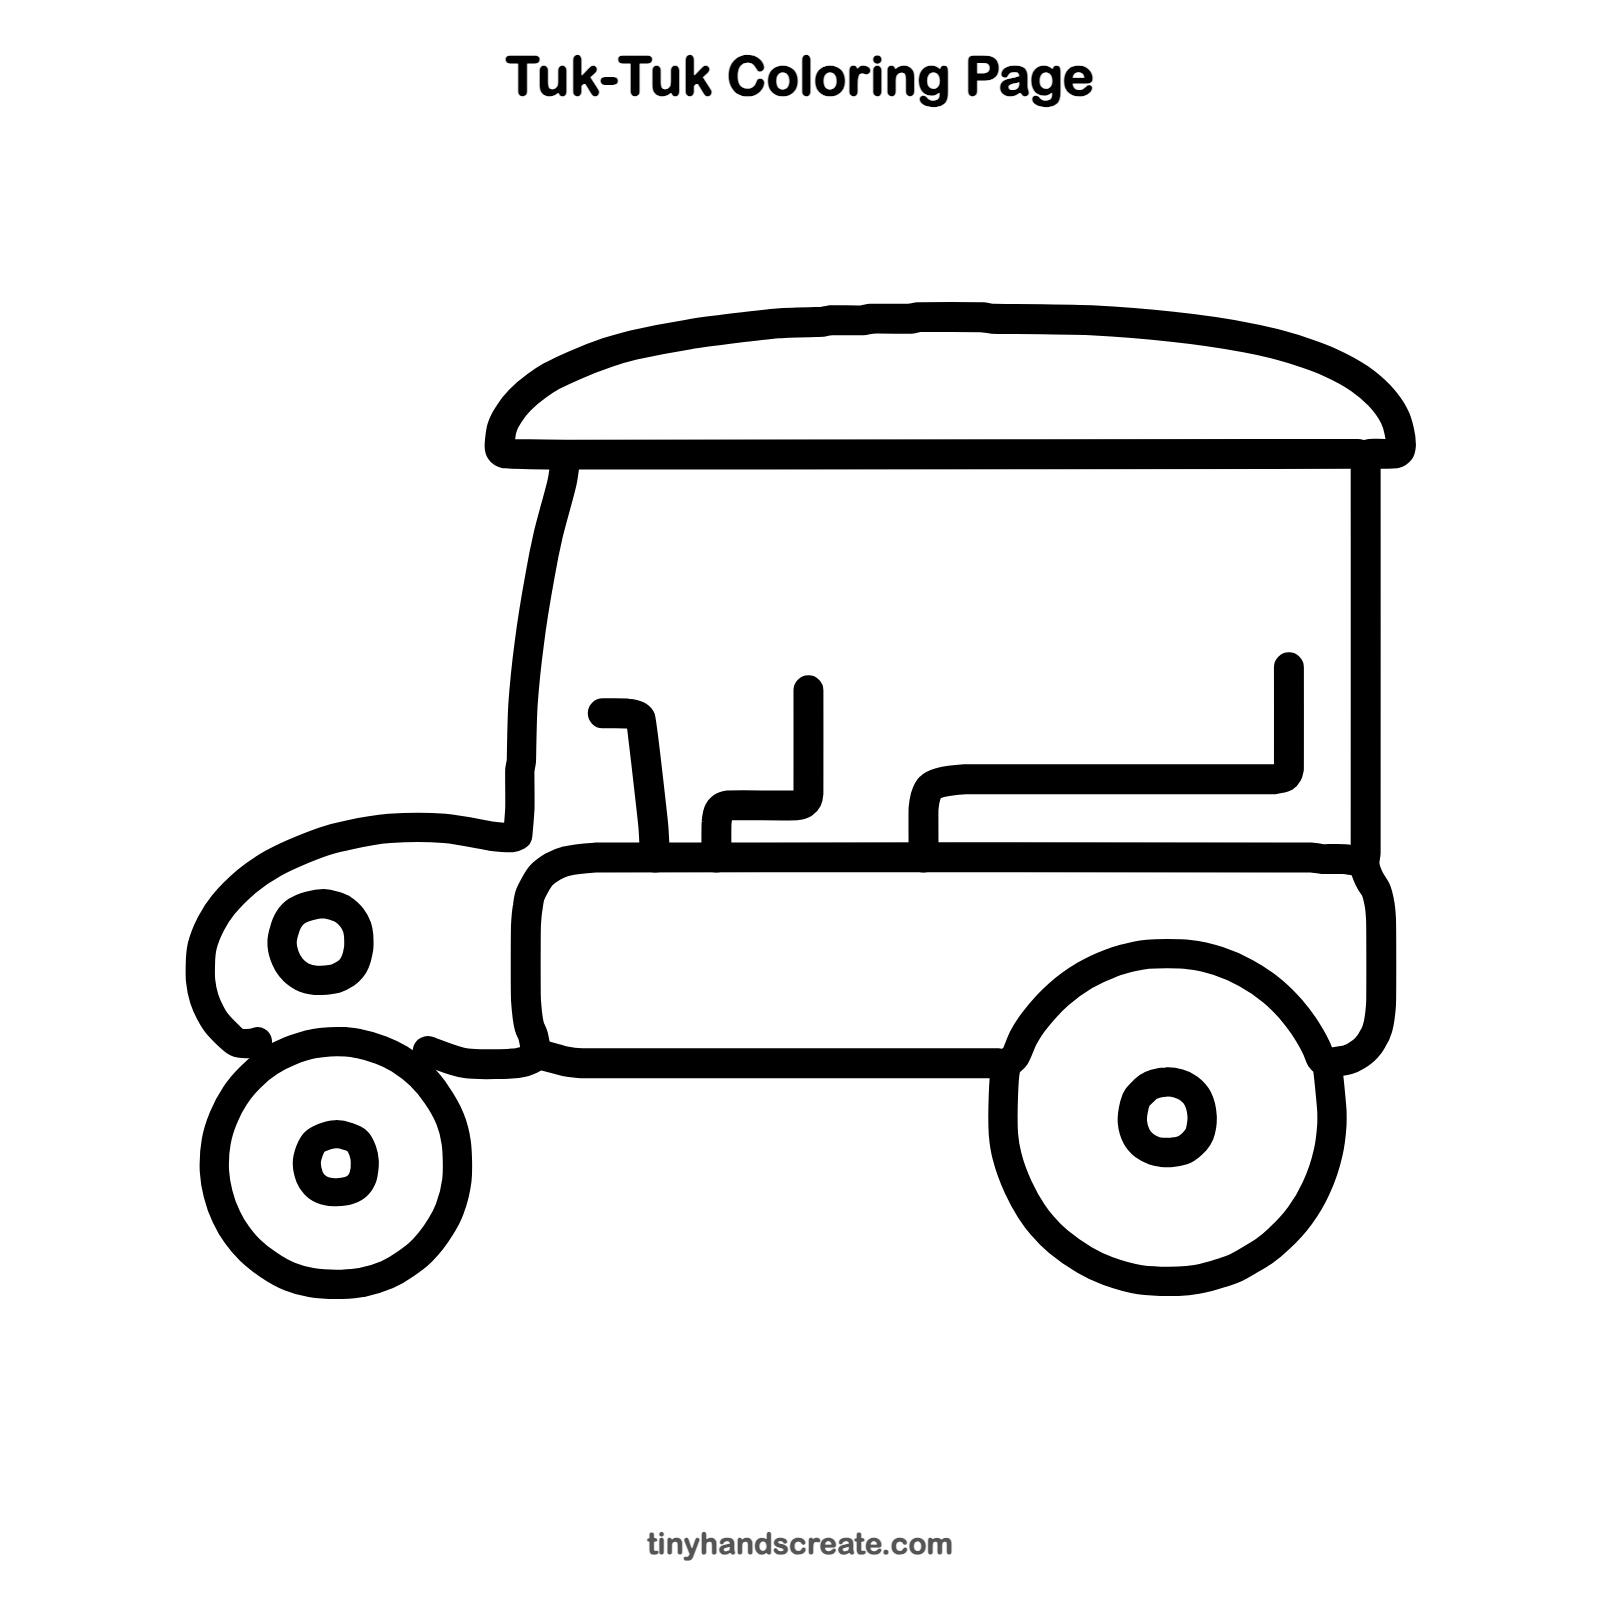
Want to go straight to coloring? Open this tuk-tuk coloring page at full size and print it. It is the same drawing you just learned, with clean lines ready for crayons or markers.
How to color your tuk-tuk drawing
Tuk-tuks are often bright yellow, green or red with a different color on the roof. For a creative twist, draw a street scene behind it with palm trees or a setting sun.
Tuk-tuk fun fact for kids
The name tuk-tuk imitates the putt-putt sound of the small engines. Tuk-tuks are a common way to get around in cities in Thailand, India and other countries.
Questions about drawing a tuk-tuk
What shapes do I need to draw a tuk-tuk?
You need a long rounded body, a dome for the roof and two circles for the wheels. Small circles and a few straight lines finish the seats, handlebar and headlight.
How do I make my tuk-tuk look like it is moving?
After you finish, add a few short lines behind the back wheel to show speed. You can also draw it on a flat ground line to show it driving along.
Why does a tuk-tuk have three wheels?
Three wheels make it light, cheap to build and small enough to squeeze through busy streets. That is why it is so popular as a taxi.