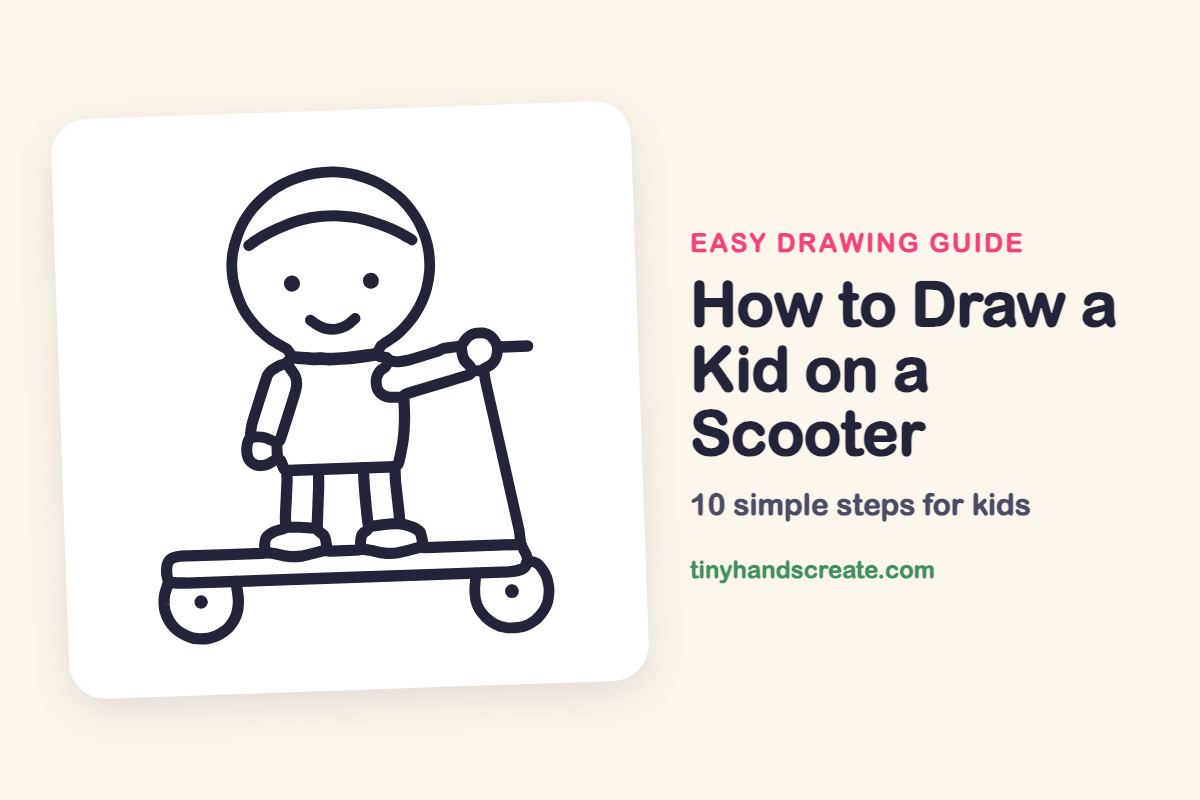
How to Draw a Kid on a Scooter (Easy Step by Step)
A kid rolling along on a scooter is a happy, simple drawing. It is built from a big circle for the head, a boxy shirt, two straight legs, and a long flat board with two round wheels. Once you can draw those shapes, you can draw the whole ride.
- Medium
- 15 minutes
- 10 steps
You need: paper, a pencil, an eraser, and crayons or markers for coloring.
Start drawingIn this article (7 sections)
How to draw a kid on a scooter step by step
How to Draw a Kid on a Scooter · tinyhandscreate.com
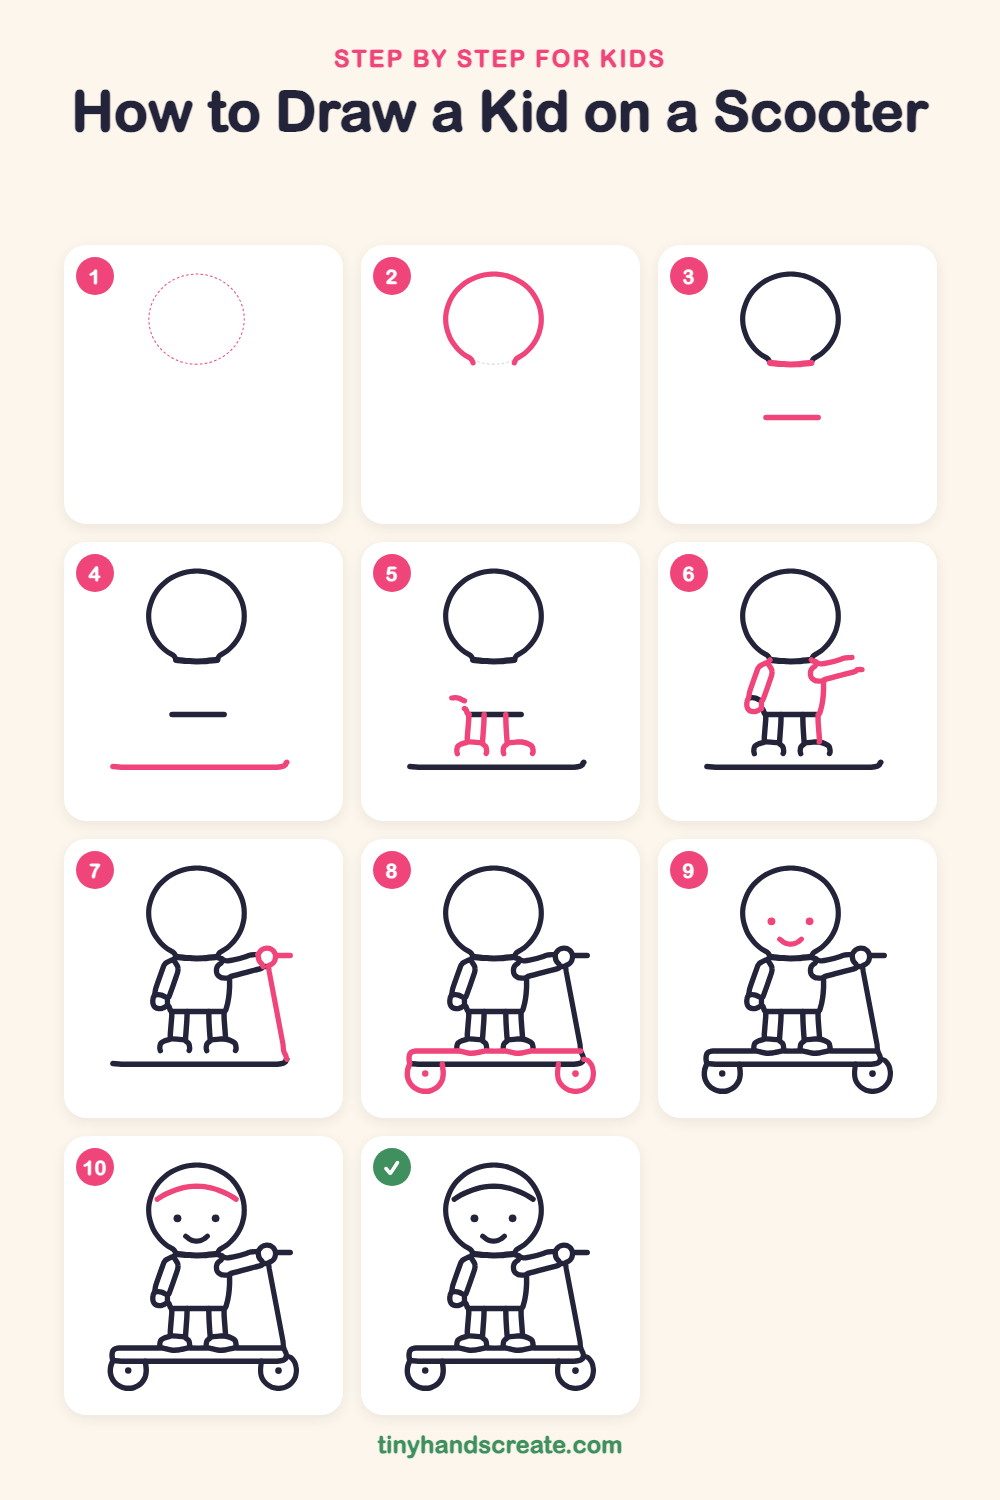
Step 1: Guide shapes
Lightly sketch this oval. It only shows where the big parts go, so press softly. You will erase it at the end.
Step 2: The round head
Draw a big circle for the head near the top of the page. Stop before you close it and leave a little gap at the bottom.
Step 3: Neck and shirt hem
Close the gap at the bottom of the head with a short curved line. Then draw a short flat line a little way below it for the bottom of the shirt.
Step 4: The scooter board
Near the bottom of the page, draw one long, flat line for the board the kid will stand on. Let the right end curl up just a little.
Step 5: Legs and sneakers
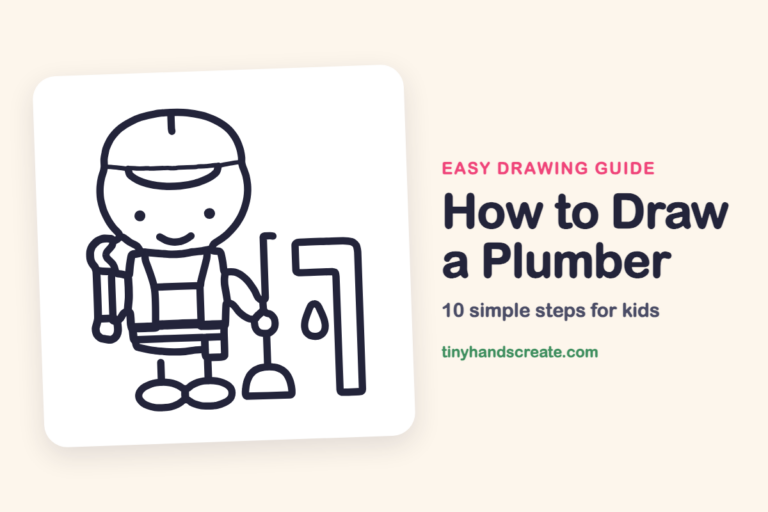
Draw two pairs of straight lines going down from the short flat line to make two legs. At the bottom of each leg, draw a small curved shoe sitting on the board line.
Step 6: Arms and shirt side
On the left, draw a bendy tube hanging down with a small round hand at the end. On the right, draw a tube reaching out to the side, then a curved line down from it to the shirt's bottom edge.
Step 7: Handlebar and pole
On the right, draw a small circle where the hand holds the scooter, with a short bar sticking out to the side. Then draw a long slanted pole from the circle down to the right end of the board.
Step 8: Board edge and wheels
Draw a second line just above the board line to make the board look thick. Then draw a round wheel under each end of the board and put a small dot in the middle of each one.
Step 9: Face
Put two small dots for eyes in the middle of the head. Draw a little smile like a curved bowl underneath.
Step 10: Hair line
Near the top of the head, draw a curved line like a rainbow to show the hair.
All done!
Erase the guide shapes, go over your lines, then color it in.
Finished your kid on a scooter? Keep the pencils out and learn how to draw a kid with a trophy or how to draw a kid with a paper airplane next.
Tips for drawing a kid on a scooter
- Draw the head circle first and leave room underneath, so the body and arms have space and nothing gets squished.
- The arm reaching for the handlebar is the trickiest part. Draw it as a tube that ends right at the little handlebar circle.
- Draw the long board line first, then add the wheels so they sit at the same height under both ends.
Free kid on a scooter coloring page
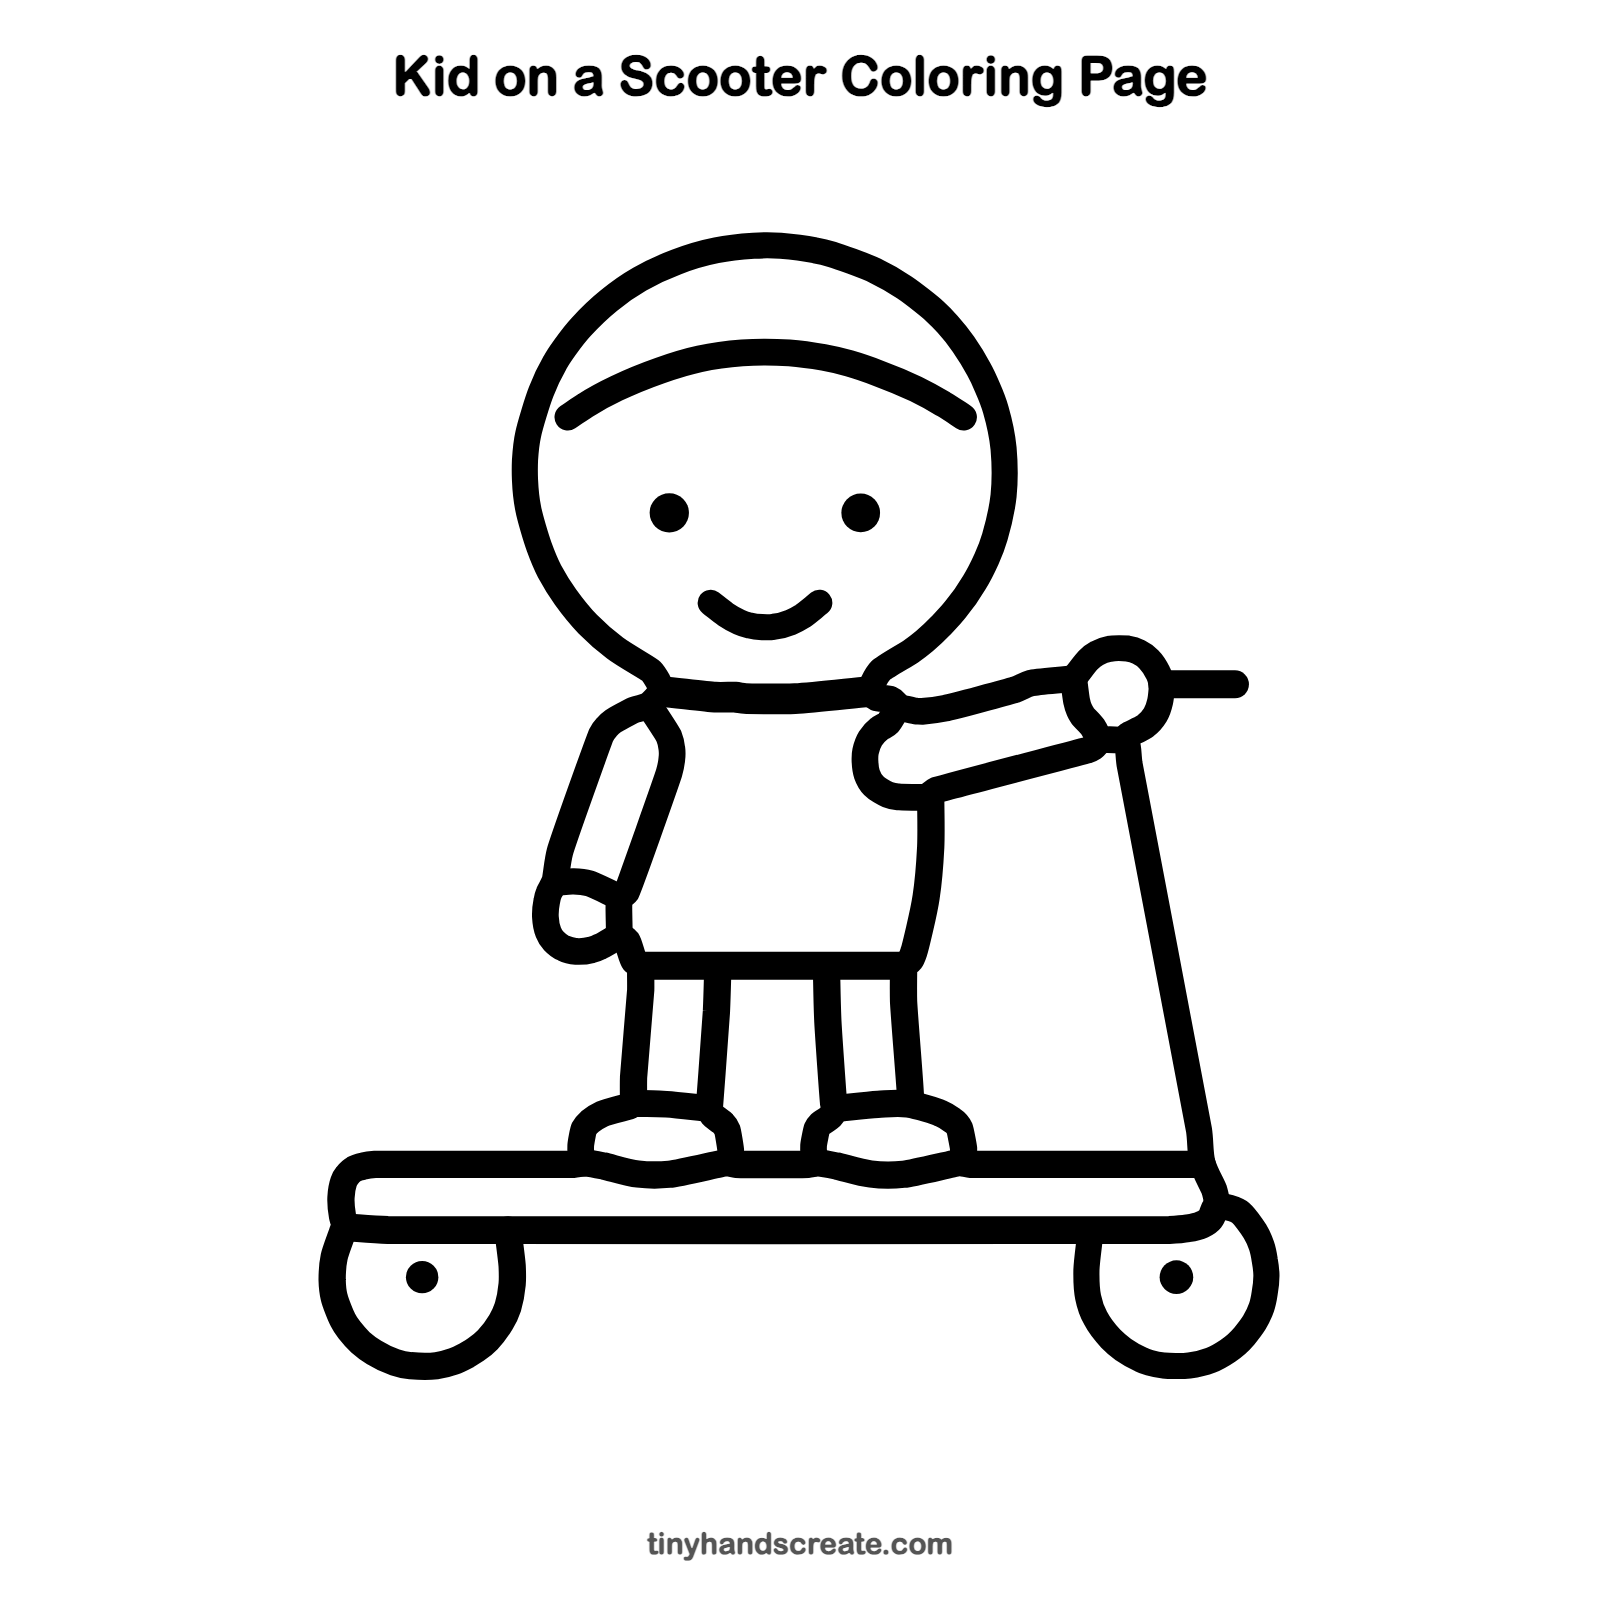
Want to go straight to coloring? Open this kid on a scooter coloring page at full size and print it. It is the same drawing you just learned, with clean lines ready for crayons or markers.
How to color your kid on a scooter drawing
Try a bright shirt, blue shoes and a red scooter with black wheels. Color the hair any shade you like.
Kid on a scooter fun fact for kids
Kick scooters have been around for over 100 years. Many early ones were homemade from a wooden plank and roller skate wheels.
Questions about drawing a kid on a scooter
What shapes do I need to draw a kid on a scooter?
You need a big circle for the head, a short flat line and curved sides for the shirt, straight lines for the legs, and bendy tubes for the arms. The scooter is a long flat board, a slanted pole, a small handlebar circle and two round wheels.
How do I make the arm reach the handlebar?
Start the tube at the side of the shirt and draw it out to the right. Finish it right at the little circle on top of the pole, so the hand looks like it is holding on.
How do I draw the scooter wheels so they look round?
Draw one wheel under each end of the board, with the top tucked up behind the board. Add a small dot in the middle of each wheel to make it look like a real wheel.