How to Draw a Battery (Easy Step by Step)
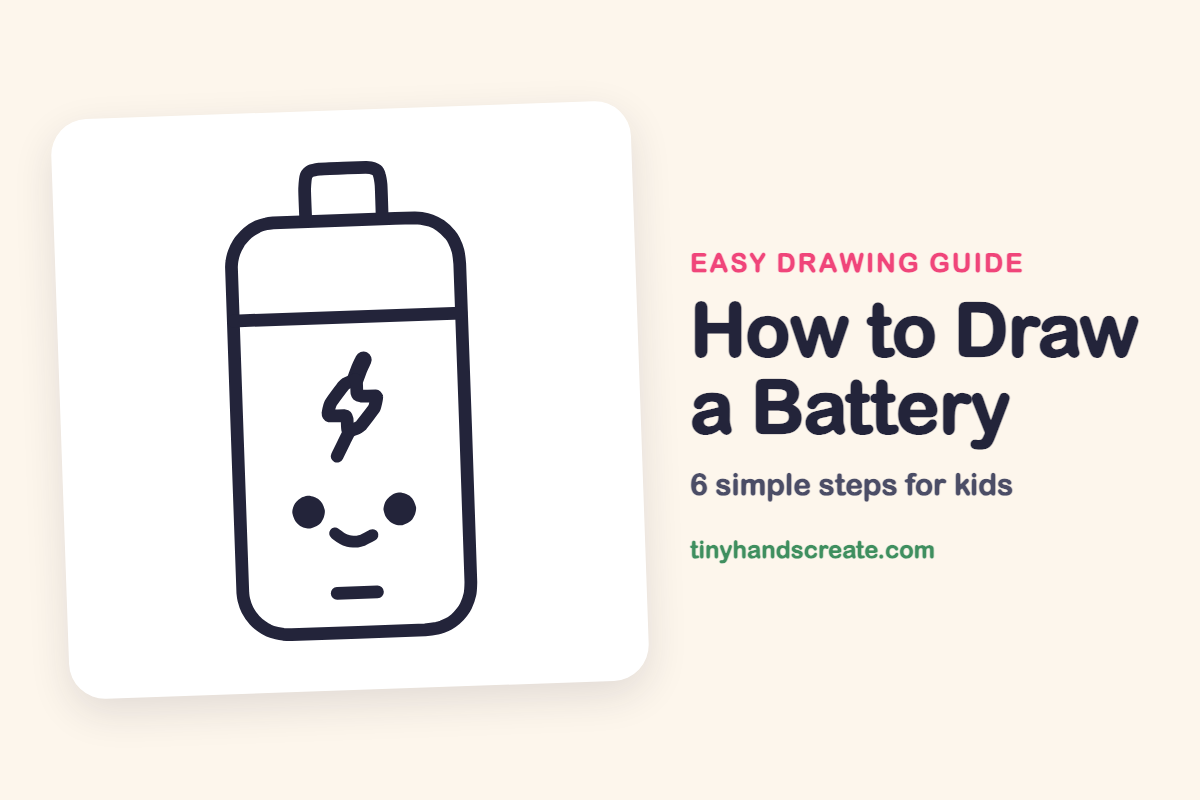
A battery is a friendly shape to draw because it is just a tall rounded rectangle with a small box on top. Add a line across the top, a lightning bolt and a smiley face, and it feels full of energy. You will use rectangles, dots, and a zigzag line.
- Easy
- 10 minutes
- 6 steps
You need: paper, a pencil, an eraser, and crayons or markers for coloring.
Start drawingIn this article (7 sections)
How to draw a battery step by step
How to Draw a Battery · tinyhandscreate.com
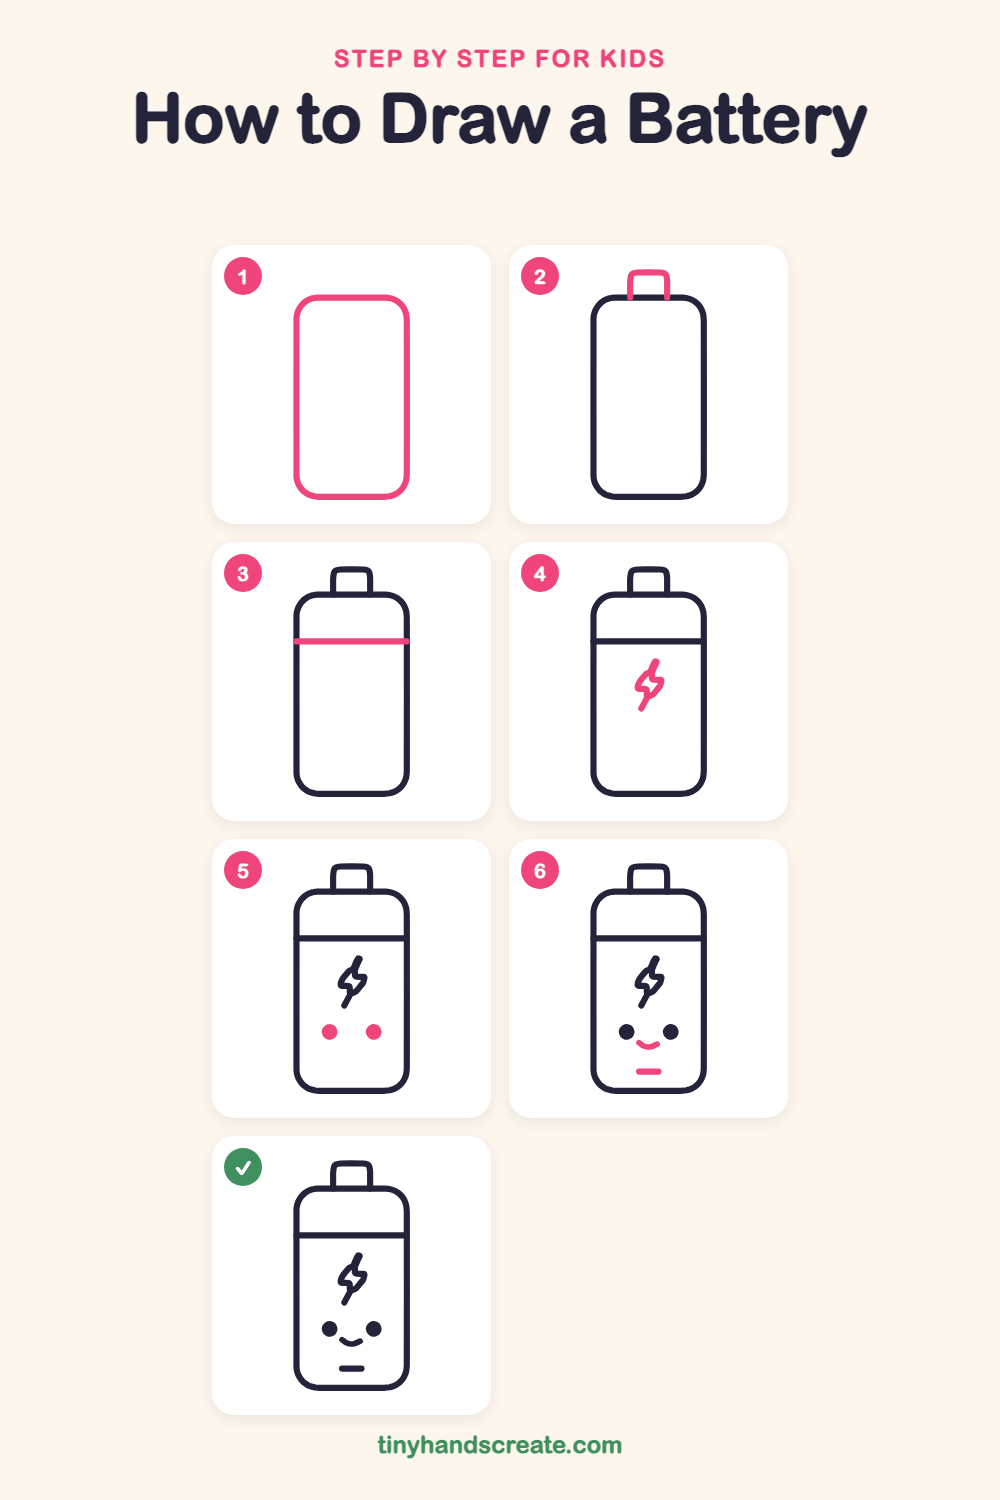
Step 1: The battery body
Draw a tall rectangle with big rounded corners, like a long pill standing up. Keep the lines smooth and leave room at the top for a small cap.
Step 2: The top cap
On top of the body, draw a small box with rounded top corners, like a little hat. Start at the top edge of the body, go up, across, and back down.
Step 3: The top band
Near the top of the body, draw a straight line all the way across from one side to the other. This splits off the top section of the battery.
Step 4: The lightning bolt
In the middle of the lower section, draw a small zigzag lightning bolt. Start at the top, slant down to the left, step to the right, then slant down to a point at the bottom.
Step 5: The two eyes
Below the bolt, draw two small round dots side by side for eyes. Keep them at the same height with a gap between them, and fill them in.
Step 6: Smile and mouth line
Between the eyes and a little lower, draw a small curved smile like a gentle bowl. Then add a short straight line near the bottom of the body, under the smile.
All done!
Go over your lines with a marker, then color it in.
Finished your battery? Keep the pencils out and learn how to draw a lava lamp or how to draw a thermometer next.
Tips for drawing a battery
- Draw the body first with light lines so you can fix the rounded corners before you press harder.
- The lightning bolt is the trickiest part. Think of it as a Z shape that has been stretched, with a pointy bottom.
- Place the eyes at the same height so the face looks balanced, then draw the smile centered between them.
Free battery coloring page
Want to go straight to coloring? Open this battery coloring page at full size and print it. It is the same drawing you just learned, with clean lines ready for crayons or markers.
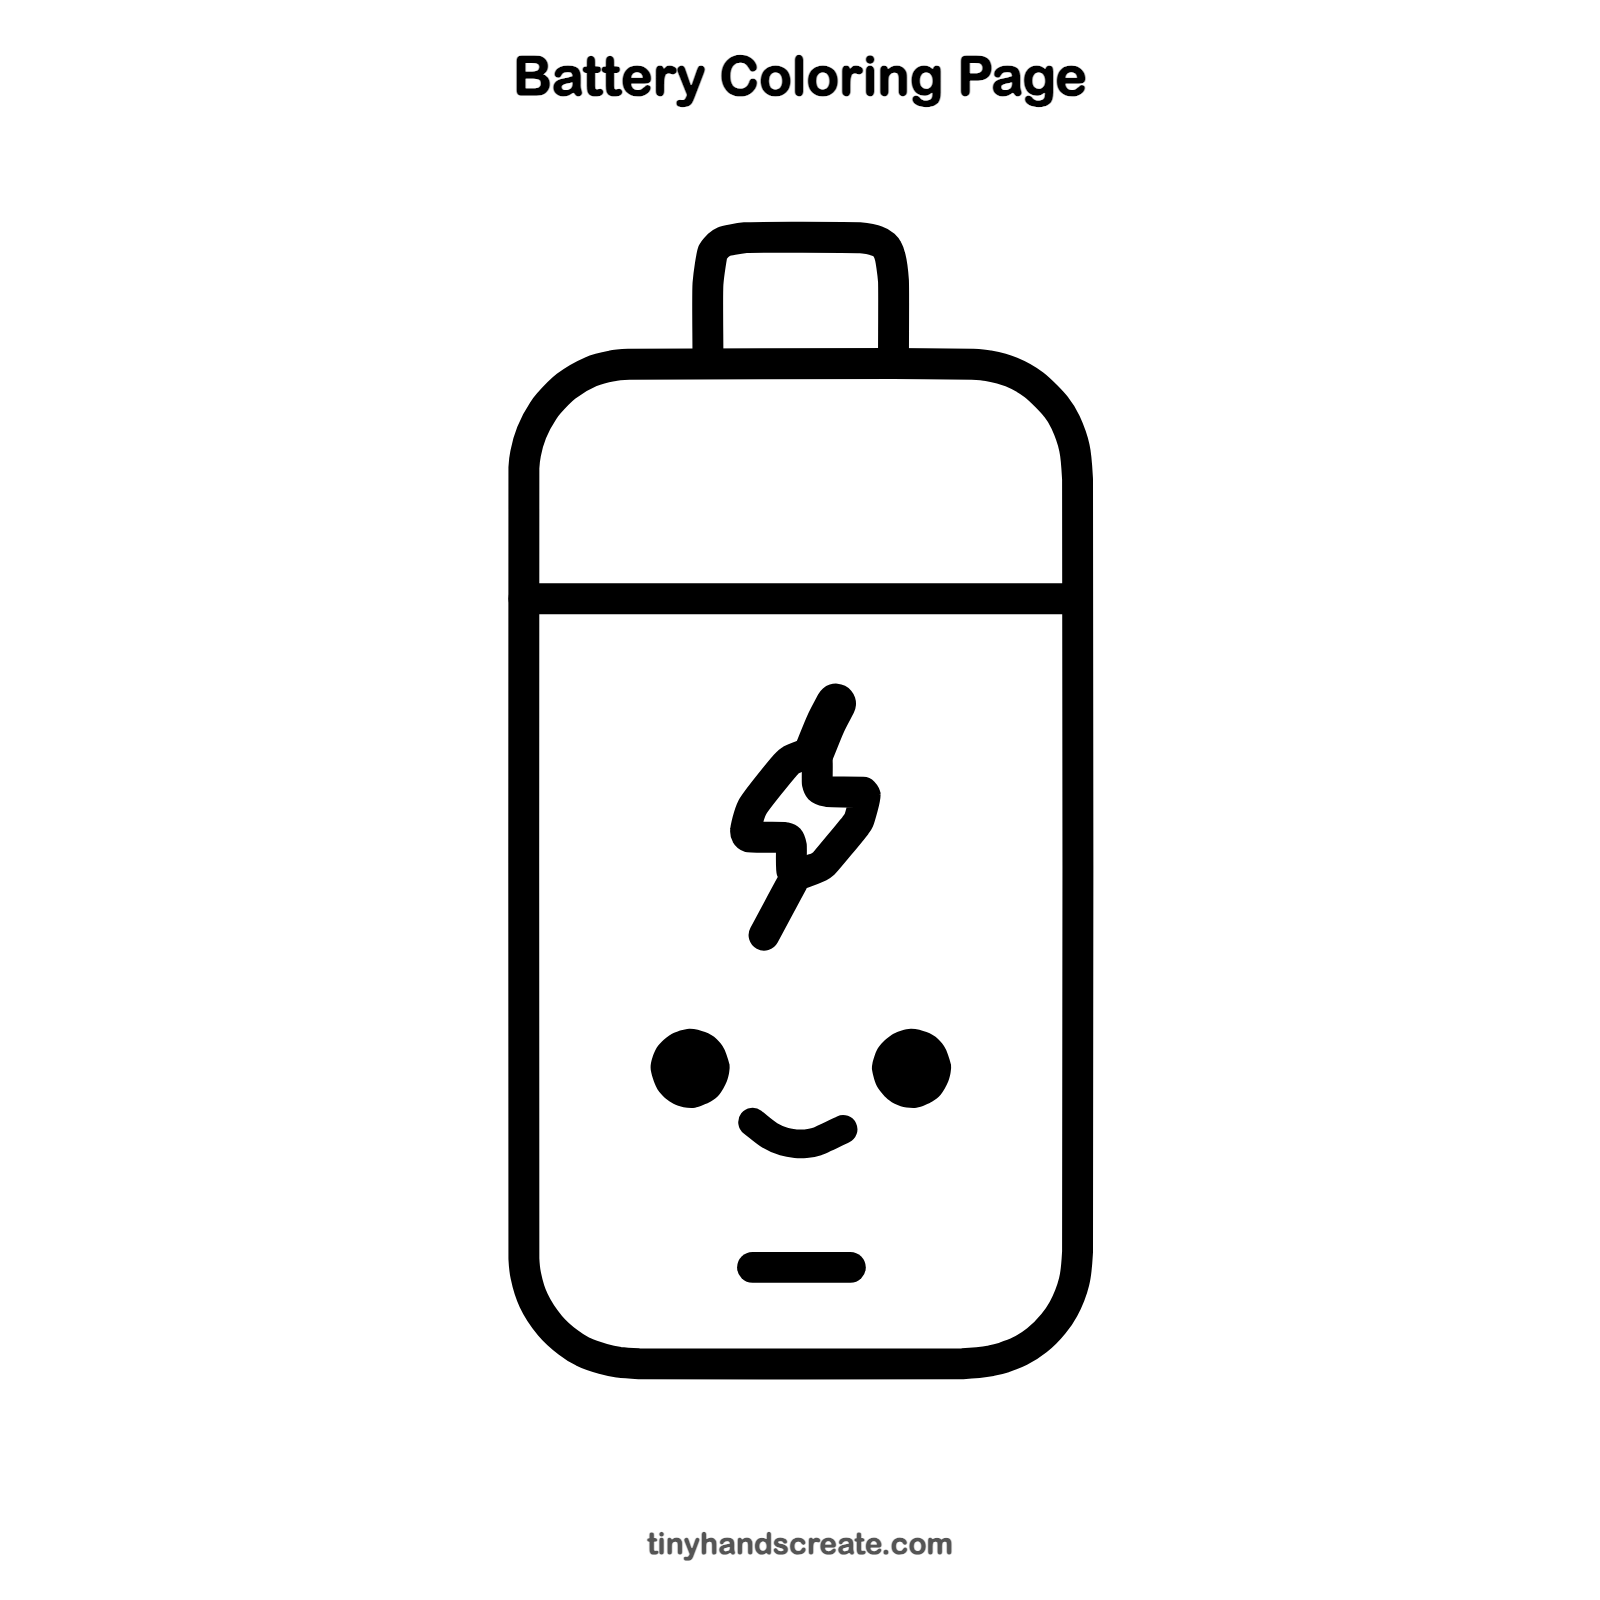
How to color your battery drawing
Try green for the body and yellow for the bolt to show it is fully charged. You can also color the top cap a different color, like gray, so it stands out.
Battery fun fact for kids
The first battery was made by the Italian scientist Alessandro Volta around the year 1800. It was a stack of metal discs separated by cloth soaked in salty water.
Questions about drawing a battery
What shapes do I need to draw a battery?
You need a tall rectangle with rounded corners, a small box for the cap, a straight line across the top, two dots for the eyes, and a zigzag for the lightning bolt.
How do I make my battery look cuter?
Give it a face with two round eyes and a little smile. Keeping the eyes the same size and the same height makes it look extra friendly.
How do I draw a lightning bolt?
Start at the top, draw a short slanted line down to the left, step to the right, then draw a slanted line down to a point. It looks like a Z that is leaning over.