How to Draw a Spooky Tree (Easy Step by Step)
A spooky tree is a friendly kind of scary, with bare arms stretched up to the sky and a wide-open mouth. It is built from just a few simple shapes: a curvy trunk, four bendy branches, a flat hill, two round dots, and an oval. It is a great drawing for Halloween or any time you want a silly shiver.
- Easy
- 10 minutes
- 6 steps
You need: paper, a pencil, an eraser, and crayons or markers for coloring.
Start drawingIn this article (7 sections)
How to draw a spooky tree step by step
How to Draw a Spooky Tree · tinyhandscreate.com
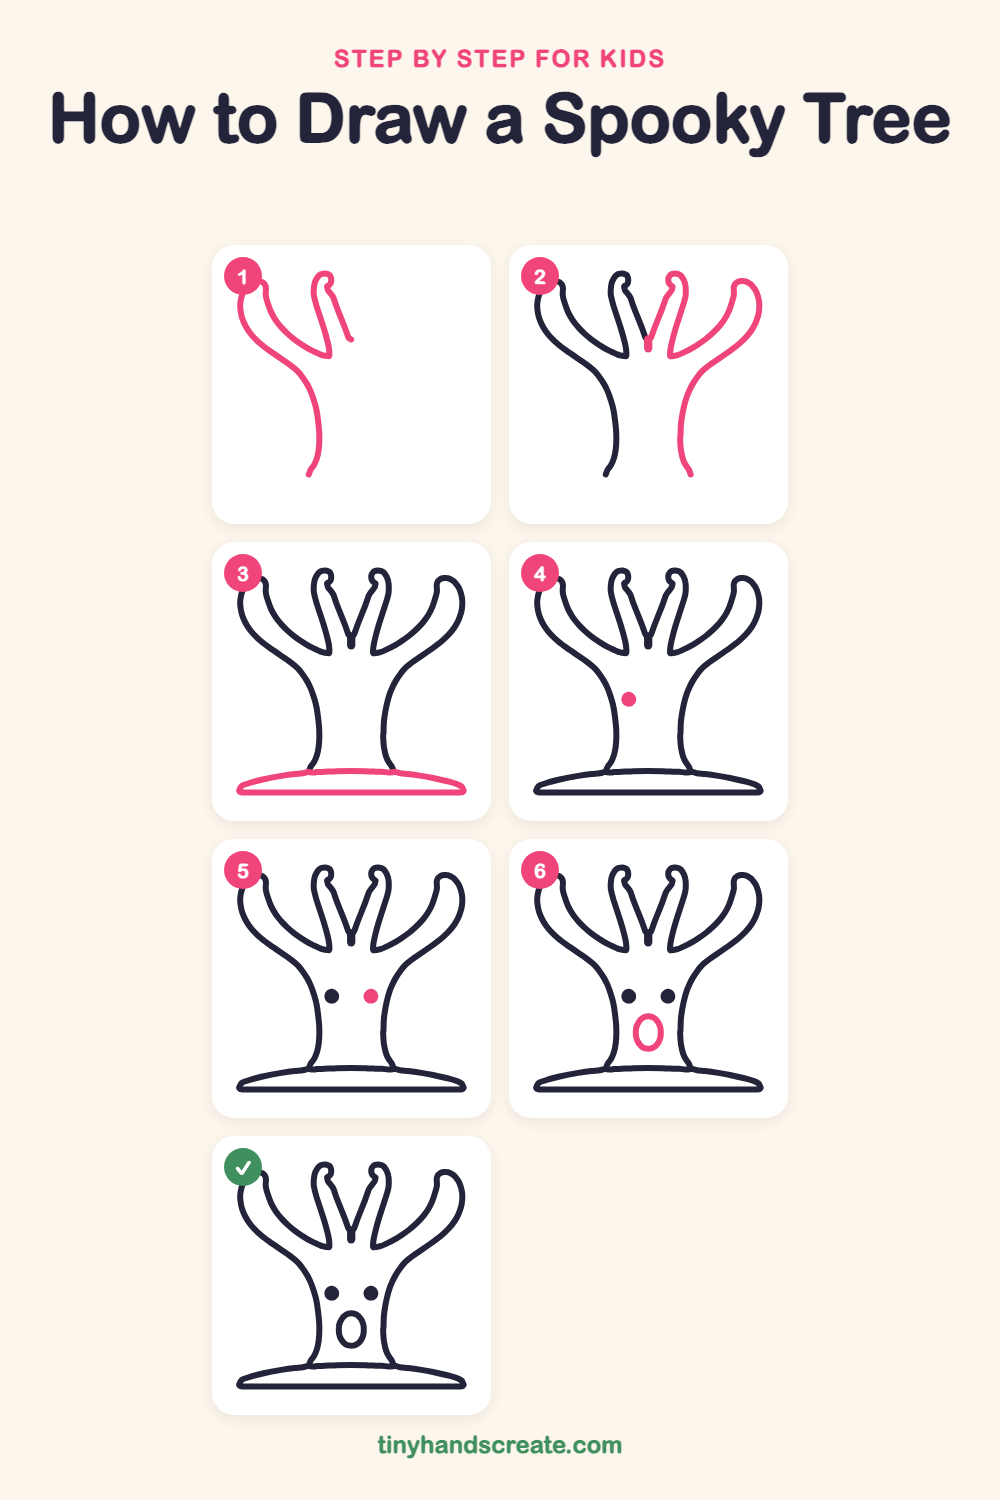
Step 1: Left side of the tree
Start with a curvy line that sweeps up from the bottom of the trunk and flares out into a big arm with a rounded tip. Then draw the first middle branch next to it, with a little curl at the top, and stop where the two middle branches will meet.
Step 2: Right side and branches
Draw the other side of the trunk the same way, curving up and out into a second big arm with a rounded tip. Finish the second middle branch with its own little curl so the two middle branches meet in a V.
Step 3: The ground
Draw a long, flat hill across the bottom, like a squashed oval cut off at the top. Make the trunk lines land on top of it.
Step 4: The left eye
Halfway down the trunk, on the left, draw a round dot for an eye and fill it in.
Step 5: The right eye
Draw another round dot on the right side of the trunk, at the same height as the first eye and about the same size.
Step 6: The spooky mouth
Under the eyes, in the middle, draw a tall oval for a surprised, spooky mouth. Make it a little taller than it is wide.
All done!
Go over your lines with a marker, then color it in.
Finished your spooky tree? Keep the pencils out and learn how to draw a ghost or how to draw a jack-o'-lantern next.
Tips for drawing a spooky tree
- The trunk is narrow in the middle and spreads wider at the top where the branches begin. Draw the left side first, then copy the same curve on the right so both sides look alike.
- Branches are the trickiest part. Think of them as long, bendy fingers, and give the two middle ones a small curl at the tip.
- Draw the two eyes at the same height and the same size, then put the oval mouth right in the middle below them. A little space between each part makes the face look clearer.
Free spooky tree coloring page
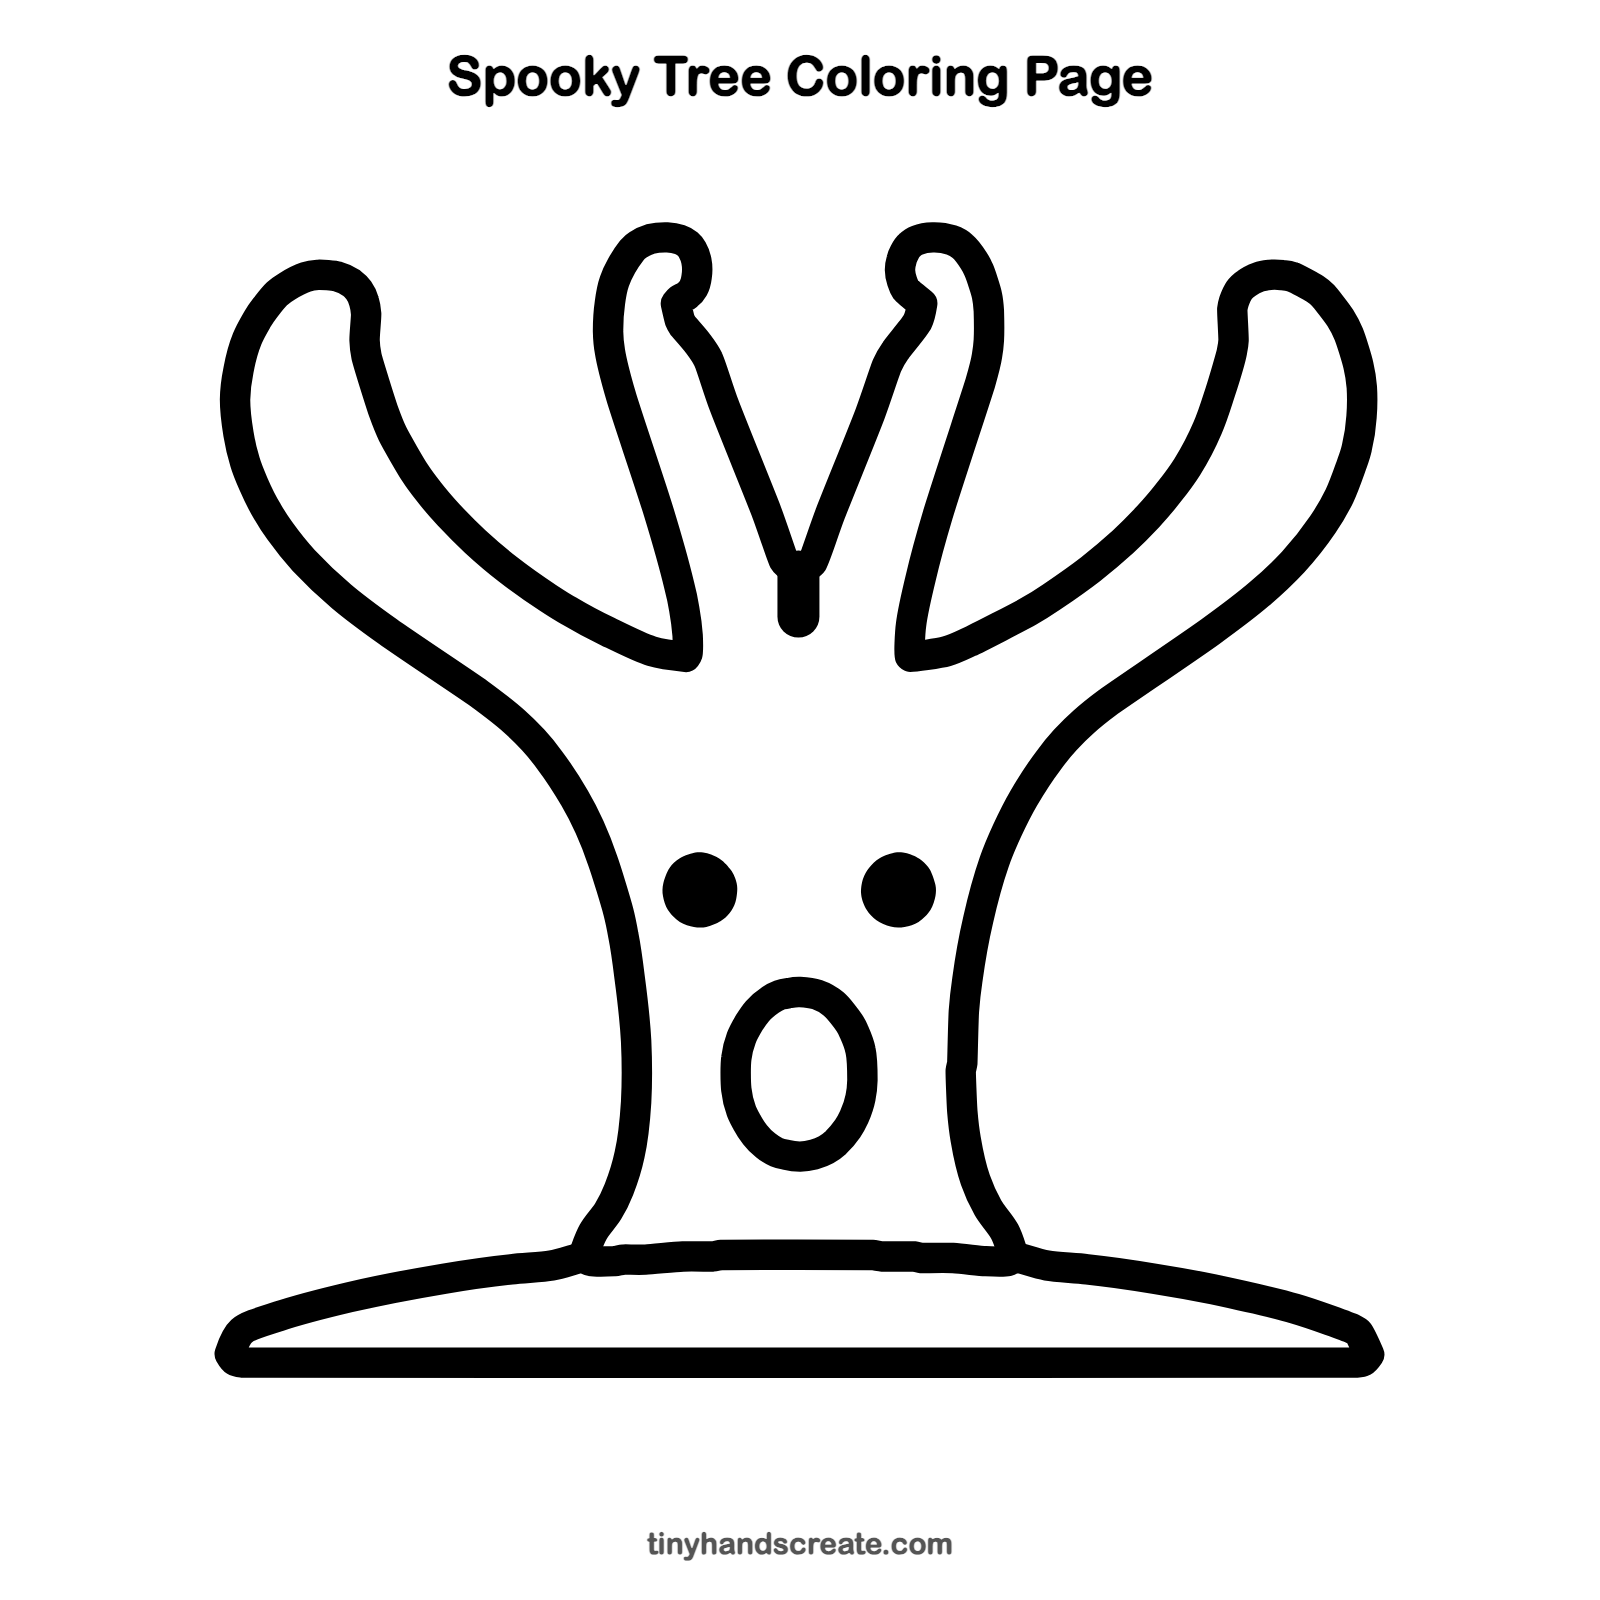
Want to go straight to coloring? Open this spooky tree coloring page at full size and print it. It is the same drawing you just learned, with clean lines ready for crayons or markers.
How to color your spooky tree drawing
Try dark purple or brown for the trunk, a swampy green for the ground, and a night-sky blue or orange sunset behind it. For a creative twist, add a glowing yellow moon, or color the mouth and eyes in bright orange like a jack-o'-lantern.
Spooky tree fun fact for kids
Many trees, such as maples and oaks, drop all their leaves in the fall. Losing the leaves helps the tree save energy and water during the cold winter, and it grows new leaves in spring.
Questions about drawing a spooky tree
What shapes do I need to draw a spooky tree?
You need a curvy trunk, four bendy branches (two big arms and two middle branches with curled tips), a flat hill for the ground, two round dots for eyes, and an oval for the mouth.
How do I make my spooky tree look scarier?
Make the mouth a taller oval and fill the eyes in darkly. Dark purple and black colors help too.
How do I make my spooky tree look friendly instead?
Draw the mouth a little rounder and smaller, and color the tree in bright, cheerful colors like green and sunny yellow.