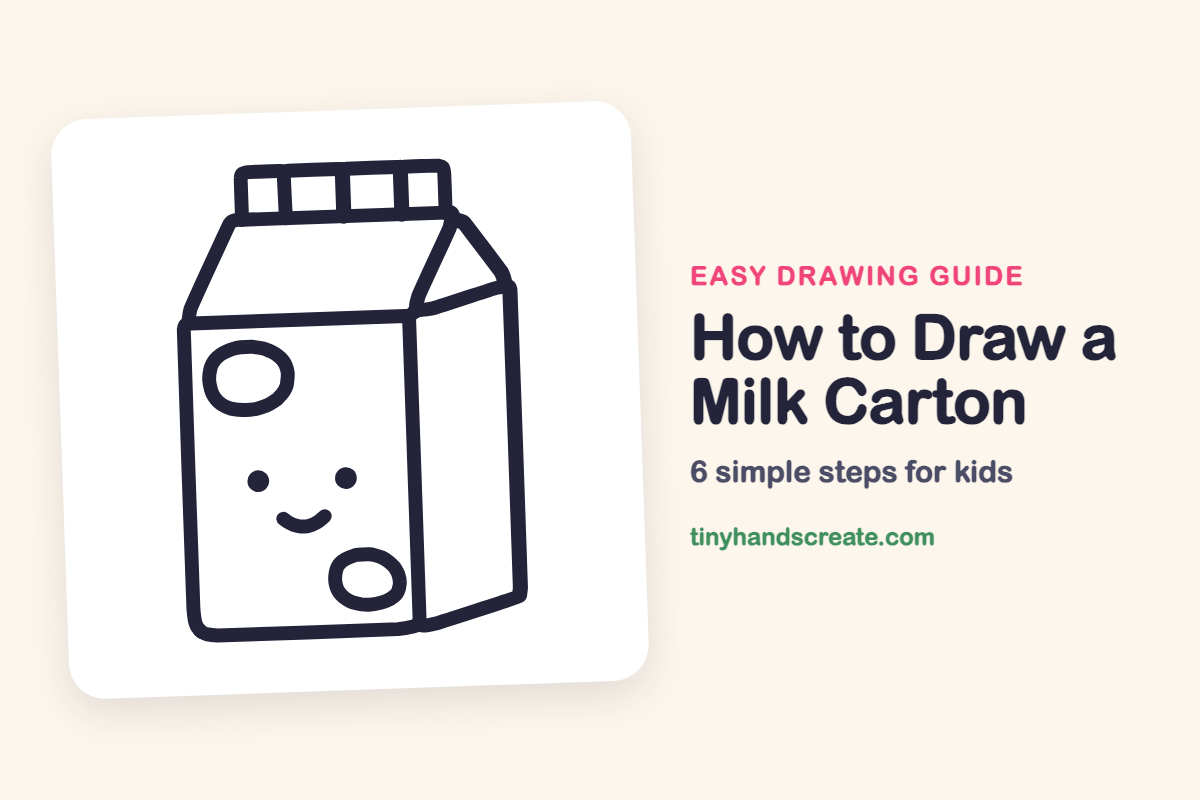
How to Draw a Milk Carton (Easy Step by Step)
A smiling milk carton is a great first drawing because it is made almost entirely of straight lines and boxes. You will build it from a tall front, a slanted side and roof, and a small cap, then add spots and a face to give it personality.
- Easy
- 10 minutes
- 6 steps
You need: paper, a pencil, an eraser, and crayons or markers for coloring.
Start drawingIn this article (7 sections)
How to draw a milk carton step by step
How to Draw a Milk Carton · tinyhandscreate.com
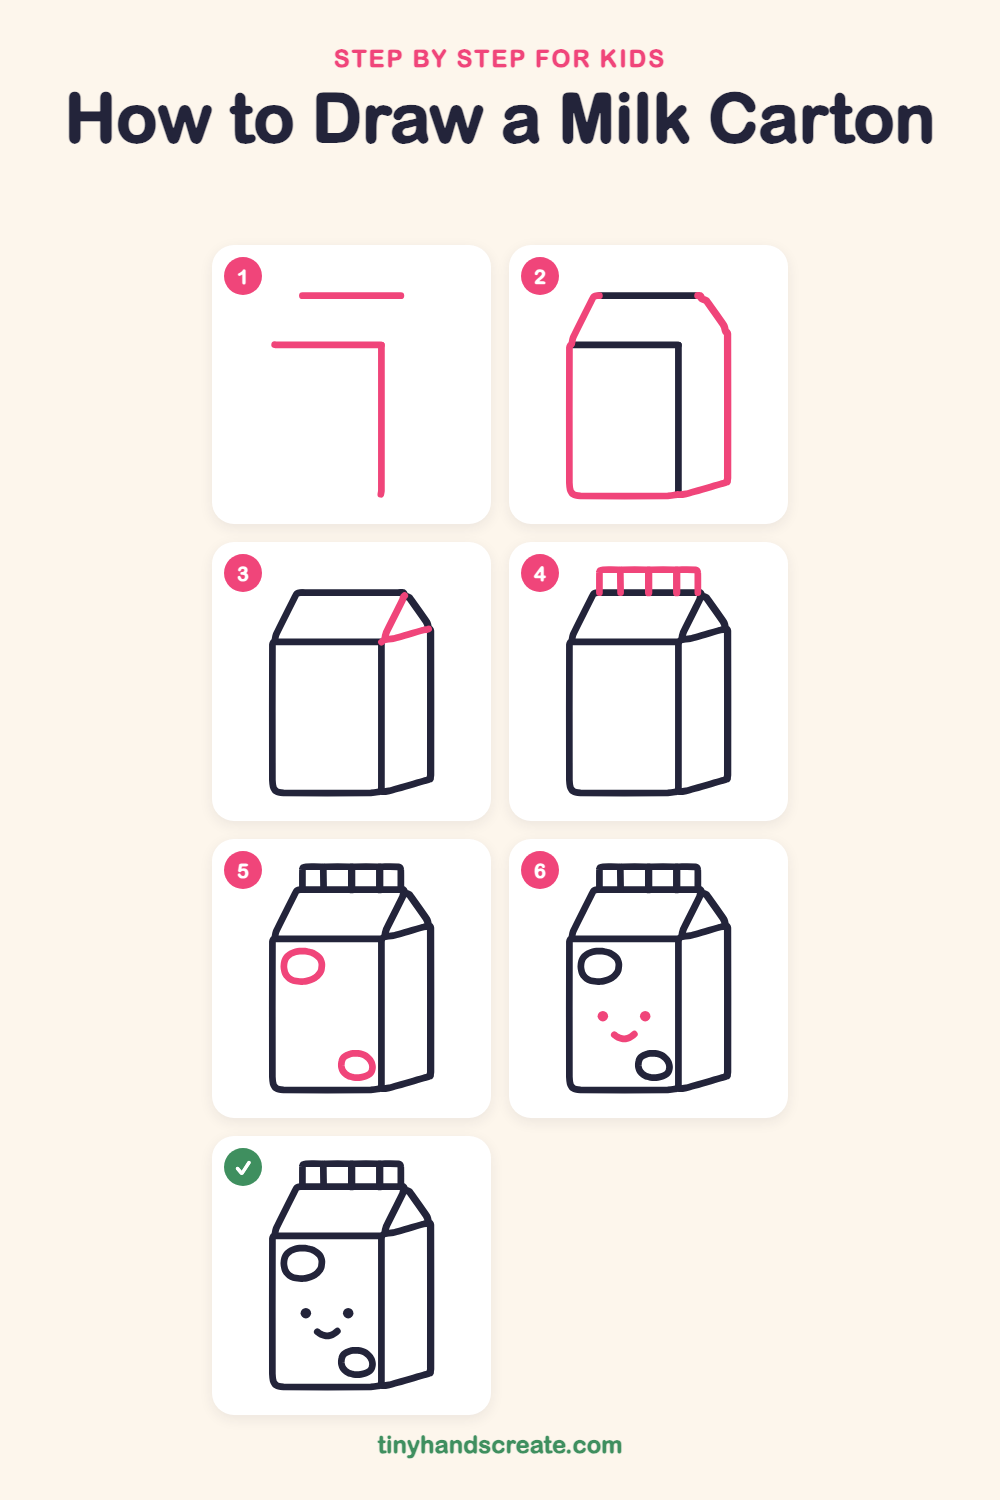
Step 1: Top line and corner
Draw a short flat line near the top of the page. Below it, draw a longer flat line, then a straight line going down from its right end, like the corner of a box.
Step 2: Left side and outer edge
From the left end of the long flat line, draw a straight line down, curve around the bottom corner, and run the bottom line across to the right with a small tilt up. Then draw a slanted line from the left end up to the short top line, and a tall line down the right side with a slanted line leading into it from the top.
Step 3: The side fold
At the top of the right side, draw a short slanted line from the roof's right end down to the front's top-right corner. Then draw a short line from that corner out to the right edge to close the fold.
Step 4: The spout cap
On top of the roof, draw a wide, short box with square corners. Then draw three short lines straight down inside it to make four little sections.
Step 5: The milk spots
Draw one oval near the top left of the front. Add a second, smaller oval near the bottom right, like two splashes of milk.
Step 6: The happy face
Draw two small round dots for eyes in the middle of the front. Underneath, draw a little curved smile, like a bowl with tiny up-turned ends.
All done!
Go over your lines with a marker, then color it in.
Finished your milk carton? Keep the pencils out and learn how to draw a plum or how to draw a lime next.
Tips for drawing a milk carton
- Keep the front's edges straight up and down. The roof and side both connect to it, so a wobbly front makes everything else harder.
- The side is the trickiest part. Make its bottom edge tilt up to the right, and keep its tall edge straight up and down like the front's edges.
- Draw the cap as a wide, short box and space the three lines evenly so the four sections match.
- Keep the two eyes the same size and at the same height. Then add the smile last, centered between them.
Free milk carton coloring page
Want to go straight to coloring? Open this milk carton coloring page at full size and print it. It is the same drawing you just learned, with clean lines ready for crayons or markers.
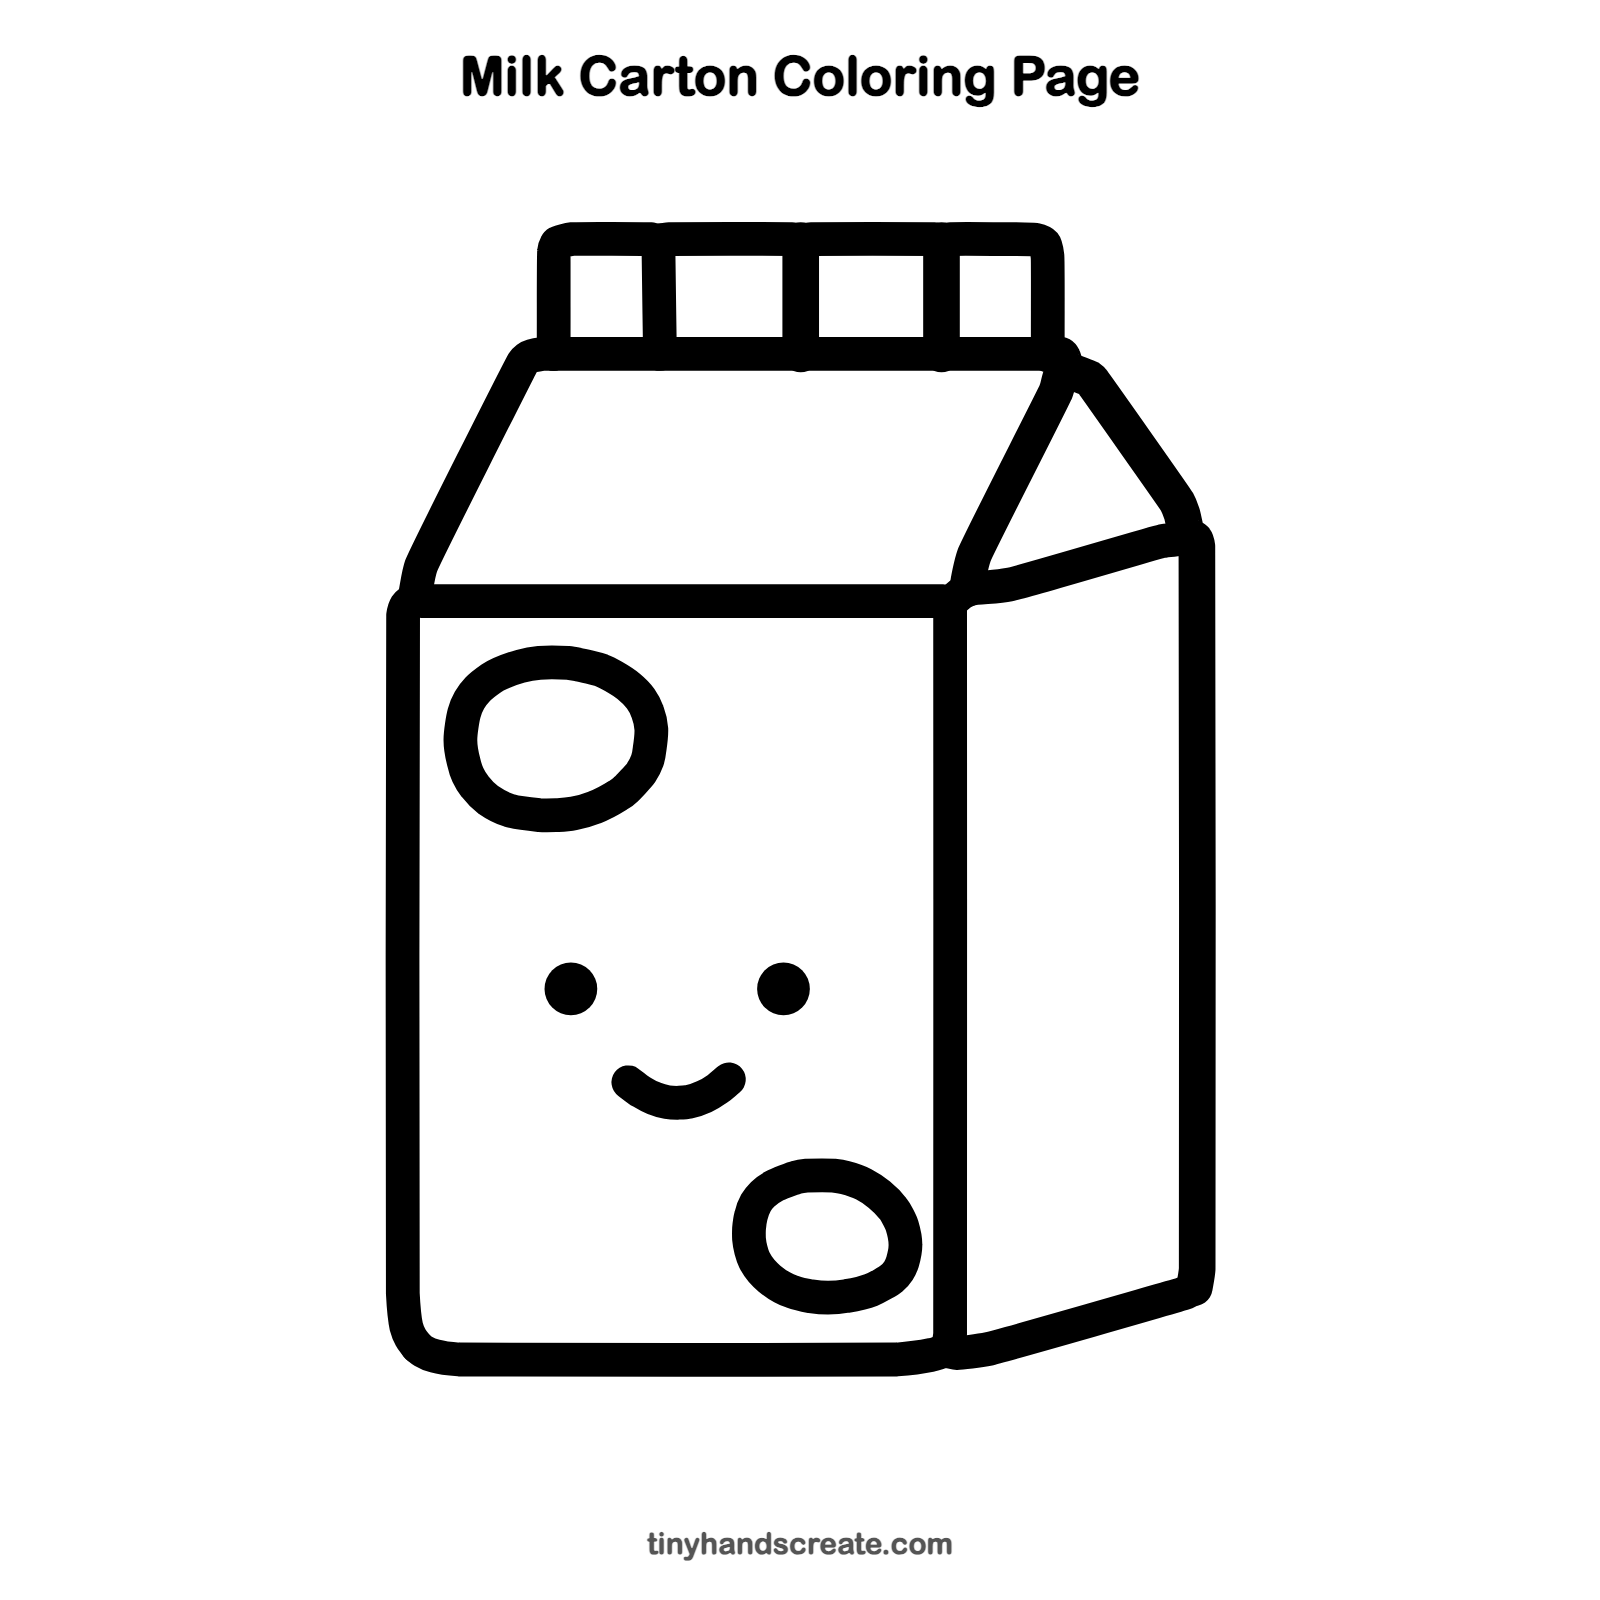
How to color your milk carton drawing
Try light blue and white for a classic milk carton, with a bright red cap. For a creative twist, turn it into strawberry or chocolate milk by coloring the carton pink or brown.
Milk carton fun fact for kids
Cartons with a pointed top are called gable-top cartons, because the top looks like the gable, the triangle-shaped end, of a house roof.
Questions about drawing a milk carton
What shapes do I need to draw a milk carton?
You need a tall front, a slanted side, slanted lines for the roof, and a small box for the cap. Two ovals, two dots and a smile finish it.
How do I make my milk carton look cuter?
Give it two small round eyes and a little smile in the middle of the front. The two milk spots add extra charm.
How do I make the carton look 3D?
Draw a second, narrower panel on the right side of the front and tilt its bottom edge upward. Keep the roof lines leaning inward so it looks like a box.