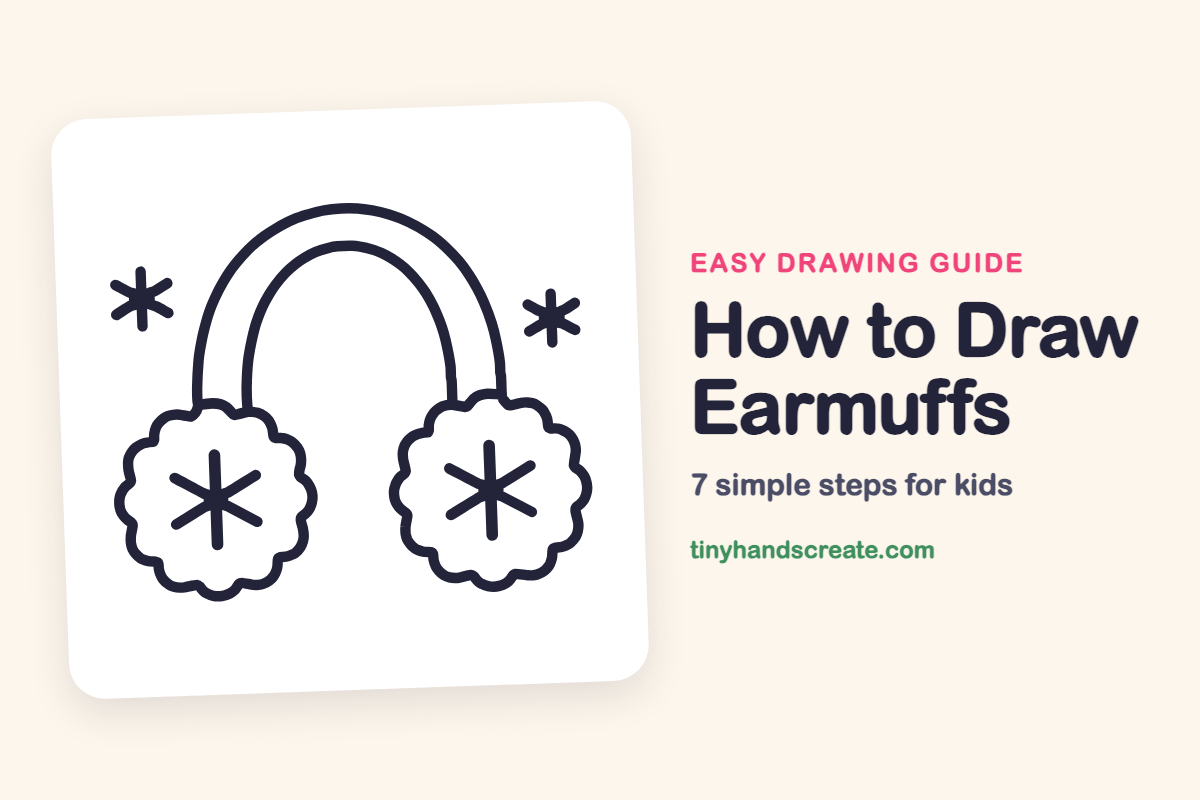
How to Draw Earmuffs (Easy Step by Step)
Earmuffs are a cozy winter drawing built from just a few easy shapes. You will draw a double arch for the headband and two round, bumpy cushions. A snowflake in each cushion and two small snowflakes in the air finish the picture.
- Easy
- 12 minutes
- 7 steps
You need: paper, a pencil, an eraser, and crayons or markers for coloring.
Start drawingIn this article (7 sections)
How to draw earmuffs step by step
How to Draw Earmuffs · tinyhandscreate.com
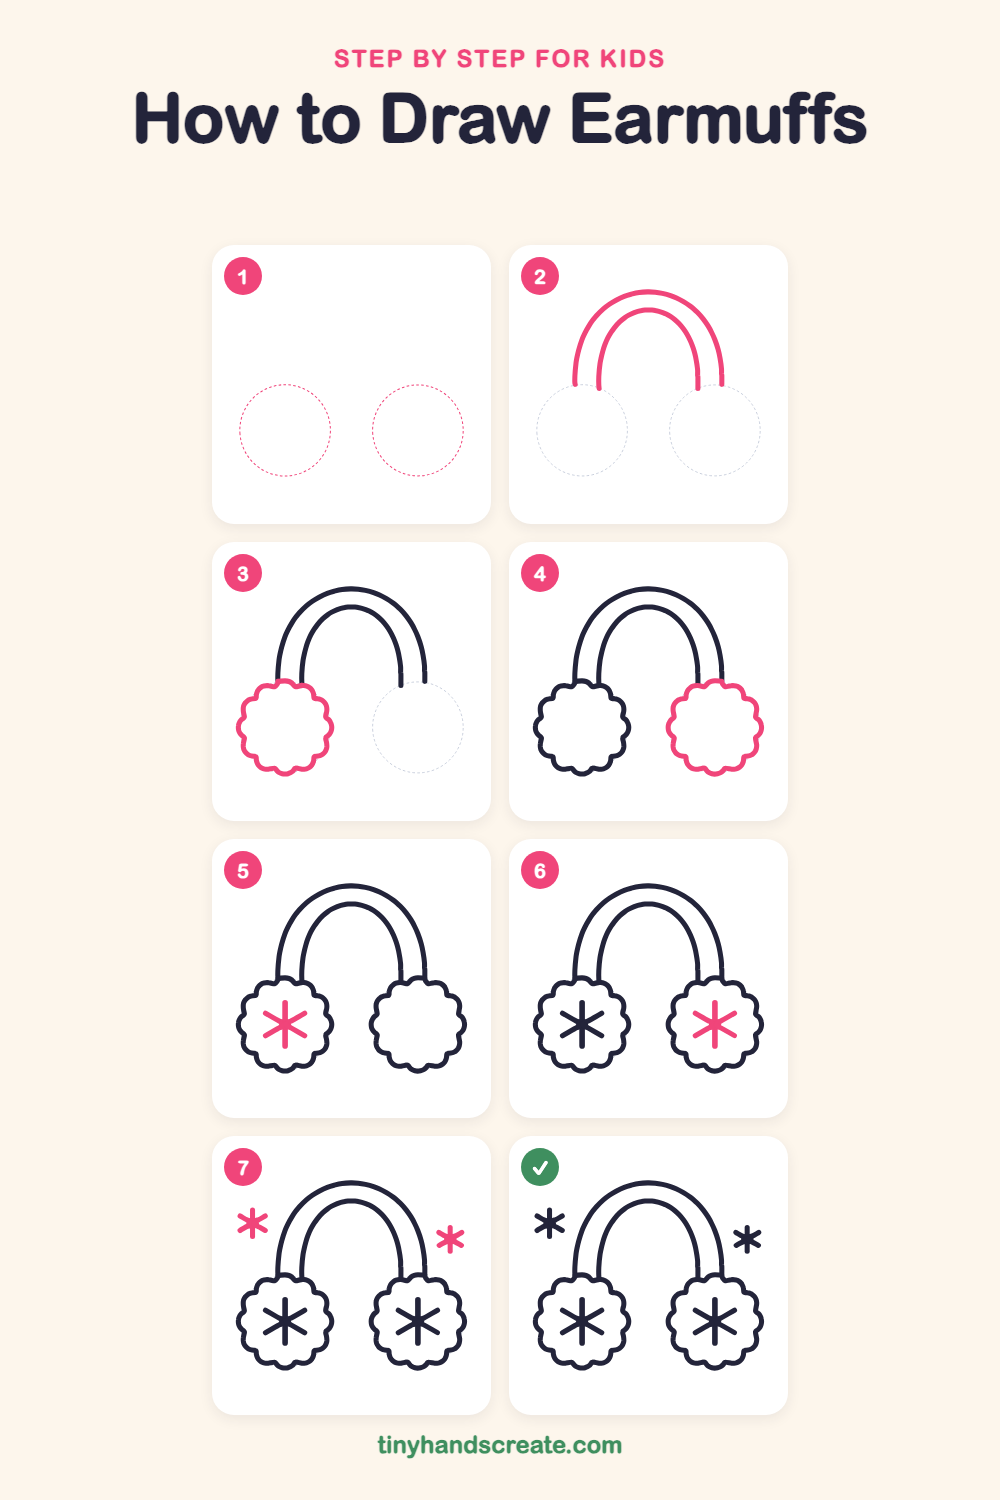
Step 1: Guide shapes
Lightly sketch these 2 ovals. They only show where the big parts go, so press softly. You will erase them at the end.
Step 2: The headband arch
Draw a big upside-down U shape, like a rainbow. Then draw a smaller upside-down U inside it, so the two lines make a thick band with the ends hanging down side by side.
Step 3: The left ear cushion
Below the left end of the band, draw a round, bumpy outline like a cloud or a flower. Start at the bottom of the band and go all the way around with little scallops so it looks soft and fluffy.
Step 4: The right ear cushion
Below the right end of the band, draw another round, bumpy outline the same size as the first one. Start at the bottom of the band and add the same little scallops so the two cushions match.
Step 5: Left cushion snowflake
In the middle of the left cushion, draw one straight line going up and down. Cross it with two slanted lines to make a star with six arms.
Step 6: Right cushion snowflake
Do the same in the right cushion: one line going up and down, then two slanted lines crossing it in the middle. Try to make the arms about the same length.
Step 7: Two small snowflakes
Draw two small snowflakes floating in the air, one beside each side of the band. Make each one with three short lines that cross in the middle.
All done!
Erase the guide shapes, go over your lines, then color it in.
Finished your earmuffs? Keep the pencils out and learn how to draw a snowman or how to draw Santa Claus next.
Tips for drawing earmuffs
- Draw the outer arch first, then the inner arch, and keep the space between them about the same all the way around so the band looks even.
- For a fluffy cushion, go around in a circle with small round bumps that touch each other. Go slowly and make each bump about the same size.
- Make a snowflake by drawing one line up and down, then two slanted lines that cross it in the middle. Try to make all the arms about the same length.
Free earmuffs coloring page
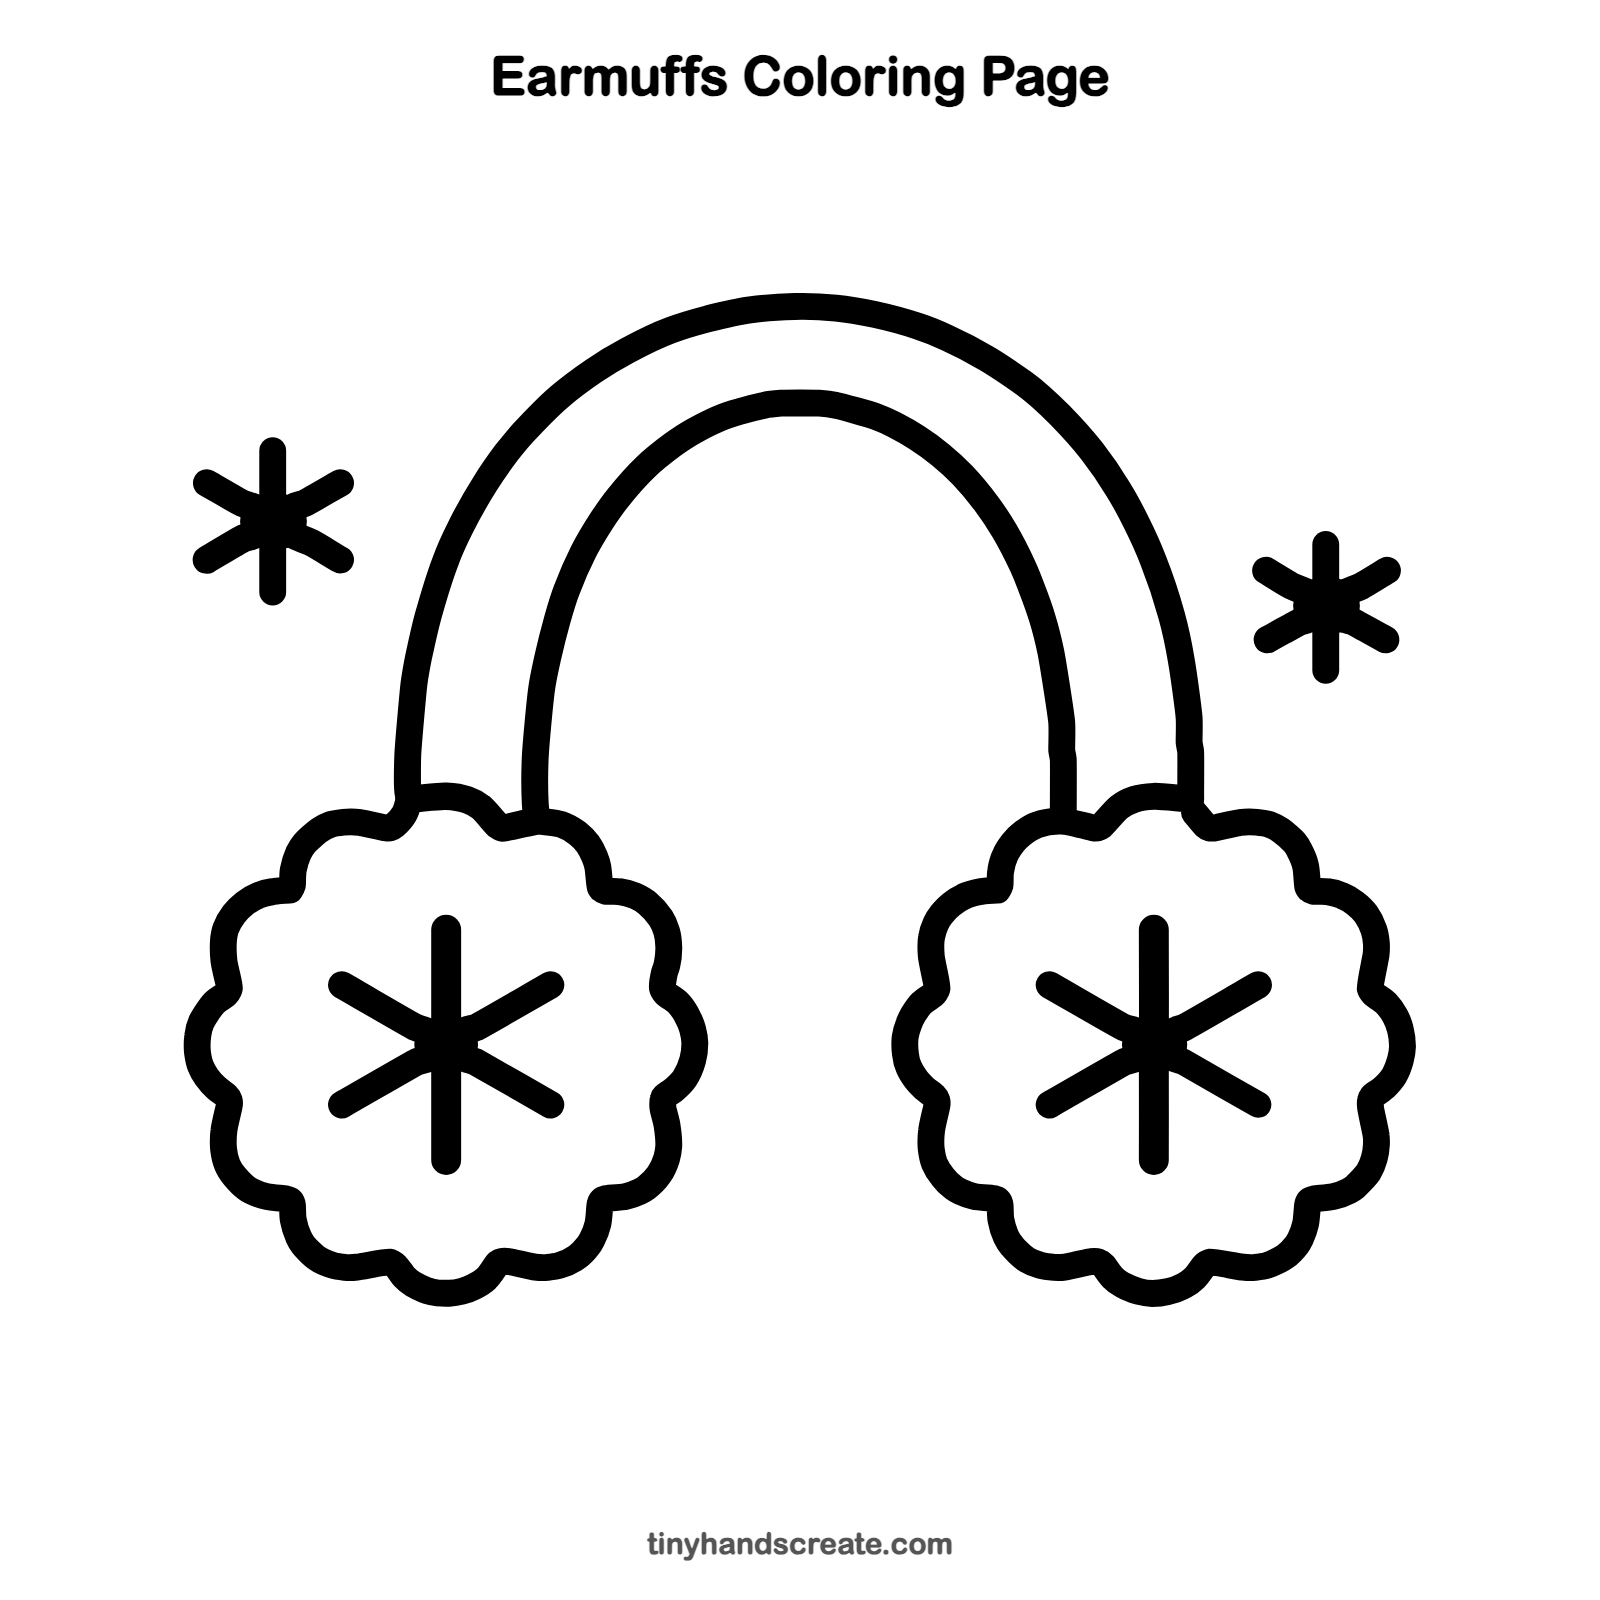
Want to go straight to coloring? Open this earmuffs coloring page at full size and print it. It is the same drawing you just learned, with clean lines ready for crayons or markers.
How to color your earmuffs drawing
Try bright red or pink cushions with a blue headband, and light blue snowflakes. For a fun twist, color each cushion in a different pattern, like stripes on one and polka dots on the other.
Earmuffs fun fact for kids
Chester Greenwood of Maine received a patent for earmuffs in 1877. Maine still celebrates Chester Greenwood Day every December.
Questions about drawing earmuffs
What shapes do I need to draw earmuffs?
You need an upside-down U (drawn twice) for the headband and two round shapes with bumpy edges for the cushions. The snowflakes are just crossing lines.
How do I make my earmuffs look fluffier?
Add more small bumps around the edge of each cushion and make them round and soft instead of pointy.
How do I make both earmuff cushions the same size?
Draw the first cushion, then look at how wide it is and draw the second one to match. Make sure each cushion starts right under an end of the band.