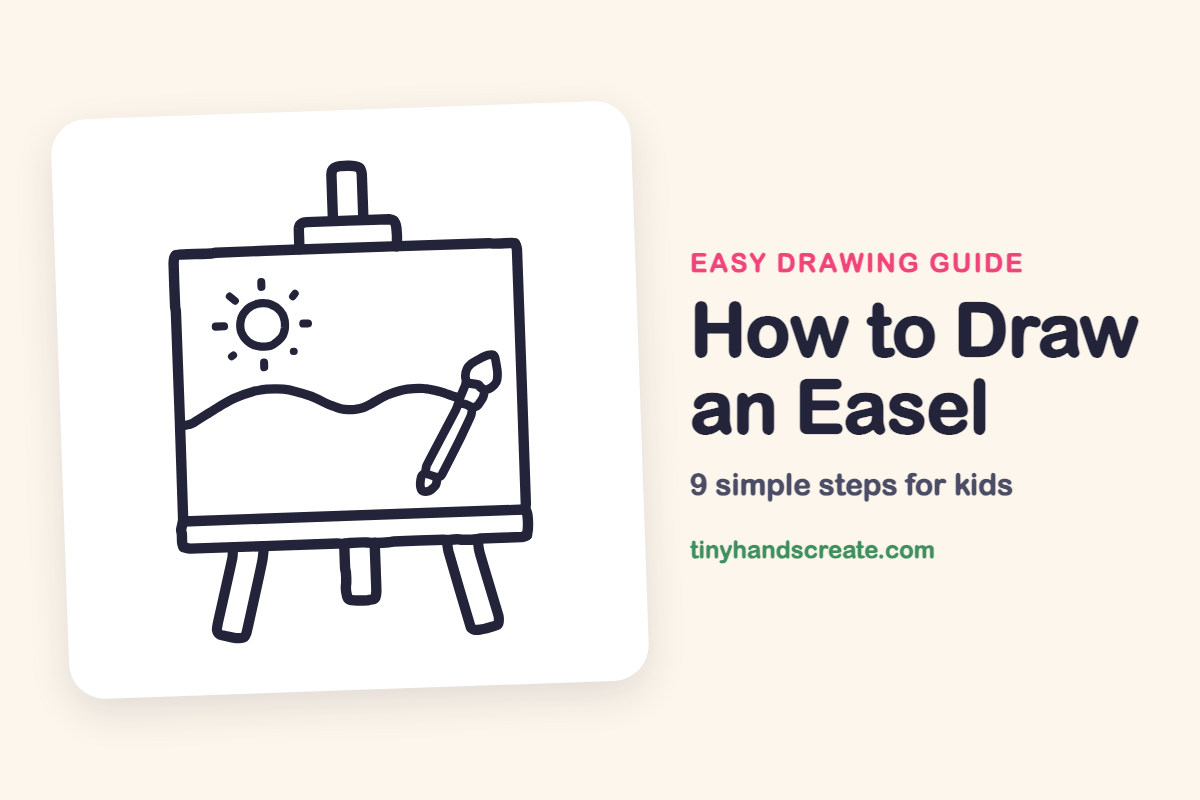
How to Draw an Easel (Easy Step by Step)
You'll learn how to easily draw an easel and a simple art scene using basic shapes like rectangles, circles, and wavy lines. This step-by-step guide helps you create a tiny art studio on one page.
- Draw an easel primarily using rectangles.
- Add a sun to your scene with a simple circle and rays.
- Create a hill using a wavy line.
- Include a tilted paintbrush to complete your art studio drawing.
This post contains affiliate links. As an Amazon Associate I earn from qualifying purchases.
An easel holding a painting is a fun one to draw because it is made almost entirely of rectangles. Add a circle for the sun with little rays, a wavy line for a hill and a tilted paintbrush, and you have a tiny art studio on one page.
- Easy
- 12 minutes
- 9 steps
You need: paper, a pencil, an eraser, and crayons or markers for coloring.
Start drawing


In this article (7 sections)
How to draw an easel step by step
How to Draw an Easel · tinyhandscreate.com
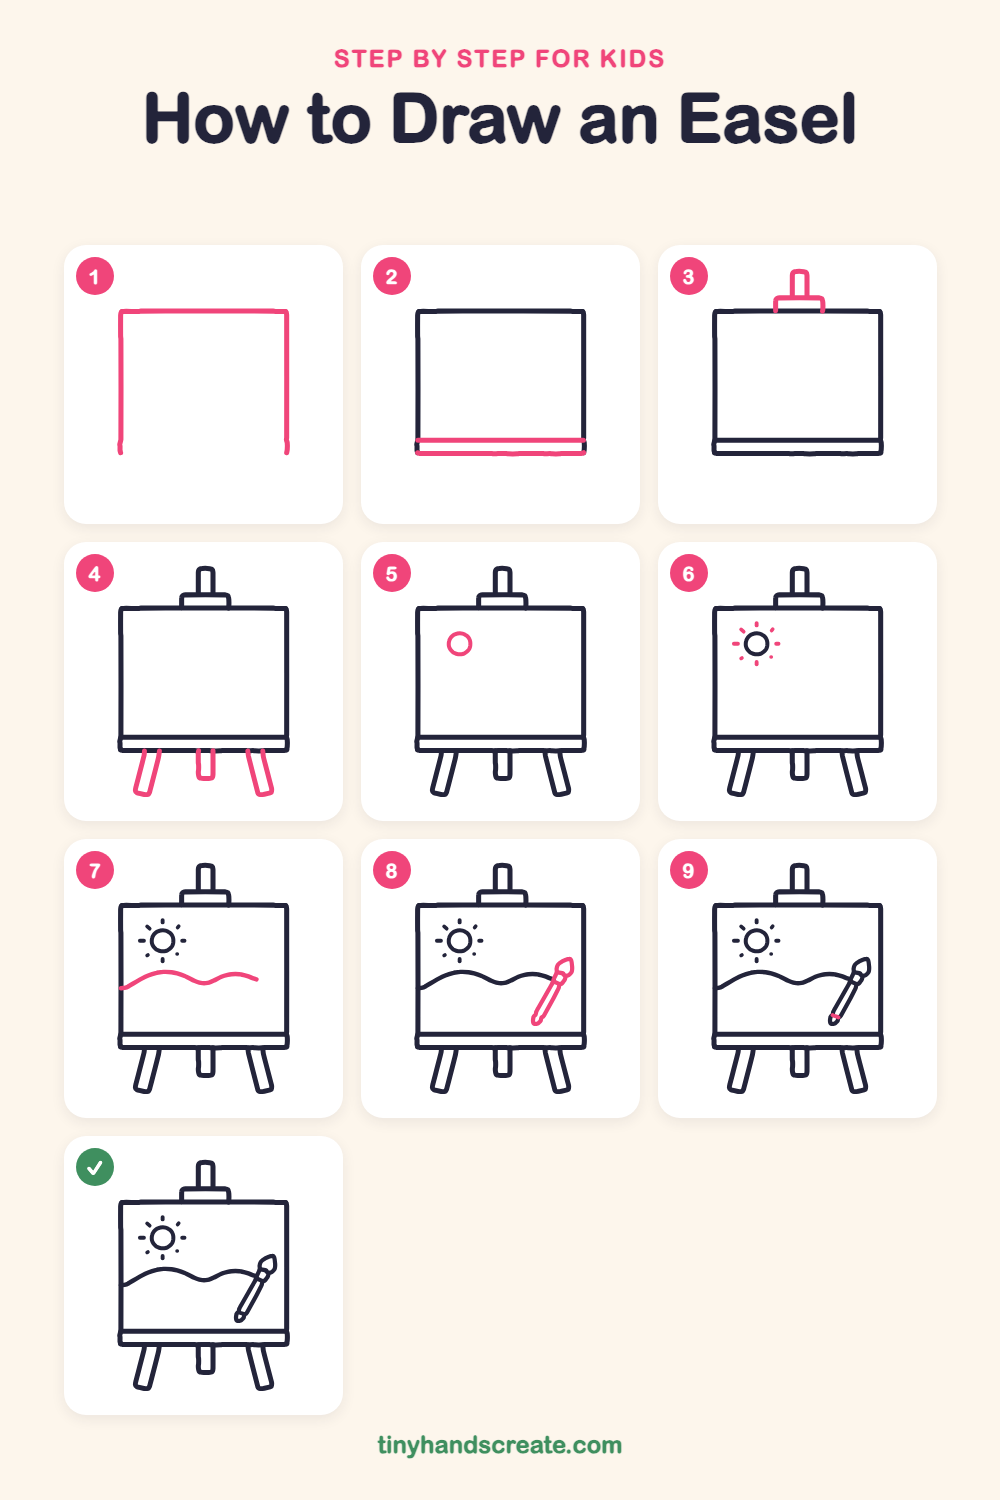
Step 1: Canvas top and sides
Draw a big rectangle that is wider than it is tall, but leave the bottom open. Start at the bottom left, go up, across the top and down the right side.
Step 2: The bottom shelf
Close the bottom of the canvas with a long, thin rectangle across the full width. Draw one straight line along its top and another along its bottom so it looks like a shelf.
Step 3: The top post
Above the canvas, draw a small wide rectangle sitting on the top edge. Then draw a narrow rectangle with rounded corners going up from it.
Step 4: The three legs
Under the shelf, draw a short, straight rectangle in the middle. Then draw a slanted rectangle on each side, leaning outward like a tent.
Step 5: The sun
In the top left of the canvas, draw a small circle. It is the round sun.
Step 6: Sun rays
Around the sun, draw little short dashes pointing outward, like a ring of rays. Try to leave the same gap between each one.
Step 7: The wavy hill
Start at the left edge of the canvas and draw a long, gentle wavy line with two soft bumps. Stop just before the right side.
Step 8: The paintbrush
In the lower right of the canvas, draw a long, thin tilted handle. Add a small pointed end at the bottom, a rounded bristle tip at the top and a little band just under the bristles.
Step 9: Brush handle detail
Draw one tiny short line across the handle near the bottom end to finish the paintbrush.
All done!
Go over your lines with a marker, then color it in.
Finished your easel? Keep the pencils out and learn how to draw a rocket or how to draw a shooting star next.
Tips for drawing an easel
- Draw the canvas first and take your time with its corners. Every other part lines up with it, so a neat rectangle makes the rest easier.
- Make the two side legs lean outward by the same amount so they match. Keep the middle leg short and straight.
- For the wavy hill, move your hand slowly and keep the line smooth. Try practicing a wiggle on scrap paper first.
Free easel coloring page
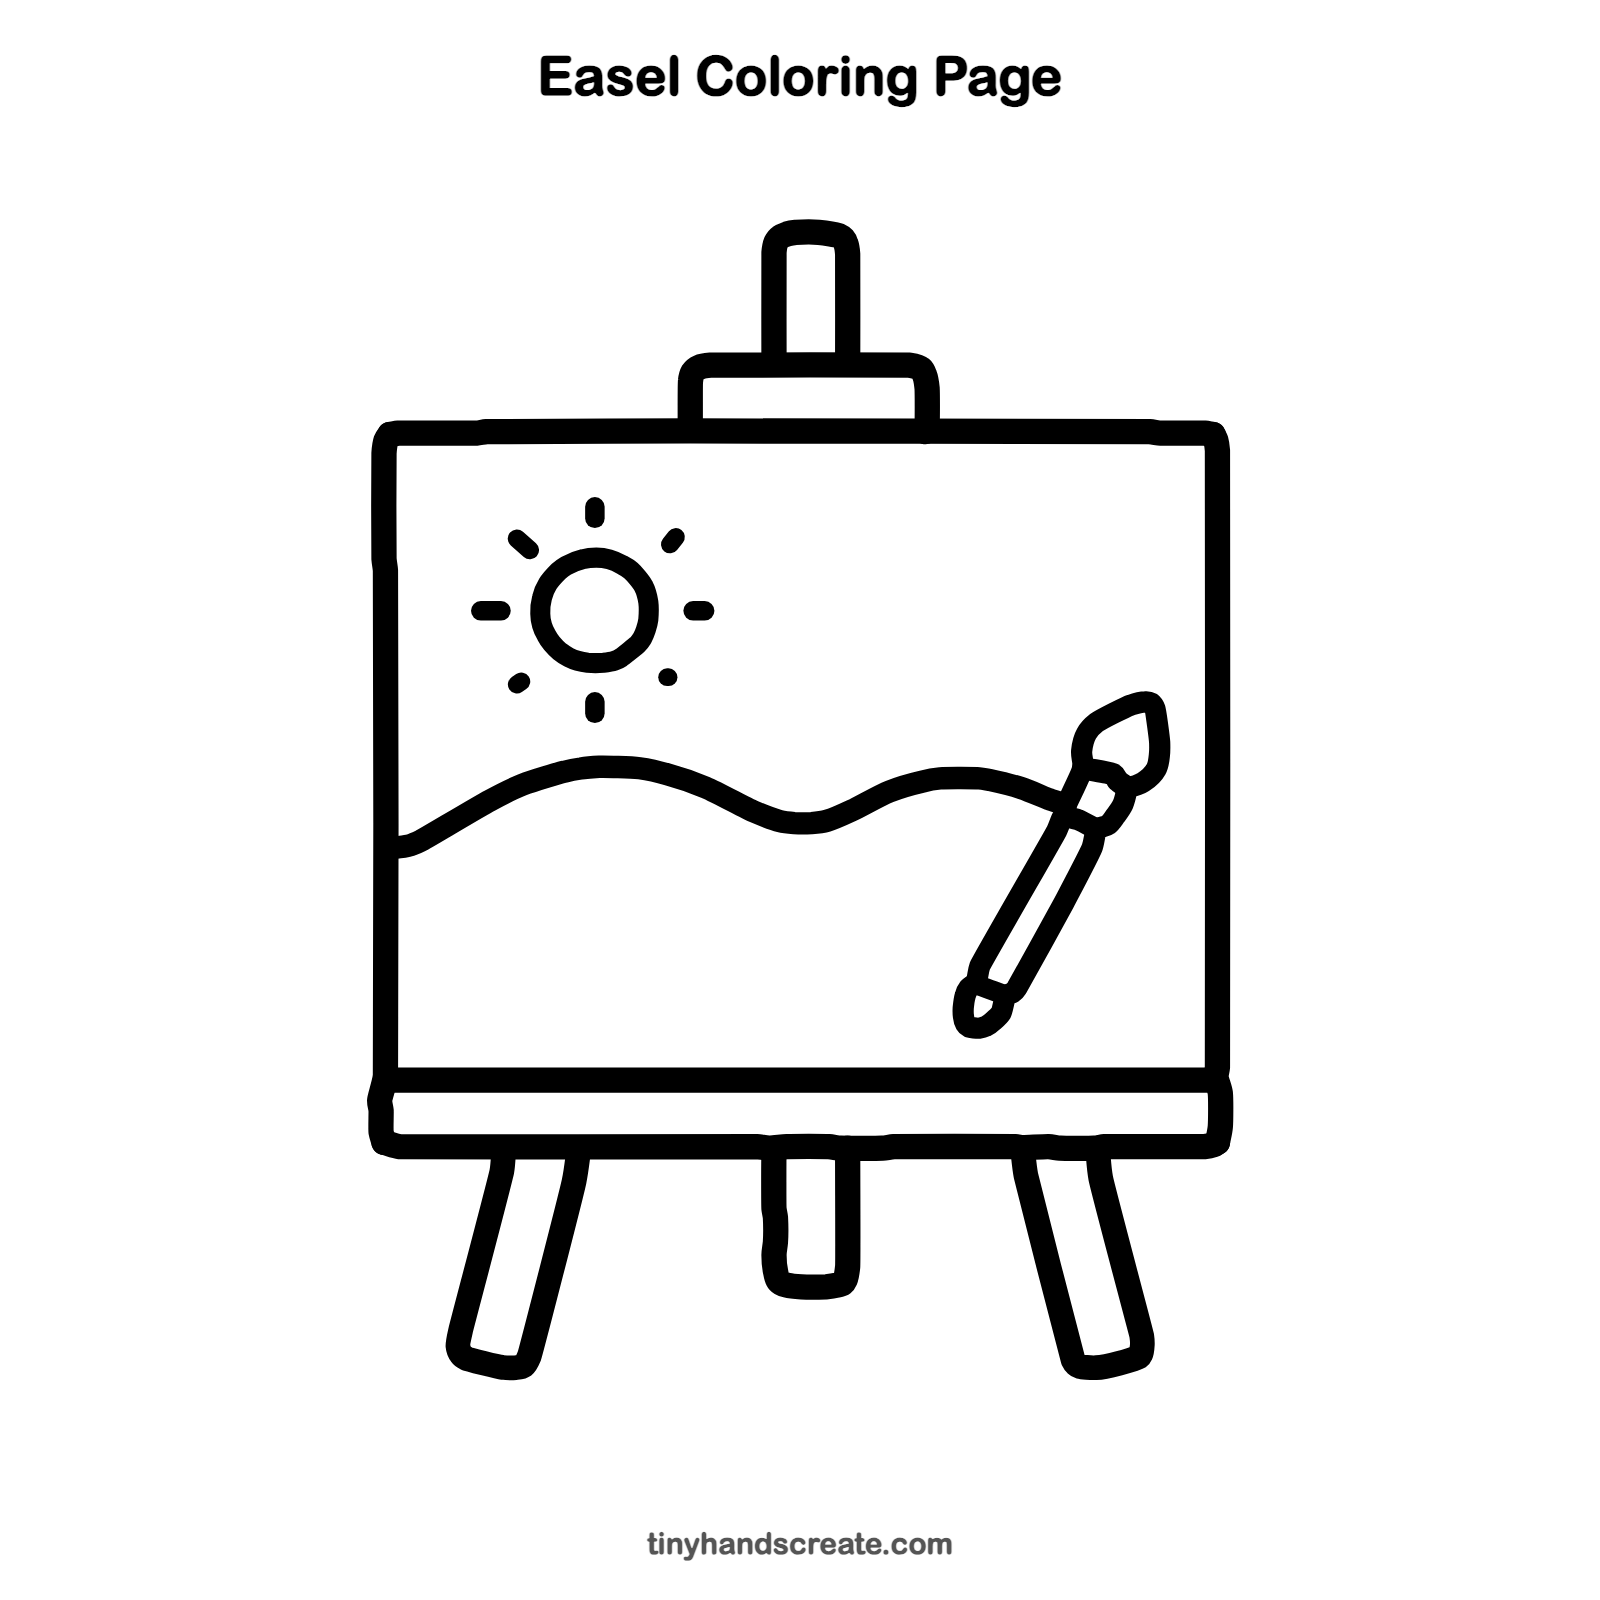
Want to go straight to coloring? Open this easel coloring page at full size and print it. It is the same drawing you just learned, with clean lines ready for crayons or markers.
How to color your easel drawing
Color the easel legs and post brown and the sun yellow. Try a green hill, and give the paintbrush a brown handle with colorful bristles.
Easel fun fact for kids
The word easel comes from the Dutch word ezel, which means donkey, because an easel carries the artist's canvas the way a donkey carries a load.
Questions about drawing an easel
What shapes do I need to draw an easel?
Mostly rectangles, plus one circle for the sun, short dashes for its rays and a wavy line for the hill. The paintbrush is a long thin handle with a rounded tip at the top.
How do I make the easel legs look right?
Draw a short, straight leg in the middle first. Then slant the other two legs outward, one on each side, so they look like a tent.
How do I keep the sun rays even?
Draw the rays one at a time and leave the same gap between each one. Try the top, bottom, left and right rays first, then fill in between.