How to Draw a Wrench (Easy Step by Step)
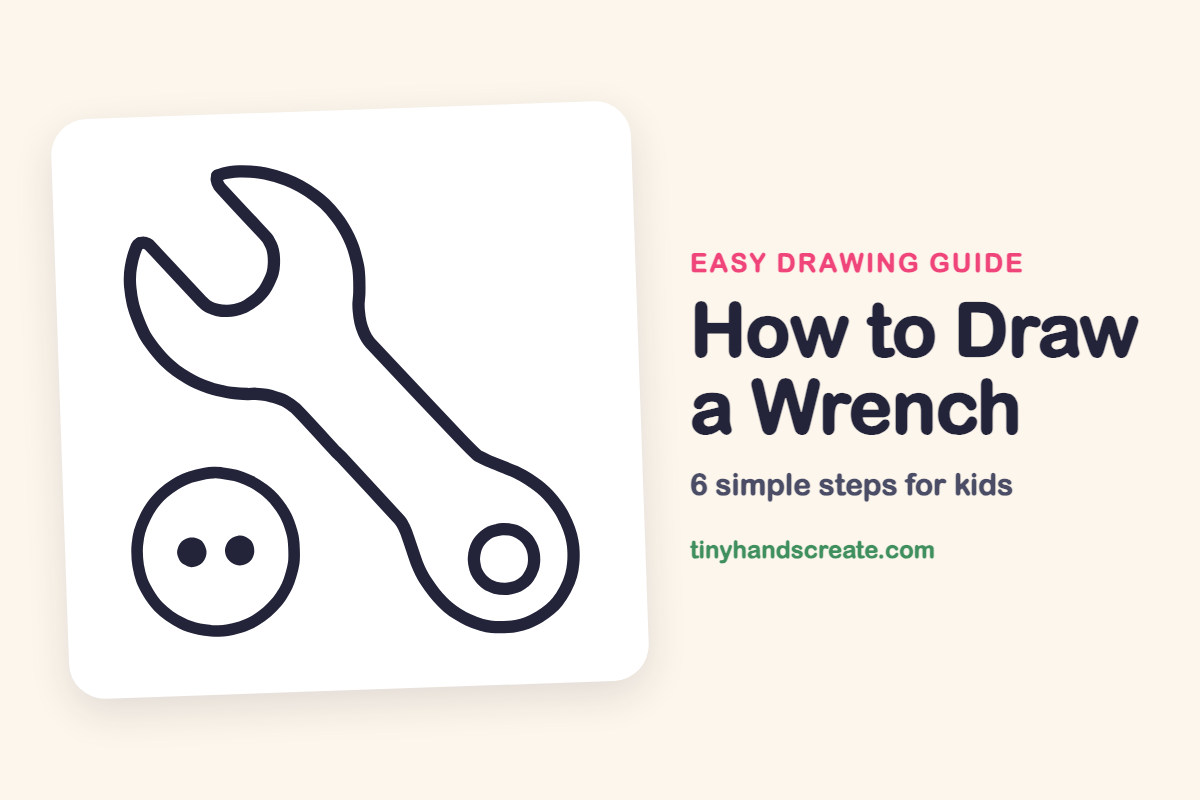
Learn to draw a wrench easily, breaking it down into a long slanted handle, a rounded head with a U-shaped mouth, and circles. You'll also discover how to add a friendly round buddy to your drawing.
- Break down the wrench into a slanted handle, rounded head, and U-shaped mouth.
- Incorporate circles to complete your wrench design.
- Add a friendly round buddy with two dot eyes to your drawing.
- Go slowly when drawing long straight edges and curves for better results.
This post contains affiliate links. As an Amazon Associate I earn from qualifying purchases.
A wrench is a great first tool to draw because it is built from a few easy parts: a long slanted handle, a rounded head with a U-shaped mouth, and a couple of circles. This guide adds a round buddy with two dot eyes in the corner to make the page feel friendly. Go slowly with the long straight edges and the curves will fall into place.
- Medium
- 15 minutes
- 6 steps
You need: paper, a pencil, an eraser, and crayons or markers for coloring.
Start drawing


In this article (7 sections)
How to draw a wrench step by step
How to Draw a Wrench · tinyhandscreate.com
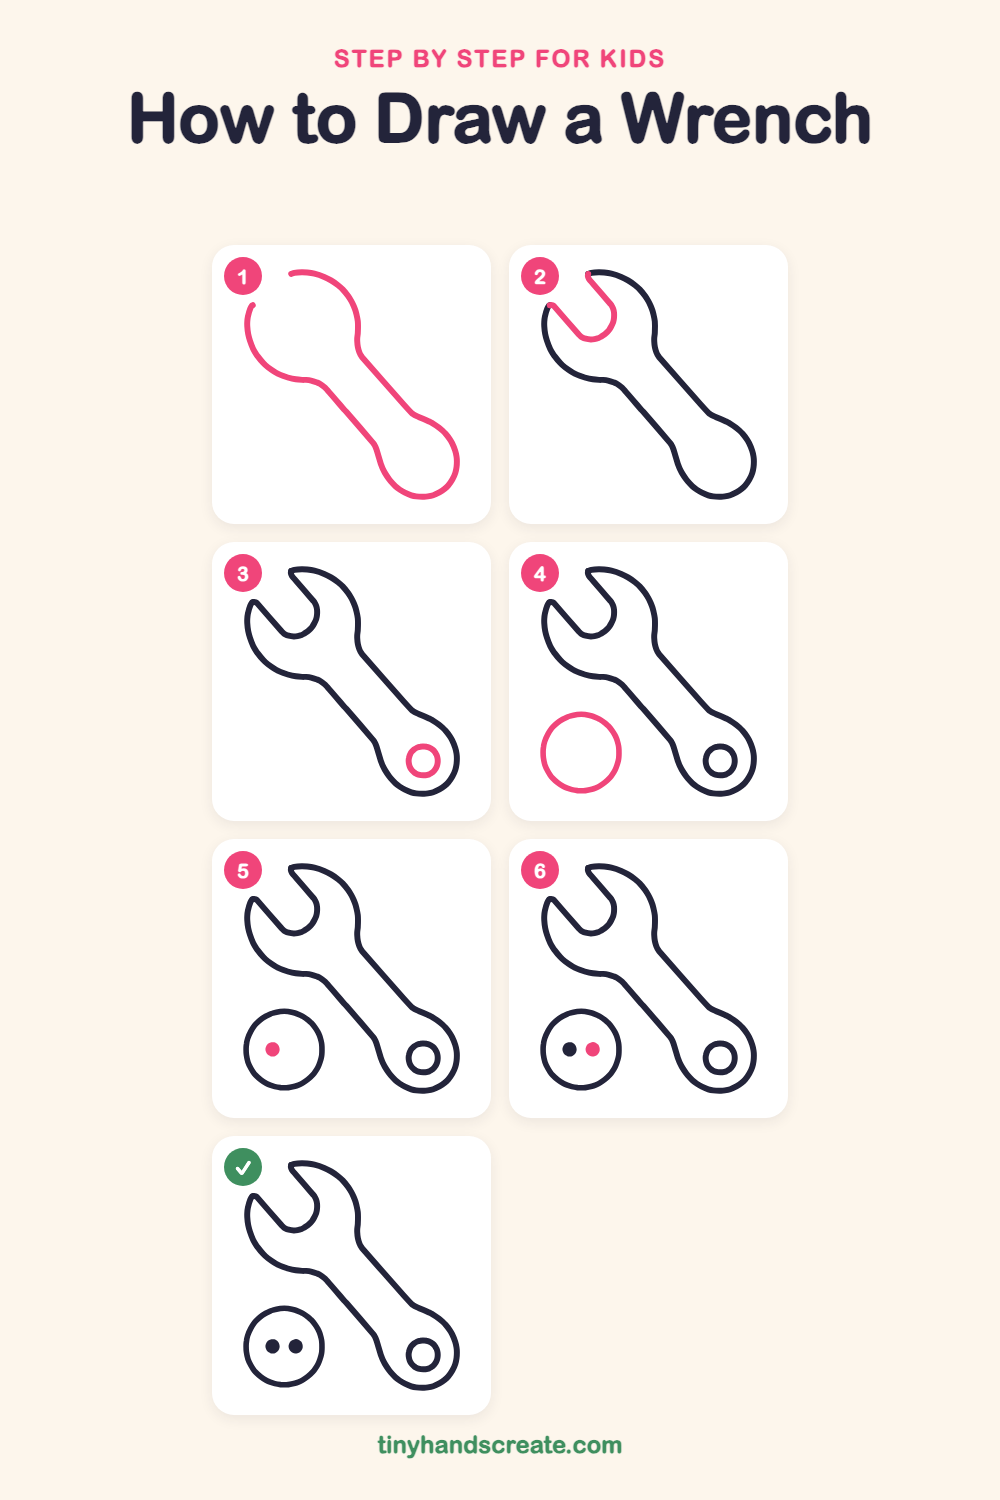
Step 1: Wrench outline
Start at the top of the big round head and curve around the head to the left. Then draw the long slanted handle down to a rounded bump at the bottom end, and come back up the other side of the handle. Leave a gap at the top of the head for the mouth.
Step 2: The open jaw
Start at one edge of the gap in the head and draw a squared-off U shape that dips down into the head, like an open mouth. End the U at the other edge of the gap.
Step 3: The handle hole
Near the rounded bottom end of the handle, draw a small circle. Leave space all around it so it does not touch the outline.
Step 4: The round buddy
In the empty space at the bottom left, draw a big circle. Take your time and make the line smooth.
Step 5: The first eye
Inside the big circle, on the left side, draw a small dot and color it in solid.
Step 6: The second eye
Draw a matching dot to the right of the first one, at the same height. Leave a little gap between them.
All done!
Go over your lines with a marker, then color it in.
Finished your wrench? Keep the pencils out and learn how to draw a rocket or how to draw a shooting star next.
Tips for drawing a wrench
- Draw the handle with two lines that run almost parallel, tilted the same way. Lightly sketch the center line first if it helps.
- The open jaw is the trickiest part. Draw a squared-off U and make both sides about the same length so the mouth looks even.
- Draw the big circle in one slow motion, and turn your paper as you go if that makes the curve easier.
Free wrench coloring page
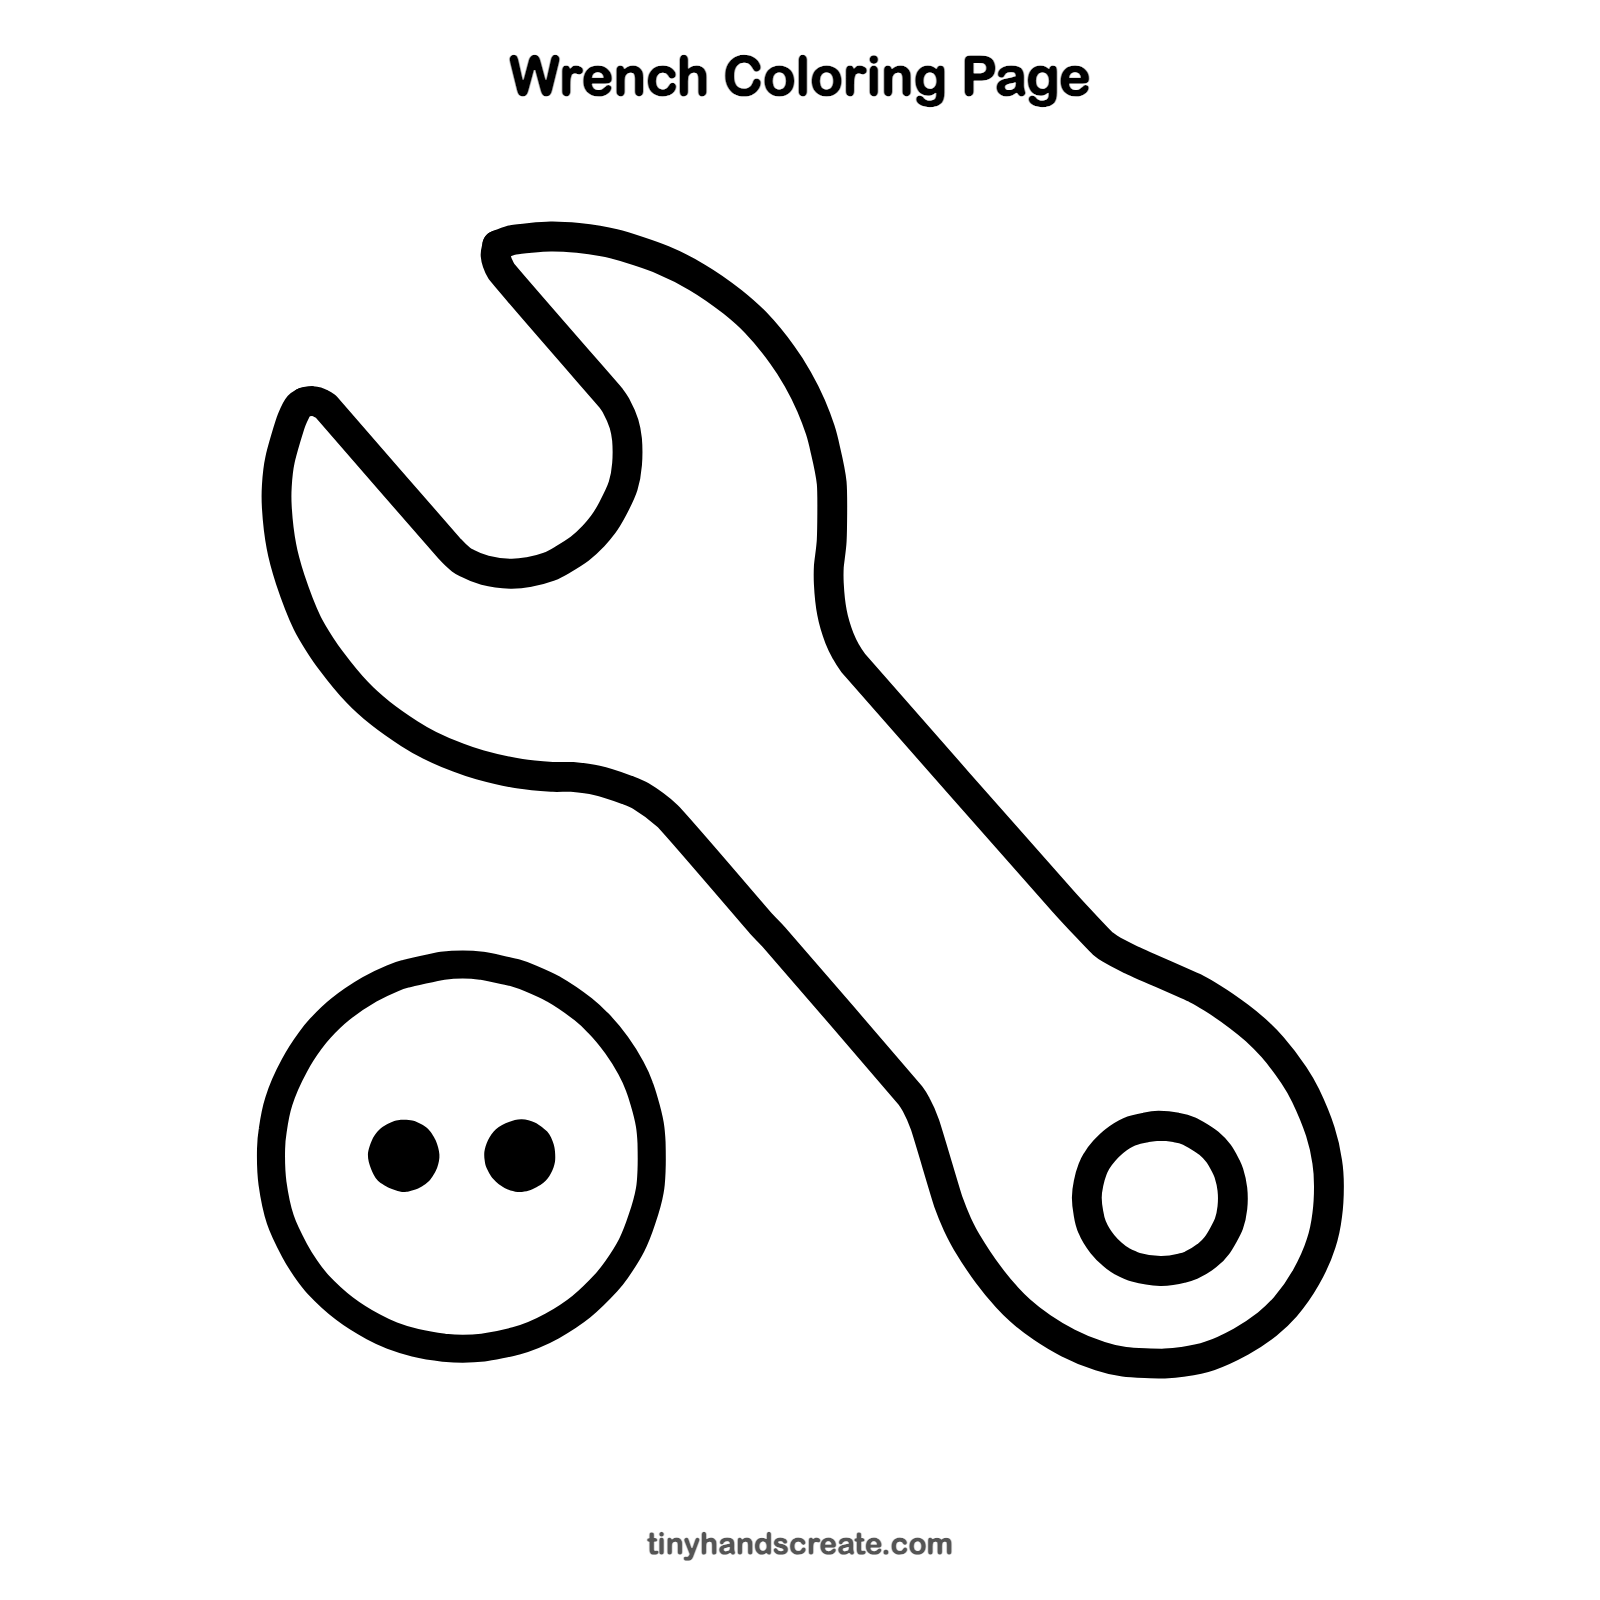
Want to go straight to coloring? Open this wrench coloring page at full size and print it. It is the same drawing you just learned, with clean lines ready for crayons or markers.
How to color your wrench drawing
Try silver or steel gray for the wrench with a darker gray inside the jaw, and give the round buddy a bright color. For a creative twist, make the wrench rainbow striped or turn the dots into sparkly googly eyes.
Wrench fun fact for kids
Many bolts and nuts have six flat sides, and the open mouth of a wrench is shaped to grip those sides so you can turn them without slipping.
Questions about drawing a wrench
What shapes do I need to draw a wrench?
You need a long slanted handle with a rounded bump at the end, a rounded head, a U shape for the open jaw, and a few circles. That is all.
How do I make the wrench jaw look right?
Draw the jaw as a squared-off U that dips into the head from the top. Keep both sides about the same length so it looks even.
How do I make my wrench look more fun?
Add the little round buddy with two dot eyes, then color everything in bright colors.