How to Draw a Zucchini (Easy Step by Step)
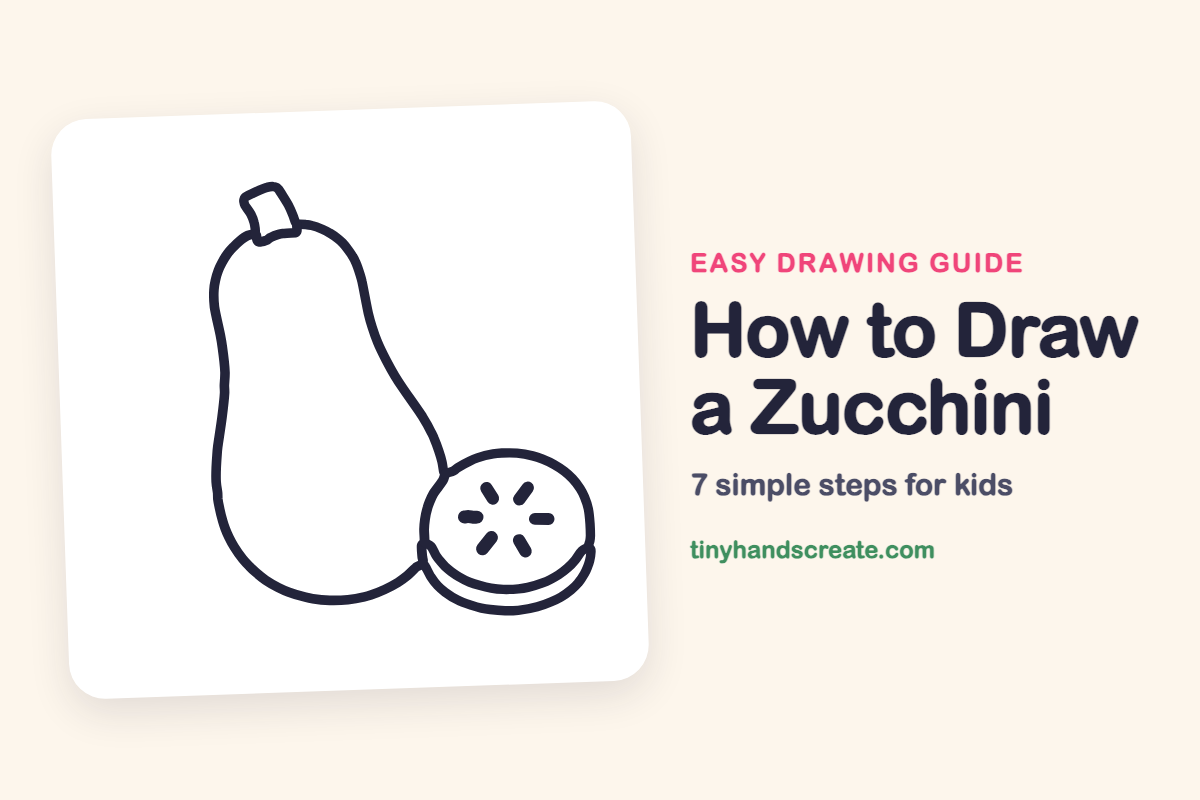
Learn to draw a zucchini easily with this step-by-step guide. You'll start with a pear shape, add a stem, and finish with a seed-filled slice using simple shapes like curves and circles.
- Start your zucchini drawing with a friendly pear shape.
- Add a simple boxy stem to complete your zucchini.
- Finish your drawing by adding a round, seed-filled slice.
- You only need a big curvy shape, a circle, and short dashes.
This post contains affiliate links. As an Amazon Associate I earn from qualifying purchases.
A zucchini is a fun first vegetable to draw because it is mostly one big, friendly shape. This guide starts with a pear shape, adds a little boxy stem, and finishes with a round slice full of seeds. You only need a big curvy shape, a circle, and short dashes.
- Easy
- 12 minutes
- 7 steps
You need: paper, a pencil, an eraser, and crayons or markers for coloring.
Start drawing


In this article (7 sections)
How to draw a zucchini step by step
How to Draw a Zucchini · tinyhandscreate.com
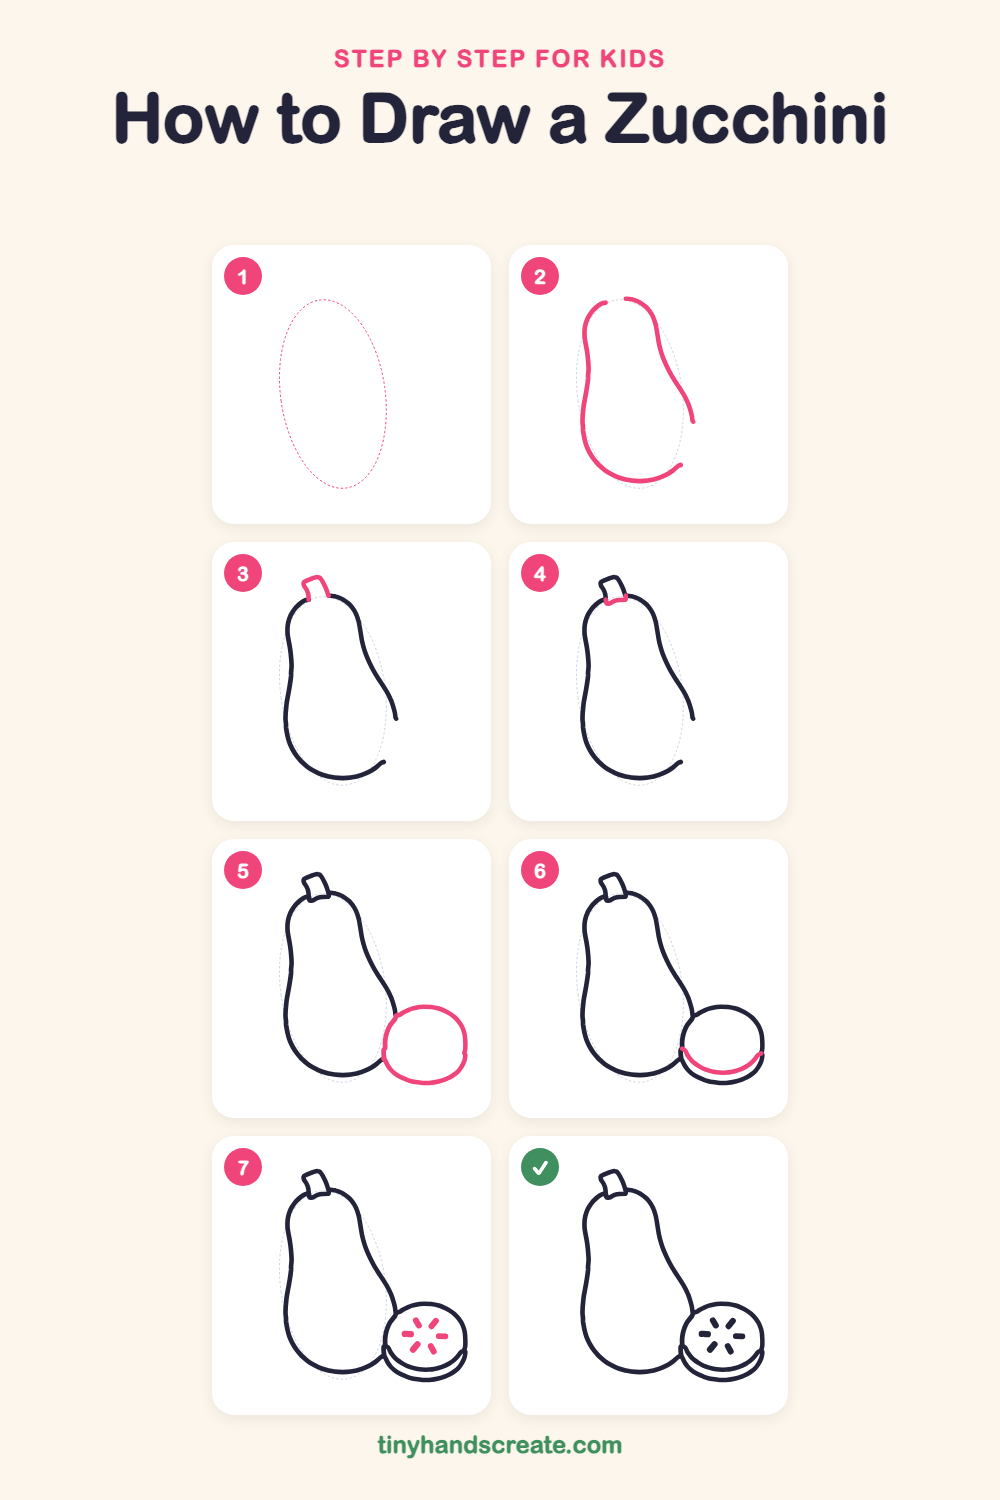
Step 1: Guide shapes
Lightly sketch this oval. It only shows where the big parts go, so press softly. You will erase it at the end.
Step 2: The zucchini body
Draw a big pear shape that is narrow at the top and wide and round at the bottom. Start near the top, curve down the left side, round the bottom, and come back up the right side.
Step 3: The stem
At the very top of the body, draw a small tilted box shape for the stem. Leave the bottom open so it sits on the body, and make it a little wider at the top.
Step 4: The stem base
Draw a short curved line across the bottom of the stem, where it meets the body. This closes the stem and makes it look attached.
Step 5: The slice circle
Next to the bottom of the zucchini, draw a big circle for the cut slice. Tuck its left side right up against the body.
Step 6: The slice edge
Inside the bottom of the circle, draw a curved line like a smile that follows the lower edge. It shows how thick the slice is.
Step 7: The seeds
Inside the circle, draw six little rounded dashes in a ring, like the petals of a flower. Point each one toward the middle.
All done!
Erase the guide shapes, go over your lines, then color it in.
Finished your zucchini? Keep the pencils out and learn how to draw boba tea or how to draw a cupcake next.
Tips for drawing a zucchini
- Sketch the body as a light pear shape first, with a skinny top and a round bottom, then trace over it with a firm line.
- The slice is the trickiest part. Draw the full circle first, then add the curved line inside the bottom so it looks thick.
- Draw the seeds like a ring of petals. Place six dashes around the middle, all pointing in, and keep the spaces between them even.
Free zucchini coloring page
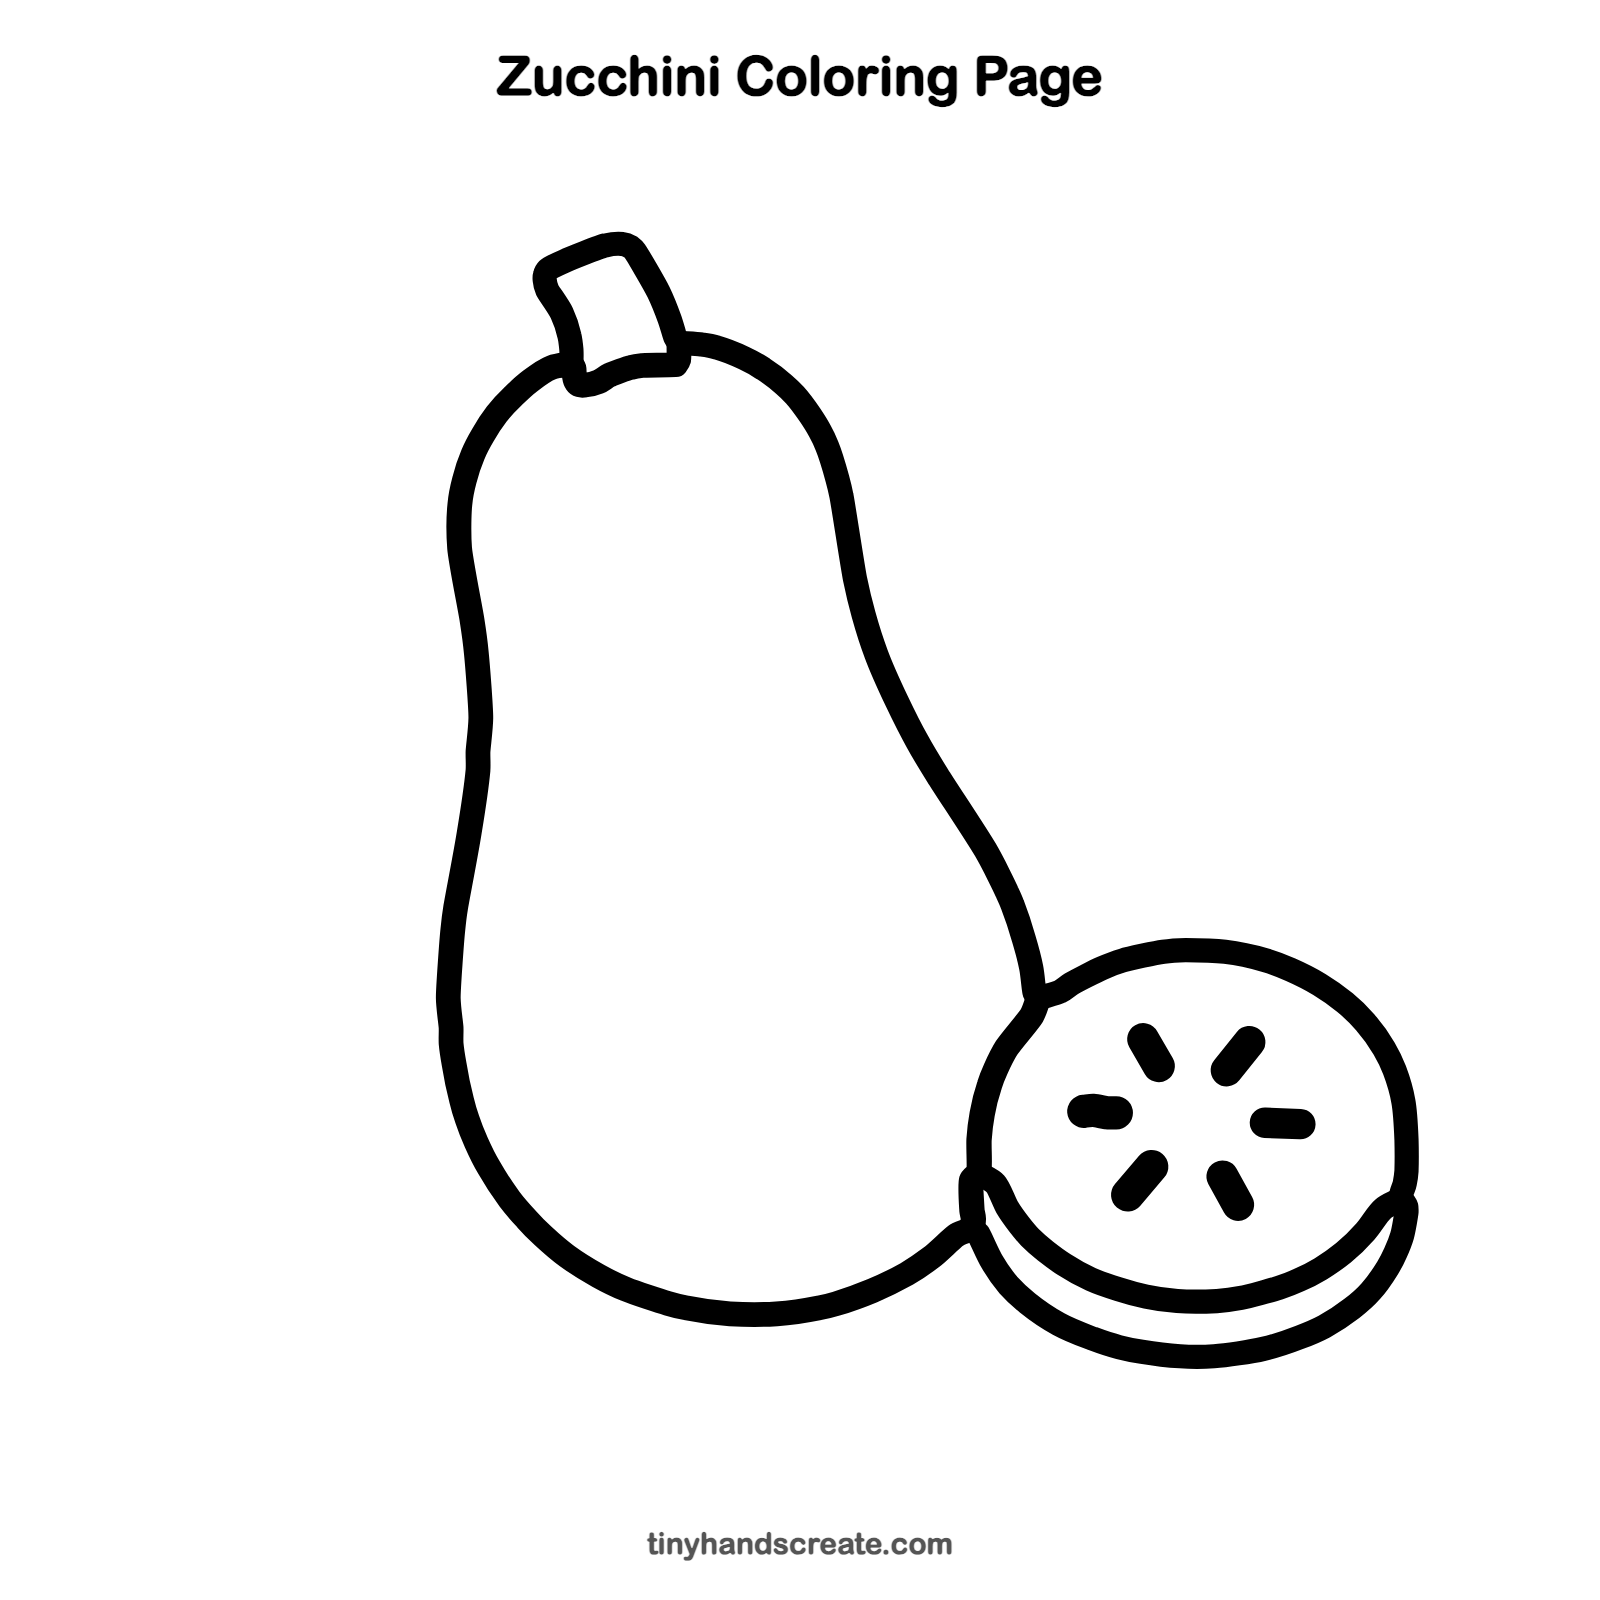
Want to go straight to coloring? Open this zucchini coloring page at full size and print it. It is the same drawing you just learned, with clean lines ready for crayons or markers.
How to color your zucchini drawing
Color the skin in deep green, and use pale green or cream inside the slice with lighter seeds. For a creative twist, give the zucchini stripes of dark and light green.
Zucchini fun fact for kids
The word zucchini comes from an Italian word meaning "little squashes." Even though we cook it like a vegetable, it is a fruit, because it grows from a flower and holds seeds.
Questions about drawing a zucchini
What shapes do I need to draw a zucchini?
You need a pear shape for the body, a small tilted box for the stem, and a circle for the slice. Short rounded dashes make the seeds.
How do I make my zucchini look round and real?
Keep the lines smooth and let the body get wider toward the bottom. Adding a curved line inside the bottom of the slice makes it look thick and solid.
How long does it take to draw a zucchini?
Most kids finish in about 10 to 15 minutes. Take your time with the slice, since it has the most parts.