How to Draw a Rangoli (Easy Step by Step)
Learn to draw a beautiful rangoli, a traditional Indian floor pattern, using easy step-by-step instructions. You'll create a repeating design with flowers, dots, and teardrops, perfect for welcoming guests.
- Draw a rangoli pattern using easy step-by-step instructions.
- Start your rangoli design with a central flower.
- Add a ring of dots and teardrops to your pattern.
- Repeat design elements around the center for a symmetrical rangoli.
This post contains affiliate links. As an Amazon Associate I earn from qualifying purchases.
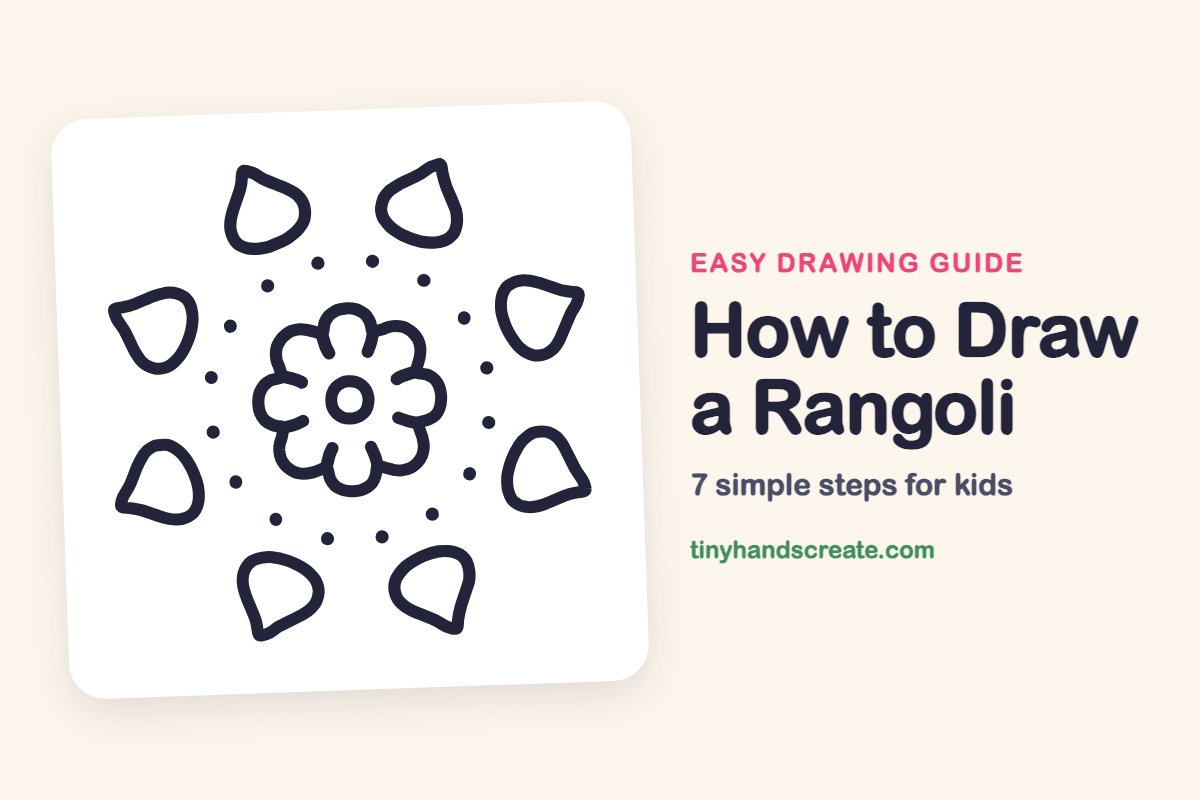
A rangoli is a colorful pattern that families in India draw on the floor to welcome guests, especially during Diwali. This one is built from a flower, a ring of dots and teardrops, and the parts repeat around the center, so once you draw one teardrop you can draw them all.
- Easy
- 12 minutes
- 7 steps
You need: paper, a pencil, an eraser, and crayons or markers for coloring.
Start drawing

In this article (7 sections)
How to draw a rangoli step by step
How to Draw a Rangoli · tinyhandscreate.com
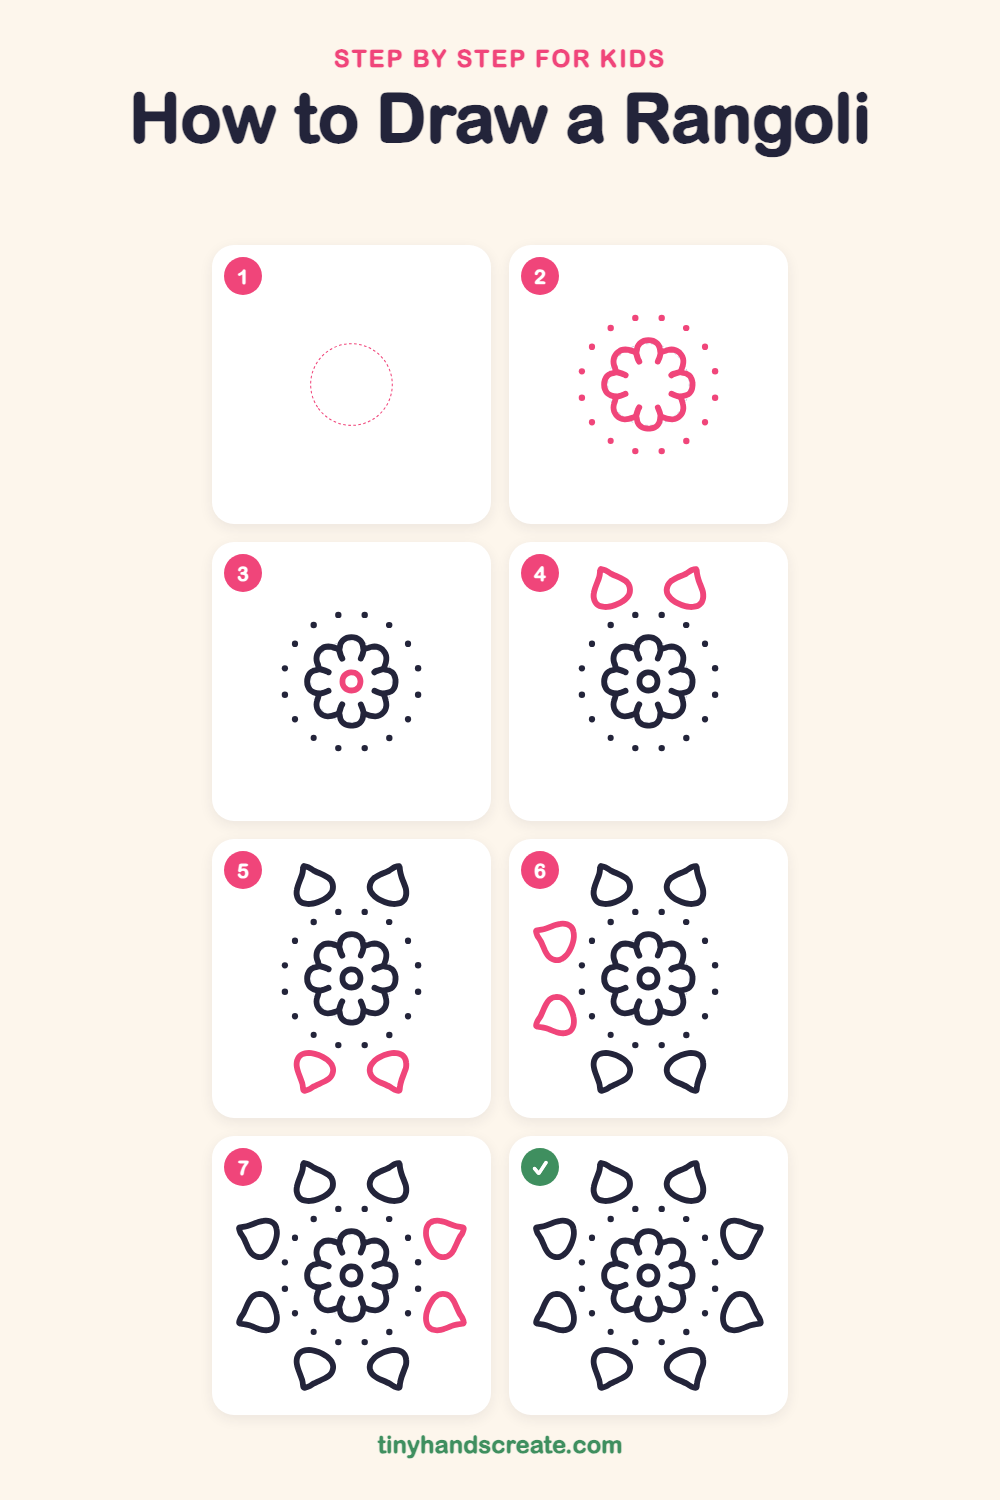
Step 1: Guide shapes
Lightly sketch this oval. It only shows where the big parts go, so press softly. You will erase it at the end.
Step 2: Flower and dots
Draw a flower with eight round, bumpy petals in the middle of your paper. Then add a big ring of small dots all the way around the flower, spaced evenly like a necklace.
Step 3: Center ring
Draw a small circle right in the middle of the flower. This ring is the flower's center.
Step 4: Top teardrops
Above the ring of dots, draw two teardrop shapes side by side with a gap between them. Make the bottom of each one round and pinch the top into a point.
Step 5: Bottom teardrops
Below the ring of dots, draw two more teardrops side by side. They should be a mirror image of the top pair.
Step 6: Left teardrops
On the left side, draw two teardrops, one above the other. Keep a little gap between them and the dots.
Step 7: Right teardrops
On the right side, draw the last two teardrops, one above the other, to match the left side. Now your rangoli has eight teardrops around the flower.
All done!
Erase the guide shapes, go over your lines, then color it in.
Finished your rangoli? Keep the pencils out and learn how to draw a menorah or how to draw a dreidel next.
Tips for drawing a rangoli
- Start the flower with a light pencil circle, then add the bumpy petals on top so they stay even.
- Draw the dots like a clock: mark 12, 3, 6 and 9 first, then fill in the rest so the ring stays round.
- Teardrops are the trickiest part. Make the pointy end first, then curve around to a round bottom, and draw them in pairs so both sides match.
Free rangoli coloring page
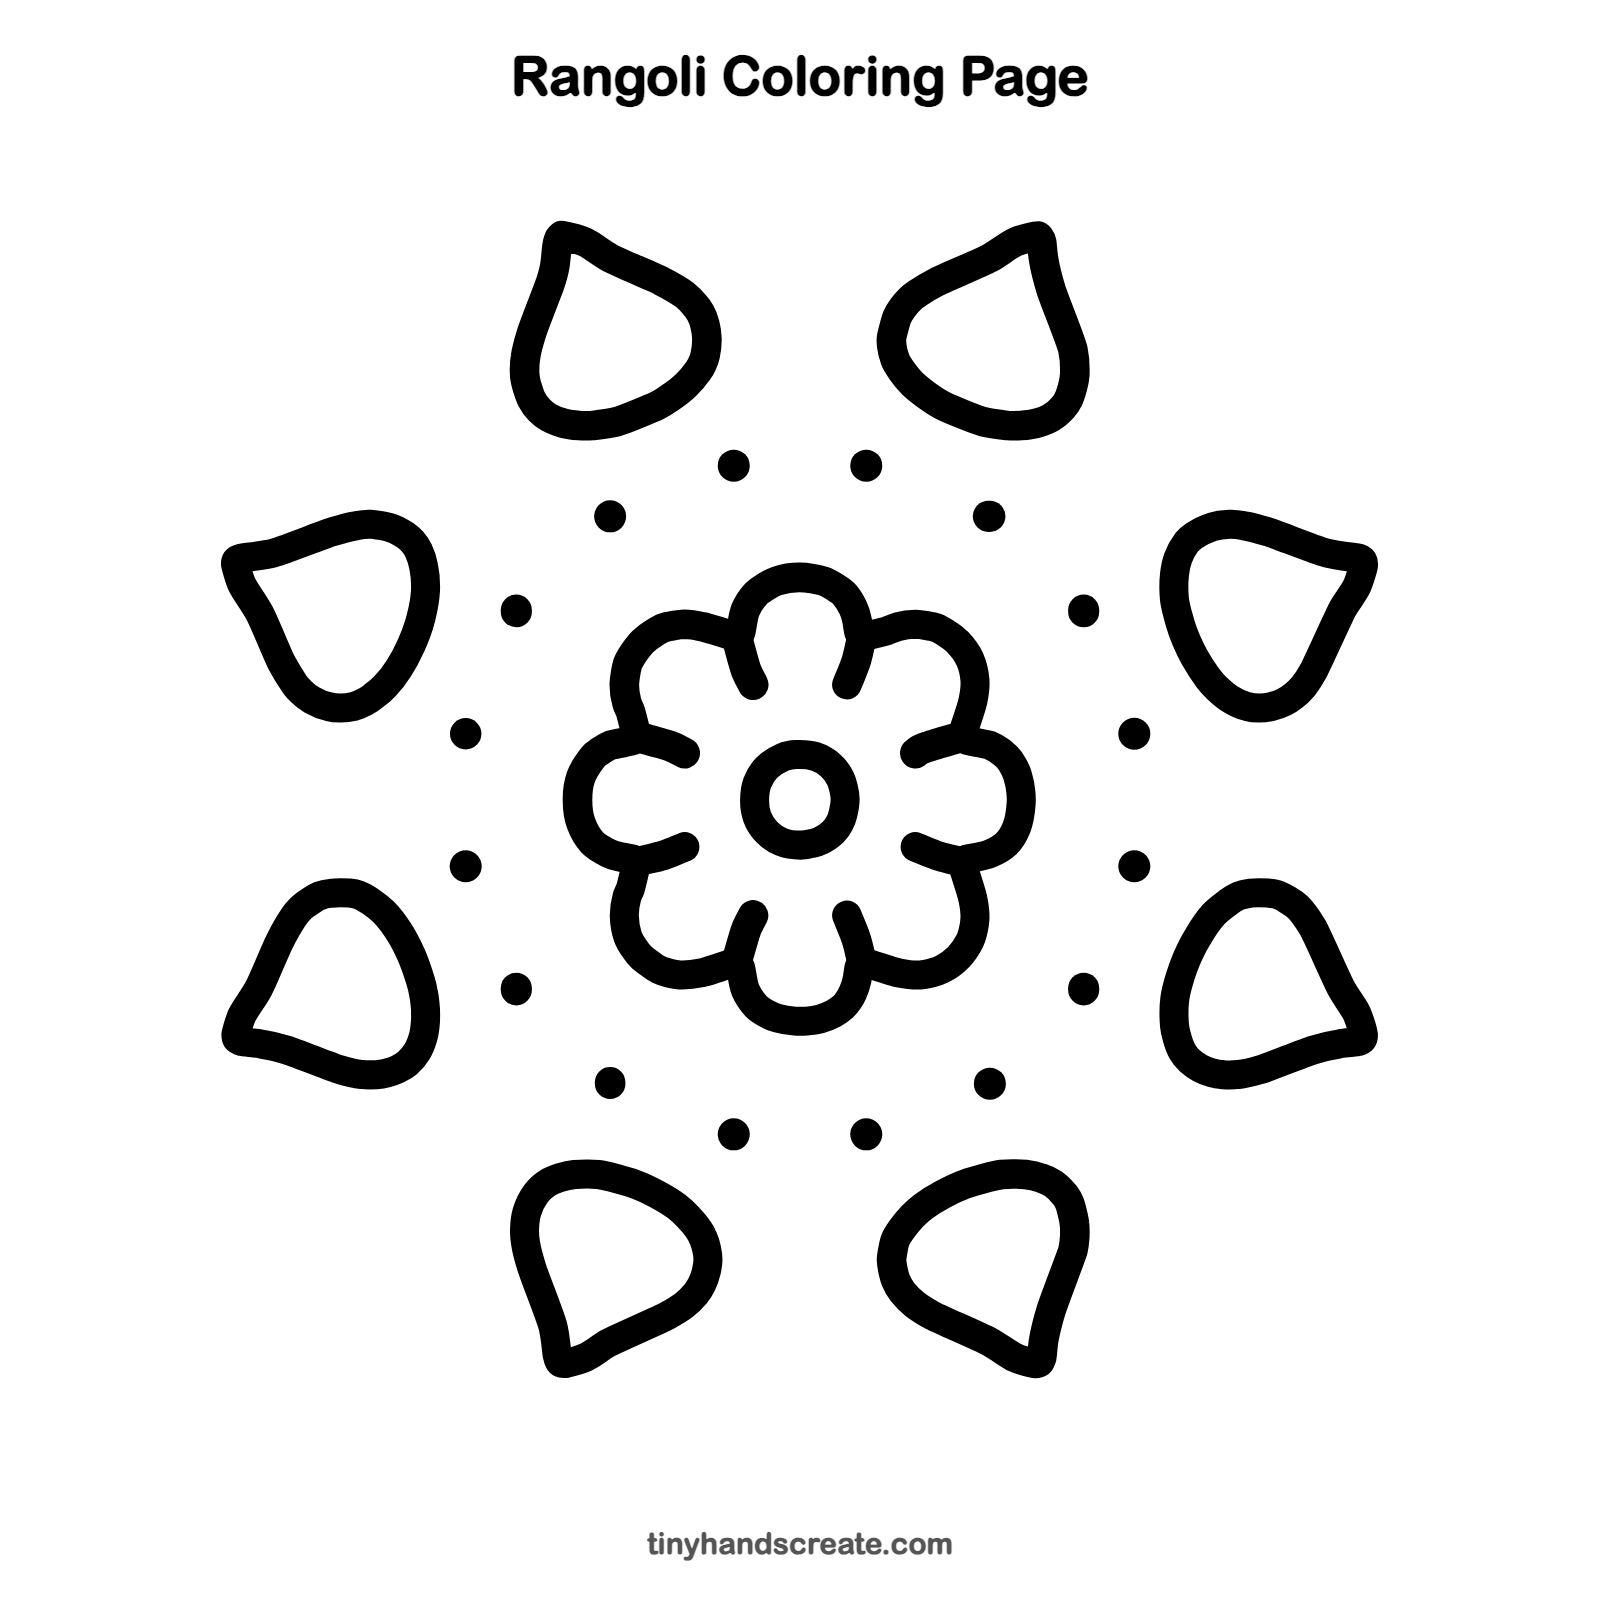
Want to go straight to coloring? Open this rangoli coloring page at full size and print it. It is the same drawing you just learned, with clean lines ready for crayons or markers.
How to color your rangoli drawing
Try bright Diwali colors like orange, pink, yellow and green, using one color for the flower and a different one for the teardrops. For a creative twist, color each teardrop a different shade.
Rangoli fun fact for kids
In southern India, a floor pattern like a rangoli is called a kolam, and many families draw a fresh one at their front door each morning.
Questions about drawing a rangoli
What shapes do I need to draw a rangoli?
You need a bumpy flower shape, a small circle for the center, small dots and eight teardrops. Everything is arranged around the middle.
How do I make my rangoli look even?
Use a light pencil line to mark the top, bottom, left and right first. Draw the teardrops in pairs at matching spots on each side.
Can I make a rangoli with real materials?
Yes. Once you finish your drawing, you can copy it outside with chalk or fill it in with colored sand, rice or flower petals.