How to Draw a Halloween Spider on a Web (Easy Step by Step)
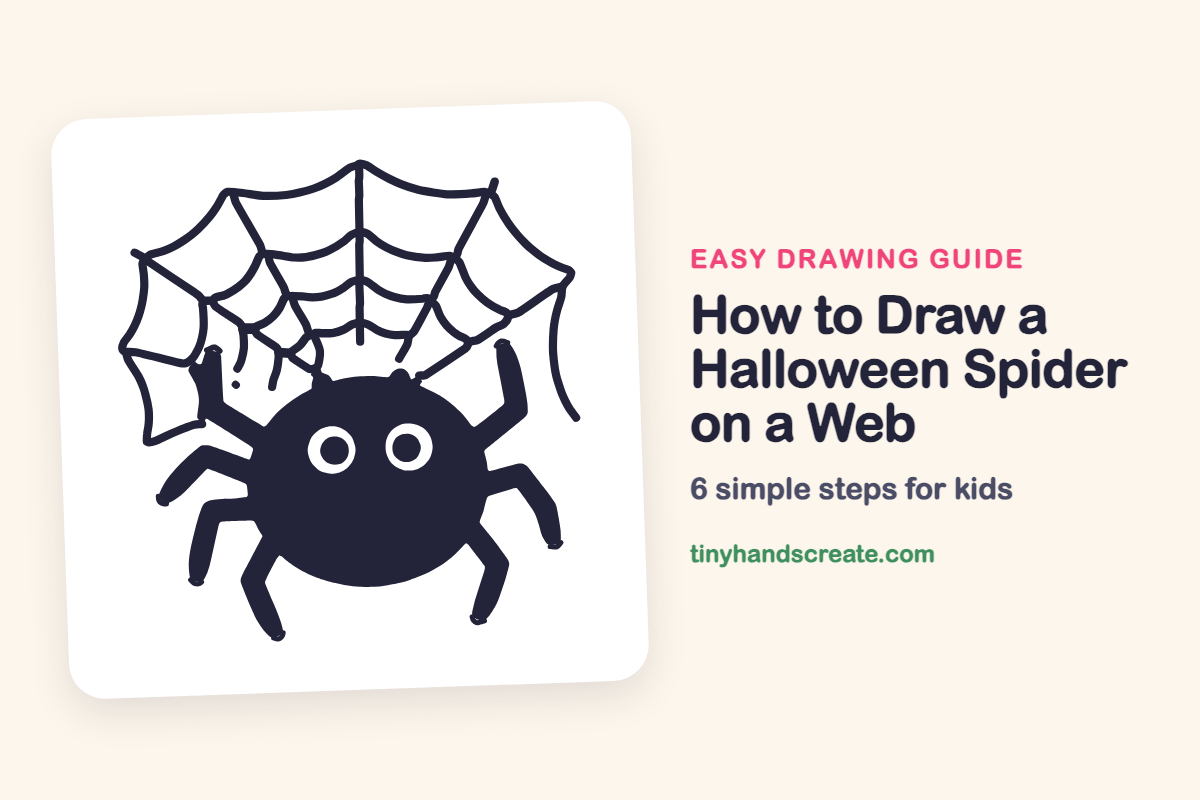
This Halloween spider is more silly than scary. It is built from one big oval for the body, two round eyes, and eight bent sticks for legs, with a web made of straight lines and gentle curves above it. It is a great first spooky drawing because there are no sharp teeth or hairy bits to worry about.
- Easy
- 15 minutes
- 6 steps
You need: paper, a pencil, an eraser, and crayons or markers for coloring.
Start drawing
In this article (7 sections)
- How to draw a Halloween spider on a web step by step
- Tips for drawing a Halloween spider on a web
- Free Halloween spider on a web coloring page
- How to color your Halloween spider on a web drawing
- Halloween spider on a web fun fact for kids
- Questions about drawing a Halloween spider on a web
- More easy holiday drawings
How to draw a Halloween spider on a web step by step
How to Draw a Halloween Spider on a Web · tinyhandscreate.com
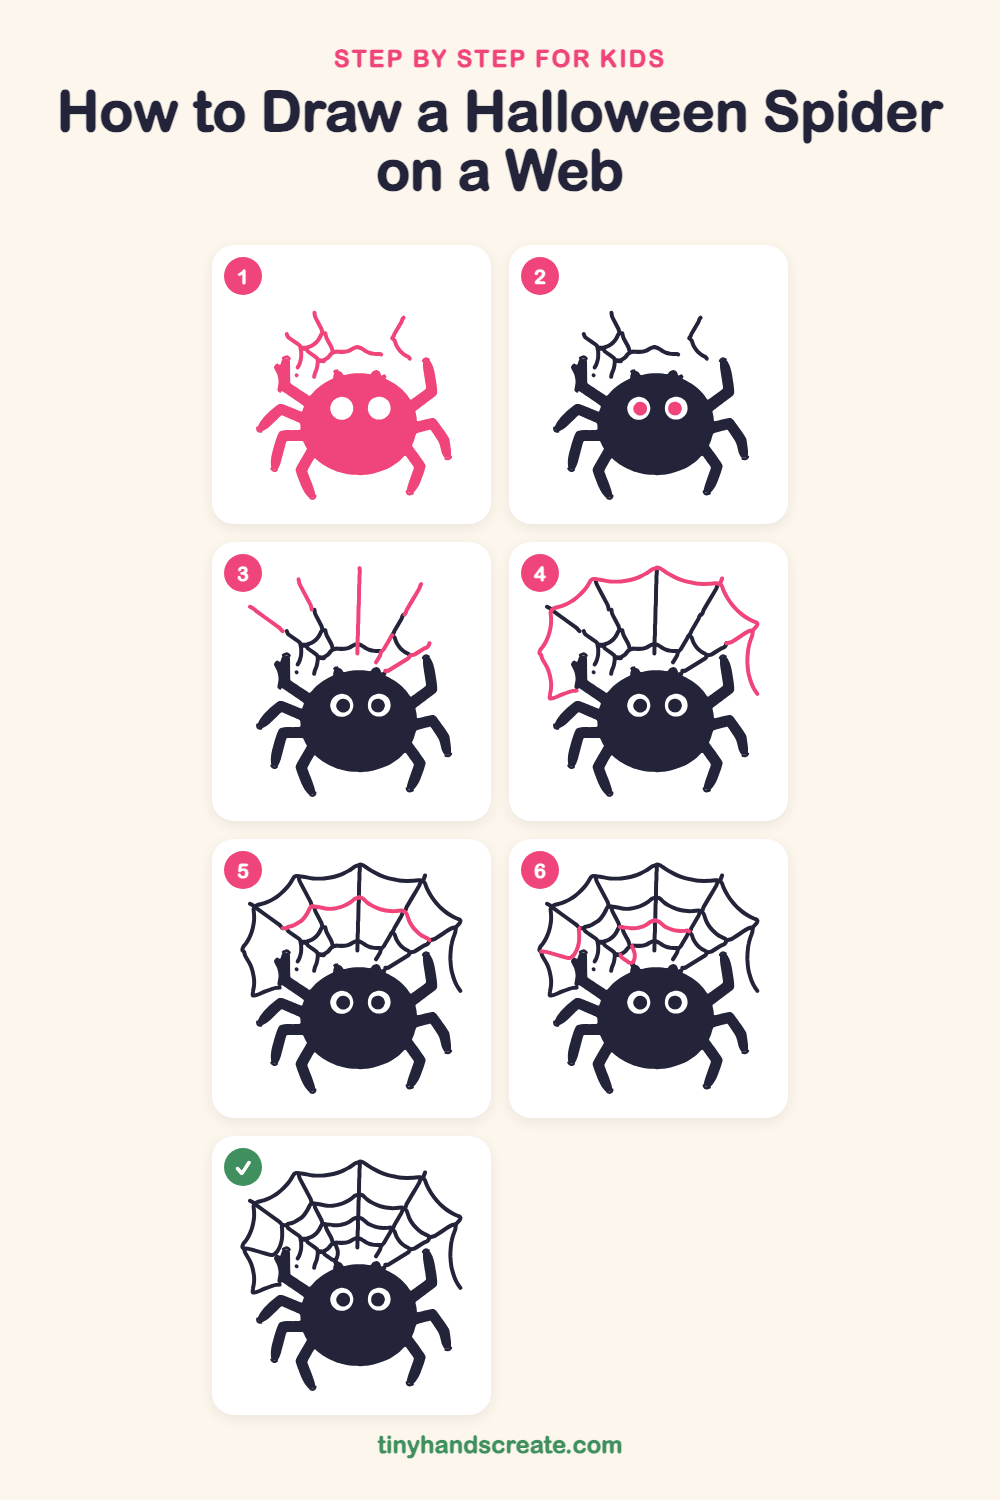
Step 1: Body, eyes and legs
Draw a big, round oval for the spider's fat body, with two small circles side by side near the top for eyes. Add four bent legs on each side, like sticks with a little elbow, and a few short web threads above the body.
Step 2: Eye dots
Draw a smaller filled-in circle inside each eye. Leave a ring of white around each dot so the eyes look big and round.
Step 3: Web spokes
Above the spider, draw a row of long straight lines that fan out like the spokes of a wheel. Put one straight up in the middle and a few slanting out to the left and right.
Step 4: Web outer edge
Join the tips of the straight lines with gentle curves that dip inward. Start at the top and work your way down the left and right sides.
Step 5: Middle web curves
Draw a wavy row of curved lines across the middle of the web, from one straight line to the next. Each curve should start and stop on a straight line.
Step 6: Lower web curves
Add a few more short curves lower down and on the left side, each one joining two straight lines. This fills in the web.
All done!
Go over your lines with a marker, then color it in.
Finished your Halloween spider on a web? Keep the pencils out and learn how to draw a menorah or how to draw a dreidel next.
Tips for drawing a Halloween spider on a web
- Draw the body oval first and take your time. The eyes and legs attach to it, so a nice round shape makes everything else easier.
- Make each leg bend once in the middle, like a bent elbow. Keep the legs thick so they look chunky and friendly.
- For the web, draw the straight spokes first and then add the curves between them. Curve each line inward so it looks like real hanging silk.
Free Halloween spider on a web coloring page
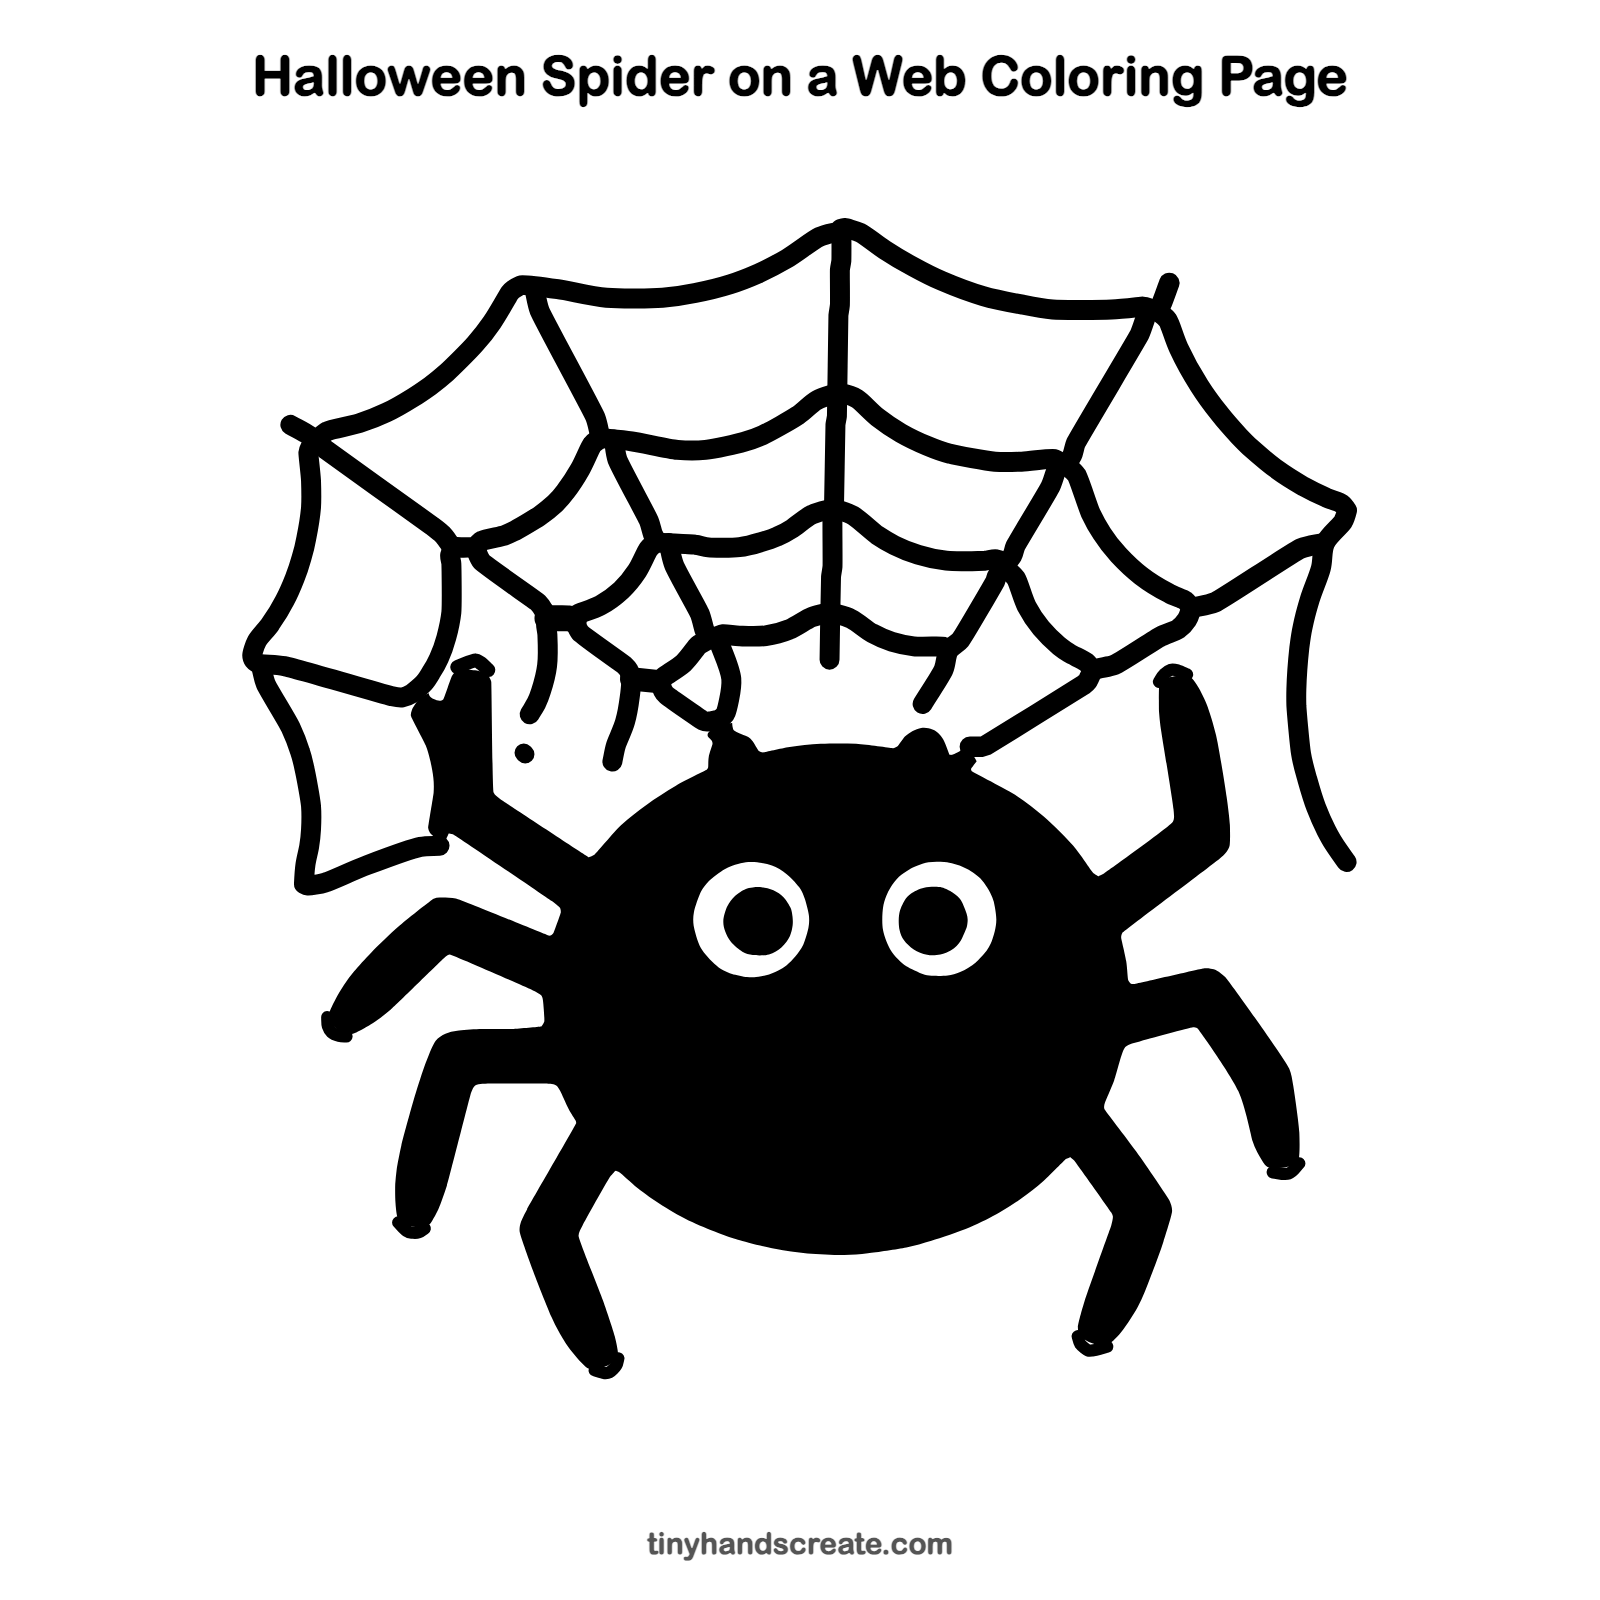
Want to go straight to coloring? Open this Halloween spider on a web coloring page at full size and print it. It is the same drawing you just learned, with clean lines ready for crayons or markers.
How to color your Halloween spider on a web drawing
Try a purple or orange spider with a white or pale gray web, or fill the body with black and add a bright pumpkin-orange background. Leave the eyes white with a dark dot in each. For a twist, give the spider glittery legs.
Halloween spider on a web fun fact for kids
Spiders have eight legs, and most have eight eyes too. Many orb-weaver spiders spin a brand new web almost every day, and some eat the old one to reuse the silk.
Questions about drawing a Halloween spider on a web
What shapes do I need to draw a Halloween spider?
You need a big oval for the body, two small circles for the eyes, and eight bent lines for the legs. The web uses straight lines and curved lines.
How do I make my spider look cute instead of scary?
Give it big, round eyes with small dots, and keep the legs short and chunky. Round shapes always look friendlier than pointy ones.
How do I draw a spider web that looks even?
Start with a straight line up the middle and a few more spokes going out from it. Then join the tips with curves and add curved lines between the spokes.