How to Draw a Firefighter Helmet (Easy Step by Step)
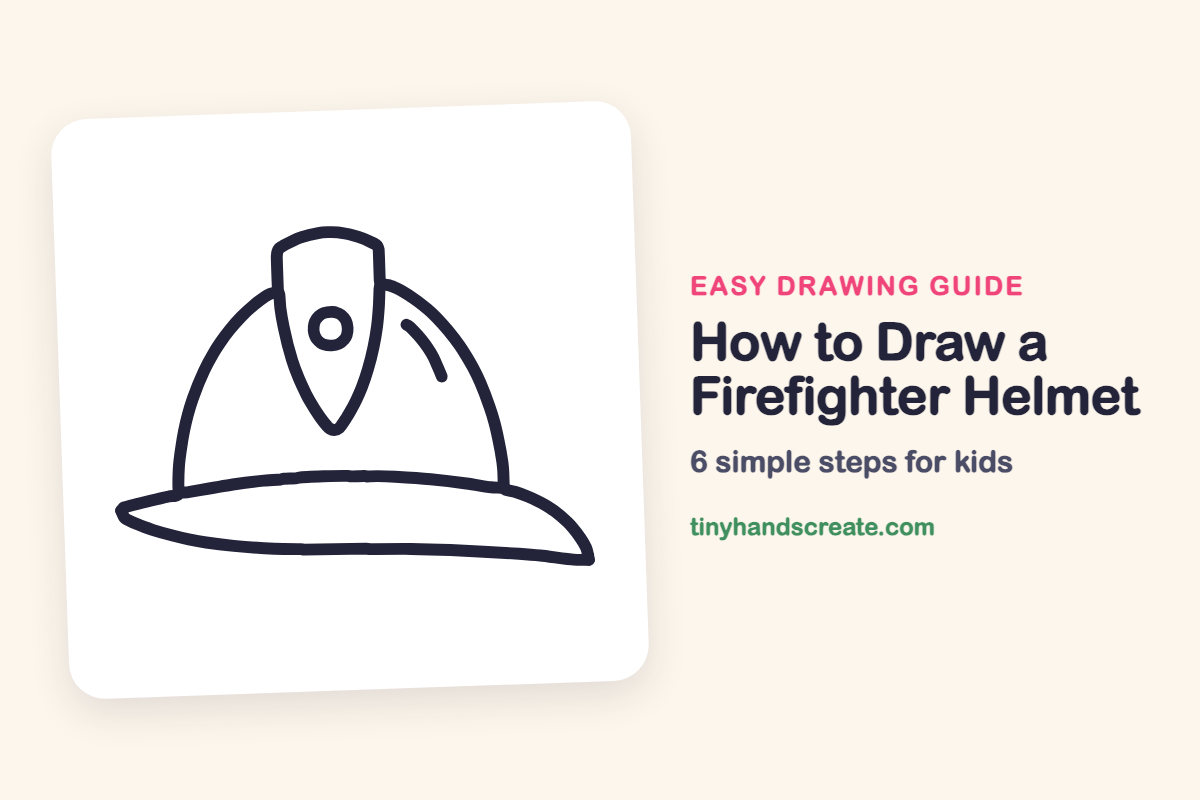
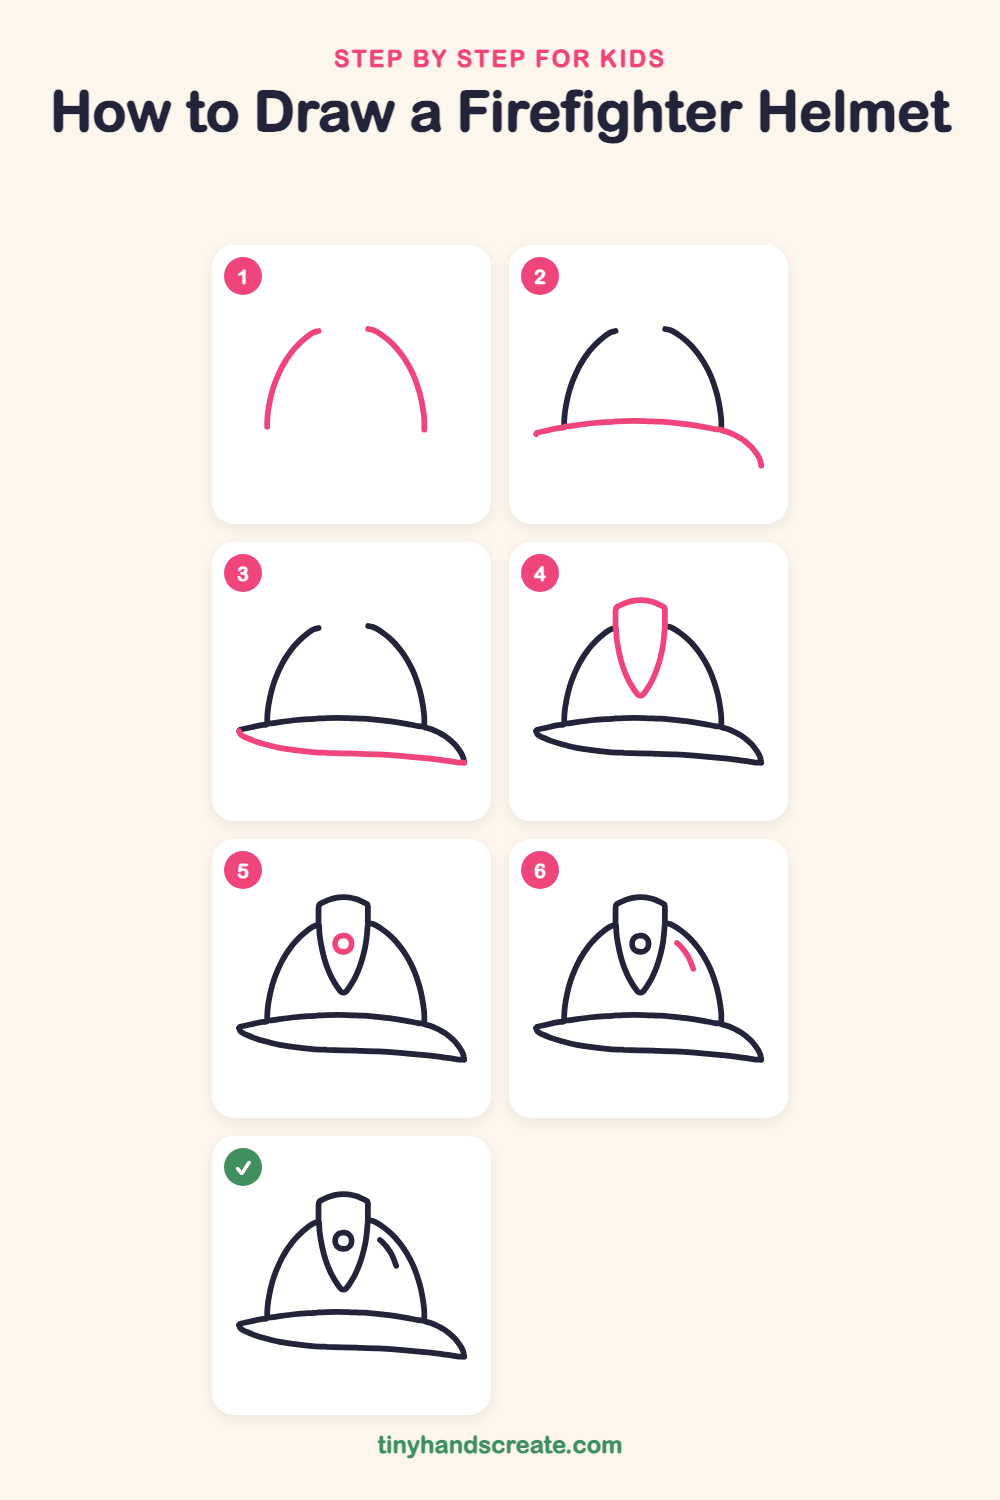
A firefighter helmet is fun to draw because it looks bold and brave but is built from just a few simple shapes. You will start with two curved sides for the dome, add a long swoopy brim, and finish with a pointed shield, a small ring, and a shiny curve.
- Easy
- 10 minutes
- 6 steps
You need: paper, a pencil, an eraser, and crayons or markers for coloring.
Start drawing


In this article (7 sections)
How to draw a firefighter helmet step by step
How to Draw a Firefighter Helmet · tinyhandscreate.com
Step 1: Two side arcs
Draw two curved lines that lean toward each other, like the left and right sides of an upside-down U. Leave a gap between them at the top, because the shield will cover that spot later.
Step 2: The top brim line
Draw a long, gently curved line across the bottom of the dome. Start at a point on the left, run it under both dome sides, then let it bend down into a swoop on the right.
Step 3: The bottom brim edge
Starting at the pointed left tip, draw a long, slightly wavy line underneath. Stretch it all the way to the right and join it to the end of the swoop, so the brim makes a long leaf shape.
Step 4: The front shield
Draw a tall shield shape that covers the gap at the top of the dome. Make the top a little curved, the sides straight, and the bottom a pointy tip like a guitar pick.
Step 5: The small ring
Draw a small circle in the upper middle of the shield. Leave the inside empty so it looks like a ring.
Step 6: The shiny curve
On the right side of the dome, draw a short curved line that follows the shape of the helmet. It shows where the light is shining.
All done!
Go over your lines with a marker, then color it in.
Finished your firefighter helmet? Keep the pencils out and learn how to draw a rocket or how to draw a shooting star next.
Tips for drawing a firefighter helmet
- Draw the two dome sides lightly first and make them tall. A helmet that is too flat looks more like a bowl.
- The brim is the trickiest part. Draw the top line first, then the bottom line, and join them at the pointed left tip and at the swoop on the right.
- Make the shield tall, with straight sides and a pointed bottom. Draw a light line down the middle first to help keep both sides even.
Free firefighter helmet coloring page
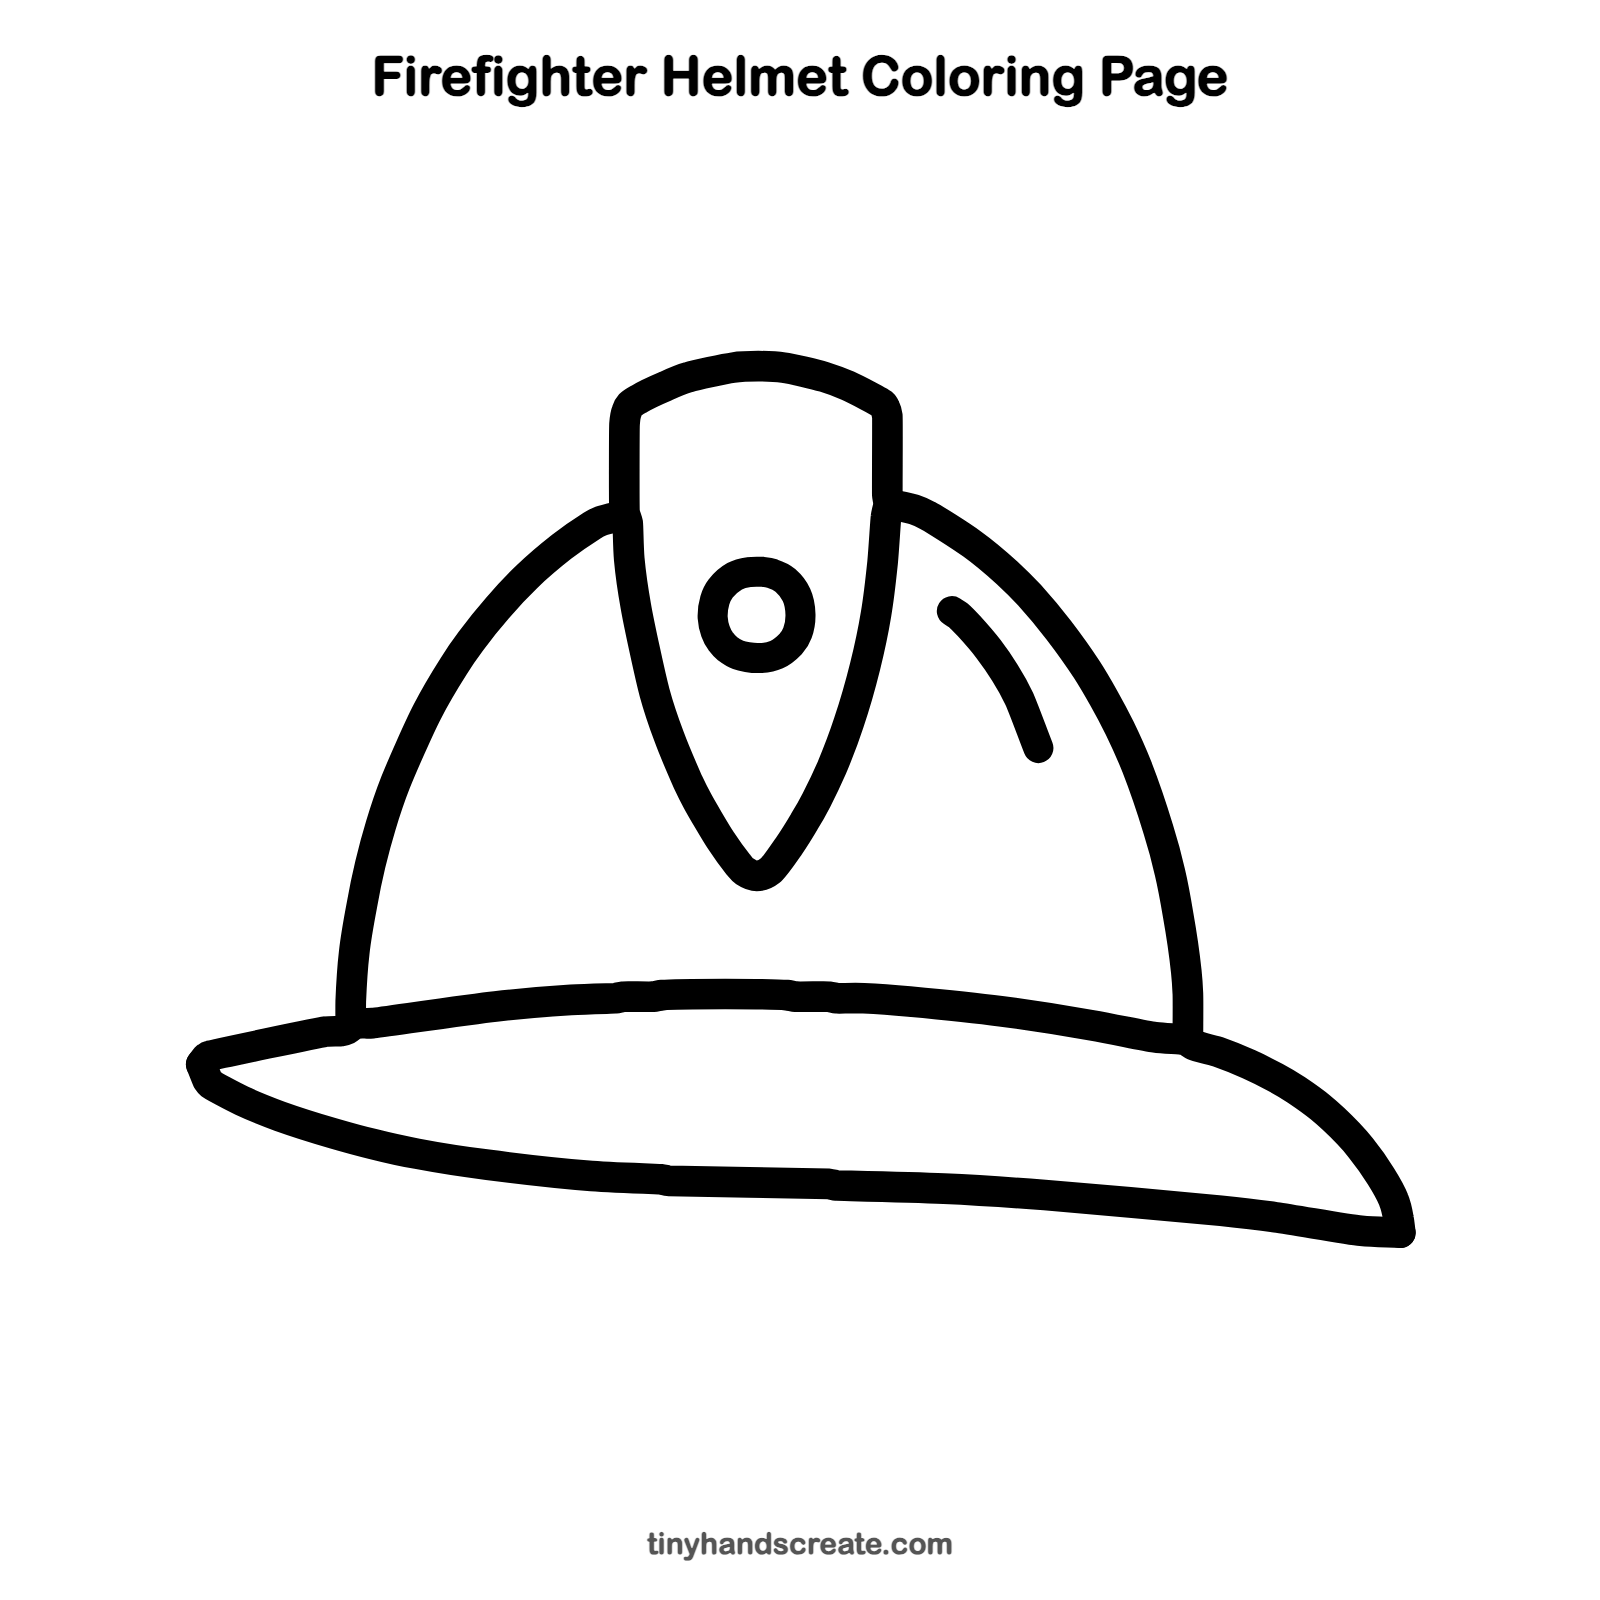
Want to go straight to coloring? Open this firefighter helmet coloring page at full size and print it. It is the same drawing you just learned, with clean lines ready for crayons or markers.
How to color your firefighter helmet drawing
Red or yellow are classic helmet colors. You could color the shield a different shade, like gold, to make it stand out. For a creative twist, add a silly pattern like stars or flames.
Firefighter helmet fun fact for kids
Many firefighter helmets have a long back brim that sticks out behind the head. It helps keep water and falling bits from running down the firefighter's neck.
Questions about drawing a firefighter helmet
What shapes do I need to draw a firefighter helmet?
You need a dome made from two curved sides, a long leaf-shaped brim, and a pointed shield for the front. A small circle makes the ring on the shield.
How do I make the brim look right?
Draw the top line of the brim as a long, gentle curve. Then draw a second curve below it and join the two lines at the ends so they make a pointed leaf shape.
How do I make my firefighter helmet look shiny?
Add a short curved line on one side of the dome. You can also leave a small patch of white paper when you color it, so it looks like the light is bouncing off.