How to Draw a Christmas Elephant (Easy Step by Step)
This post contains affiliate links. As an Amazon Associate I earn from qualifying purchases.
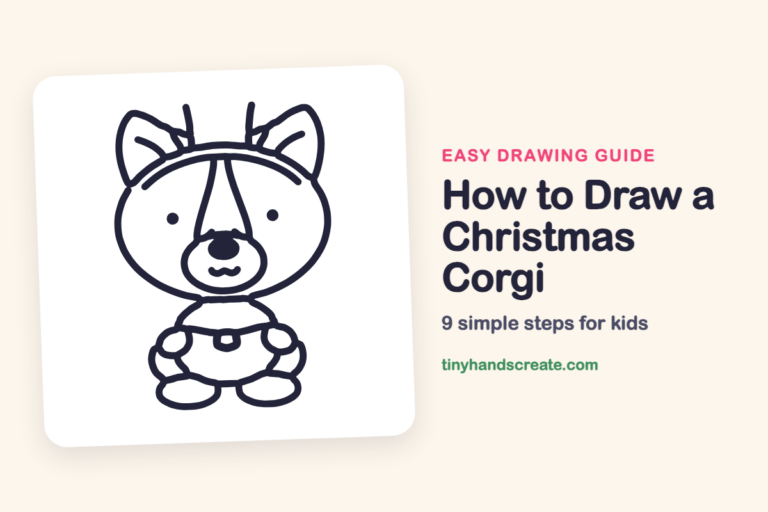
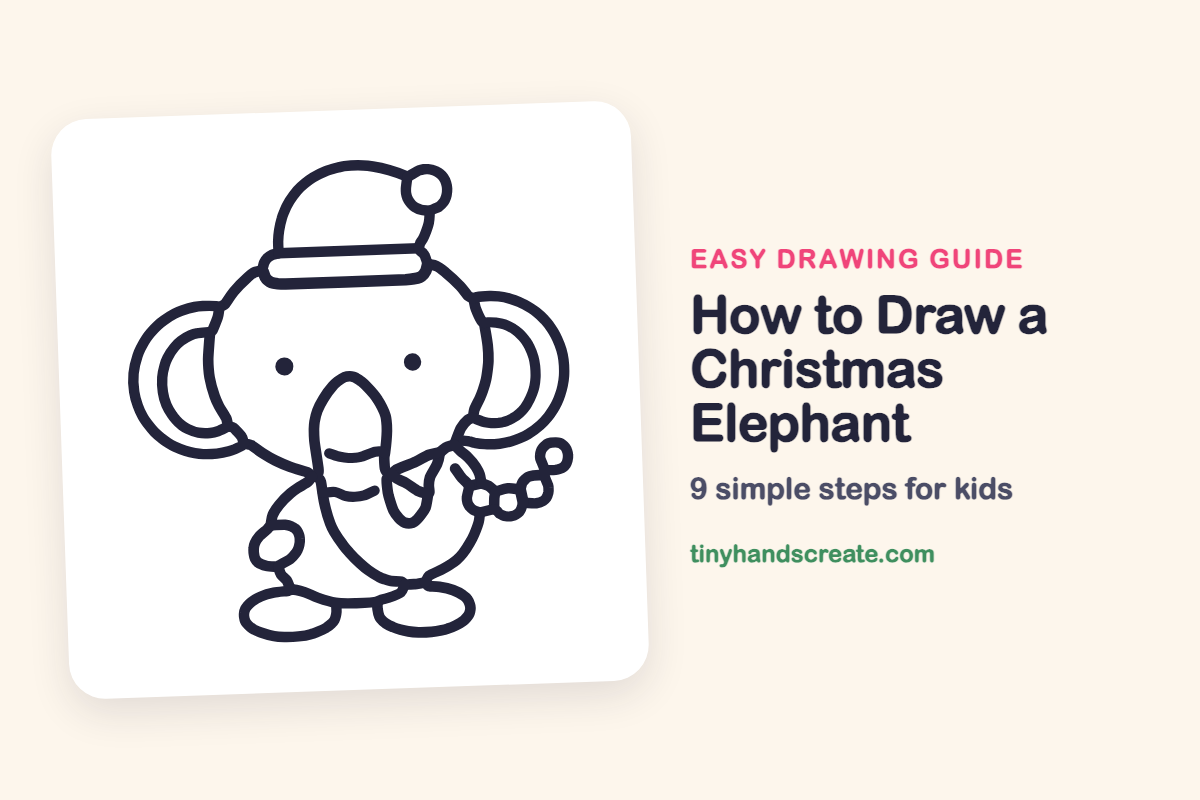
This Christmas elephant is cute because so much of it is made from round shapes. The head, ears, feet and pompom are all circles or ovals, and a floppy Santa hat makes it feel festive. If you can draw circles and ovals, you can draw this elephant.
- Easy
- 15 minutes
- 9 steps
You need: paper, a pencil, an eraser, and crayons or markers for coloring.
Start drawing
In this article (7 sections)
How to draw a Christmas elephant step by step
How to Draw a Christmas Elephant · tinyhandscreate.com
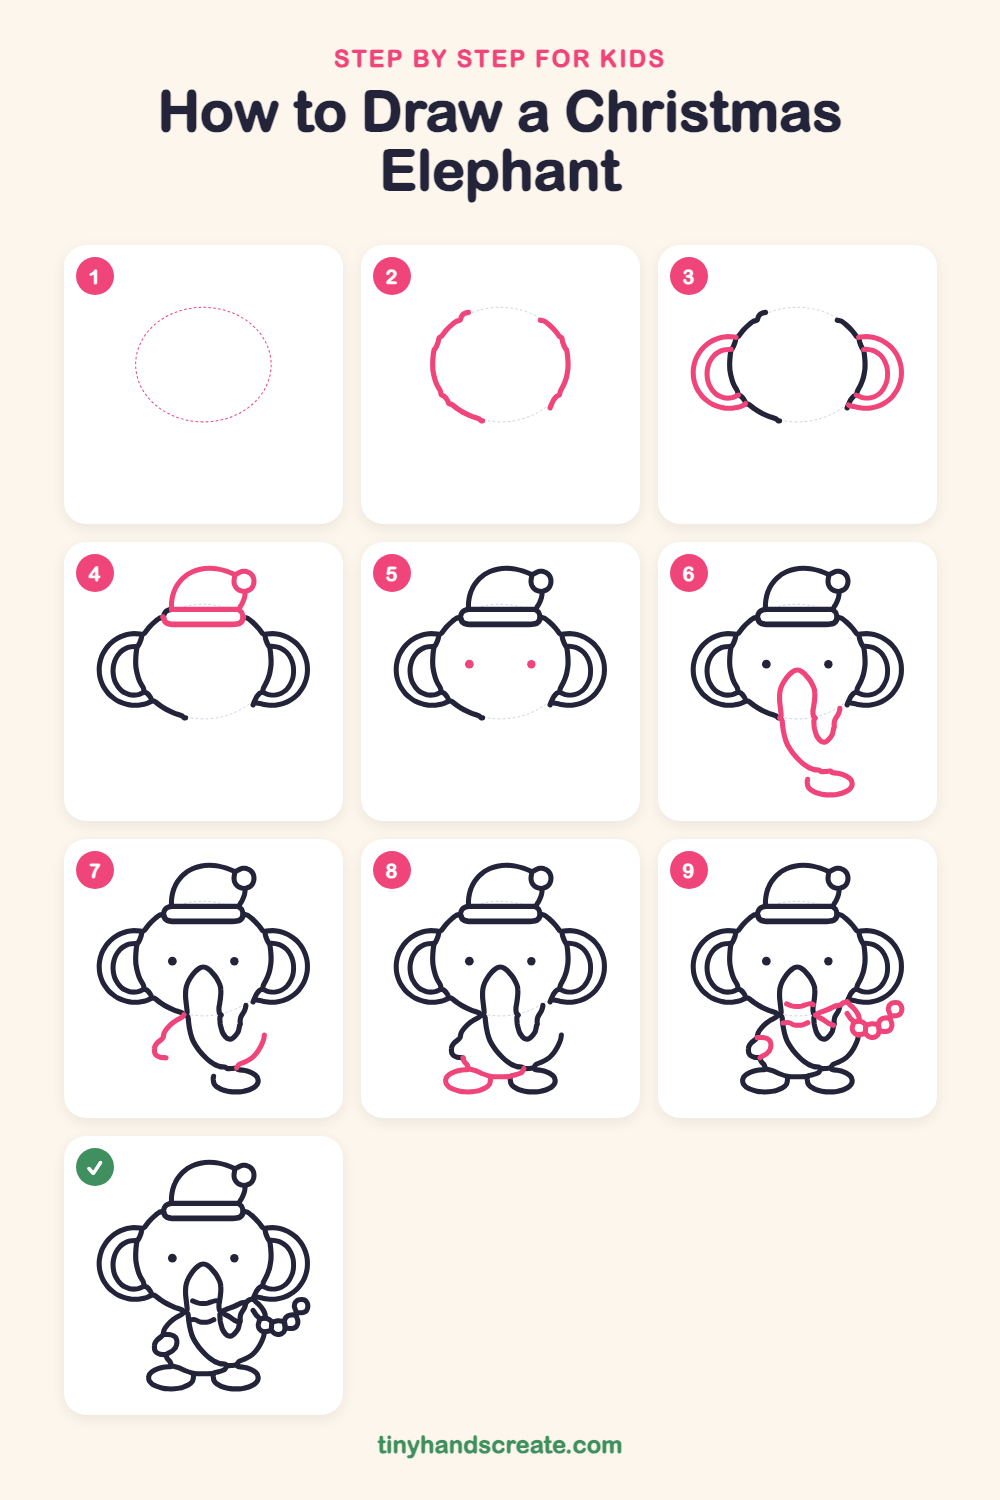
Step 1: Guide shapes
Lightly sketch this oval. It only shows where the big parts go, so press softly. You will erase it at the end.
Step 2: The big round head
Draw a large circle for the head, a little wider than it is tall. Leave the top and bottom a bit open where the hat and trunk will go.
Step 3: Two round ears
On each side of the head, draw a big half circle for the ear. Then add a smaller half circle inside each one, like a rainbow.
Step 4: The Santa hat
On top of the head, draw a rounded dome for the hat. Add a long skinny rounded rectangle across the bottom of the dome for the fluffy brim, then a small circle for the pompom at the side of the hat.
Step 5: Two dot eyes
Draw two small filled-in dots in the middle of the face, side by side. Keep them the same size and about the same height.
Step 6: The long trunk
Start between the eyes and draw a long, tall shape that is pointy at the top, like a leaf, going down the face. Let the bottom curve into a gentle J that curls to the right.
Step 7: Sides of the body
Under the head, draw a curved line on the left going down and out for one side of the tummy. Then draw a short curved line on the right at the bottom, near the end of the trunk.
Step 8: Little feet
At the bottom, draw a flat oval on the left for a foot. Then draw a curved line along the bottom of the body to close the tummy and meet the other foot.
Step 9: Wrinkles, hand and garland
Add two little wavy lines across the trunk for wrinkles. Draw a small rounded shape on the left for a hand. On the right, draw a short bent line for the other arm, then a string of little circles in a row, ending with a bigger loop at the tip.
All done!
Erase the guide shapes, go over your lines, then color it in.
Finished your Christmas elephant? Keep the pencils out and learn how to draw a Christmas giraffe or how to draw a Christmas otter next.
Tips for drawing a Christmas elephant
- Draw the head first and make it big. The ears, hat and trunk all attach to it, so a roomy head gives everything else a place to go.
- The trunk is the trickiest part. Start with a tall leaf shape from between the eyes, then slowly curve the bottom into a J instead of trying to draw the whole thing in one go.
- Make the two ears match by drawing the big outer half circle on both sides, and then the smaller inner one. Check that they are about the same height.
Free Christmas elephant coloring page
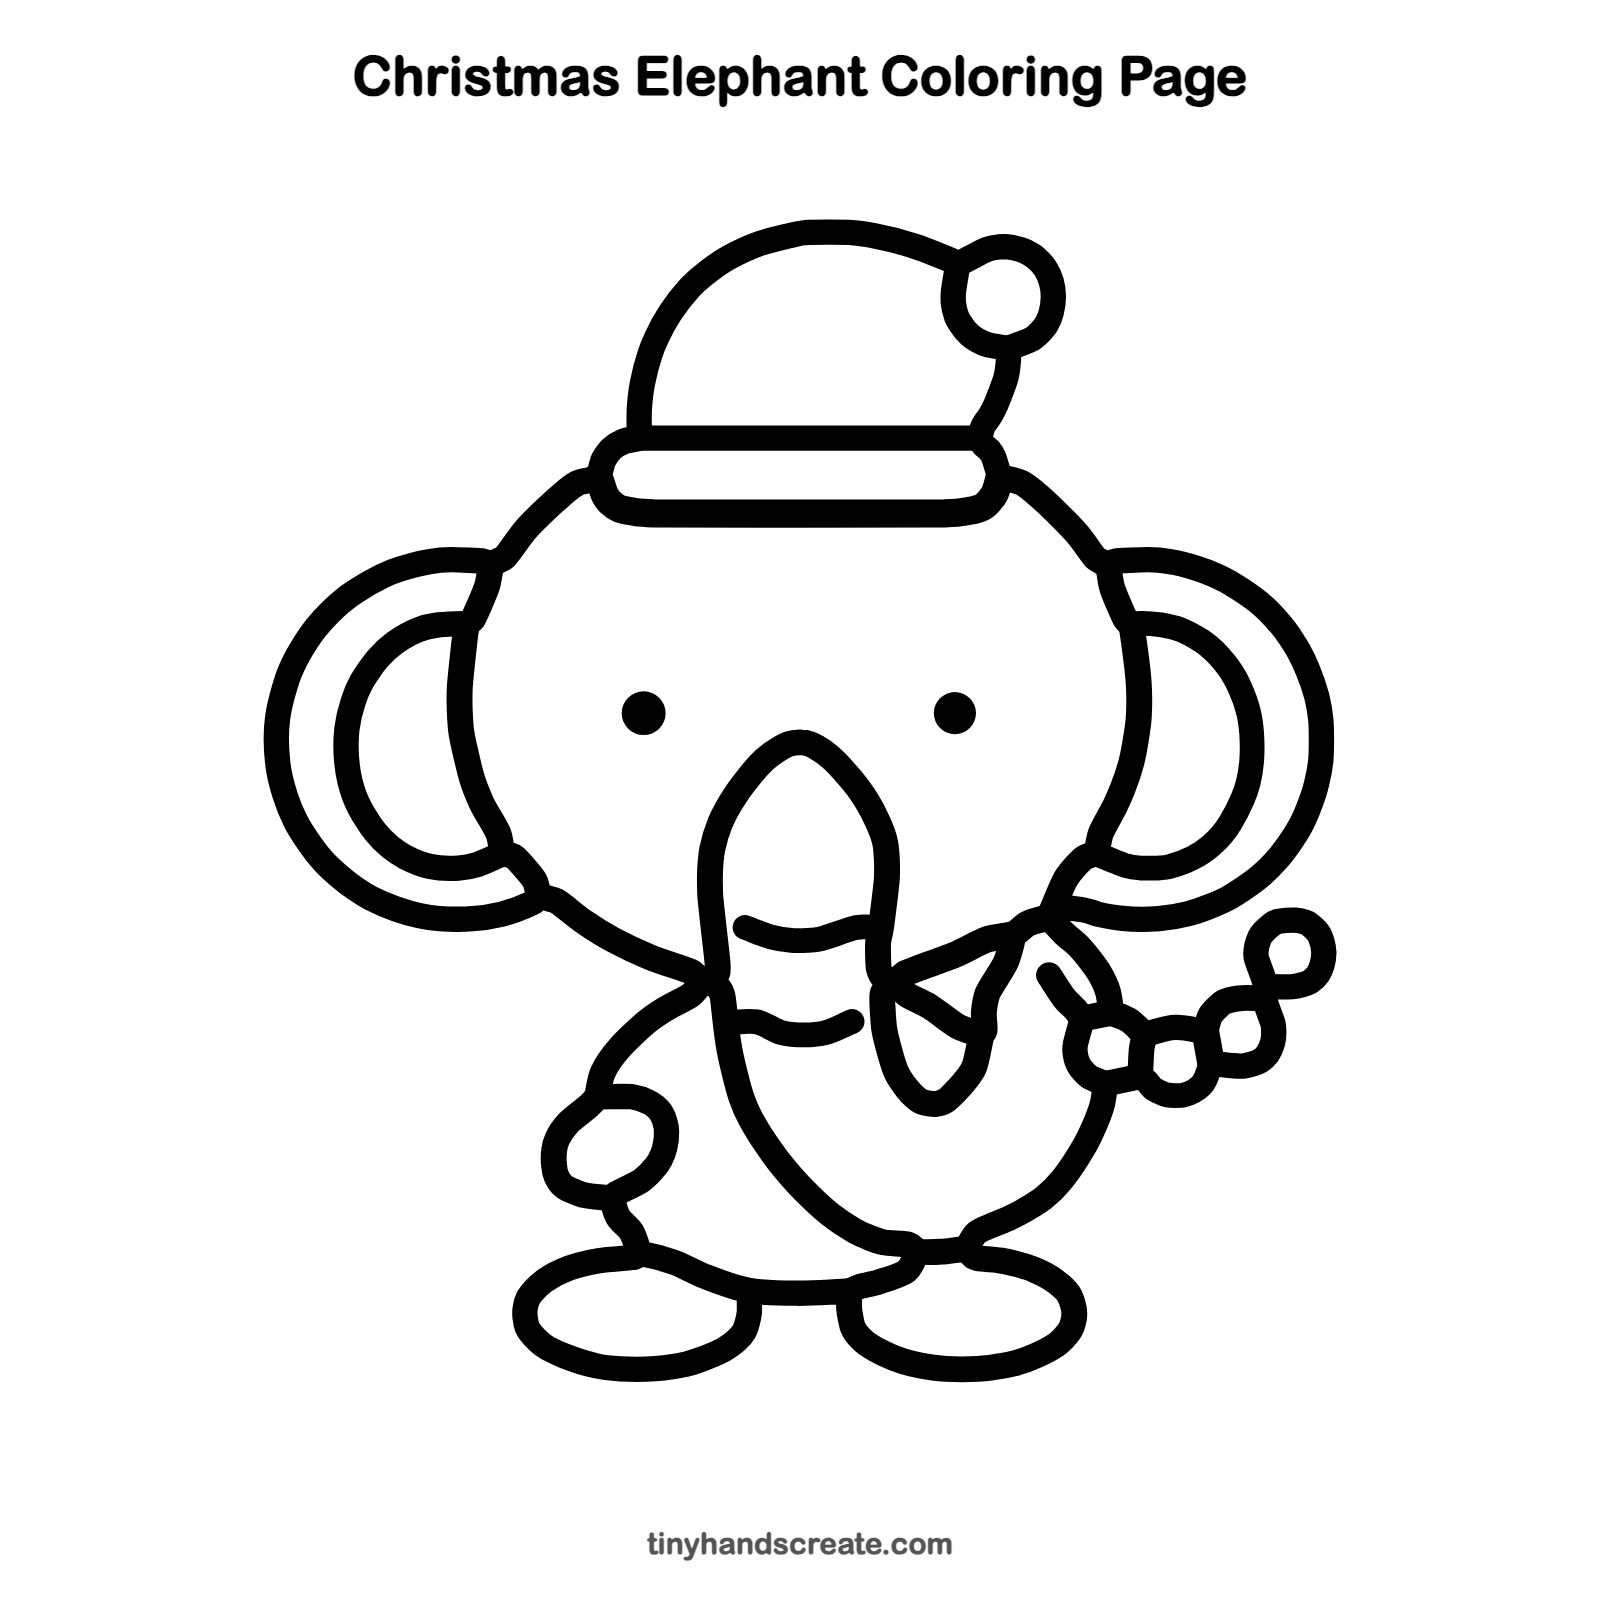
Want to go straight to coloring? Open this Christmas elephant coloring page at full size and print it. It is the same drawing you just learned, with clean lines ready for crayons or markers.
How to color your Christmas elephant drawing
Soft gray or blue for the elephant, a bright red hat with a white brim and pompom, and different colored circles for the garland. For a creative twist, add a scarf or snowflakes in the background.
Christmas elephant fun fact for kids
The African elephant is the largest animal that lives on land today. Elephants use their trunks to breathe, smell, drink and pick things up.
Questions about drawing a Christmas elephant
What shapes do I need to draw a Christmas elephant?
You need circles and ovals for the head and feet. Half circles make the ears, and a long leaf shape makes the trunk.
How do I make my elephant look cuter?
Make the head extra big and round, keep the dot eyes small and the same size, and give the ears a big, round shape.
How do I draw the Santa hat so it stays on?
Draw a dome for the hat, then a long rounded rectangle across its bottom for the brim. Let the brim sit right on top of the head so the hat looks snug.