How to Draw a Christmas Bunny (Easy Step by Step)
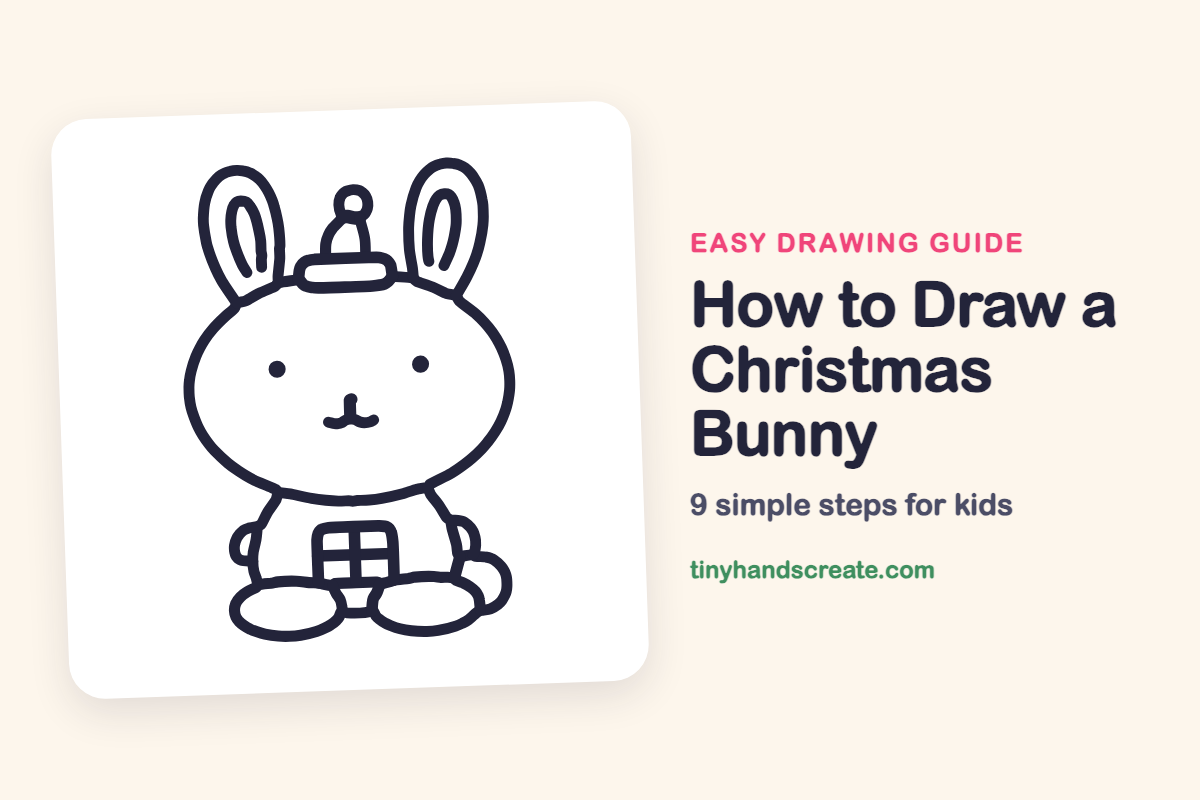
This Christmas bunny is mostly ovals, which makes it a great first holiday drawing. A big round head, two tall ears, a tiny Santa hat and a wrapped present on the tummy turn simple shapes into something festive.
- Easy
- 15 minutes
- 9 steps
You need: paper, a pencil, an eraser, and crayons or markers for coloring.
Start drawingIn this article (7 sections)
How to draw a Christmas bunny step by step
How to Draw a Christmas Bunny · tinyhandscreate.com
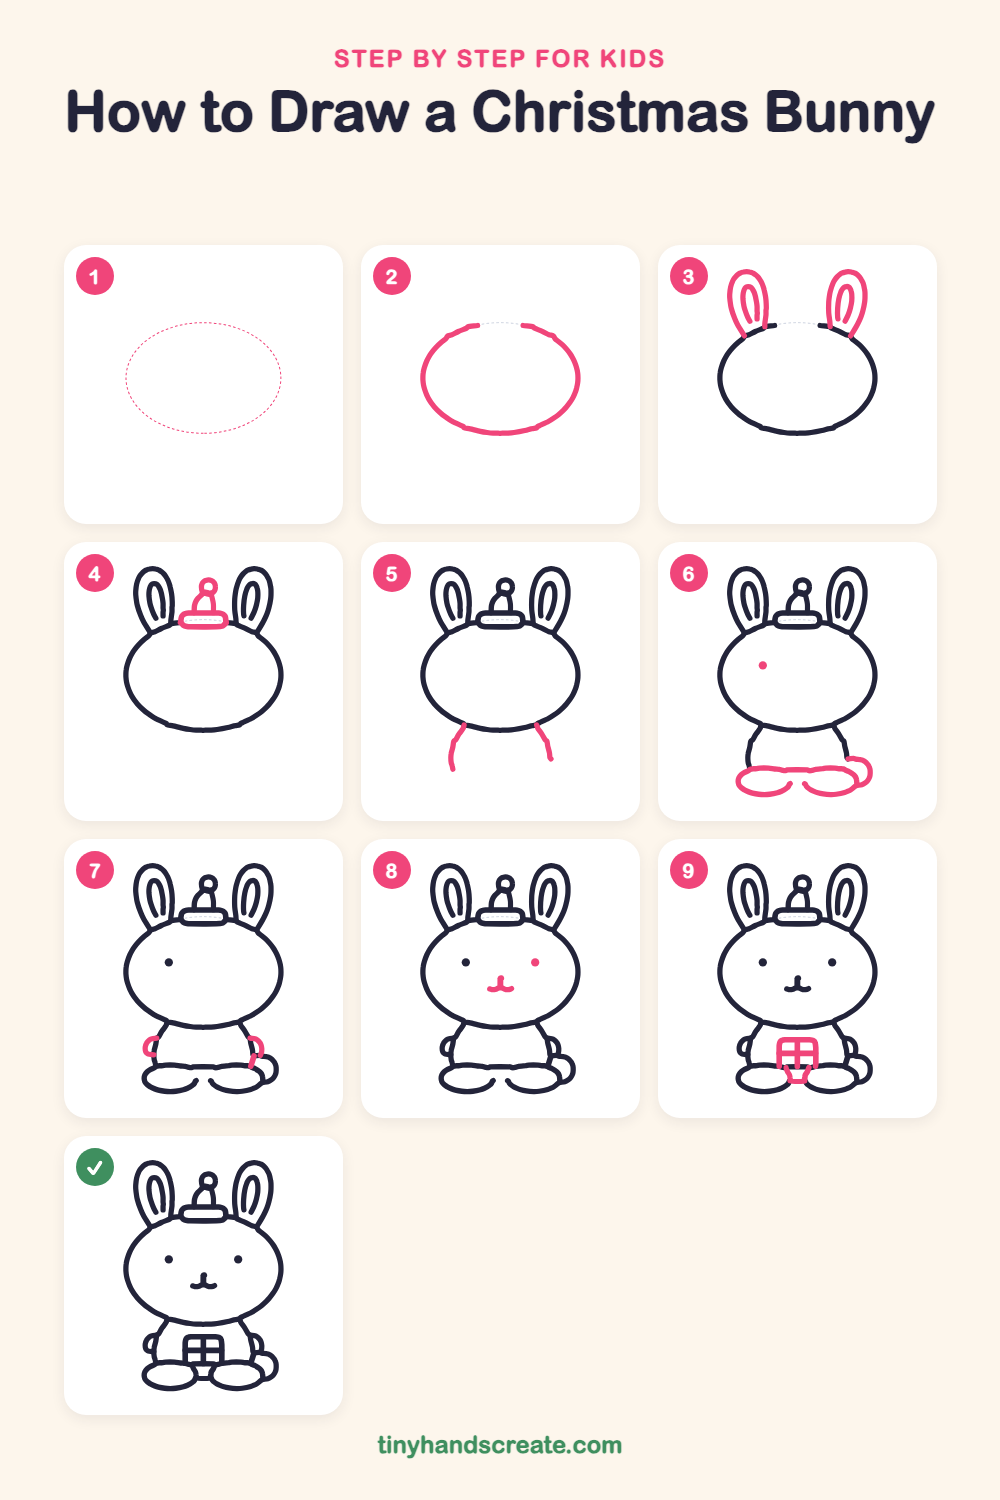
Step 1: Guide shapes
Lightly sketch this oval. It only shows where the big parts go, so press softly. You will erase it at the end.
Step 2: The big round head
Start with a wide, round oval for the head, a little wider than it is tall. Leave a small gap at the top where the hat will sit.
Step 3: The tall ears
Draw two tall, skinny ovals standing up from the top of the head, one on each side of the gap. Inside each ear, draw a smaller curved line that follows the ear's shape.
Step 4: The Santa hat
In the gap at the top of the head, draw a flat rounded bar for the hat band. Add a small curved hump above it and finish with a tiny circle on top for the pom-pom.
Step 5: The little body
Under the head, draw two curved lines going down and a little outward to start a small body. Keep it much narrower than the head so your bunny looks extra cute.
Step 6: Feet, tail and one eye
At the bottom of the body, draw two wide ovals side by side for the feet, joined by a flat line across the top. Add a small round puff behind the right foot for the tail, then make a small dot on the head for the left eye.
Step 7: Little arms
Draw a small curved loop on each side of the body for the arms. Tuck each one against the body, just above the feet.
Step 8: Face
Add a second small dot for the right eye, far from the first. Between the eyes, lower down, draw a tiny nose with a short line down to a happy smile that curves up on both sides.
Step 9: The present
On the tummy, draw a square gift box with rounded corners. Add one line straight down the middle and one straight across to make the ribbon, and let the bottom of the box tuck in between the feet.
All done!
Erase the guide shapes, go over your lines, then color it in.
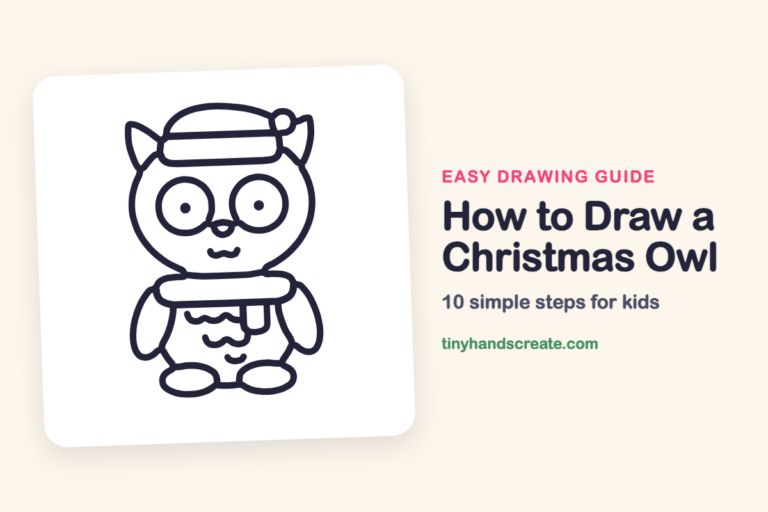
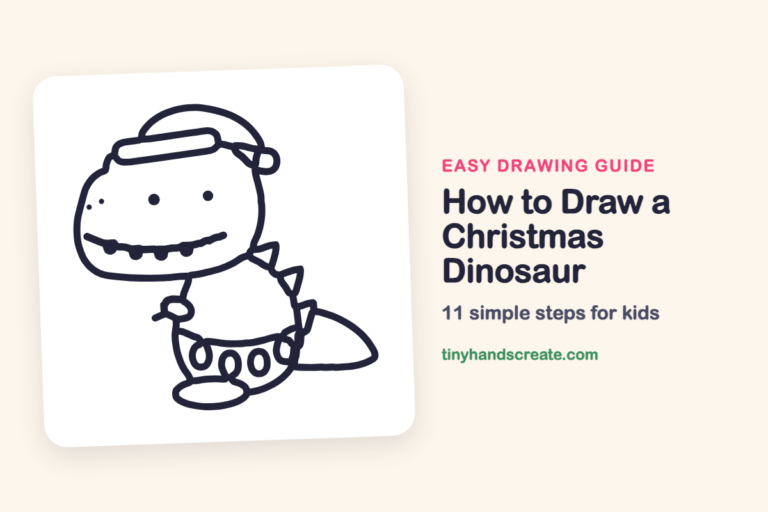
Finished your Christmas bunny? Keep the pencils out and learn how to draw a Christmas owl or how to draw a Christmas dinosaur next.
Tips for drawing a Christmas bunny
- Draw the head oval first and make it big. The ears and hat will fit on top much more easily.
- Leave a small gap at the top of the head. The hat band sits right in that gap, between the two ears.
- Make the two feet about the same size by drawing the left one, then matching it on the right. The tail peeks out behind the right foot.
Free Christmas bunny coloring page
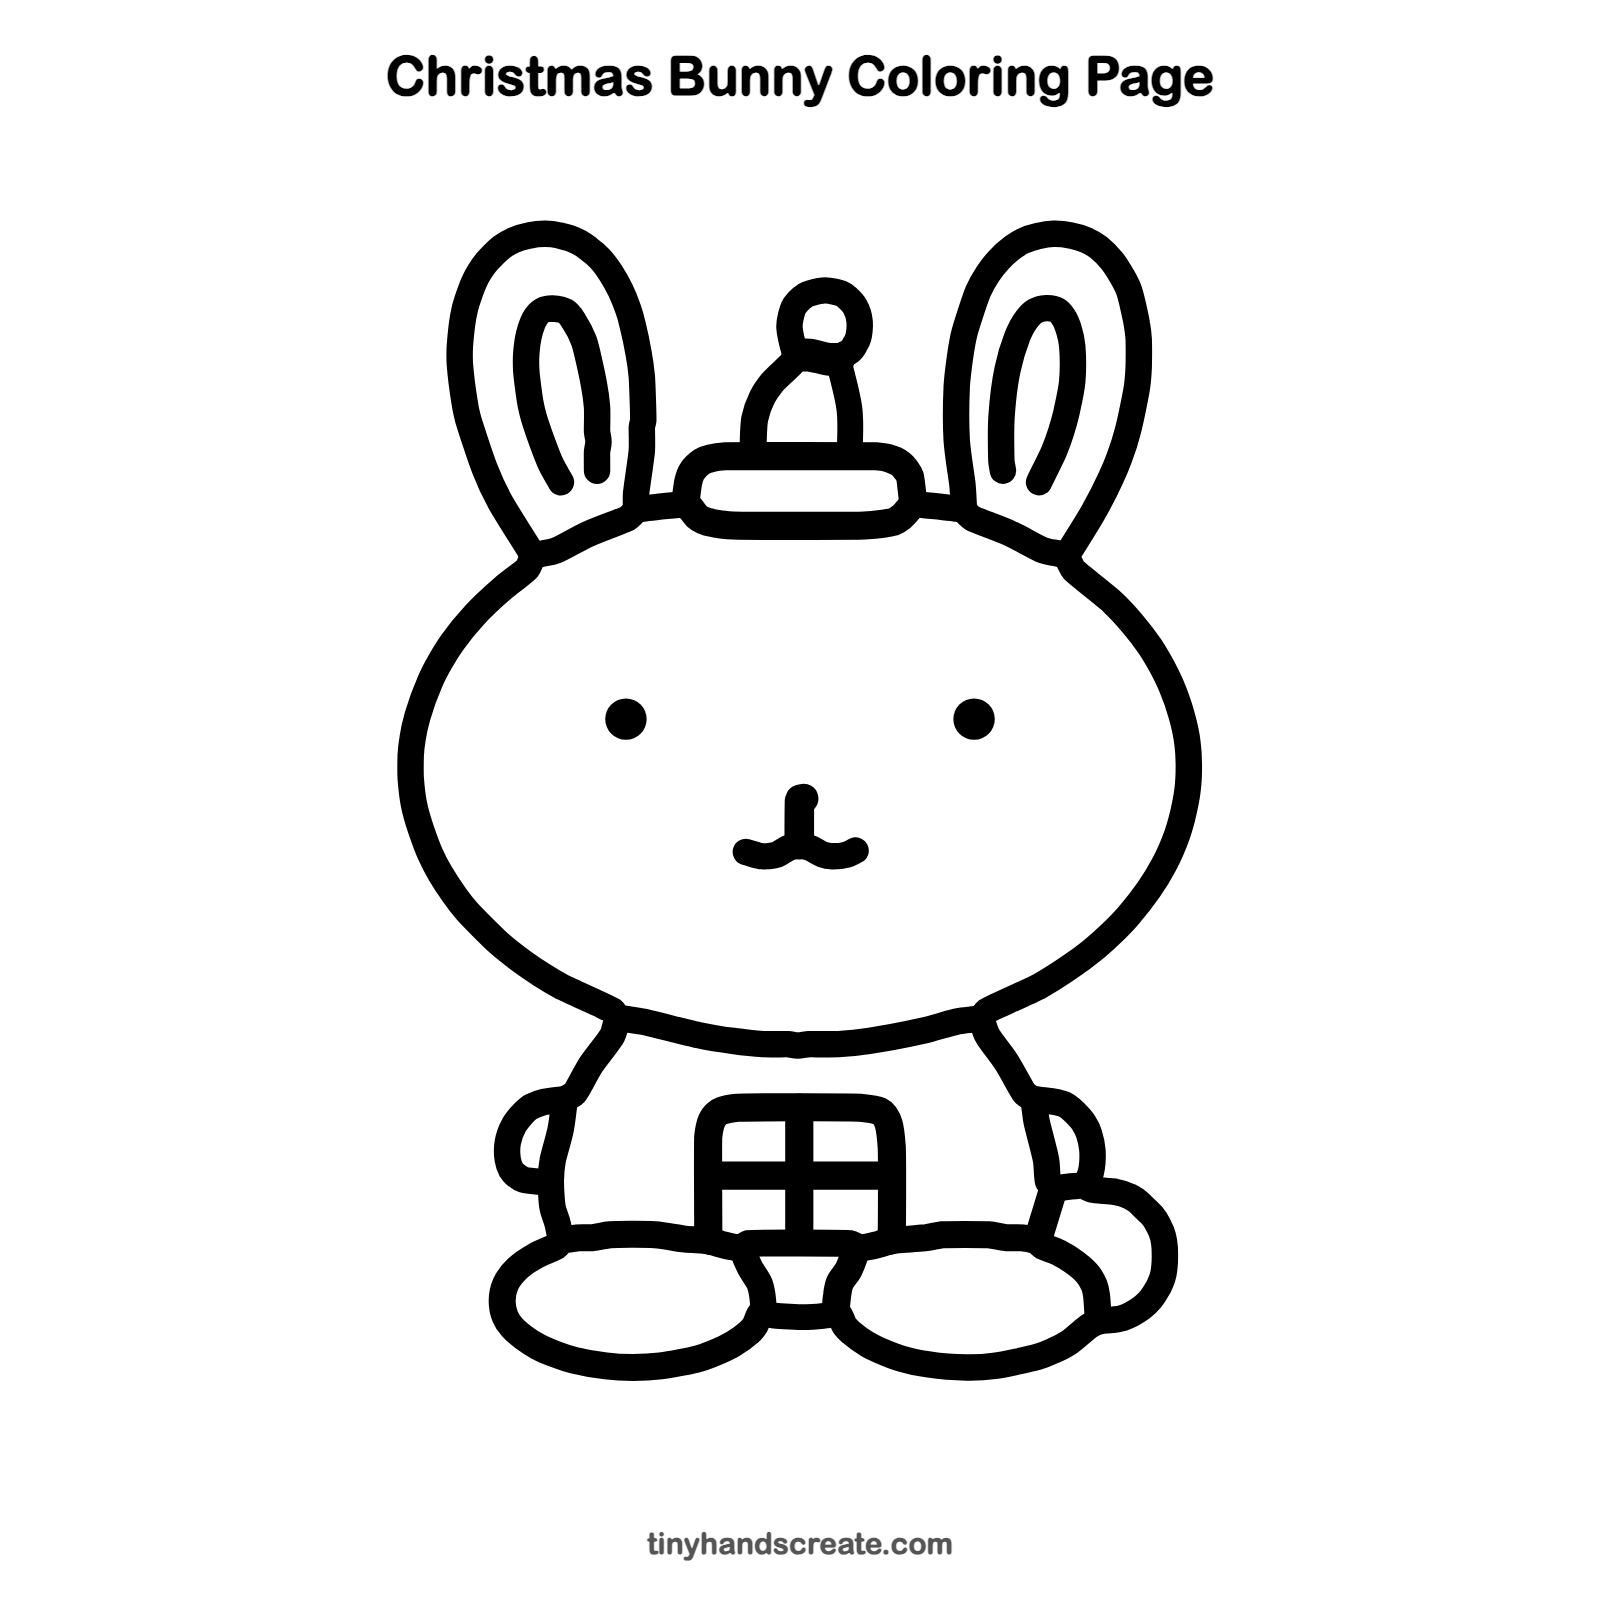
Want to go straight to coloring? Open this Christmas bunny coloring page at full size and print it. It is the same drawing you just learned, with clean lines ready for crayons or markers.
How to color your Christmas bunny drawing
Try a soft gray or white bunny with a red hat, pink inner ears and a present wrapped in green and gold. For a creative twist, give the bunny a scarf or draw snowflakes falling all around.
Christmas bunny fun fact for kids
A rabbit can turn each of its ears in a different direction on its own, which helps it hear sounds coming from all around.
Questions about drawing a Christmas bunny
What shapes do I need to draw a Christmas bunny?
You mostly need ovals for the head, ears and feet, and a rounded square for the present. A small circle makes the pom-pom on the hat.
How do I make my bunny look cuter?
Keep the eyes small and far apart, and make the head much bigger than the body. A tiny nose and a curvy smile help a lot too.
How do I draw the Santa hat so it stays on?
Draw the band as a flat rounded bar right in the gap at the top of the head, then add the small hump and pom-pom above it. Sitting the band on the head makes the hat look like it is staying put.