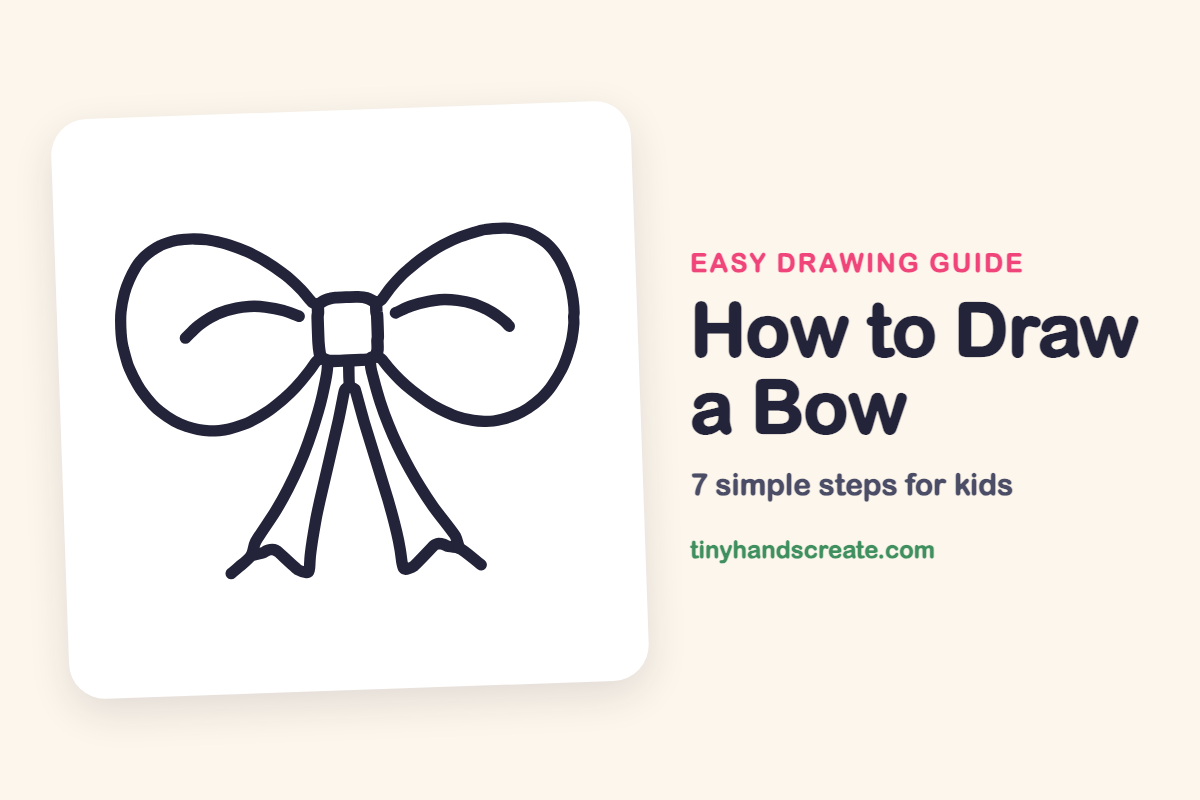
How to Draw a Bow (Easy Step by Step)
A bow is a fun first drawing because it is the same shape twice. You build it from a small square for the knot, two big egg-shaped loops with a fold line in each, and two long ribbon tails with notched ends. Once you can draw one side, the other side is just a mirror.
- Easy
- 8 minutes
- 7 steps
You need: paper, a pencil, an eraser, and crayons or markers for coloring.
Start drawingIn this article (7 sections)
How to draw a bow step by step
How to Draw a Bow · tinyhandscreate.com
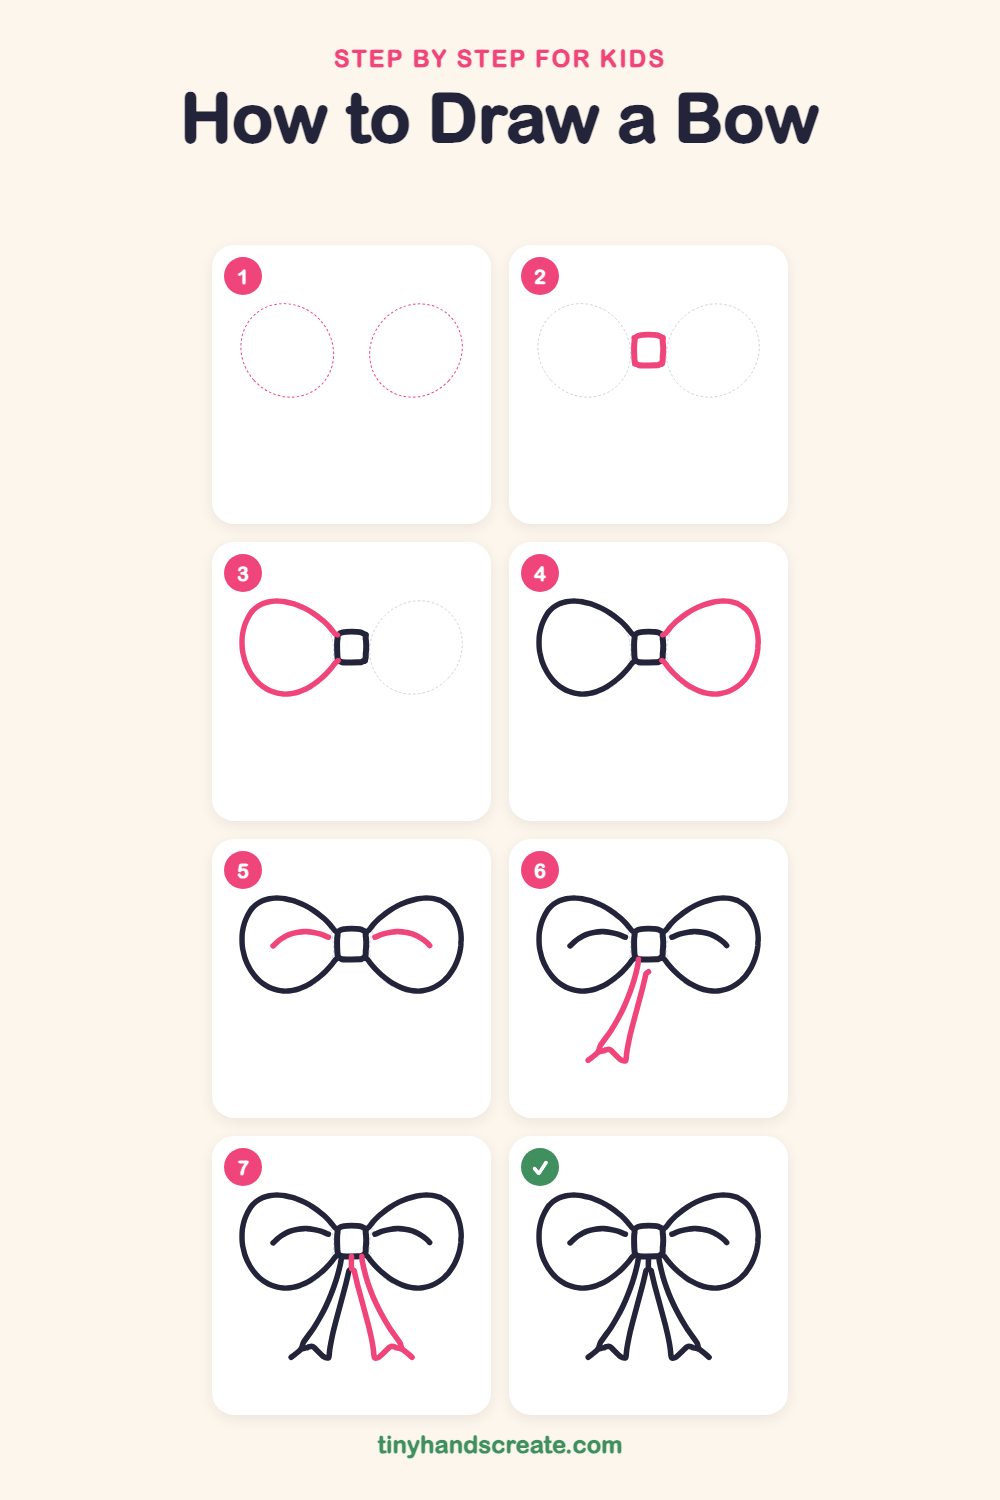
Step 1: Guide shapes
Lightly sketch these 2 ovals. They only show where the big parts go, so press softly. You will erase them at the end.
Step 2: The center knot
Draw a small square with soft, rounded corners in the middle of your page. This knot holds the whole bow together.
Step 3: The left loop
Start at the top left corner of the knot and draw a big curve up and out to the left, like half an egg. Bring it around and back in to meet the bottom left corner of the knot.
Step 4: The right loop
Do the same on the other side. Start at the top right corner of the knot, curve up and out to the right, then sweep back in to the bottom right corner. Try to make it the same size as the left loop.
Step 5: Folds inside the loops
Inside each loop, draw a short curved line like a gentle rainbow. Start near the knot and curve away from it, stopping before you reach the edge of the loop.
Step 6: The left ribbon tail
From the bottom of the knot, draw two long lines sloping down and to the left. Close them at the bottom with a zigzag notch, like the cut end of a ribbon.
Step 7: The right ribbon tail
Draw the second tail as a mirror of the first. Make two long lines sloping down and to the right from the knot. Finish with the same zigzag notch at the bottom.
All done!
Erase the guide shapes, go over your lines, then color it in.
Finished your bow? Keep the pencils out and learn how to draw a volleyball or how to draw an alarm clock next.
Tips for drawing a bow
- Draw the knot first and keep it small. The loops look best when they are much bigger than the knot.
- Try to make the two loops about the same size. Look at how far the left loop reaches from the knot, then match it on the right.
- The notched ribbon ends are the trickiest part. Draw a small zigzag at the bottom of each tail, and make both zigzags look alike.
Free bow coloring page
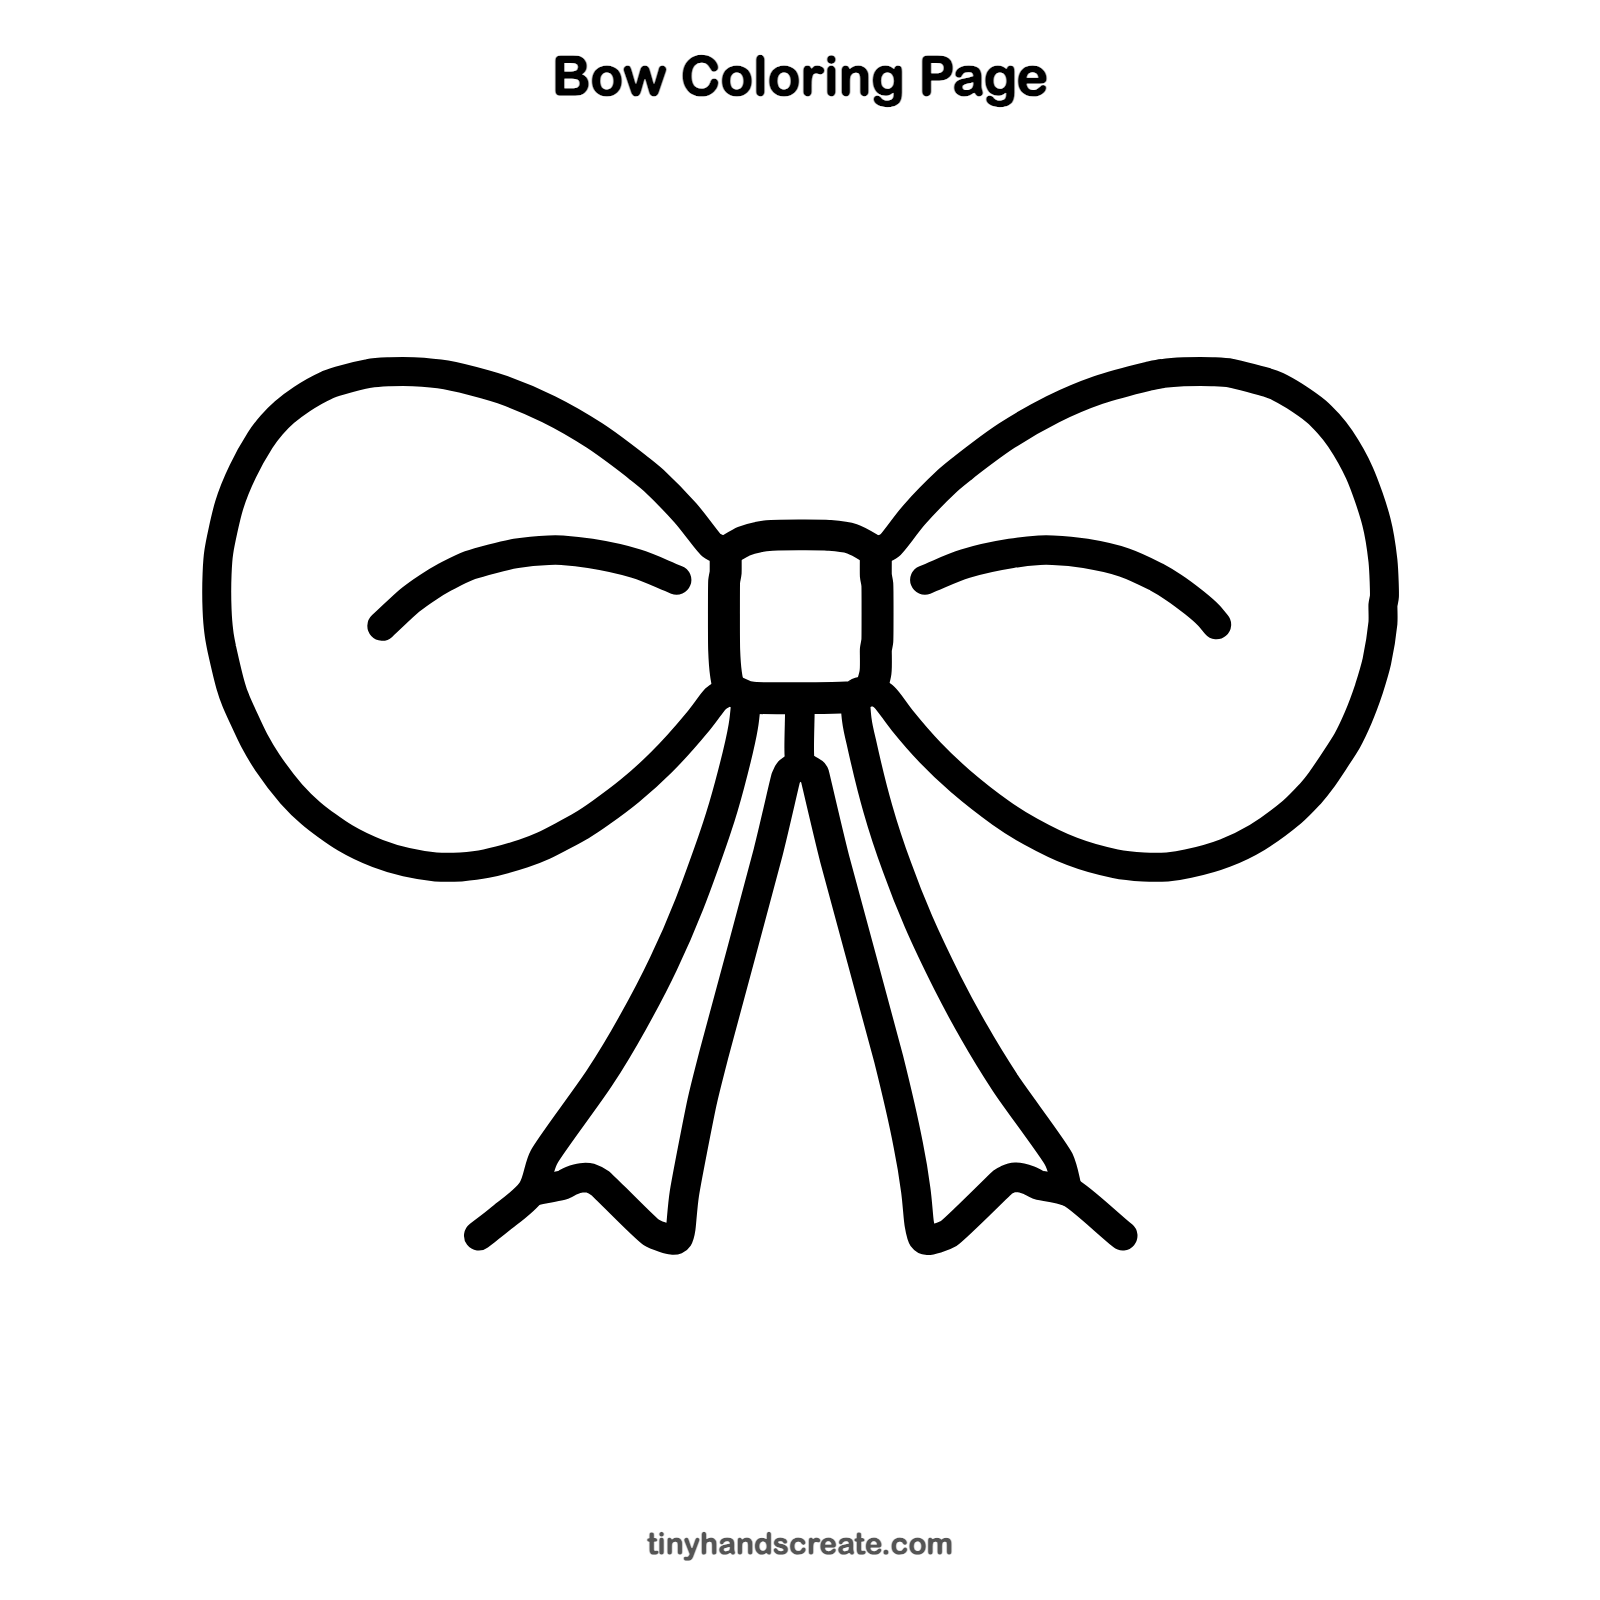
Want to go straight to coloring? Open this bow coloring page at full size and print it. It is the same drawing you just learned, with clean lines ready for crayons or markers.
How to color your bow drawing
Pick one bright color for the whole bow, like red, pink, or purple, and make the knot a slightly darker shade. For a creative twist, add polka dots or stripes to the loops.
Bow fun fact for kids
The word bow, for a ribbon knot, is said like "go" and comes from an old English word that meant bent or curved. It is the same old word behind the bow used for shooting arrows.
Questions about drawing a bow
What shapes do I need to draw a bow?
You need a small rounded square for the knot, two big egg shapes for the loops, and two long, thin ribbon shapes for the tails. The ends of the tails have a small zigzag notch.
How do I make my bow look even on both sides?
Draw the knot in the middle of the page first, then draw the left loop and right loop to be about the same width. You can also hold your drawing up to a mirror and look to see if both sides match.
How do I make my bow look fancier?
Add stripes, dots, or hearts to the loops, and draw a few tiny sparkle lines around it. You can also add a second, smaller bow on top for a double bow.