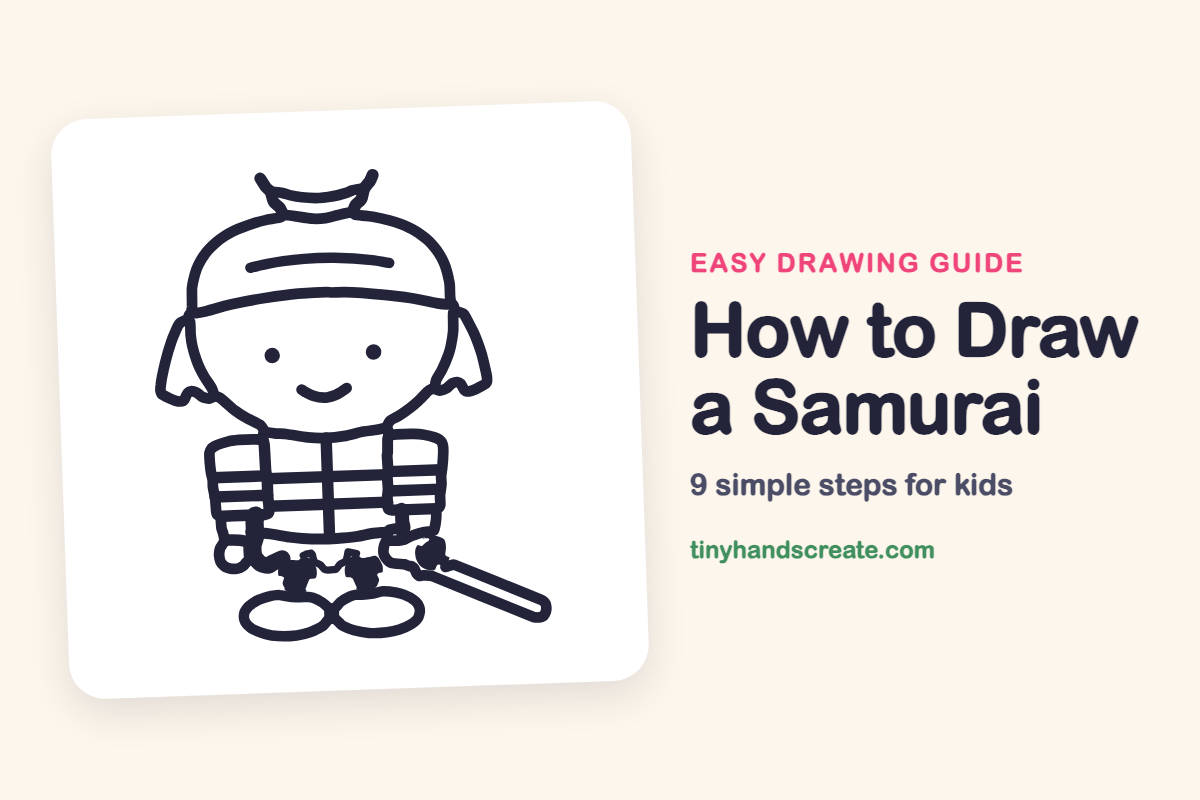
How to Draw a Samurai (Easy Step by Step)
A samurai is fun to draw because he is built from simple shapes: a round helmet with a small crest, a friendly face, and a boxy body with stripes. The stripes and the long sword make him look brave, but the dot eyes and smile keep him friendly.
- Medium
- 15 minutes
- 9 steps
You need: paper, a pencil, an eraser, and crayons or markers for coloring.
Start drawingIn this article (7 sections)
How to draw a samurai step by step
How to Draw a Samurai · tinyhandscreate.com
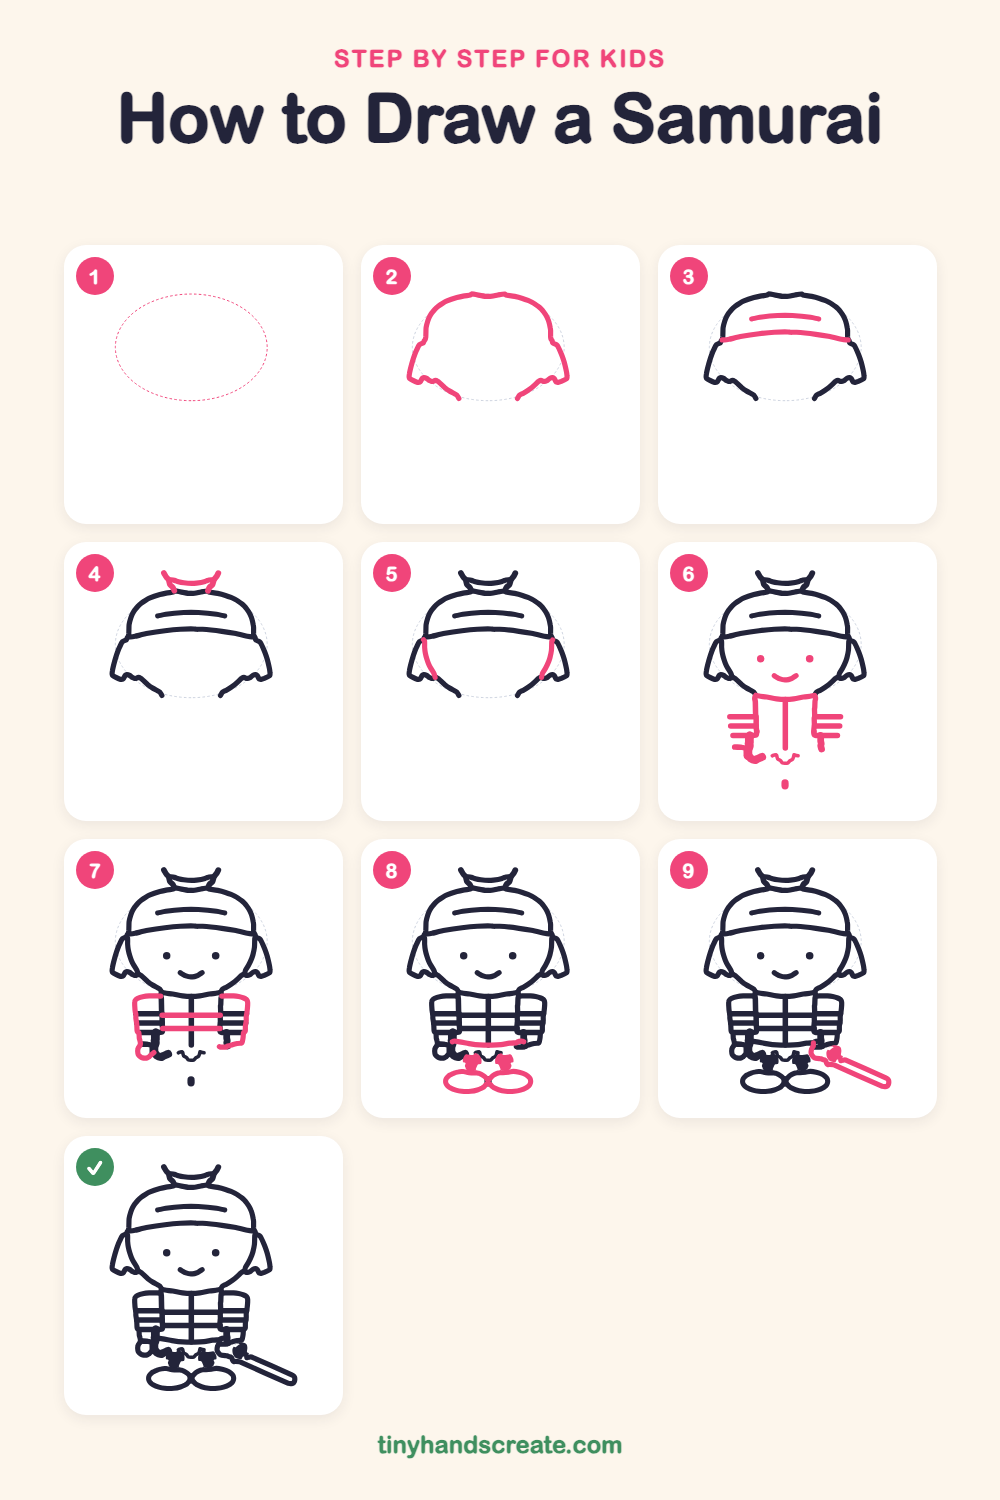
Step 1: Guide shapes
Lightly sketch this oval. It only shows where the big parts go, so press softly. You will erase it at the end.
Step 2: Helmet outline
Draw a rounded dome shape for the top of the helmet, with a small dip in the middle of the top. Then curve the lines out on each side into a flared flap with a wiggly bottom edge.
Step 3: The helmet band
Draw a long curved line across the helmet from one side to the other, like a headband. Then add a short curved stripe above it in the middle.
Step 4: The helmet crest
On top of the helmet, draw a small curved line like a smile, with both ends pointing up. Add a tiny short stroke at each end to finish the crest.
Step 5: Sides of the face
Under the headband, draw a curved line down on each side to make the sides of the round face. Start each one at the end of the band and curve it down toward the flap.
Step 6: Face and chest armor
Draw two dots for eyes and a little curved smile. Under the head, draw two straight lines down for the chest with a line down the middle, then add a few short stripes sticking out on each side.
Step 7: Chest stripes and sleeves
Draw two straight lines across the chest. Then draw a big boxy shape on each side for the shoulder armor, with a little curl at the bottom of each one.
Step 8: Belt and shoes
Draw a curved belt line across the middle of the body. Below it, add two short little legs and two flat ovals for the shoes.
Step 9: The sword
Draw a long thin shape slanting down to the right for the sword. At the top end near the belt, add a small hooked handle.
All done!
Erase the guide shapes, go over your lines, then color it in.
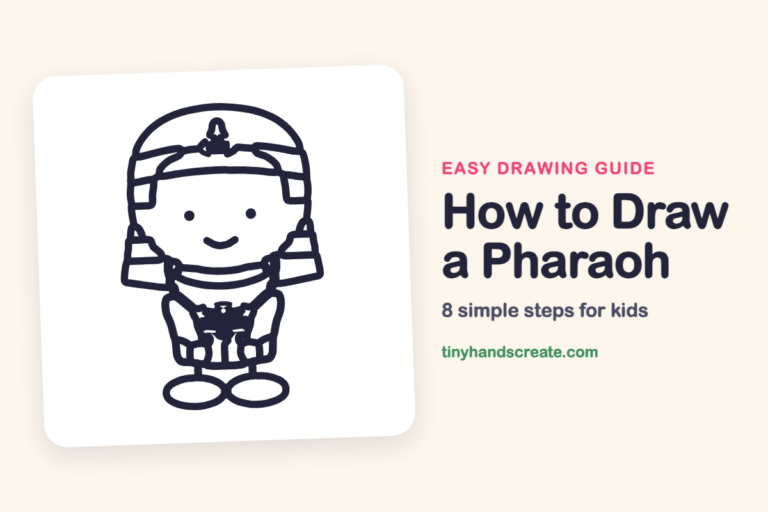
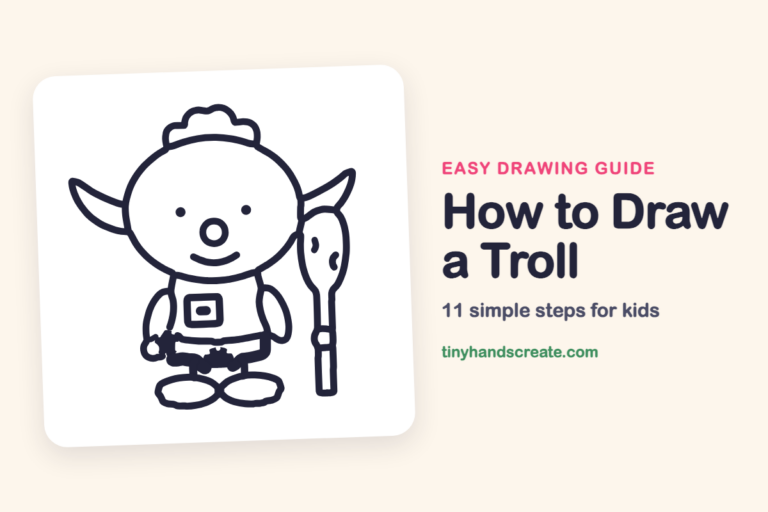
Finished your samurai? Keep the pencils out and learn how to draw a pharaoh or how to draw a troll next.
Tips for drawing a samurai
- Start with the rounded helmet dome and let the flaps flare out on each side, so the face has room underneath.
- The armor stripes are the trickiest part, so draw one straight line at a time and keep the gaps about the same size.
- Draw the sword last and slant it down to the right, keeping it long and thin so it stays even.
Free samurai coloring page
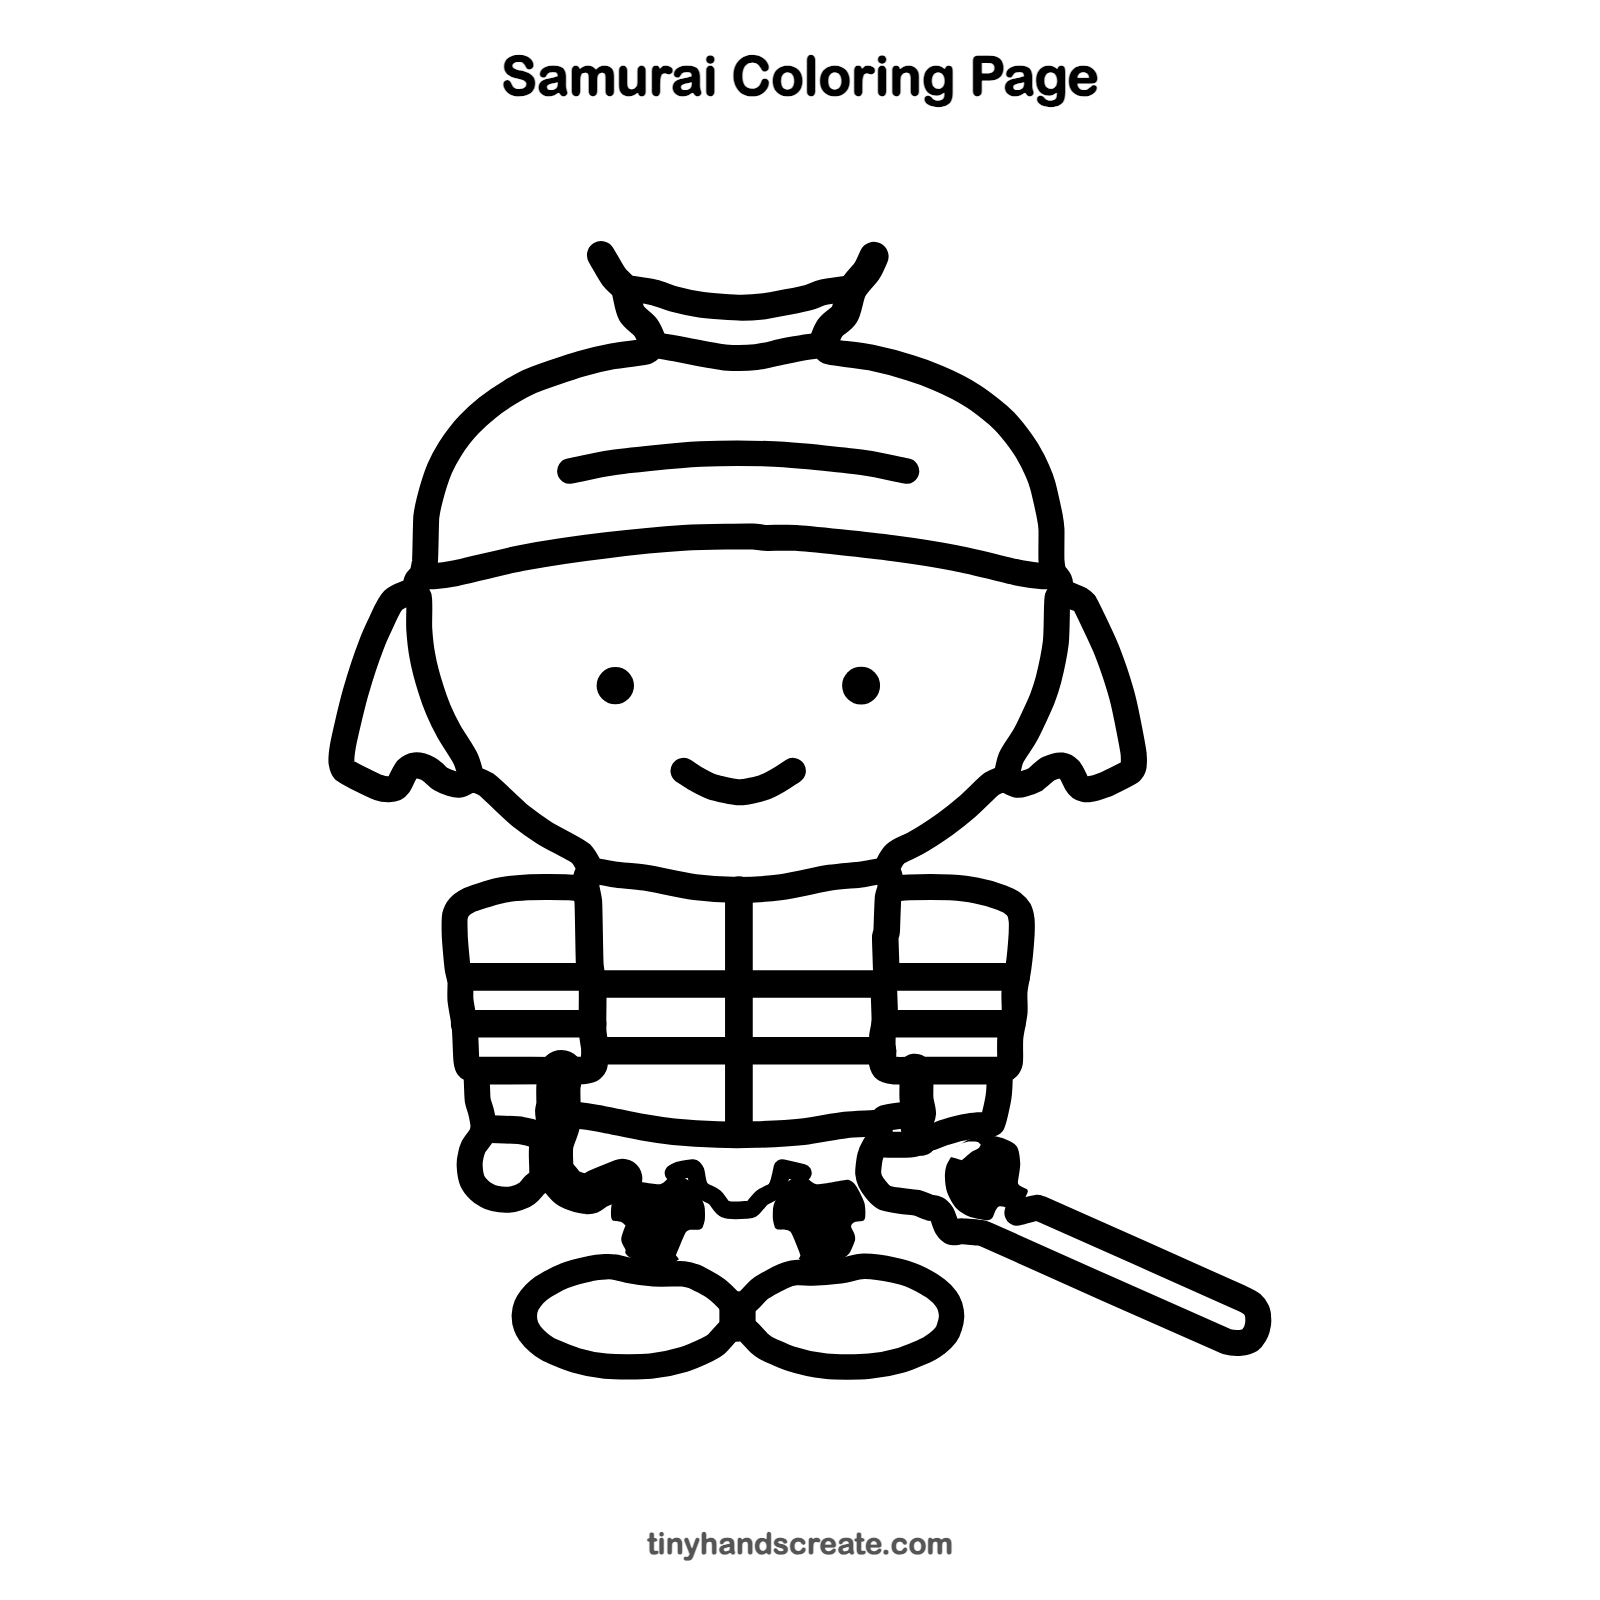
Want to go straight to coloring? Open this samurai coloring page at full size and print it. It is the same drawing you just learned, with clean lines ready for crayons or markers.
How to color your samurai drawing
Try red and gold for the armor and a silver sword. For a creative twist, make the helmet band a bright color of your own.
Samurai fun fact for kids
A samurai helmet was called a kabuto, and many had a decoration on the front or top called a maedate.
Questions about drawing a samurai
What shapes do I need to draw a samurai?
You need a rounded dome for the helmet, a small curve for the crest, rectangles for the armor, and two ovals for the shoes. A long thin shape makes the sword.
How do I make my samurai look friendly?
Give him two small dot eyes and a curved smile. Round shapes feel softer than pointy ones.
What is the hardest part of drawing a samurai?
The striped armor can feel tricky. Draw the outline first, then add the stripes one at a time with a steady hand.